18" Doll Mattress Sewing Tutorial
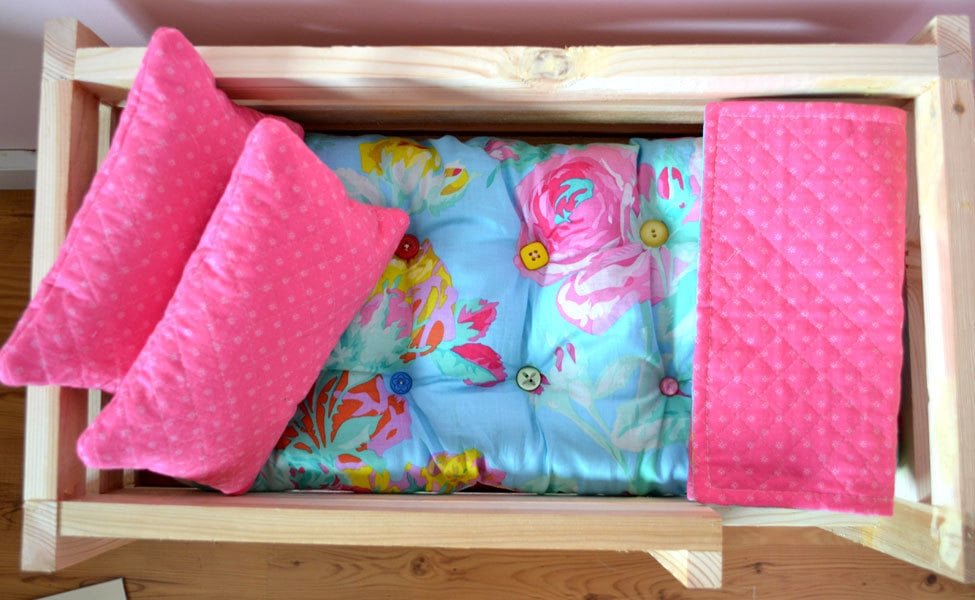
Make your own doll mattress for American girl doll furniture and beds with this simple step by step sewing tutorial designed for beginners.
Specifications
| Project type | Doll Furniture |
|---|---|
| Room | Kids and Toys |
| Style | Children's and Kid's Room Furniture and Toy Plans |
| Difficulty | Beginner Projects |
| Estimated cost | Under $20 |
Shopping List
For one mattress finished size 10" x 19" I used:
1/2 - yard of fabric
Thread
Stuffing from recycled pillows and stuffed animals
Mix-matched buttons
Cut List
2 - Pieces of Fabric 2 1/2" wider and 2 1/2" longer than the desired finished mattress size (for 2" thick mattress)
Step-by-step Instructions
Determining Size
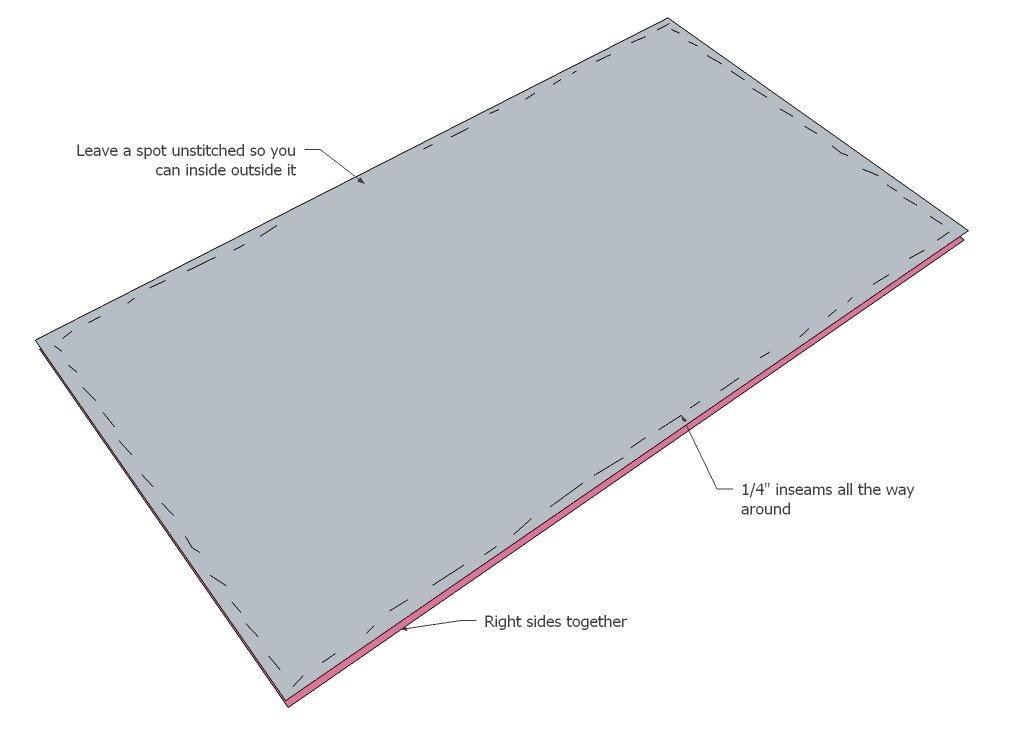
Determine the desired length and width of your doll mattress. For Grace's American Girl, we decided to make the mattress overall 10" x 19" finished dimensions. This also fits the doll bunk bed (shown in photos and plans available here). Then add 2 1/2" to each of these dimensions. For Grace's American Girl bed, the dimensions are 12 1/2" x 21 1/2". Cut two pieces of fabric to the determined measurements. Sewing the Edges Sandwich the two piece of fabric right sides together and pin. Baste with 1/4" inseams around all sides, leaving a 3" opening for inside/out-siding the doll mattress.
Clip Stitching Corners
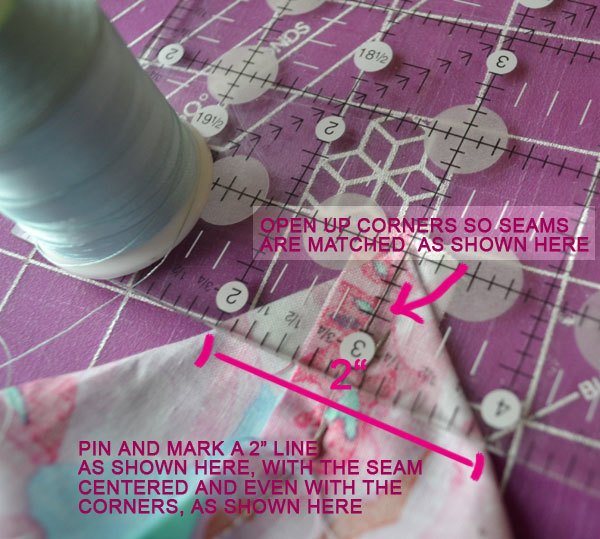
Now this a little tricky, but once you "get" it you'll breeze through. Open up the corners so the seams you stitched in step 1 are matched up, and the corner forms a 90 degree angle, with the seam down the center. Pin. Then line a ruler up with this seam and mark a 2" clip off the corner. Sew a seam right on the mark you made. Grandma did the sewing on this one. We are giving these mattresses away as a gift, and her sewing is so much better than mine.
Seam Check
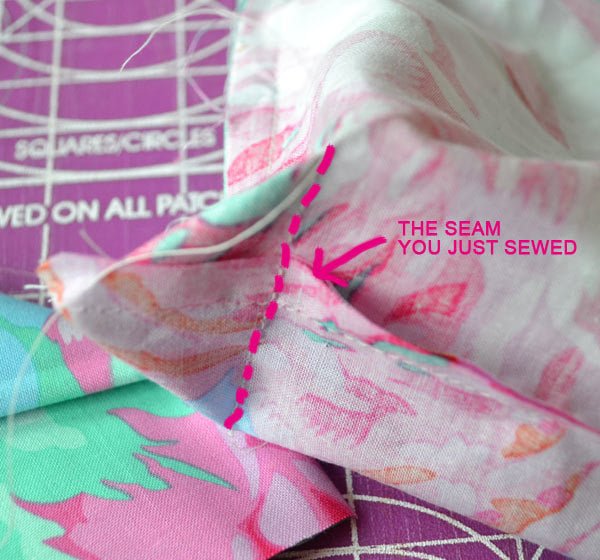
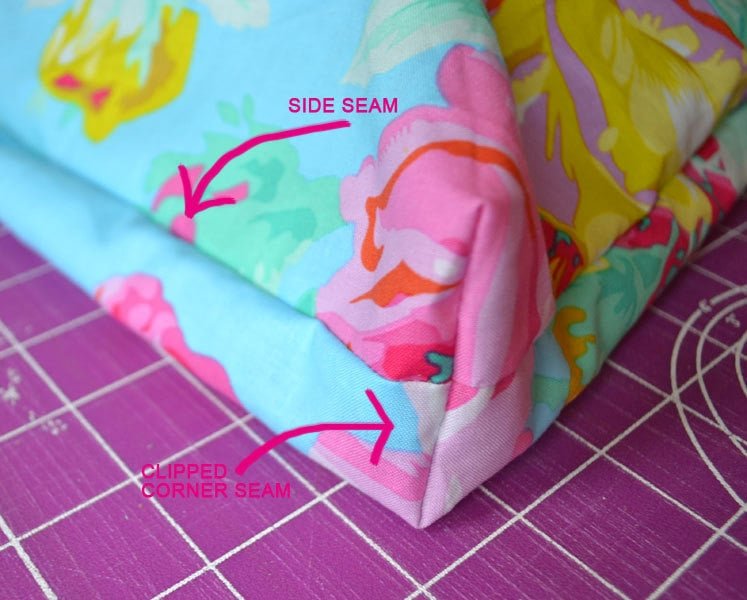
If done correctly the seam will look like the above diagram, and you can see the mattress taking on a box cushion like shape.
Finished Corners
Once you have clipped seamed all four corners, inside outside the mattress and check your corners. They should look like this corner. Filling You can fill the mattress with 2" thick foam, bean bag filler, or in our case, recycled pillow and stuffed animal stuffing. If you use pillow stuffing, fluff and fill but don't overfill. Hand stitch opening closed.
Step 5
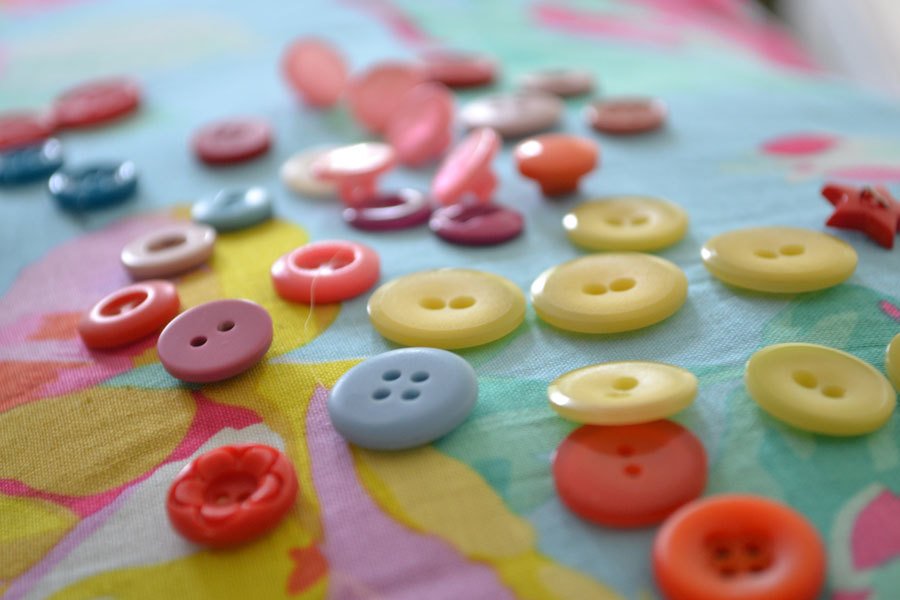
Layout Buttons
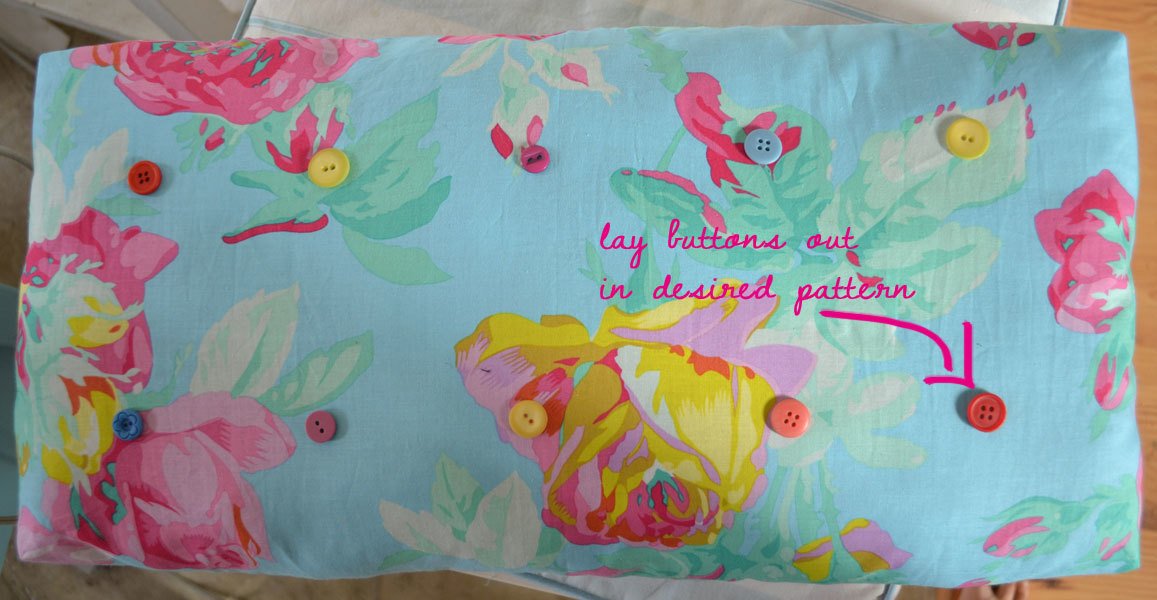
Next, lay the buttons out in a desired pattern. Note that you will need twice as many buttons, for the top and bottom. Once you are happy, mark the location of the buttons on front and back.
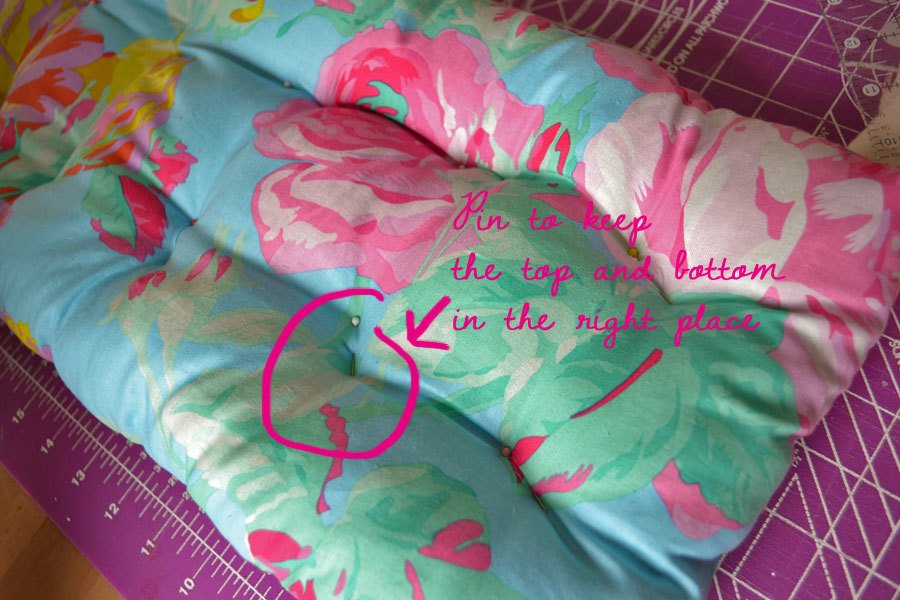
Pin Mattress
You will want to pin the mattress in multiple locations just to keep the mattress tops and bottoms from "moving" as you sew buttons on and ending up crooked.
Sew Buttons
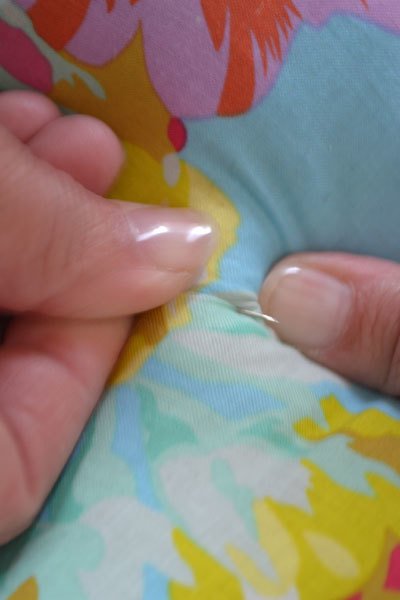
Then just start sewing the buttons on, one on top and one on the bottom.
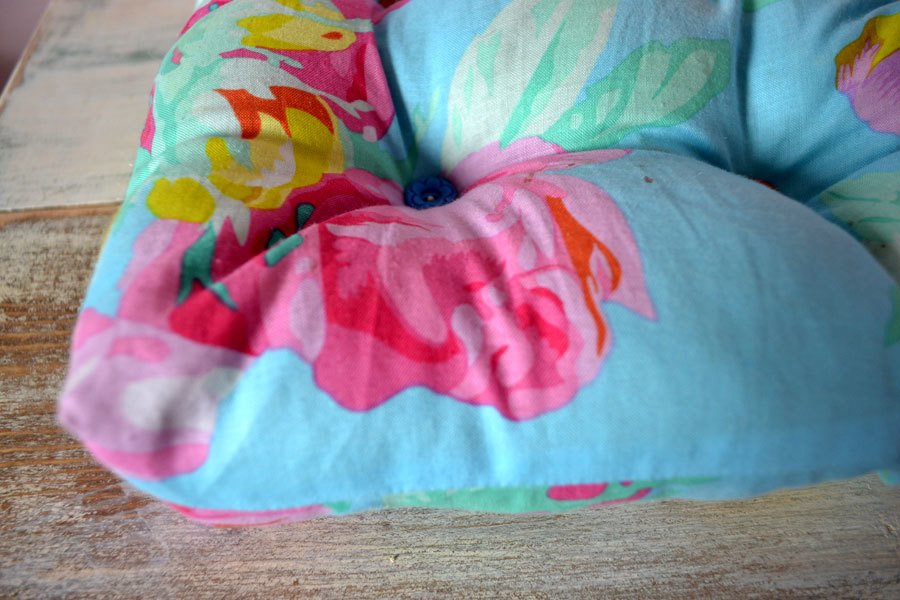
Admire Your Hard Work
Oh yeah, looking pretty! Keep it up!
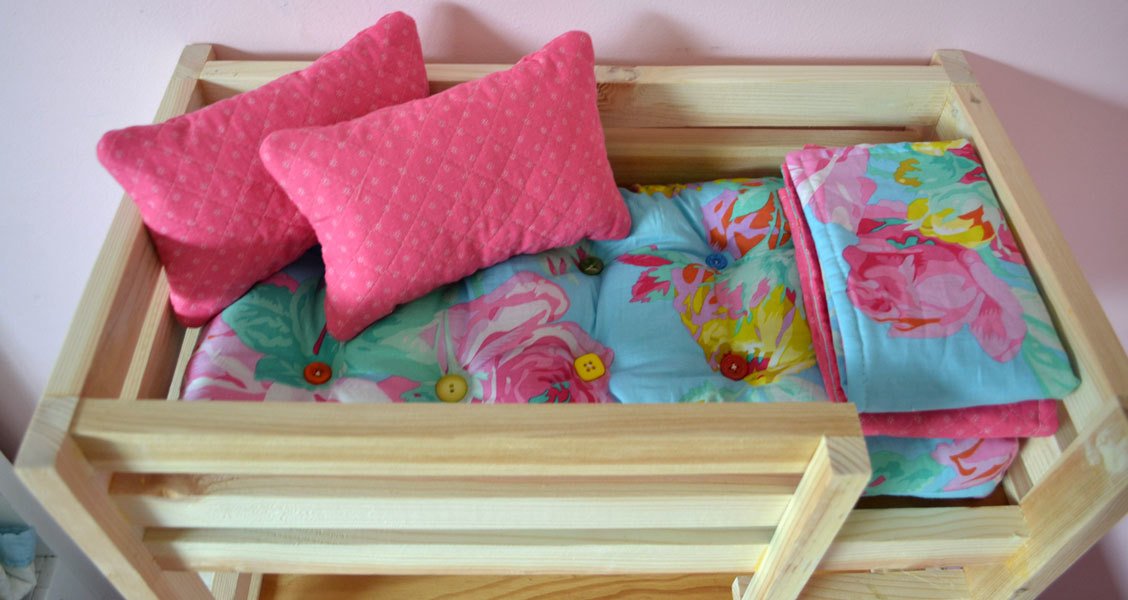
Pillows and Blankets
With the remaining fabric scraps, Grace's Grandma made a blanket. From her scraps from the 80's she found this quilted fabric and made a few pillows as well. Just figure the finished dimensions, add 1/2" to length and width, cut and sandwich right sides together (step 1), inside outside and stuff.
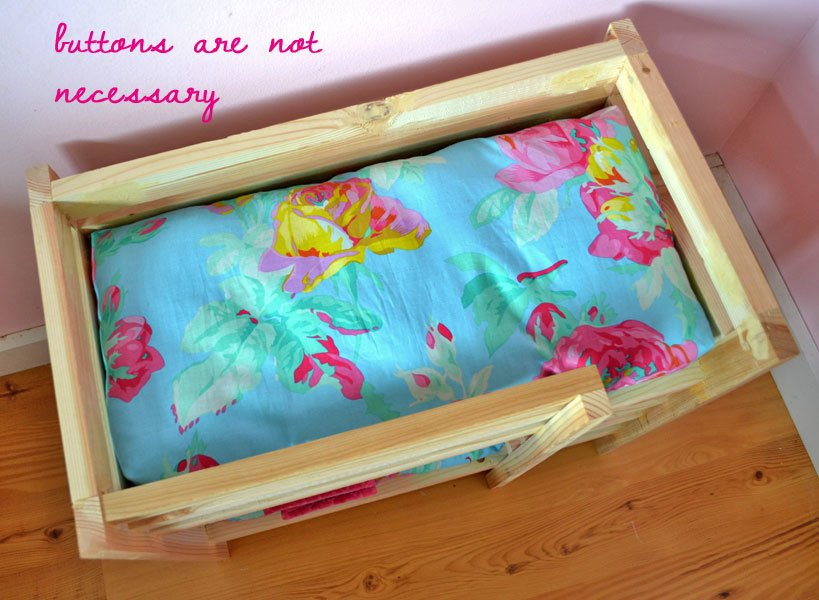
No Buttons
And I wanted to show you that you don't have to have the buttons. You can make this mattress in just two simple step.
Finishing
Sand all surfaces, starting with a medium grit and finishing with fine. Wipe off the dust, fill any holes or gaps with wood filler, and sand smooth once dry. Apply primer if you're painting, then finish with your choice of paint or stain and seal with a durable clear topcoat. For outdoor projects, use exterior-rated primer, paint or stain, and sealer so the piece stands up to the weather.
Source (temporary): https://www.ana-white.com/woodworking-projects/18-doll-mattress-sewing-tutorial