3 Tier Can Organizer
Organize canned food with a custom length DIY 3 tier can organizer. This is a super simple project that will elevate cans or spices in the back row, so you can easily see your stock. Build in any length - so no wasted space on the ends! This is a free project plan from.
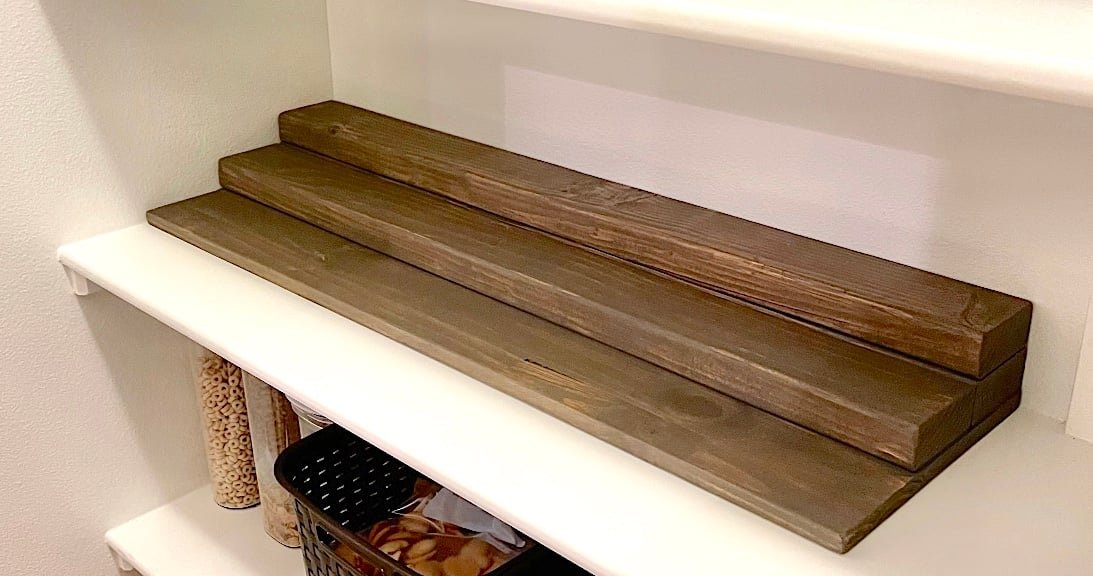
Specifications
| Project type | Kitchen Cabinet Plan, Accessories and Serving |
|---|---|
| Room | kitchen |
| Difficulty | Starter Projects |
Dimensions
Use the size-specific shopping and cut lists below.
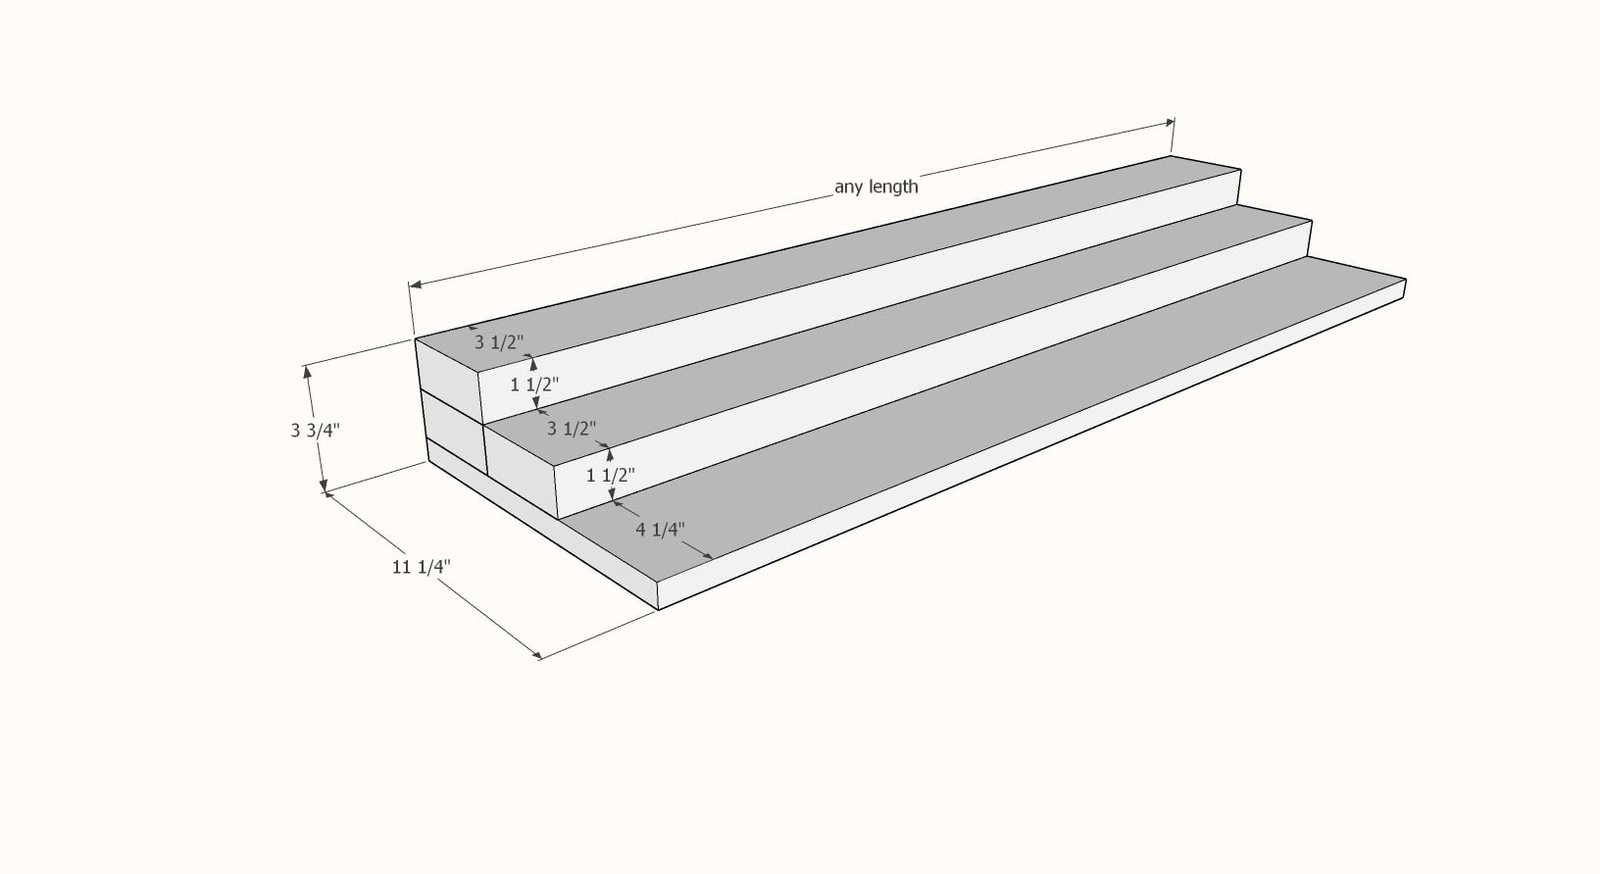
Shopping List
1 - 1x12 in desired length of organizer
2x4, three times the length of the 1x12
2" brad nails or self tapping wood screws
Cut List
1 - 1x12 in desired length of can organizer
3 - 2x4 in desired length of can organizer
Step-by-step Instructions
Step 1
Screw or nail the 1x12 to two of the 2x4s from the underside.
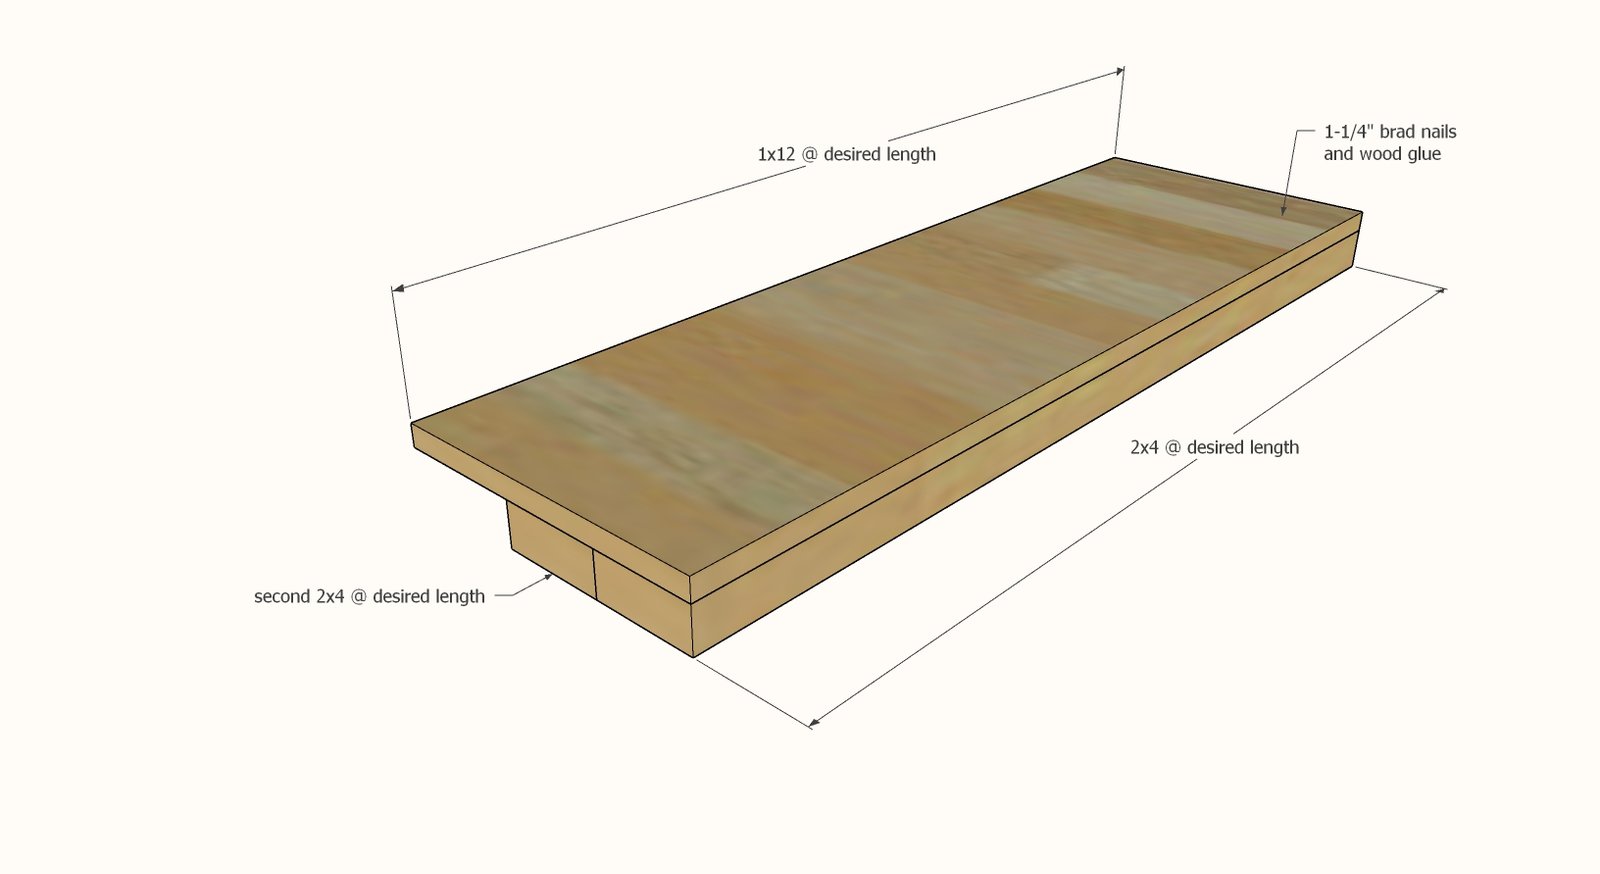
Step 2
Attach the remaining 2x4 to the back top to create the third tier.
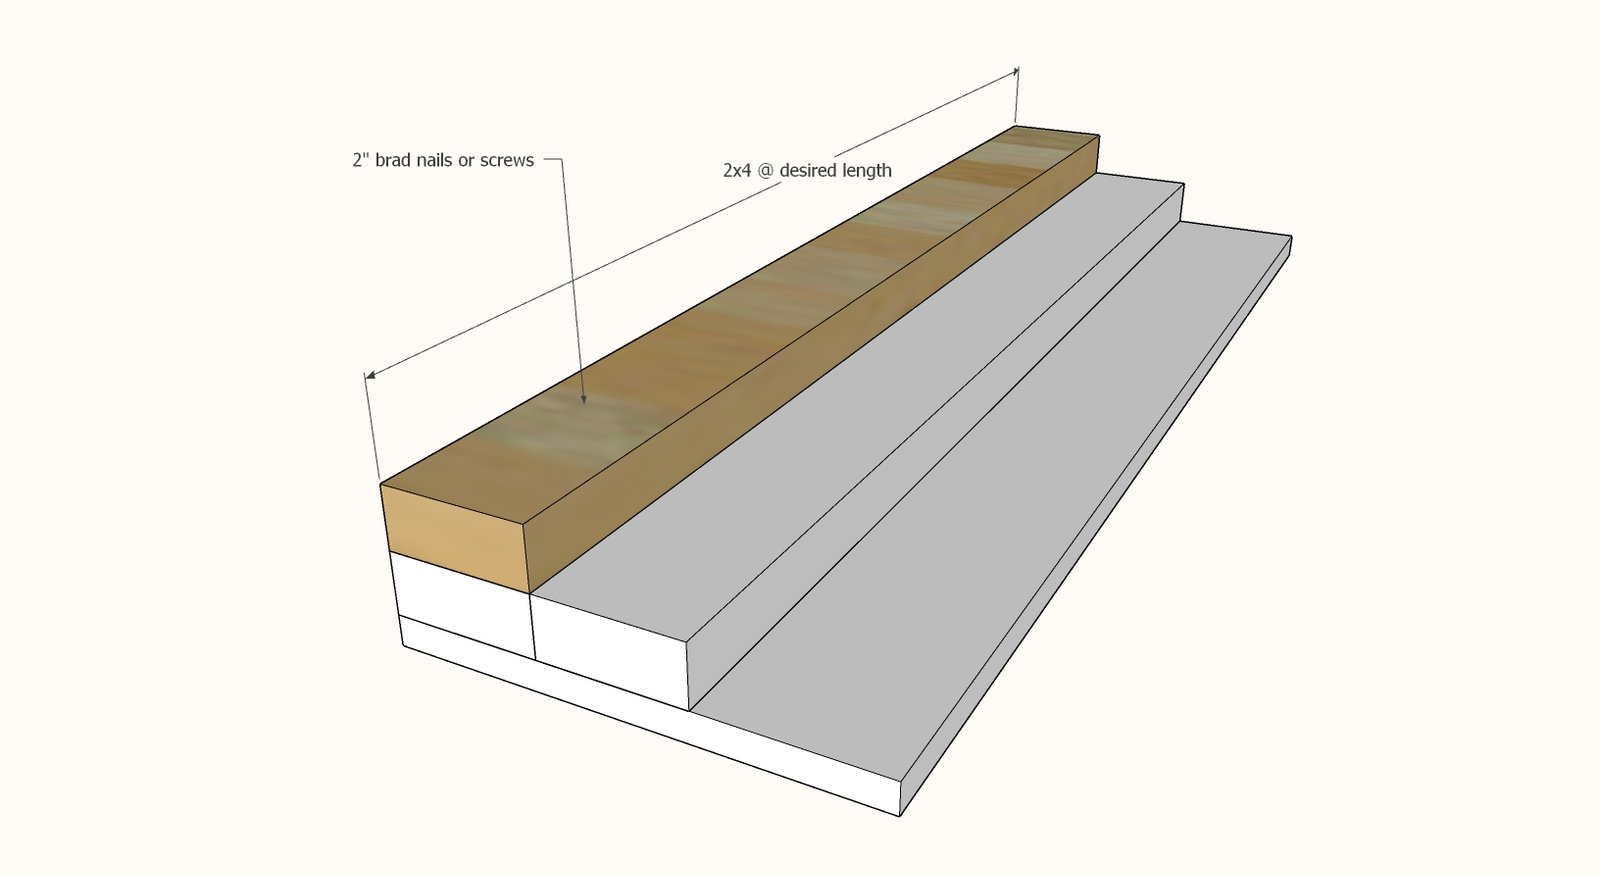
Finishing
Sand all surfaces, starting with a medium grit and finishing with fine. Wipe off the dust, fill any holes or gaps with wood filler, and sand smooth once dry. Apply primer if you're painting, then finish with your choice of paint or stain and seal with a durable clear topcoat. For outdoor projects, use exterior-rated primer, paint or stain, and sealer so the piece stands up to the weather.
Source (temporary): https://www.ana-white.com/woodworking-projects/3-tier-can-organizer