Beam Ledge Shelves
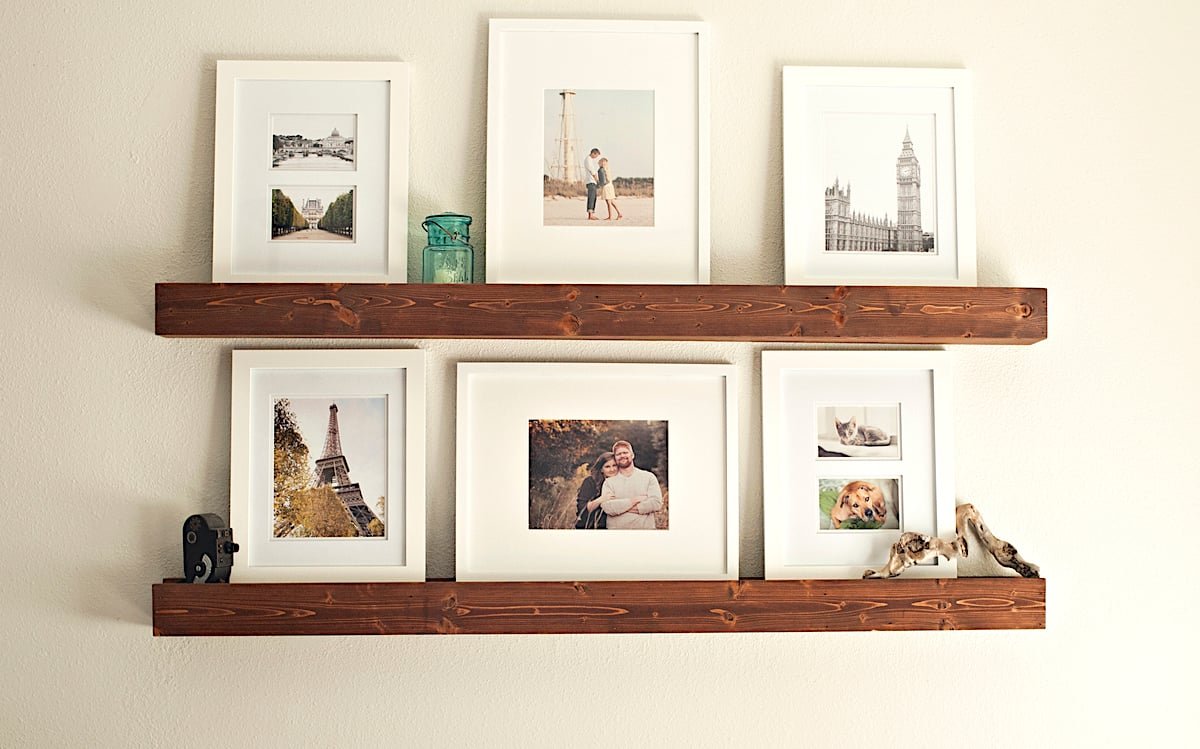
Build your own easy to build ledge shelves that look like beams. This is a great way to add a rustic wood element to any room. Perfect for frames, books, or small decor items! Easy to hang. Free
Specifications
| Project type | shelves |
|---|---|
| Room | Bathroom |
| Style | Farmhouse Furniture |
| Difficulty | Starter Projects |
Dimensions
Use the size-specific shopping and cut lists below.
Shopping List
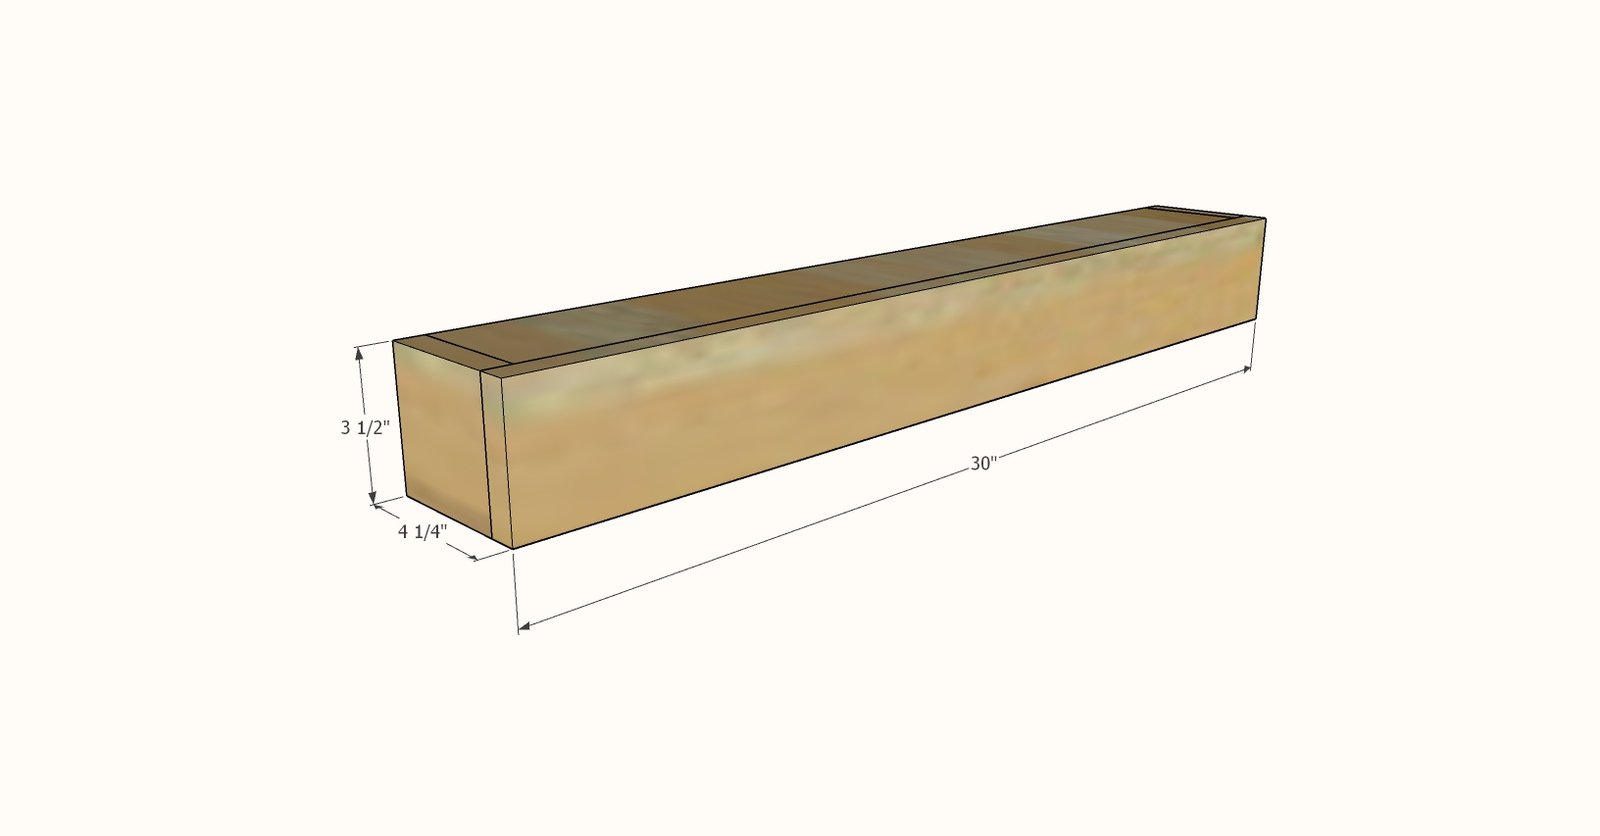
For 30" long ledge shelves as shown in this plan:
- 1 - 1x4 @ 8 feet long
- 1 - 2x2 @ 28-1/2" long
- 1-1/4" brad nails
- 3" long self tapping construction wood screws (SPAX or similar), recommend star bit (you'll need just two screws for hanging the cleat)
- 2" long self tapping construction wood screws (SPAX or similar), recommend star bit (you'll need four per shelf for hanging shelf on cleat)
Cut List
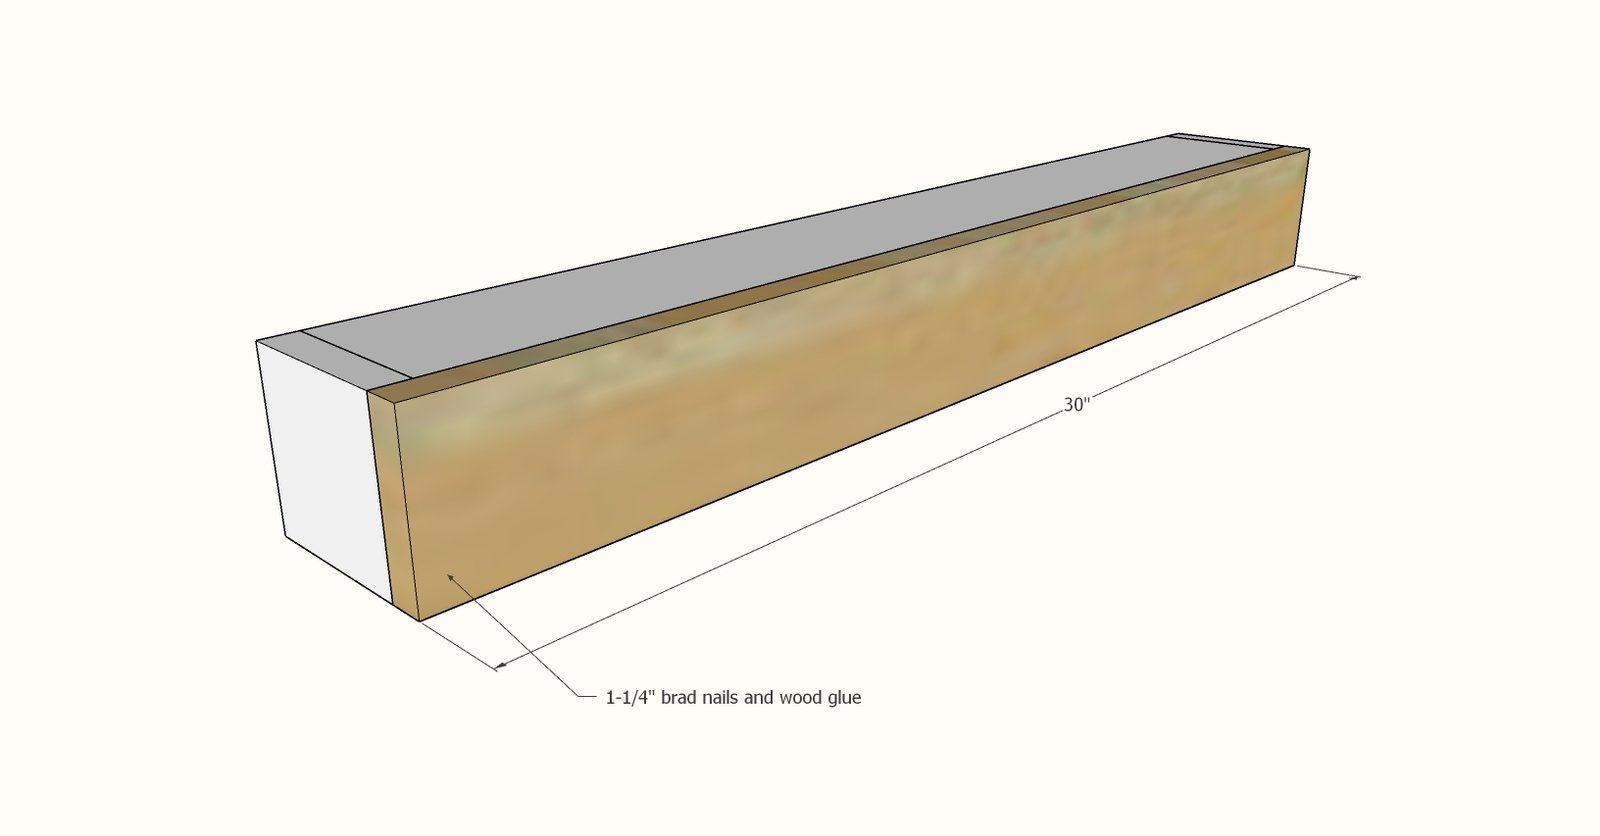
1 - 1x4 @ 30" - Front (should be cut to fit after step 1)
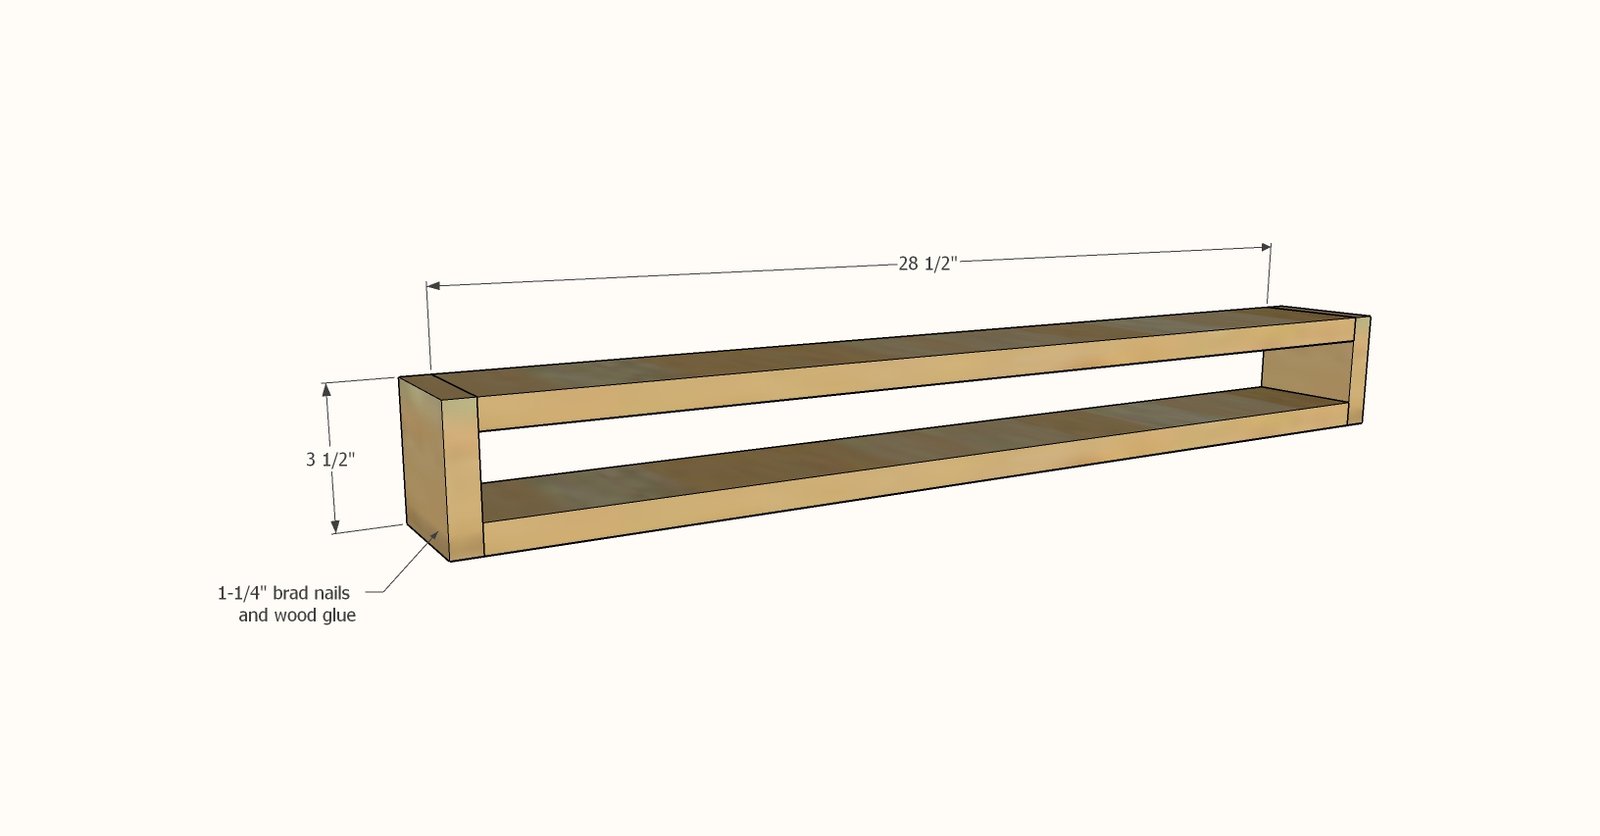
2 - 1x4 @ 28-1/2" - Top and Bottom
2 - 1x4 @ 3-1/2" - Ends
1 - 2x2 @ 28-1/2" - Inside Cleat
Tools
- measuring tape
- pencil
- safety glasses
- drill
- compound miter saw
- nailer
- sander
Step-by-step Instructions
Step 1
Attach the sides to the top and bottom with 1-1/4" brad nails and wood glue.
Measure the front and cut the front 1x4 to fit.
Attach with 1-1/4" brad nails and wood glue. Stain the outer frame at this step.
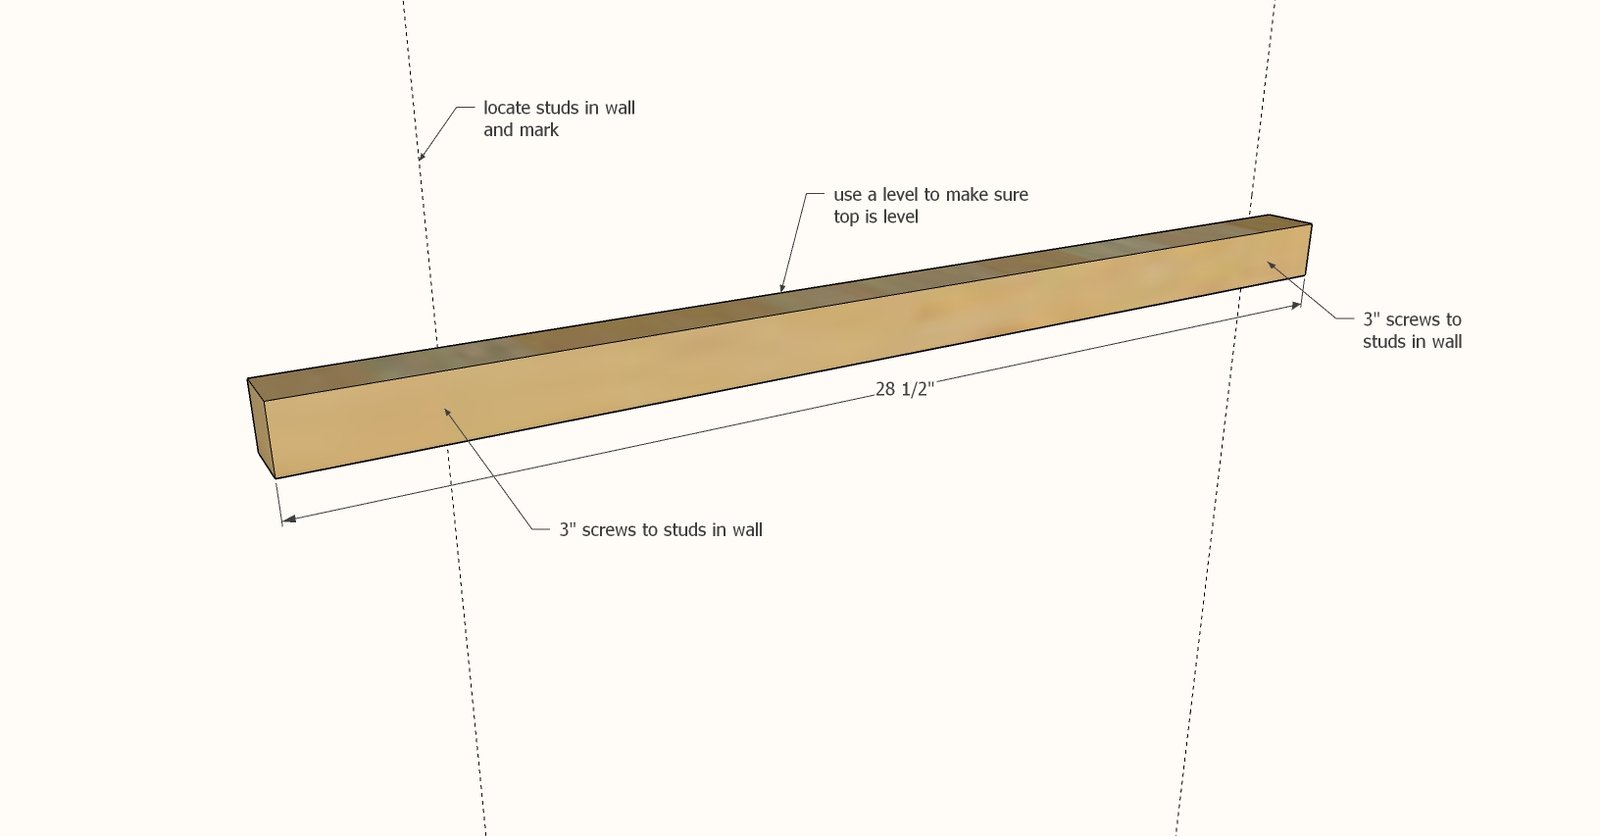
Locate studs in the wall in the desired location for hanging.
Attach one end of the 2x2 cleat to one stud with one screw. Use a level to set the cleat level and add the second screw to the second stud. For longer shelves, screw to additional studs in the wall.
Step 4
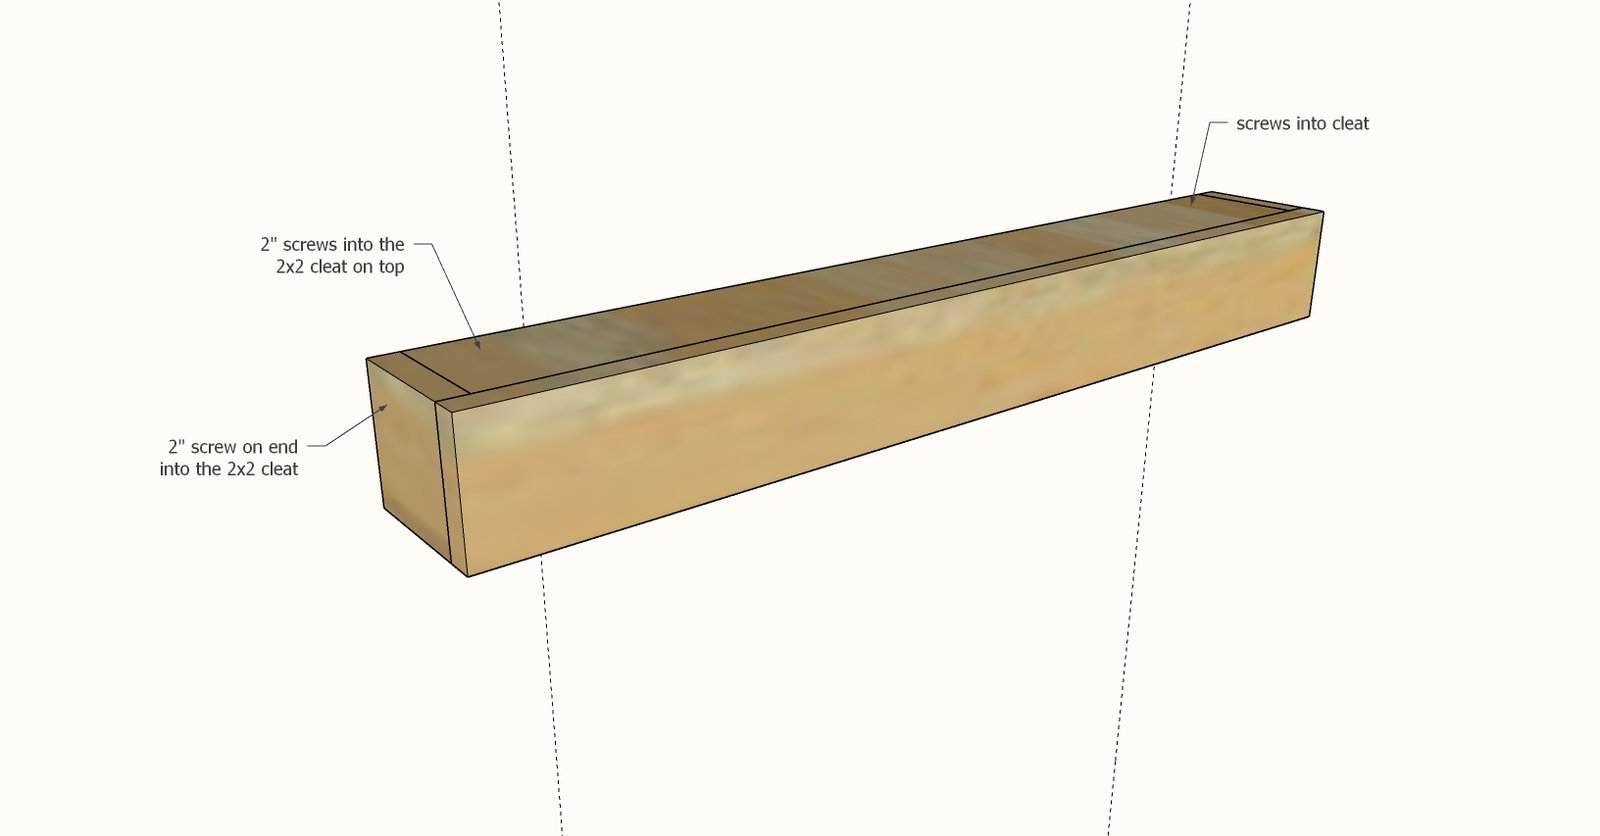
Set the outside shell over the cleat, and attach with the shorter screws through the top and sides to secure. To remove, simply unscrew the outer shell and then unscrew the cleat from the wall.
Finishing
Sand all surfaces, starting with a medium grit and finishing with fine. Wipe off the dust, fill any holes or gaps with wood filler, and sand smooth once dry. Apply primer if you're painting, then finish with your choice of paint or stain and seal with a durable clear topcoat. For outdoor projects, use exterior-rated primer, paint or stain, and sealer so the piece stands up to the weather.
Source (temporary): https://www.ana-white.com/woodworking-projects/beam-ledge-shelves