Build Your Own Office
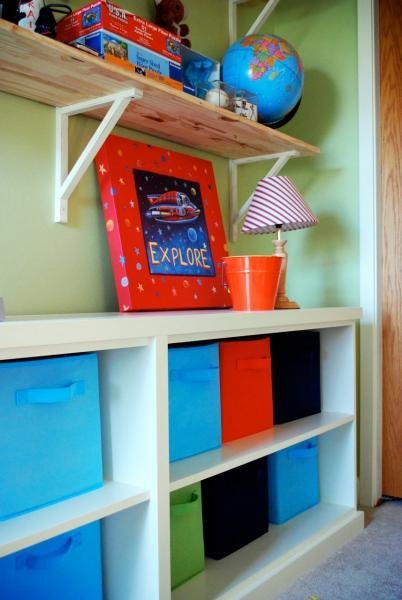
This simple sturdy and a tad deeper bookshelf plan works with the rest of the Modular Office Collection to create easy storage. You can also opt to add optional drawers or a secretary on top for even more functionality. stack for additional wall storage. See the entire Modular Office Collection here. Special thanks to Anne at Get Your Martha on for sharing her photos with us.
Specifications
| Project type | Bookshelf and Bookcase Plans |
|---|---|
| Room | Storage Solutions |
| Style | Cottage Style Furniture Plans |
| Difficulty | Beginner Projects |
| Estimated cost | $20 - $50 |
Dimensions
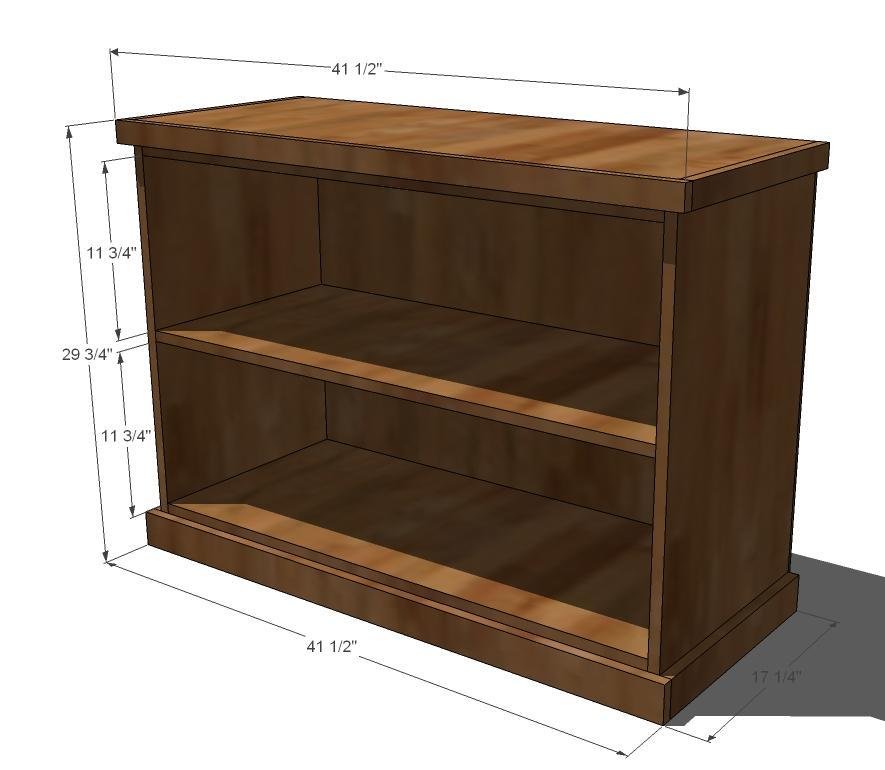
Use the size-specific shopping and cut lists below.
Shopping List
- 1 – Sheet of 3/4″ MDF or A1 Plywood cut into strips 15-1/4" wide x 8 feet long
- 1 – Sheet of 1/4″ MDF or plywood (for the back)
- 2 – 1×2 Boards, 8 feet long
- 2 - 1×3 Boards, 8 feet long
- Wood Glue
- Wood Filler
- 1-1/4" brad nails
- 2" self tapping star bit wood screws (or can use 3/4" pocket holes and 1-1/4" pocket hole screws)
- Sandpaper and Finishing Supplies
Cut List
- 1 – 3/4" plywood, ripped 15-1/4" wide and crosscut @ 40″ (Top)
- 2 – 3/4" plywood, ripped 15-1/4" wide and crosscut @ 29″ (Sides)
- 2 – 3/4" plywood, ripped 15-1/4" wide and crosscut @ 38 1/2″ (Shelves)
- 1 – 1/4 Plywood @ 40″ x 29 3/4″ (Back)
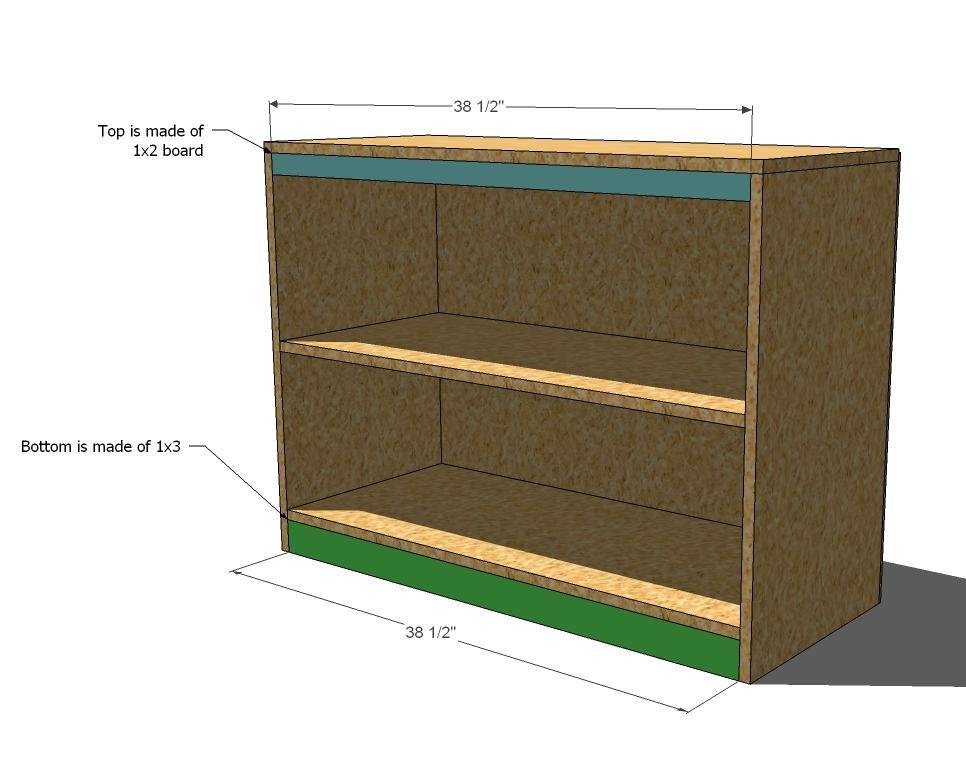
- 1 – 1×2 @ 38 1/2″ (Top Trim Piece)
- 1 – 1×3 @ 38 1/2″ (Bottom Trim Piece)
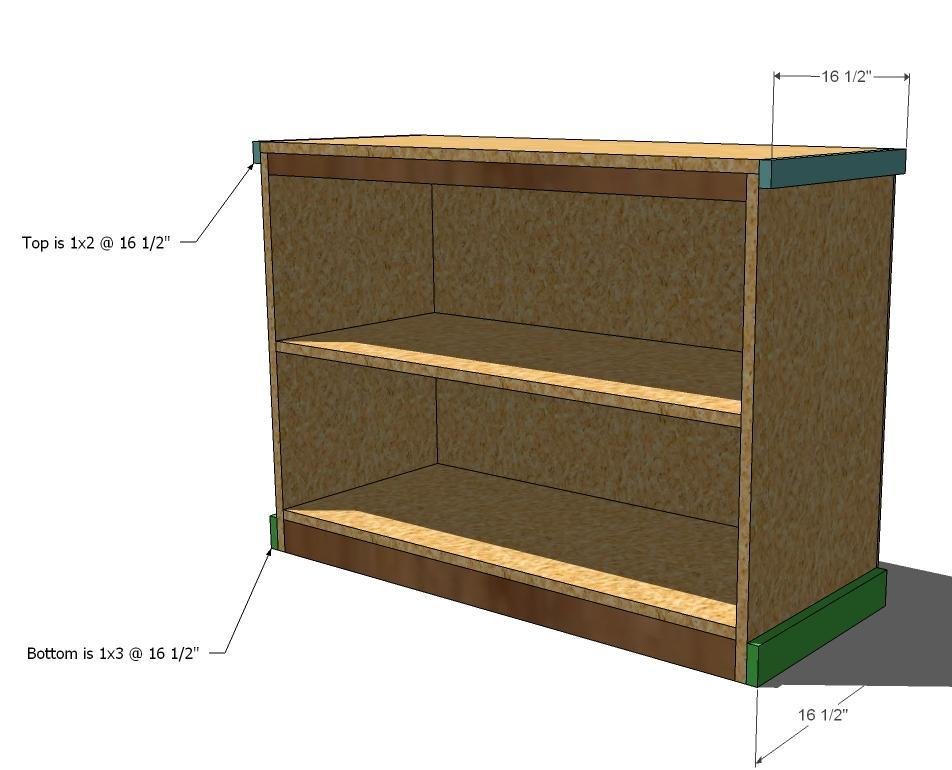
- 2 – 1×2 @ 15 1/2″ (Top Side Trim Piece)
- 2 – 1×3 @ 15 1/2″ (Bottom Side Trim Piece)
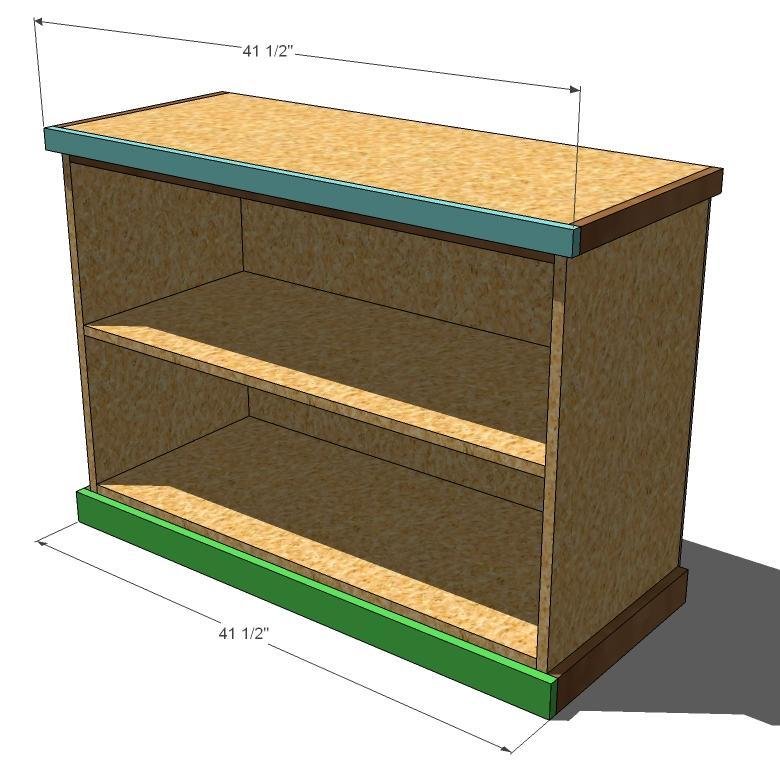
- 1 – 1×2 @ 41 1/2″ (Top Front Trim Piece)
- 1 – 1×3 @ 41 1/2″ (Bottom Front Trim Piece)
Tools
- measuring tape
- square
- pencil
- safety glasses
- hearing protection
- drill
- circular saw
- nailer
- sander
Step-by-step Instructions
Step 1
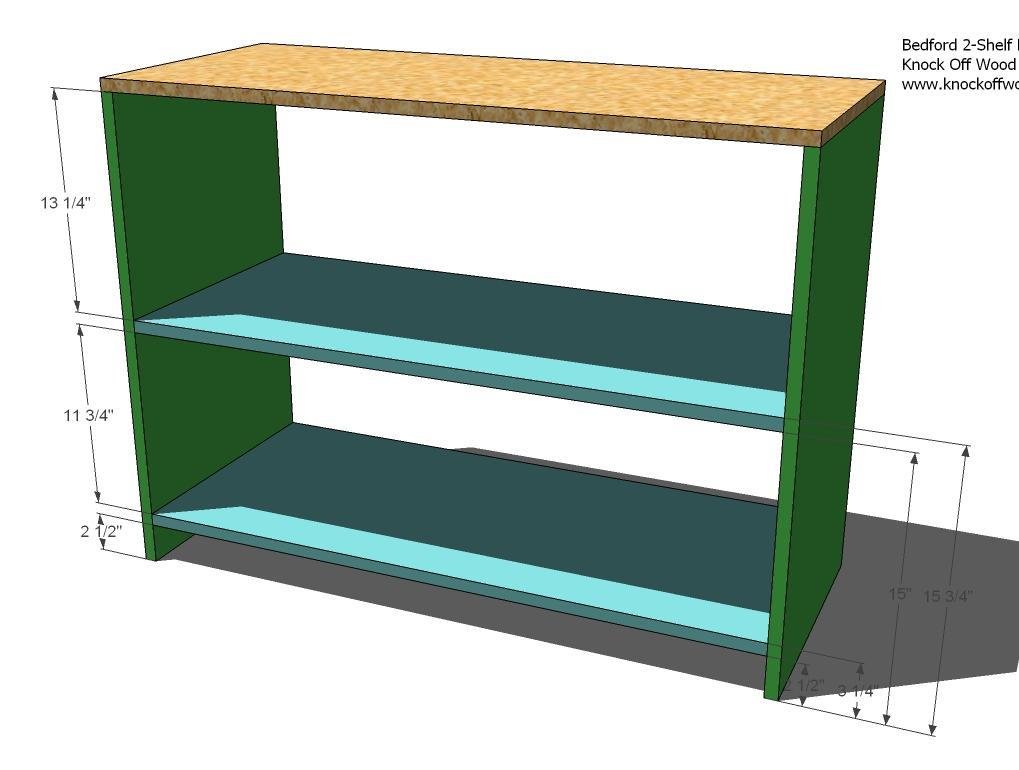
Begin by fastening the shelves to the sides, as shown above. Then fasten the top to the sides. Use the 2" self tapping screws or
Step 2
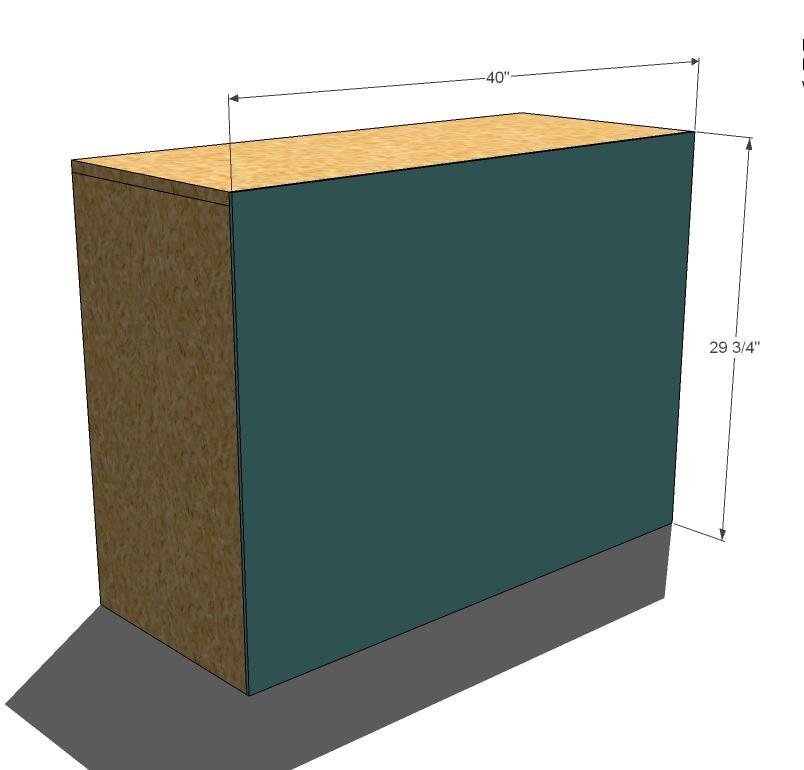
Back. Fasten the back to the bookshelf using the 1 1/4″ nails and glue.
Step 3
Inside Front Trim. Fasten the inside front trim, top and bottom, as shown above. Use the 2″ finish nailers and nail through the sides, and top shelves into the edges of the inside front trim, top and bottom pieces.
Step 4
Inside Front Trim. Fasten the inside front trim, top and bottom, as shown above. Use the 2″ finish nailers and nail through the sides, and top shelves into the edges of the inside front trim, top and bottom pieces.
Step 5
Finishing
Sand all surfaces, starting with a medium grit and finishing with fine. Wipe off the dust, fill any holes or gaps with wood filler, and sand smooth once dry. Apply primer if you're painting, then finish with your choice of paint or stain and seal with a durable clear topcoat. For outdoor projects, use exterior-rated primer, paint or stain, and sealer so the piece stands up to the weather.
Source (temporary): https://www.ana-white.com/woodworking-projects/build-your-own-office-wide-bookcase-base