Cabinet Console Table
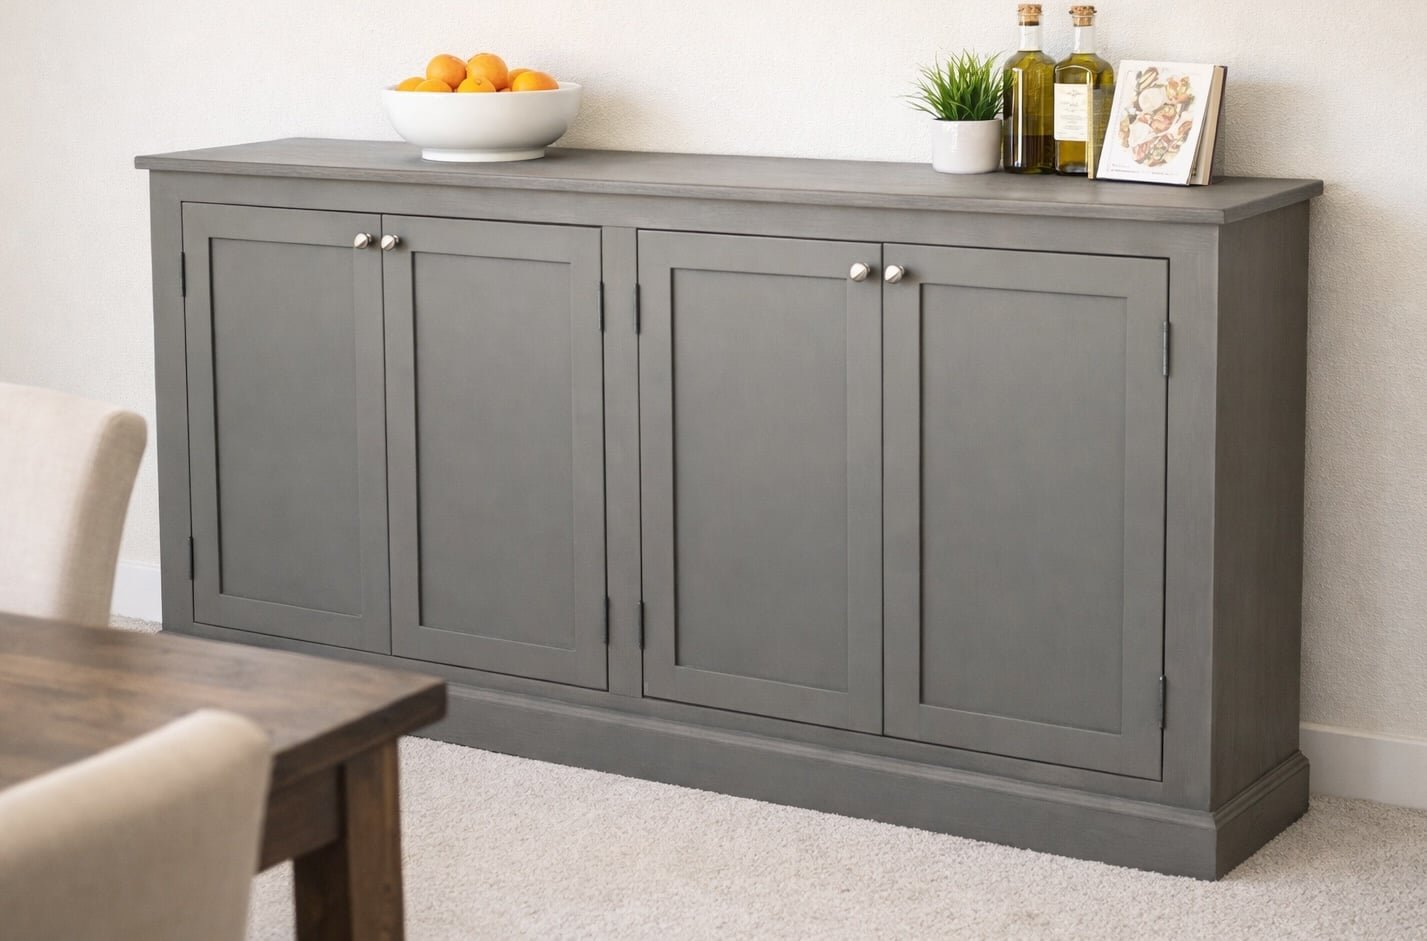
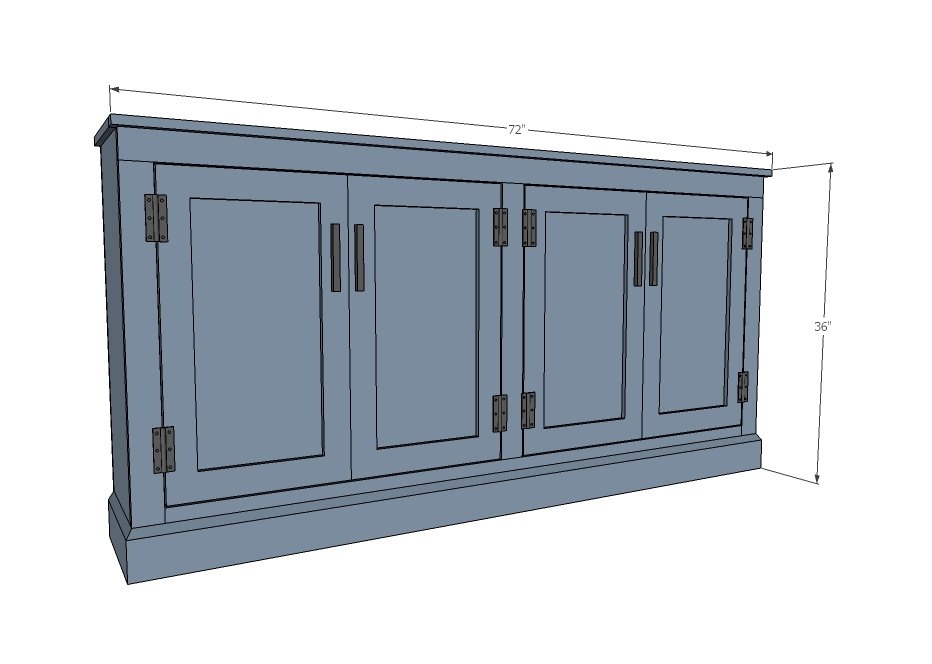
Free Console Table with Cabinet Doors – DIY Plans Create a stunning and functional storage piece with for this farmhouse-inspired console table. Measuring 72" wide and 36" tall, it’s perfectly sized for an entryway, dining room, or living space. This design features: • Four shaker-style cabinet doors for concealed storage. • Adjustable shelving inside to accommodate baskets, dinnerware, or electronics. • Solid base and clean trim details for a sturdy, timeless look. • Simple joinery and straight cuts, making it beginner-friendly. The include: • Full cut list and material breakdown • Step-by-step assembly diagrams • Finishing tips for paint or stain • Hardware suggestions for hinges and pulls Whether you finish it in a warm stain for rustic charm or a painted neutral for a modern farmhouse style, this console table adds both beauty and storage to your home. Get the and start building today — no subscription required.
Specifications
| Project type | Media and Entertainment Centers |
|---|---|
| Room | dining room |
| Style | Primitive or Early American Style Furniture Plans |
| Difficulty | Intermediate |
Dimensions
Use the size-specific shopping and cut lists below.
Shopping List
- 27 feet of 1x12 boards
- 1 full sheet of 1/4" thick plywood or other hardboard for the back
- 1 - 1x2 @ 6 feet long
- 48 feet of 1x3 boards
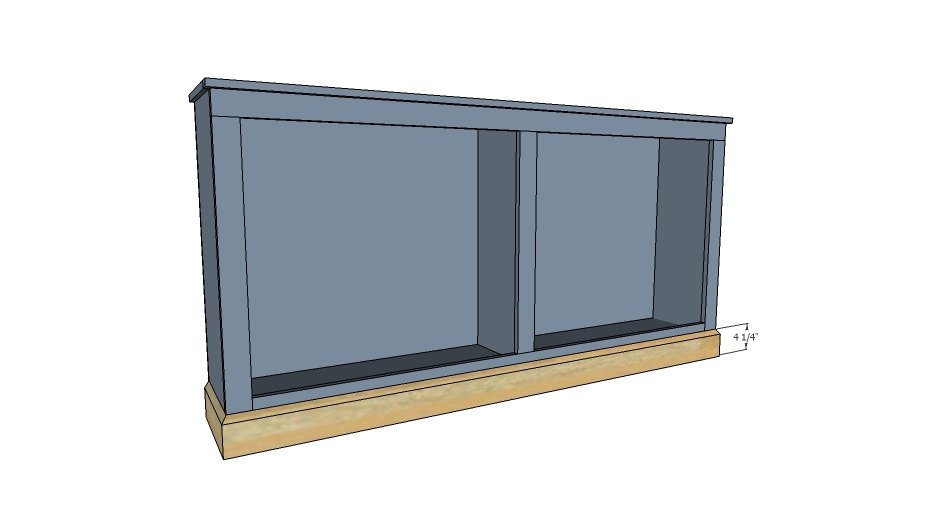
- 8 feet of 4-1/4" tall base moulding
- 4 sets of hinges
- 4 knobs or pulls
Cut List
- 1 - 1x12 @ 72" (top)
- 2 - 1x12 @ 35-1/4" (sides)
- 1 - 1x12 @ 31-1/2" (center divider)
- 1 - 1x12 @ 69-1/2" (bottom shelf)
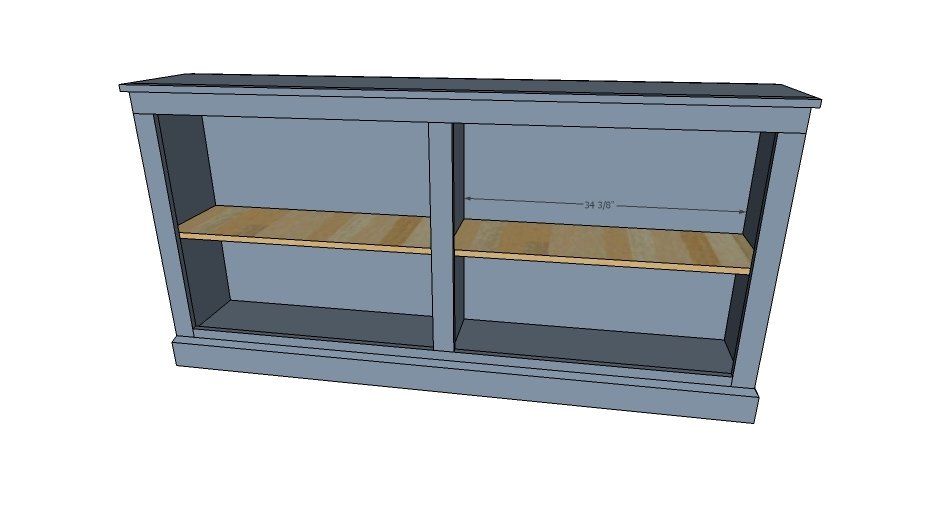
- 2 - 1x12 @ 34-3/8" (shelves)
- 1 - 1/4" plywood @ 71" x 36" (back)
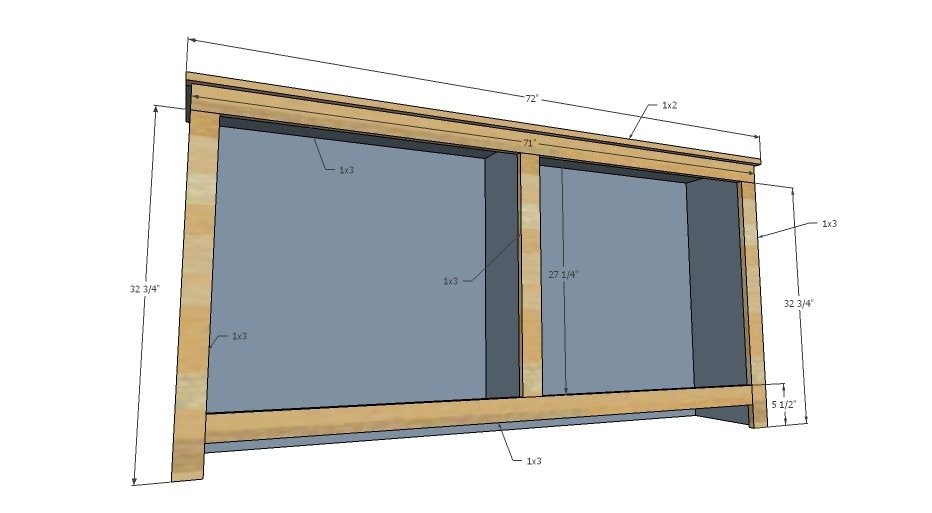
- 1 - 1x2 @ 72" (top front trim)
- 2 - 1x3 @ 32-3/4" (side trim)
- 1 - 1x3 @ 71" (top header trim)
- 1 - 1x3 @ 66" (bottom footer trim)
- 1 - 1x3 @ 27-1/4" (center divider trim)
- 4 - 1/4" base moulding cut to fit
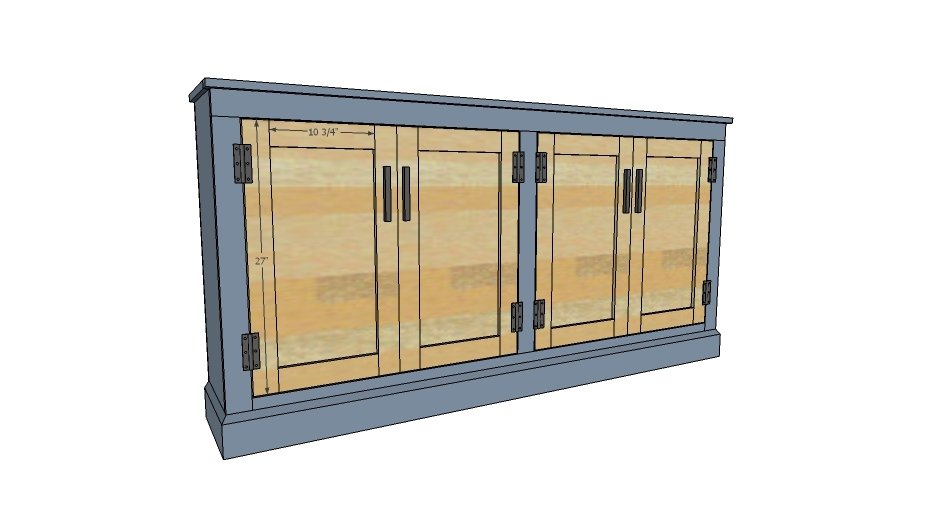
- Doors cut to fit
Tools
- measuring tape
- square
- pencil
- safety glasses
- hearing protection
- kreg-jig
- drill
- compound miter saw
- table saw
- nailer
- sander
Step-by-step Instructions
Step 1
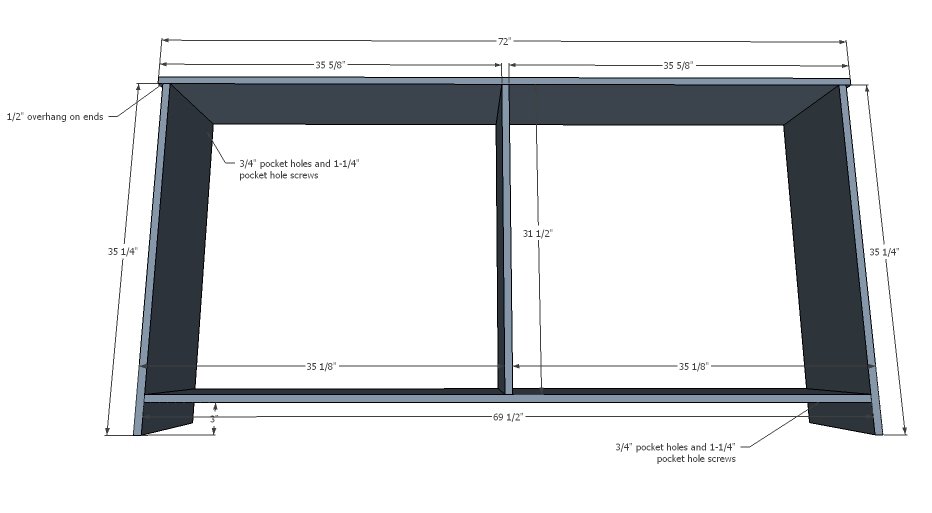
Build the carcass of the cabinet. NOTE: Face frame in step 3 can be added with pocket holes hidden on insides if desired. You will need to drill those before assemble, 3/4" setting facing forward. Add the face frame before the back so you can fit the drill inside.
Step 2
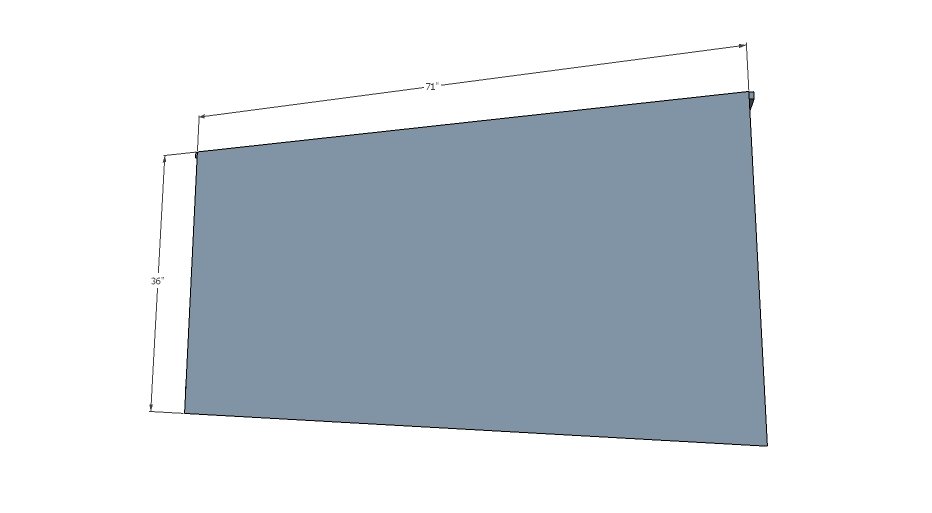
Nail the back on the cabinet with 3/4" brad nails.
Step 3
Build the cabinet face frame separately with 3/4" pocket holes and 1-1/4" pocket hole screws. Then attach face frame to cabinet carcass with 1-1/4" finish nails and glue.
Step 4
Add shelving inside cabinet. This can be done with Shelf Pins or fixed (use pocket holes on underside of shelves).
Step 5
Step 6
Measure openings and figure door sizes. I build inset doors 1/4" overall less in width and height (for an even 1/8" gap around all sides). Install doors so the gaps around all sides are even. Depending on the hinges you use you may need to add a magnetic clasp or similar to keep doors closed.
Finishing
Sand all surfaces, starting with a medium grit and finishing with fine. Wipe off the dust, fill any holes or gaps with wood filler, and sand smooth once dry. Apply primer if you're painting, then finish with your choice of paint or stain and seal with a durable clear topcoat. For outdoor projects, use exterior-rated primer, paint or stain, and sealer so the piece stands up to the weather.
Source (temporary): https://www.ana-white.com/woodworking-projects/cabinet-console-table