Cake Pops Stand
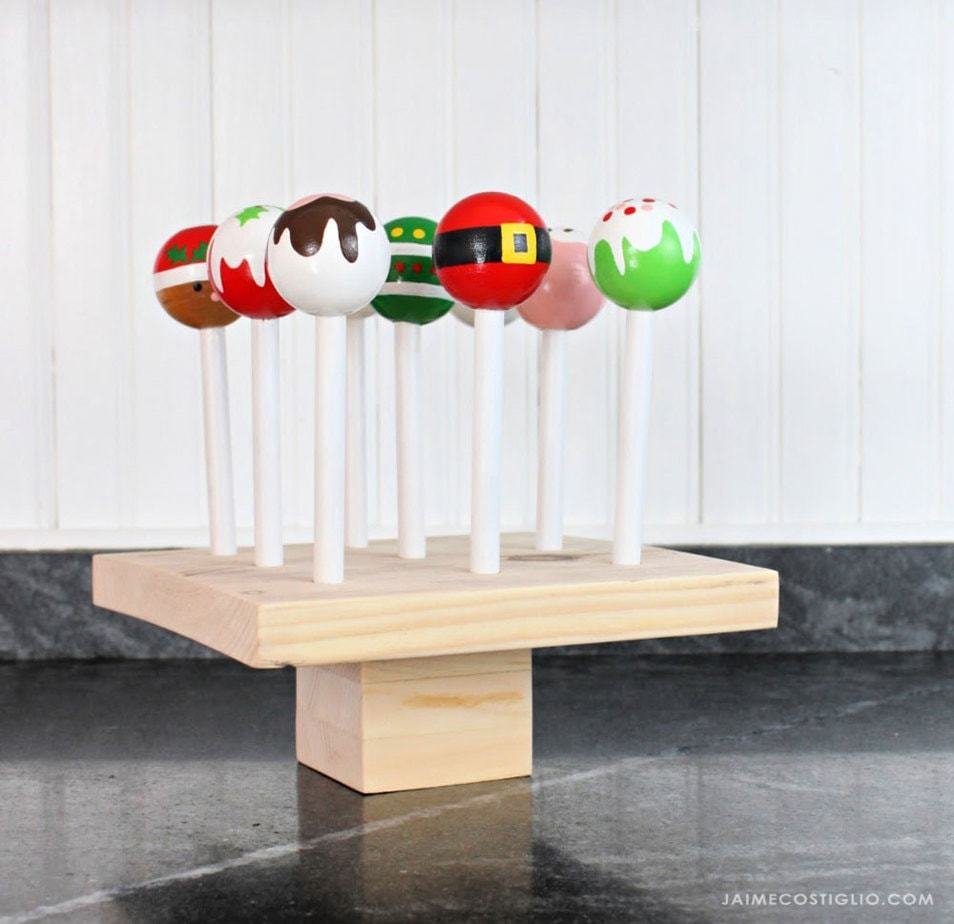
Make this cute cake pop stand from wood scraps! Free
Specifications
| Project type | Other Projects |
|---|---|
| Room | Kids and Toys |
| Difficulty | Beginner Projects |
| Estimated cost | scraps |
Dimensions
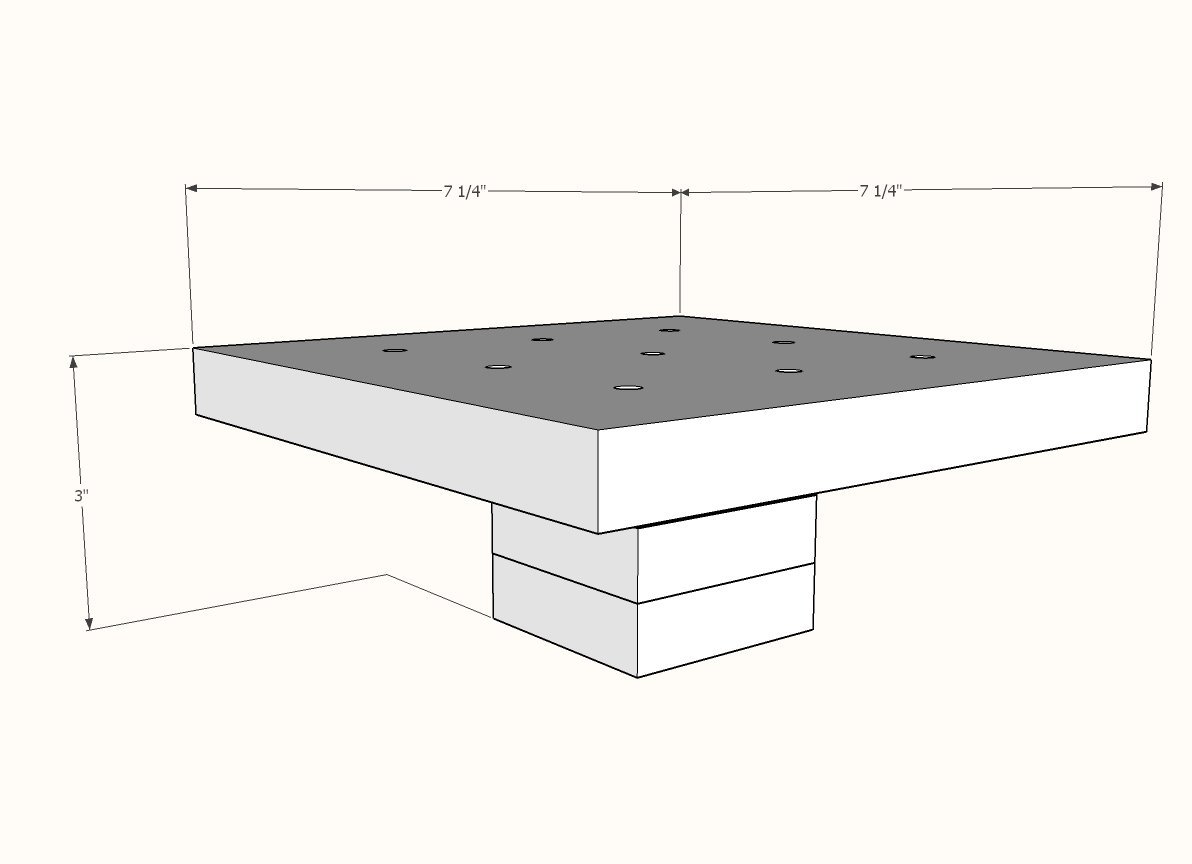
Use the size-specific shopping and cut lists below.
Shopping List
About 8" of 1x3 board scraps
1x8 board scrap 7-1/4" long
1-1/4" brad nails
1/4" drill bit
Cut List
3 - 1x3 @ 2-1/2" long
1 - 1x8 @ 7-1/4" long
Tools
- measuring tape
- square
- pencil
- hearing protection
- drill
- compound miter saw
- nailer
- sander
Step-by-step Instructions
Step 1
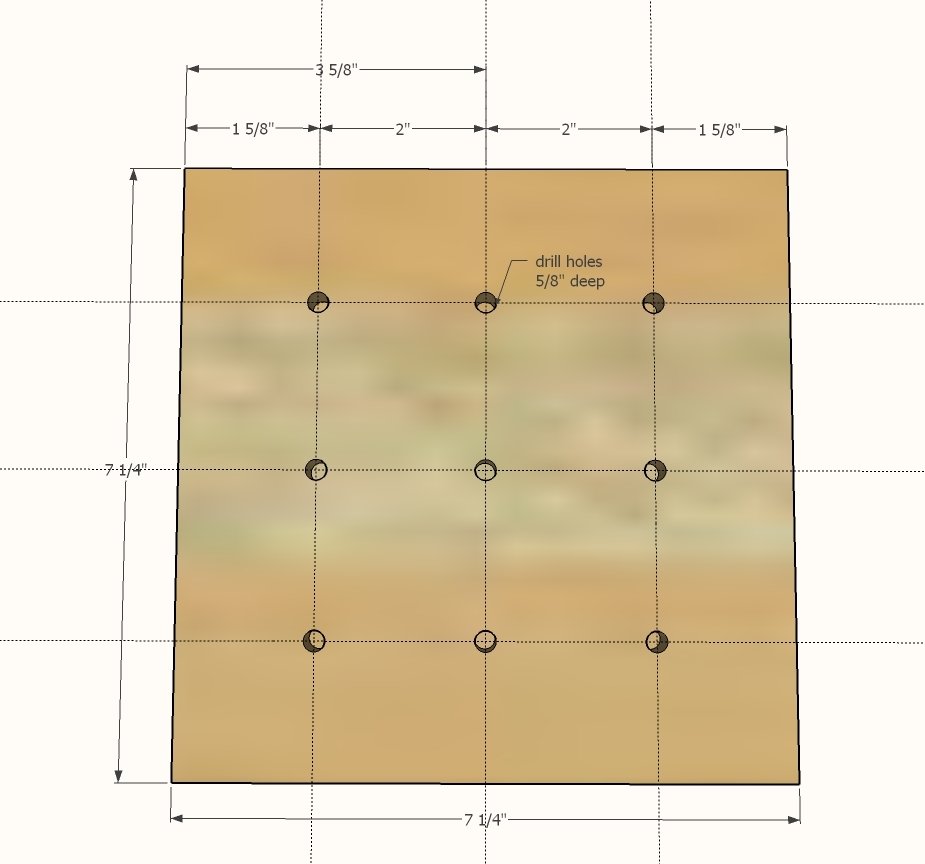
Cut the 1x8 to 7-1/4" x 7-1/4" using the compound miter saw. You can also cut with a circular saw or jigsaw. Mark a grid on the top of the 1x8 as shown in the diagram. Tape the 1/4" drill bit so 5/8" of the drill bit is exposed at the end. Drill holes in the 1x8 with the drill bit, using the tape as a guide to drill holes 5/8" deep. Remove the tape. Sand any rough edges.
Cut 1x3s with compound miter saw or other saw.
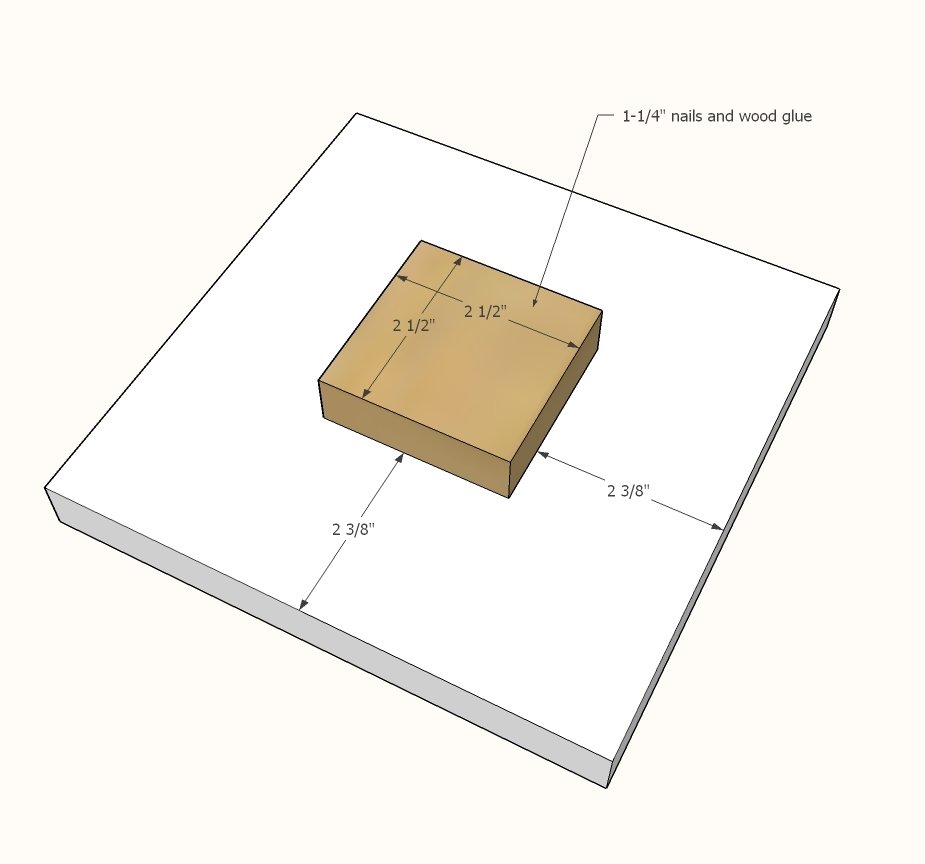
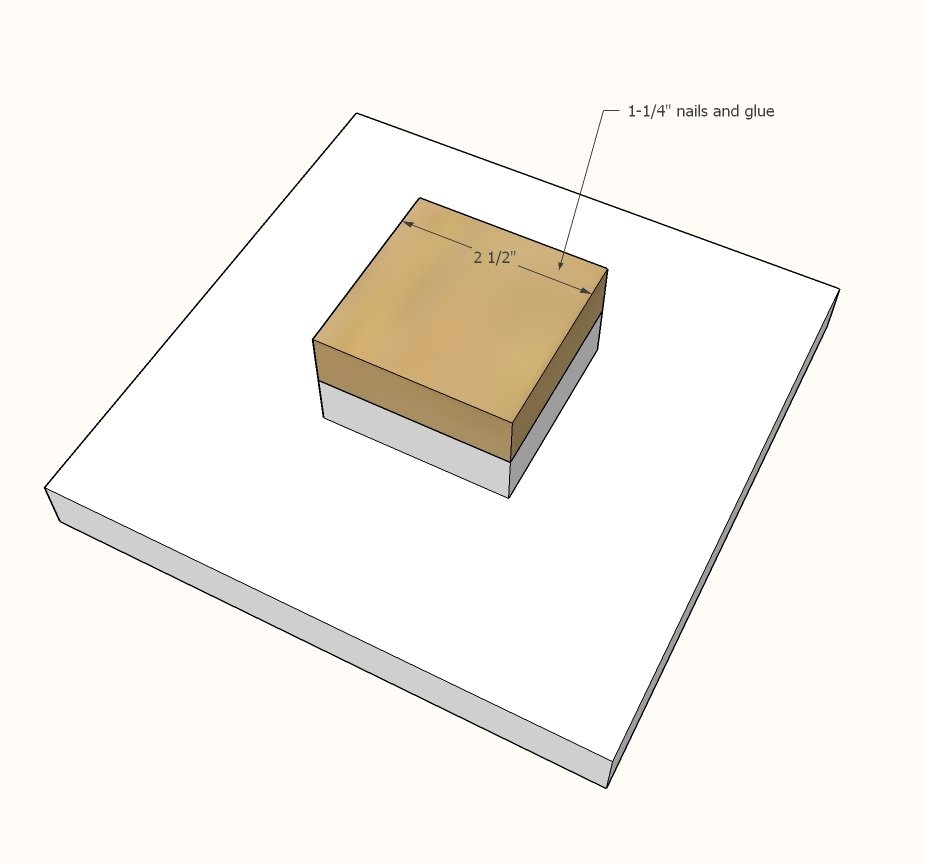
Flip the 1x8 over. Attach the first 1x3 block centered on the back of the 1x8 with glue and 1-1/4" brad nails. Avoid nailing directly in the center as there is a cake pop hole drilled in the center of the 1x8.
Step 3
Repeat for second 1x3.
Step 4
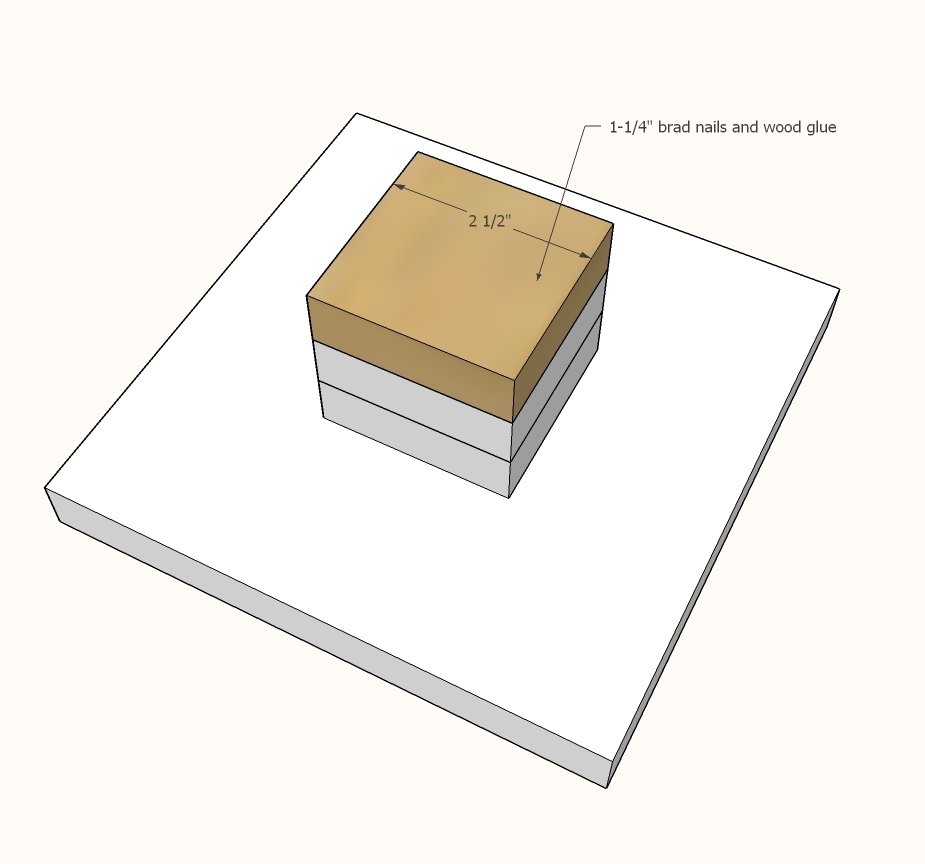
Add the final 1x3.
Step 5
Finishing
Sand all surfaces, starting with a medium grit and finishing with fine. Wipe off the dust, fill any holes or gaps with wood filler, and sand smooth once dry. Apply primer if you're painting, then finish with your choice of paint or stain and seal with a durable clear topcoat. For outdoor projects, use exterior-rated primer, paint or stain, and sealer so the piece stands up to the weather.
Source (temporary): https://www.ana-white.com/woodworking-projects/cake-pops-stand