Candle Holders
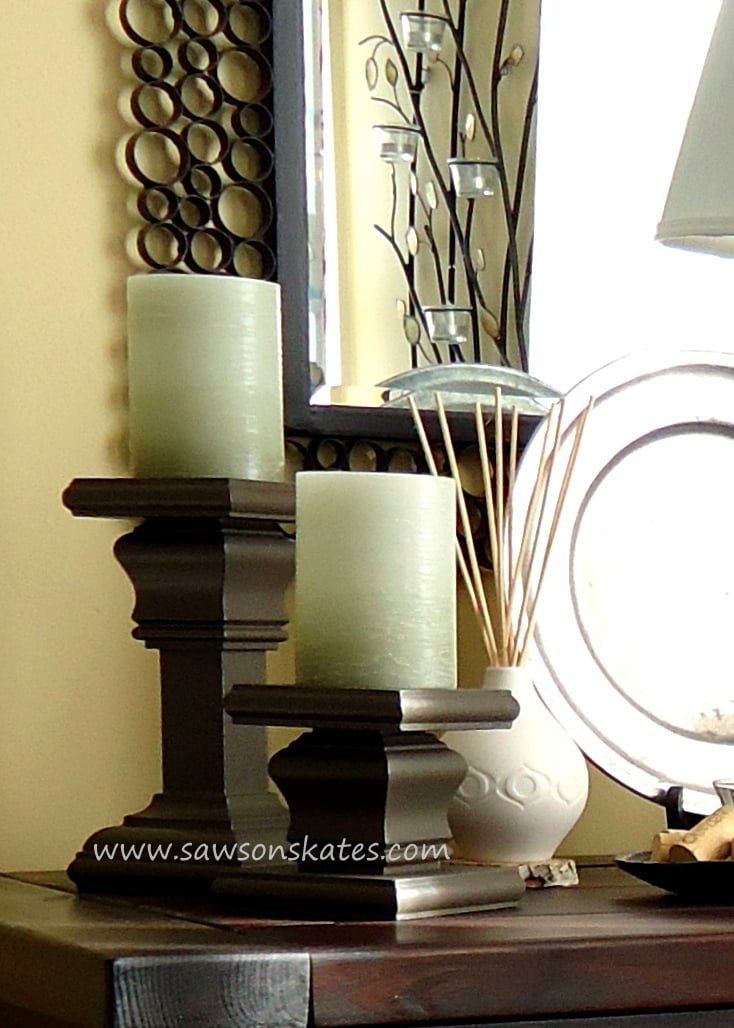
I was reluctant to call this tutorial “Candle Holders from the Scrap Pile”, but that’s exactly where they came from! They were made entirely using scraps I had left over from other projects. Chances are, if you have built a few projects, that you’ll have everything you need in your scrap pile to build some of these candle holders too.
Specifications
| Project type | Other Projects |
|---|---|
| Room | Bedroom |
| Style | Tradditional Style Furniture Plans |
| Difficulty | Beginner Projects |
| Estimated cost | scraps |
Dimensions
Use the size-specific shopping and cut lists below.
Shopping List
1×2 (approximately 36″) or 2×2 (approximately 18″) 1×6 (approximately 28″) Bed moulding, chair rail moulding, base cap moulding, half round moulding or any moulding of your choice
Tools
- measuring tape
- pencil
- hammer
- safety glasses
- hearing protection
- drill
- compound miter saw
- table saw
- nailer
- sander
- countersink drill bit
Step-by-step Instructions
Step 1
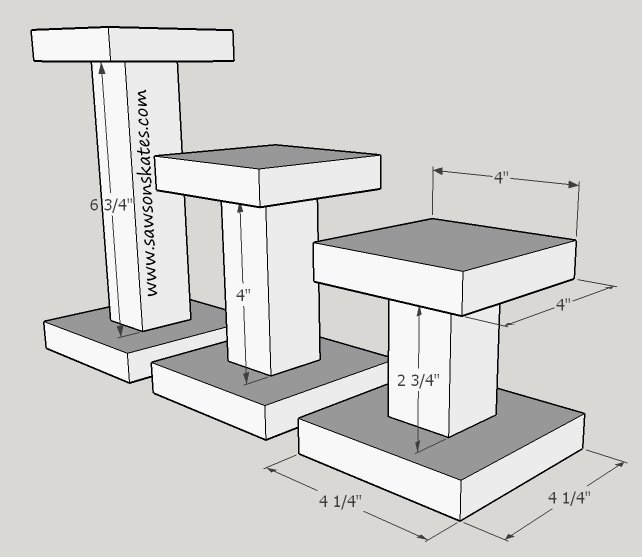
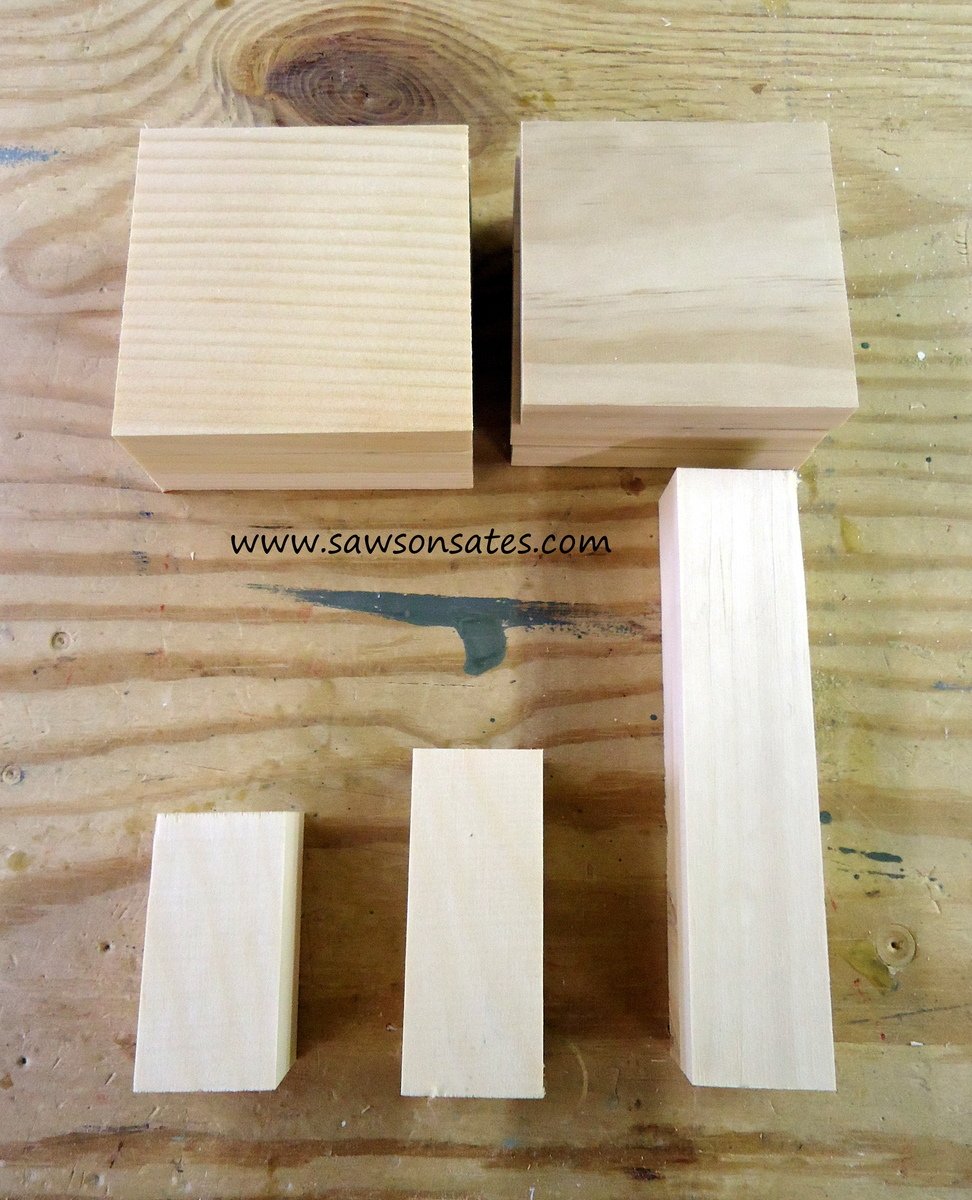
Glue 1×2’s together, or cut 2×2’s and cut to length: Large 6-3/4″, medium 4″, small 2-3/4″
Step 2
Rip bottom pieces to width 4-1/4″ and cut to length 4-1/4″. Rip top pieces to width 4″ and cut to length 4″
Step 3
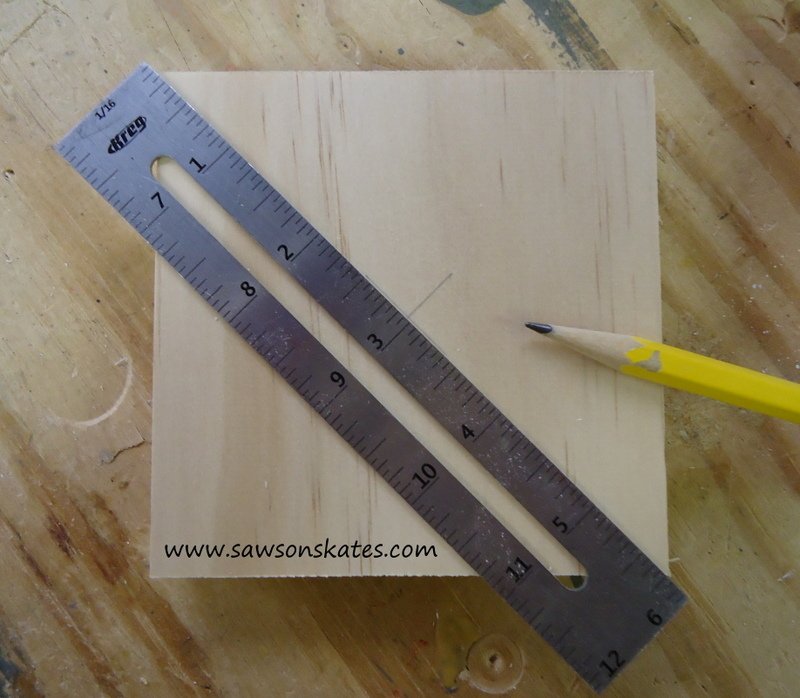
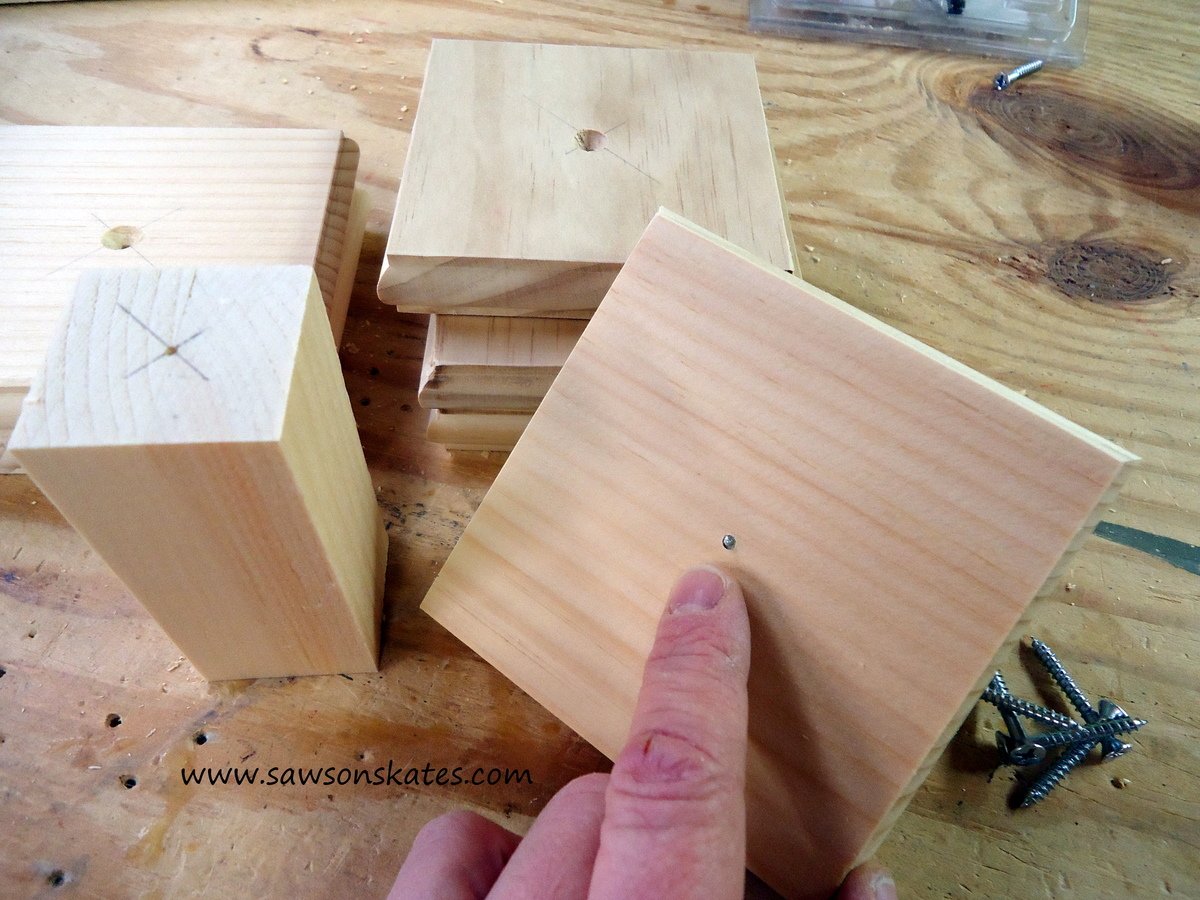
Mark center of top piece, bottom piece and pedestal. Using a countersink drill bit, drill hole a hole in the top and bottom pieces.
Step 4
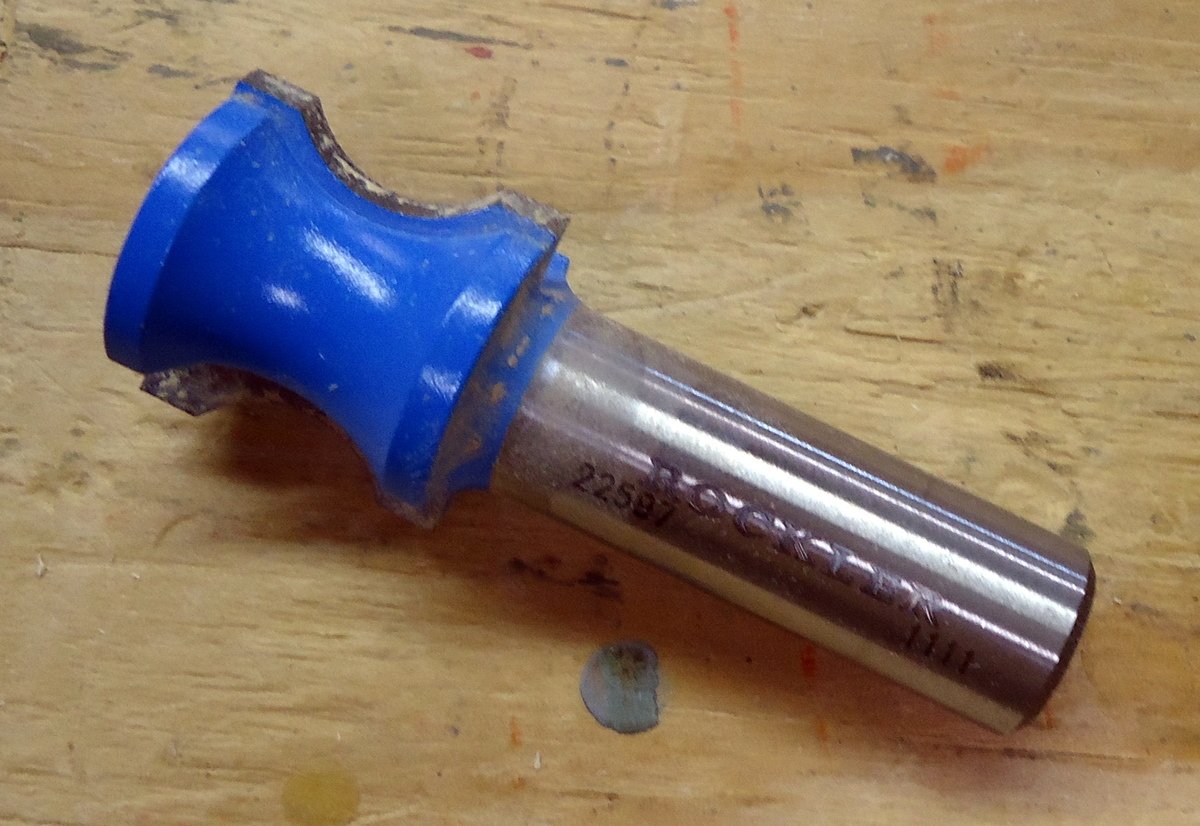
OPTIONAL: If you have a router, consider adding a decorative edge to the top and bottom pieces. I used this bit from Rockler to accent the edge (you can see the detail in the pics in Step 5). No router? No problem! Alternatively, you could add some cove moulding or a roundover moulding once the candle holders are assembled.
Step 5
Step 6
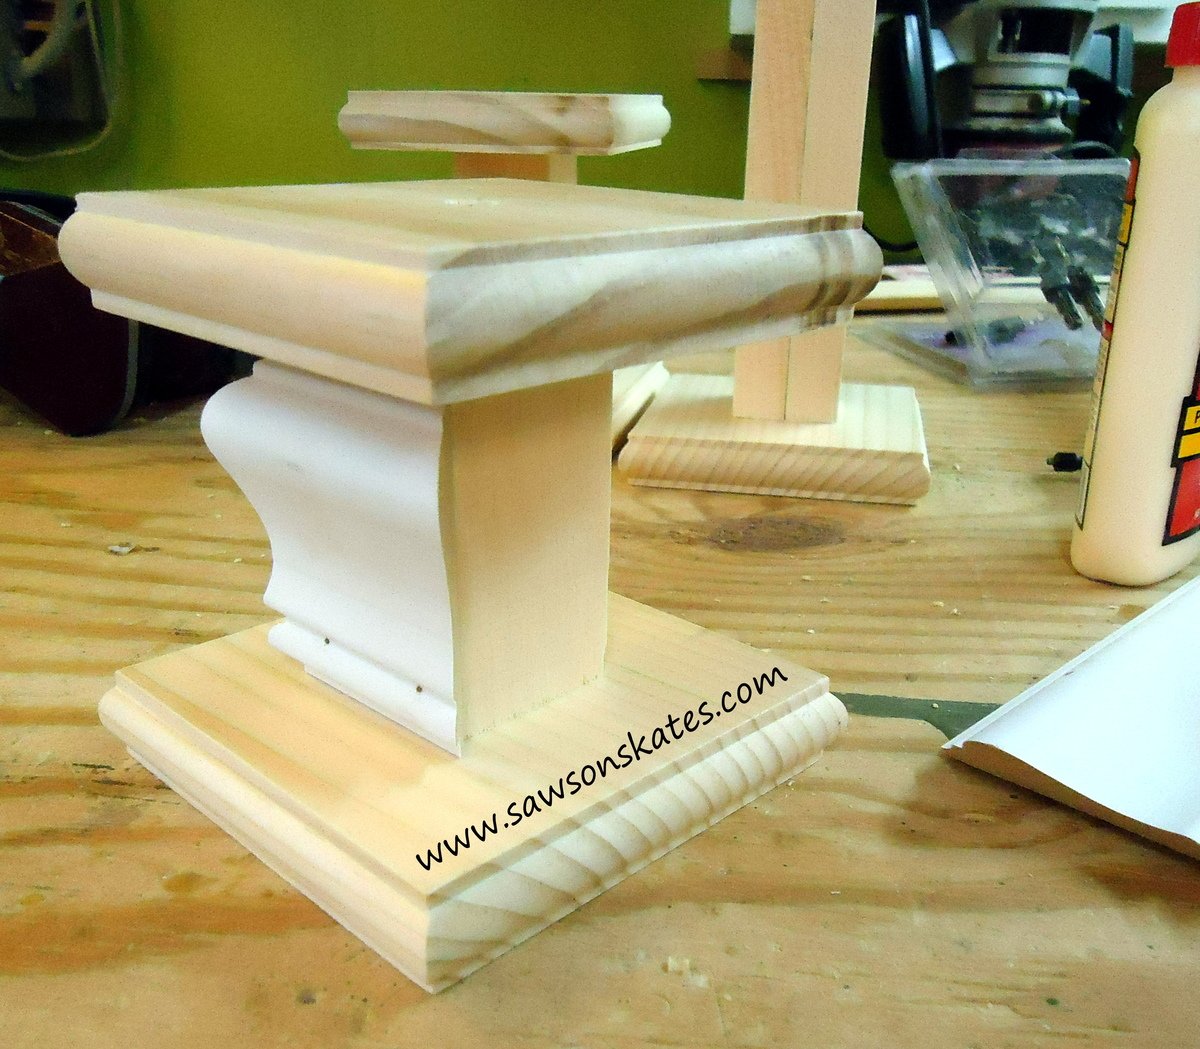
Add moulding using glue and finish nails. The mitre cuts do not need to be perfect. You can caulk or use wood filler for any gaps, plus it adds a little character when they’re not quite perfect. The moulding in the pic is chair rail. The curves of the chair rail moulding really add to the sculpted look of the candle holders.
Step 7
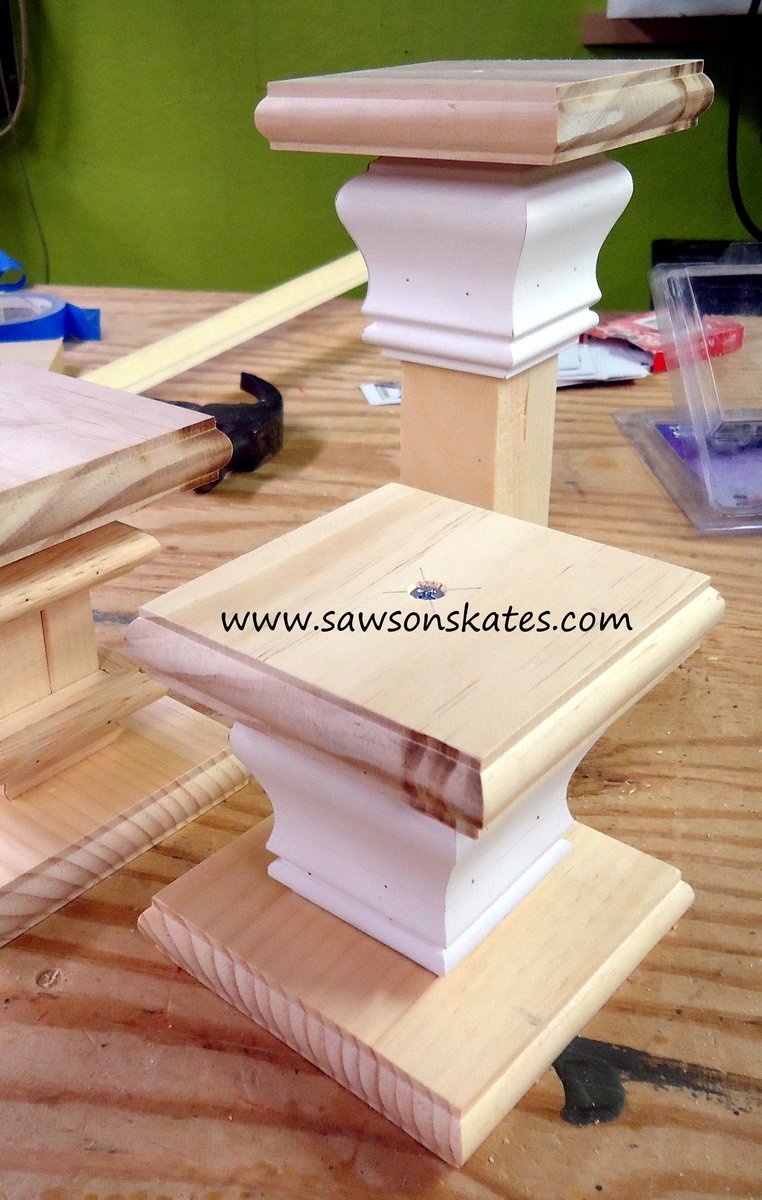
Fill nail holes, prime, paint, add candles and display.
Finishing
Sand all surfaces, starting with a medium grit and finishing with fine. Wipe off the dust, fill any holes or gaps with wood filler, and sand smooth once dry. Apply primer if you're painting, then finish with your choice of paint or stain and seal with a durable clear topcoat. For outdoor projects, use exterior-rated primer, paint or stain, and sealer so the piece stands up to the weather.
Source (temporary): https://www.ana-white.com/woodworking-projects/candle-holders