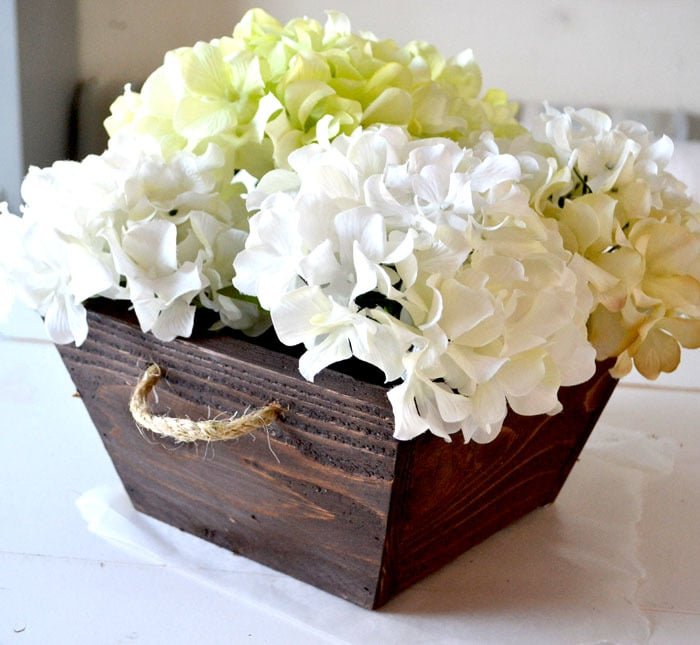
Cedar Fence Picket Tapered Planter
to build a cedar planter using a cedar fence picket! This is a step by step woodworking plan for beginners.
Specifications
| Project type | Planters, Garden Beds, and Greenhouses |
|---|---|
| Room | Outdoor |
| Style | Farmhouse Furniture |
| Difficulty | Advanced |
Dimensions
Use the size-specific shopping and cut lists below.
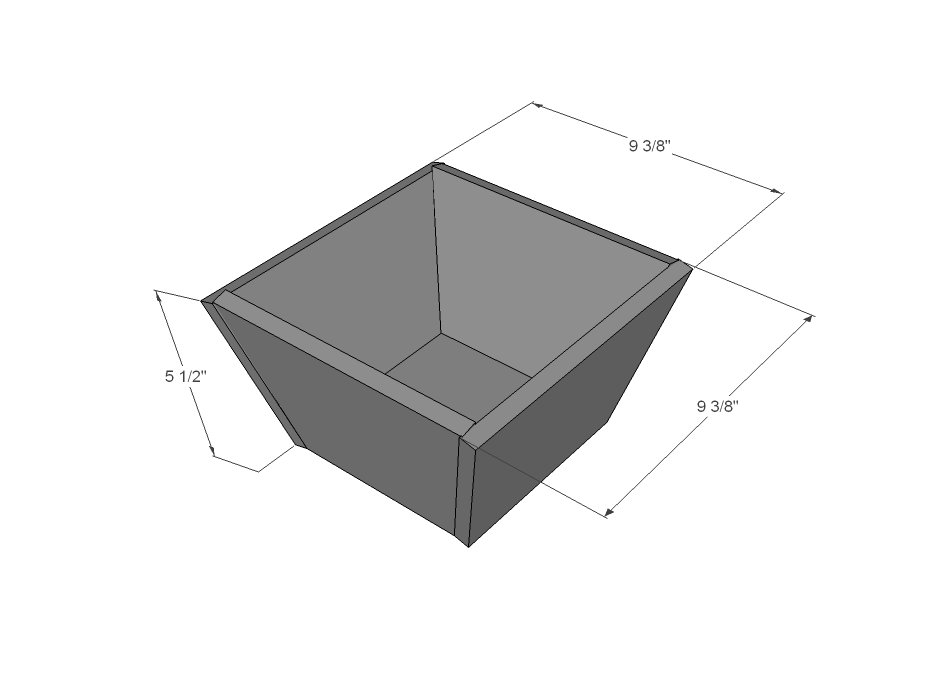
Shopping List
- 1 - 1/2" thick x 6 feet long cedar fence picket (you can make two planters from one fence picket)
- 1 1/4" brad nails
- Exterior rated wood glue
Cut List
- 2 - cedar fence pickets @ 5 1/2" long - shortest point measurement, both ends cut at 15 degrees off square, cut ends are NOT parallel to each other (shorter sides)
- 2 - cedar fence pickets @ 6 1/2" long - shortest point measurement, both ends cut at 15 degrees off square, cut ends are NOT parallel to each other (longer sides)
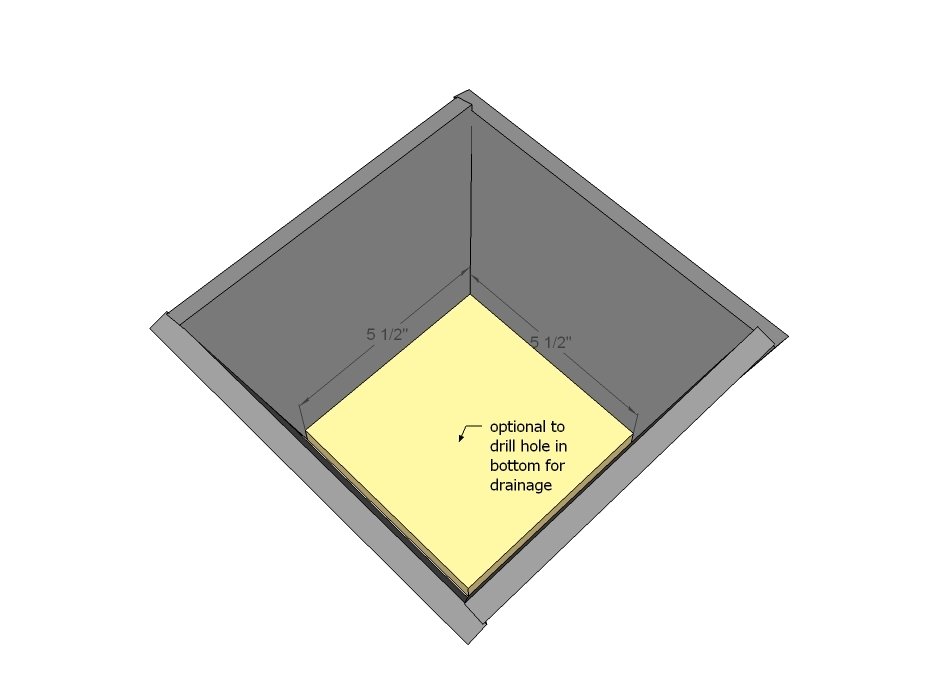
- 1 - cedar fence pickets @ 5 1/2" long (bottom)
Tools
- measuring tape
- pencil
- safety glasses
- hearing protection
- compound miter saw
- nailer
Step-by-step Instructions
Step 1
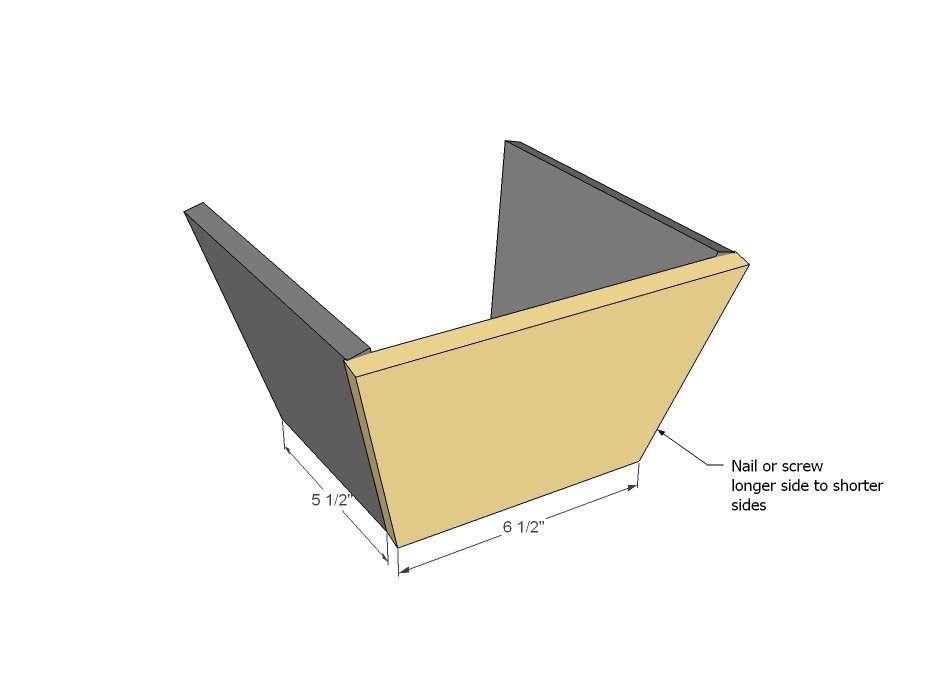
Attach one long side to two short sides, keeping outside top corner flush and outside edges flush.
Step 2
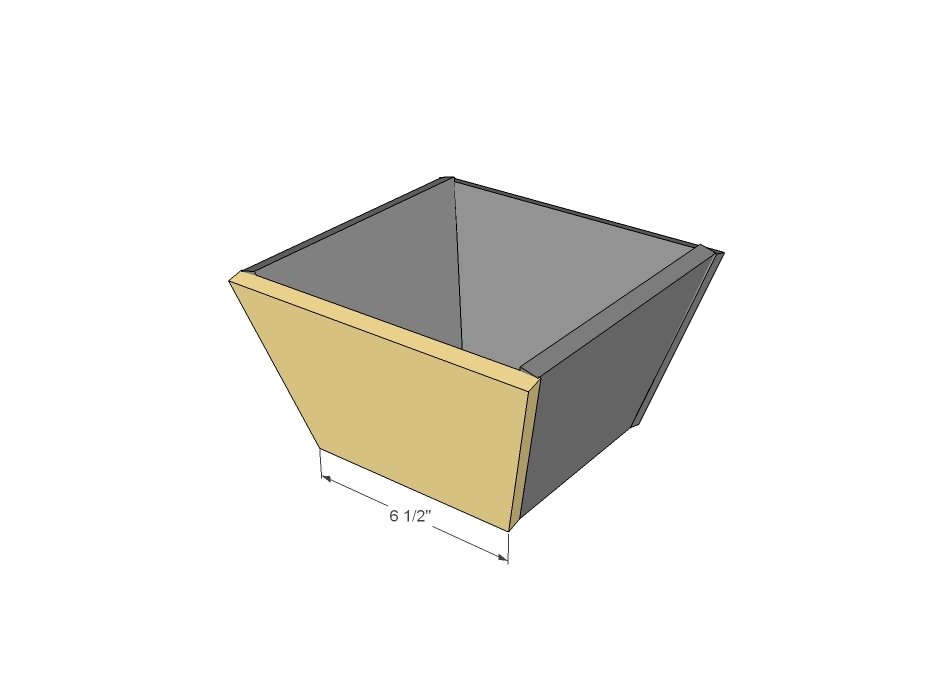
Then attach remaining side.
Step 3
Set bottom inside the planter. I choose not to attach because it will be easy to remove soil from planter with removable bottom. You could also nail the bottom in place through the sides.
Finishing
Sand all surfaces, starting with a medium grit and finishing with fine. Wipe off the dust, fill any holes or gaps with wood filler, and sand smooth once dry. Apply primer if you're painting, then finish with your choice of paint or stain and seal with a durable clear topcoat. For outdoor projects, use exterior-rated primer, paint or stain, and sealer so the piece stands up to the weather.
Source (temporary): https://www.ana-white.com/woodworking-projects/cedar-fence-picket-tapered-planter