Cedar Fence
How to build fences! Free DIY tutorial to save half the cost of fence panels!
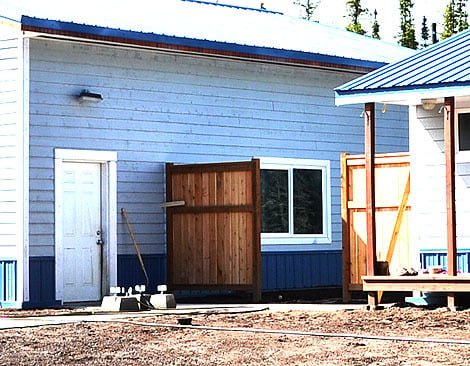
Specifications
| Project type | Other Projects |
|---|---|
| Room | Outdoor |
| Style | Farmhouse Furniture |
| Difficulty | Intermediate |
Dimensions
Use the size-specific shopping and cut lists below.
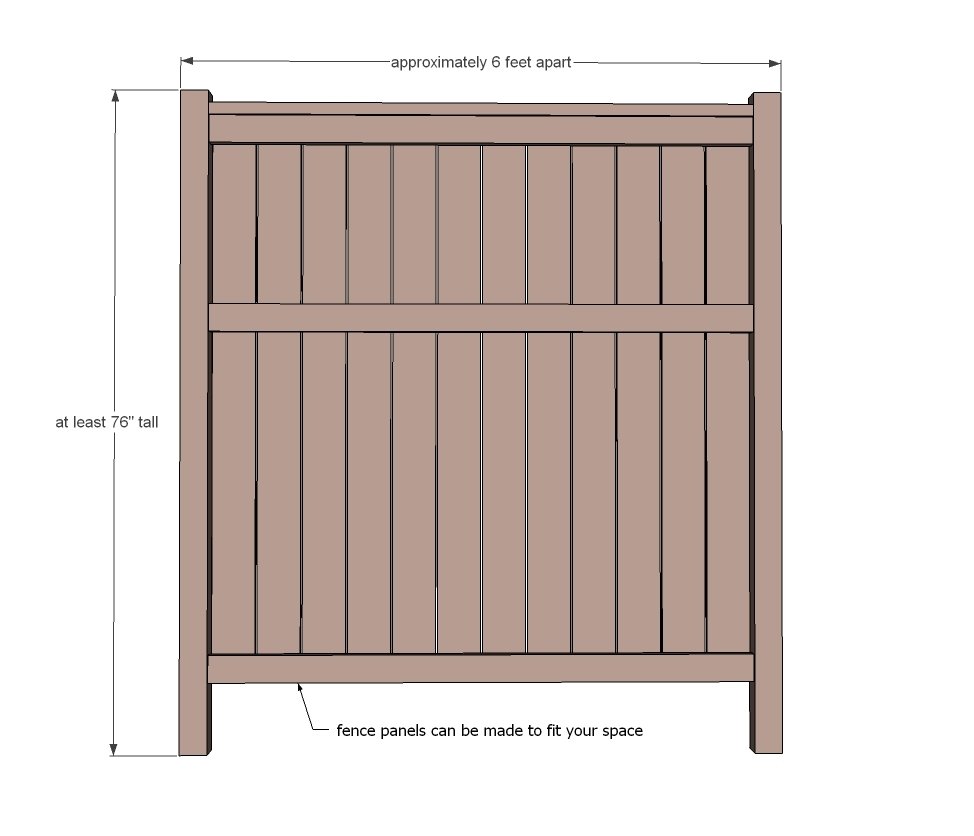
Shopping List
4x4 fence posts - I used 10' long posts and trimmed to fit because our gravel was at 3 feet
2 - 2x4 @ 12 feet long
72" x 5 1/2" fence pickets
2 1/2" PH screws
2" galvanized nails
Cut List
Build your fence to fit your needs.
Tools
- measuring tape
- square
- pencil
- safety glasses
- hearing protection
- kreg-jig
- drill
- circular saw
- nailer
Step-by-step Instructions
Step 1
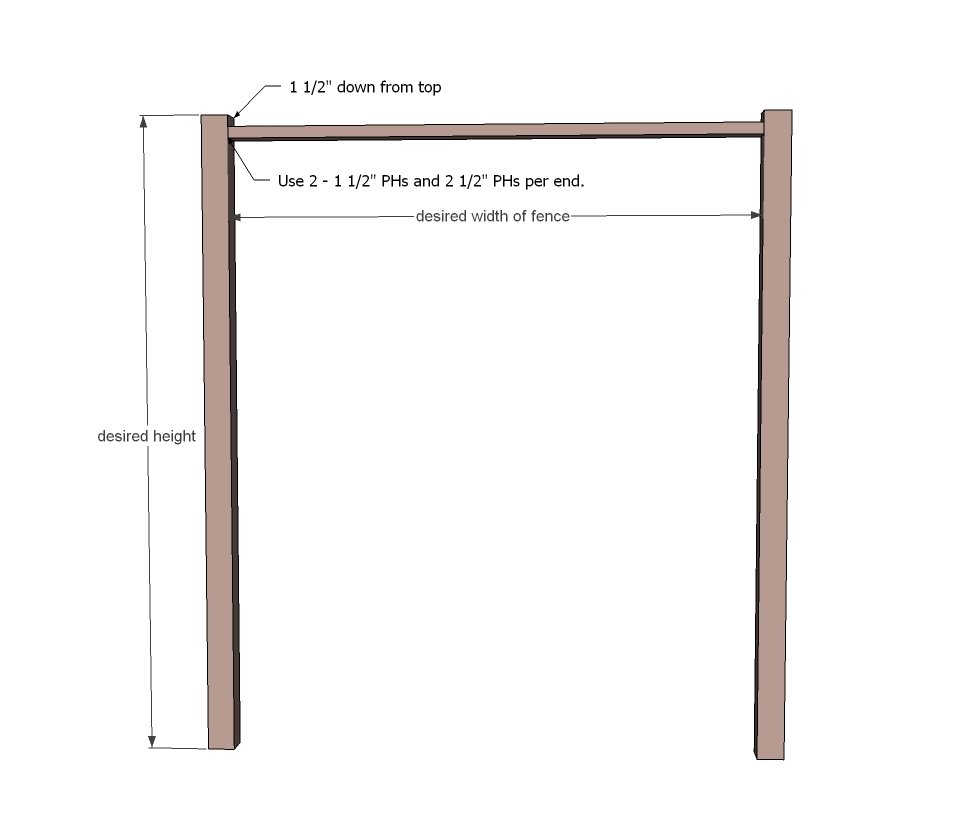
First we attach the top - we'll work our way downward. For sloping lots, go 1 1/2" down from the lowest post, and use a level to make sure you are attaching the top level all the way across.
Step 2
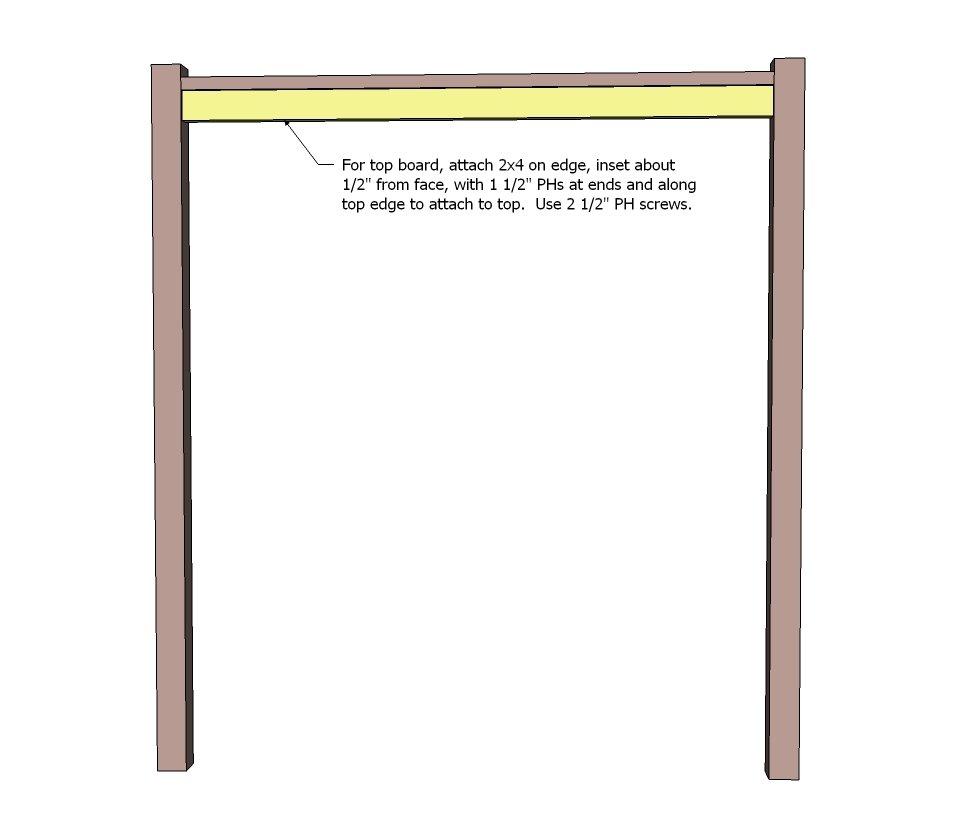
Now add the bottom support. I inset mine about 1/2" for added character. There's plenty of space behind for attaching the fence pickets later on. To keep from having screw holes in the top (AKA water collectors and potential fence rotting spots) I used PHs to attach this board to top - all PHs will be covered with fence pickets later on.
Step 3
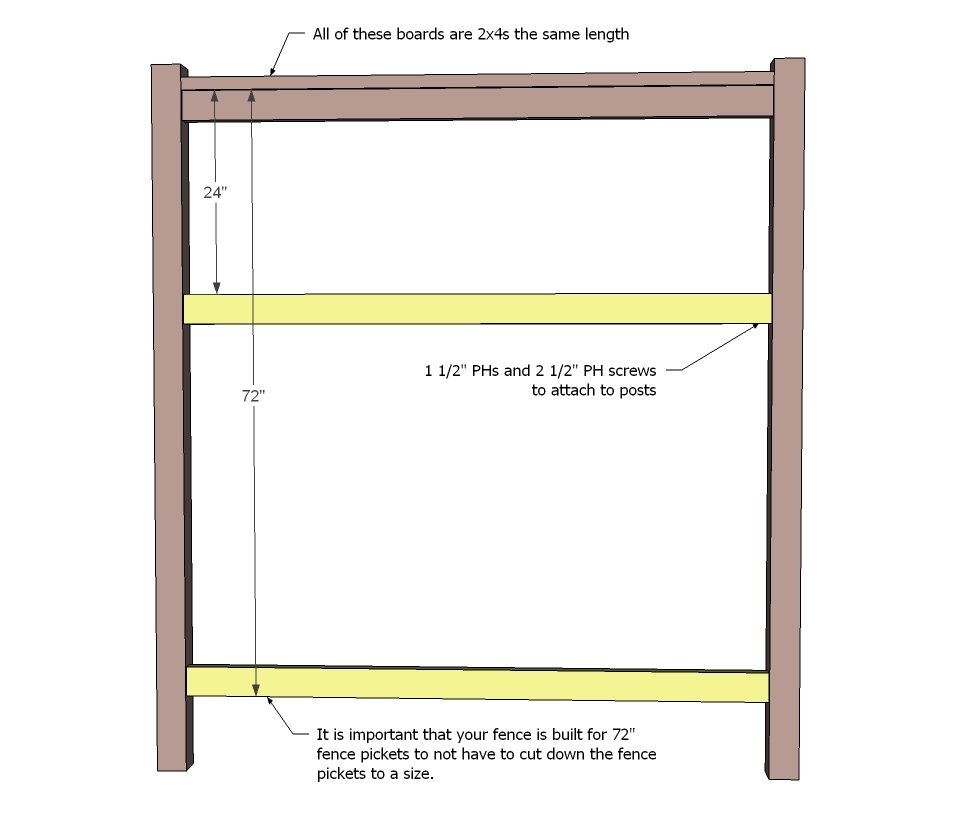
Now just added these two.
Step 4
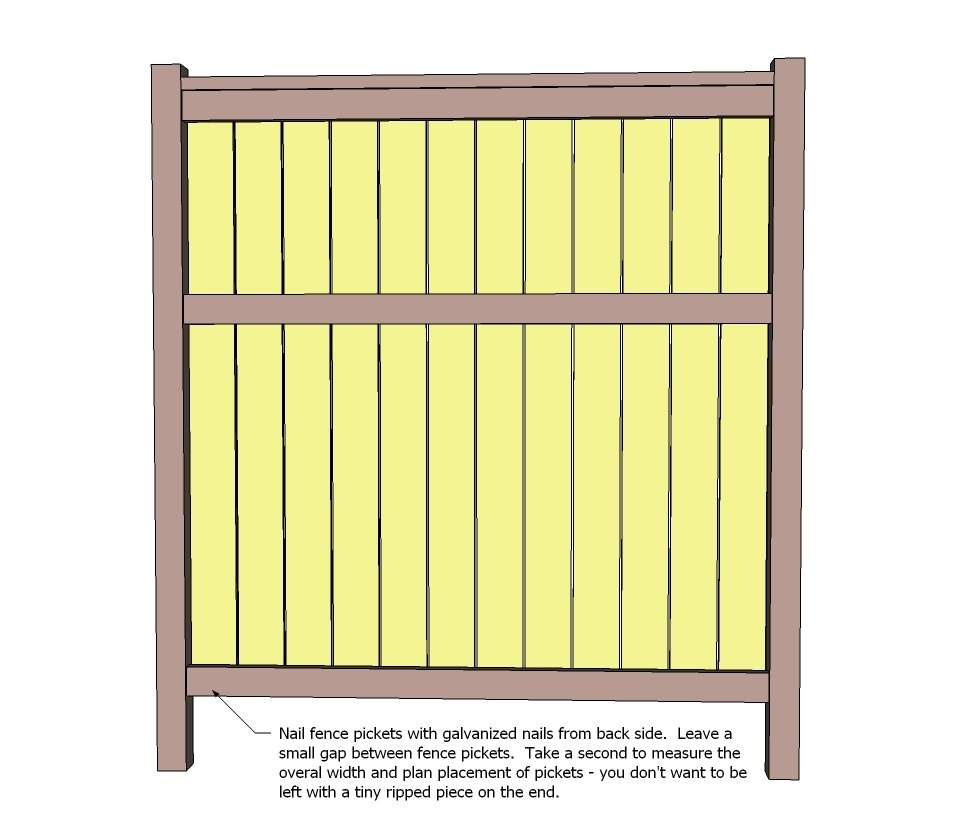
And then we nailed the fence pickets in place with a gap between. Done deal!
Finishing
Sand all surfaces, starting with a medium grit and finishing with fine. Wipe off the dust, fill any holes or gaps with wood filler, and sand smooth once dry. Apply primer if you're painting, then finish with your choice of paint or stain and seal with a durable clear topcoat. For outdoor projects, use exterior-rated primer, paint or stain, and sealer so the piece stands up to the weather.
Source (temporary): https://www.ana-white.com/woodworking-projects/cedar-fence