Child's Airplane Swing
I wanted a unique gift for my nephew for Christmas. I was so happy to finally come up with this airplane swing!
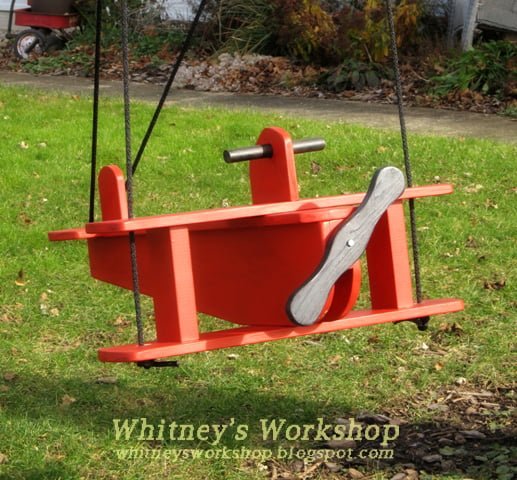
Specifications
| Project type | Toys |
|---|---|
| Room | Outdoor |
| Style | Children's and Kid's Room Furniture and Toy Plans |
| Difficulty | Intermediate |
| Estimated cost | $20 - $50 |
Shopping List
1- 2x4x8 1- 1x8x8 1- 1x6x10 1" dowel, 6-8 inches long Box of 2" Outdoor screws A handful of 1 1/4" outdoor screws 1- 3" lag screw for prop (plus a few washers) 20' +/- rope 1- 3" eye screw 3- 3" long eye lag bolts, plus washers. 2 rope clips Plus finishing materials like sandpaper, glue, and paint.
Cut List
Body: 1-2x4 @ 36" (tapered to back) 2- 1x8 @ 36" (tapered to back, rounded at front bottom) 1- 1x6 @ 30.5" (seat) Tail: 1- 1x6 @ 12" (rounded ends) 1 - 1x4 @5" (rounded top) Wings: 2- 1x6 @ 30" (rounded ends) 2- 2x4 @8 1/8" (spacer boards) Handle bar cut from scrap 1x6 with hole for 1" dowel/handle. Propeller: cut from 1x3 scrap
Step-by-step Instructions
Step 1
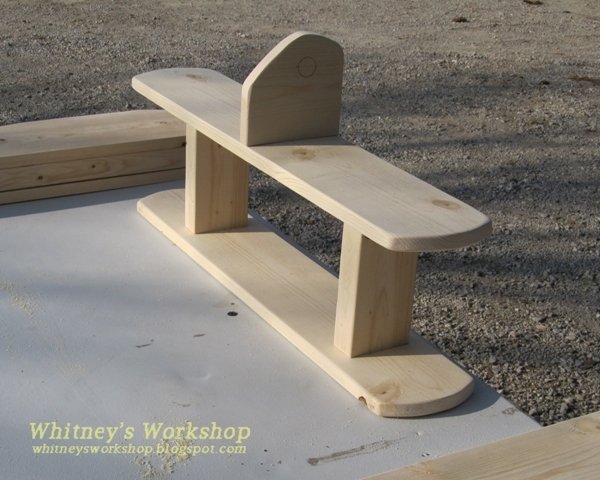
Cut all boards. See blog post for full cutting details. Begin assembling sections.
Step 2
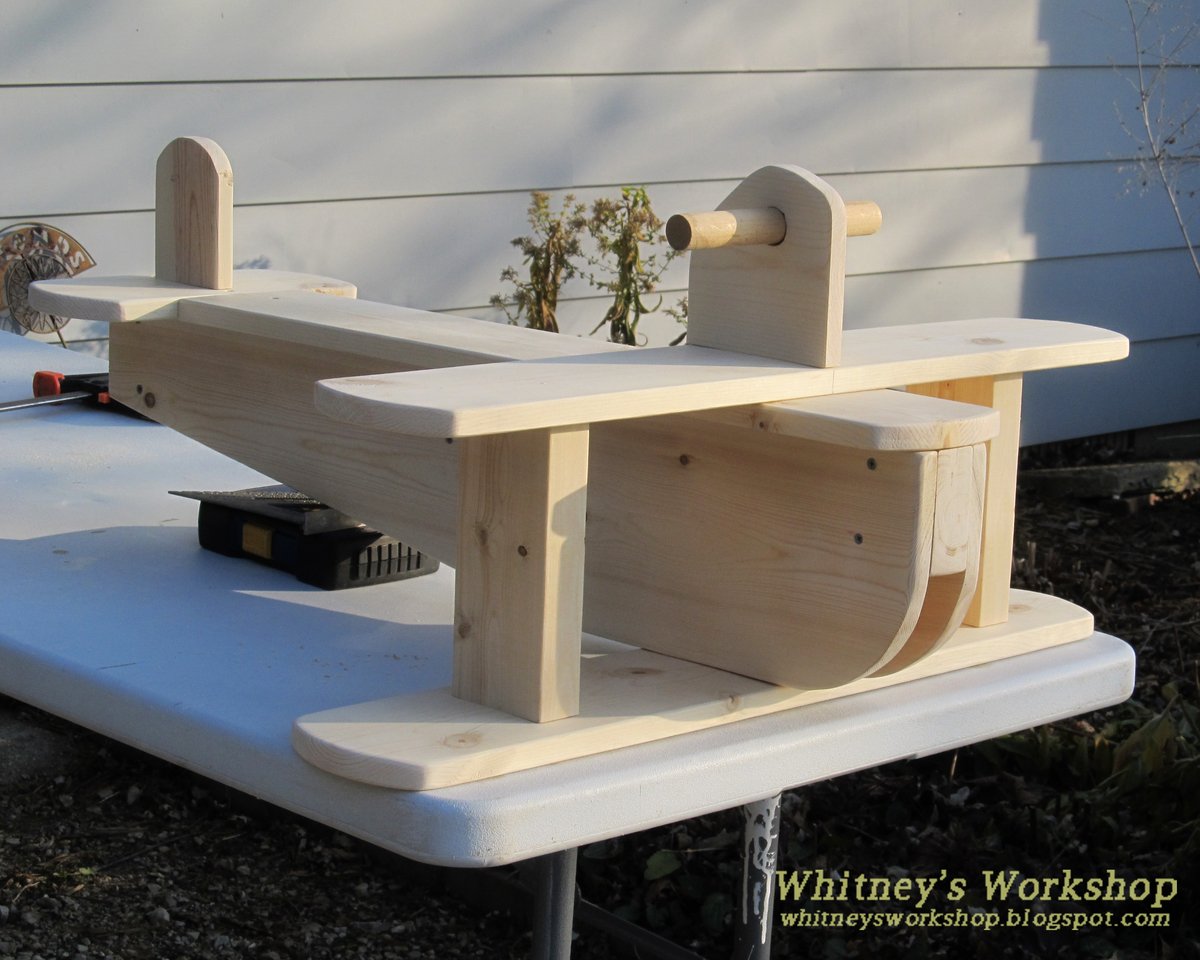
Assemble by attaching tail, then seat, then wing section. Attach propeller after all painting if finished.
Step 3
Sand and Paint
Step 4
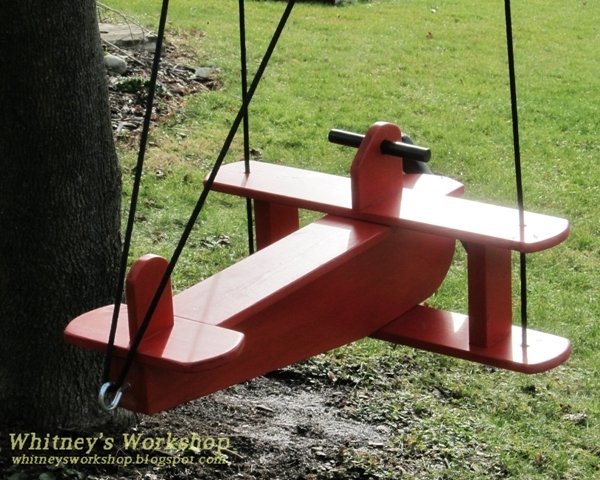
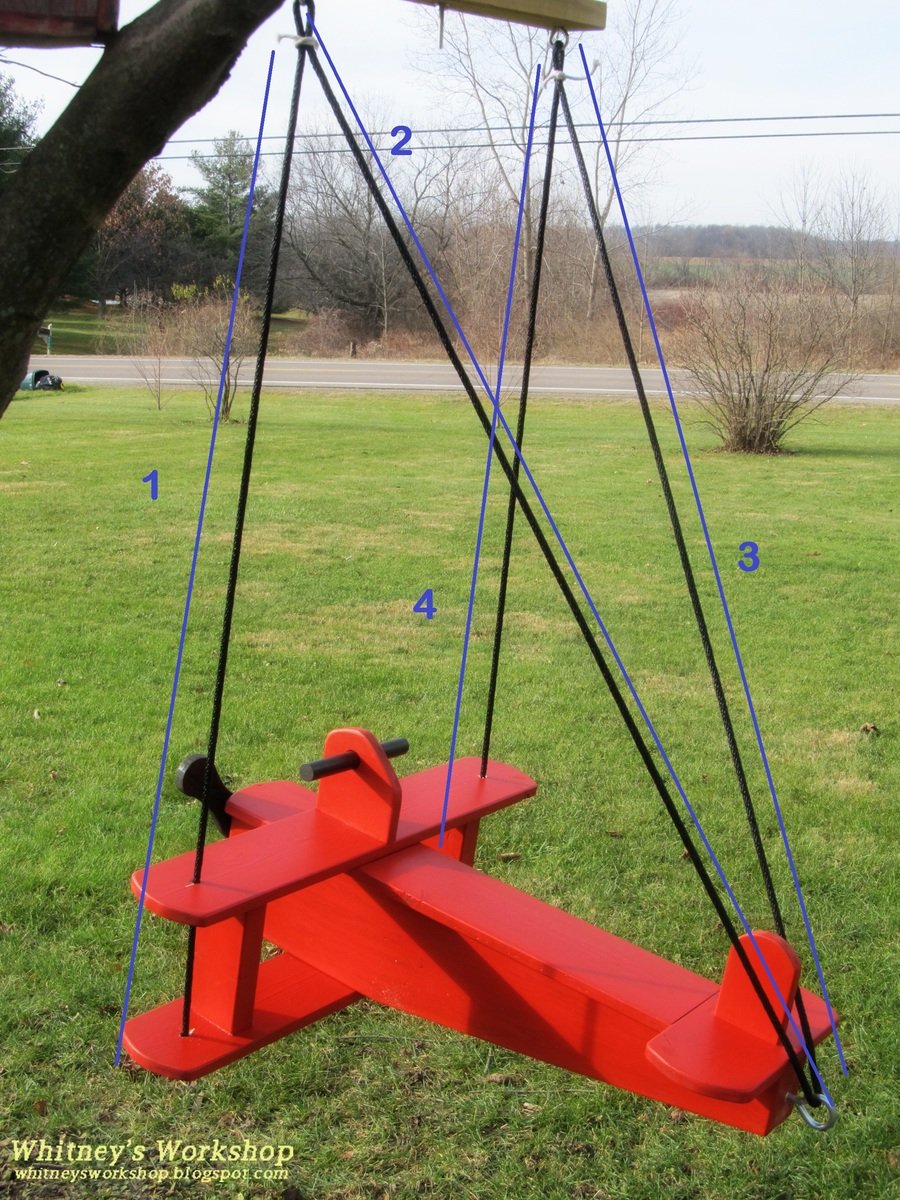
Feed rope through plane as seen in photo. Secure with strong knots under wings. Use rope clips beneath the upper eye bolts to secure airplane level.
Finishing
Sand all surfaces, starting with a medium grit and finishing with fine. Wipe off the dust, fill any holes or gaps with wood filler, and sand smooth once dry. Apply primer if you're painting, then finish with your choice of paint or stain and seal with a durable clear topcoat. For outdoor projects, use exterior-rated primer, paint or stain, and sealer so the piece stands up to the weather.
Source (temporary): https://www.ana-white.com/woodworking-projects/childs-airplane-swing