Chunky Leg Grand Console Table
Make your space grand with a DIY console table, built on a grand scale! This is a to build your own grand console table. This plan is part of our much loved Chunky Leg collection, featuring a wide, 2x6 leg to create drama and show off that beautiful wood texture. This is an easy to build project, suitable for beginner to intermediate builders. Plans are step by step with detailed diagrams, shopping and cut lists and lots of related plans.
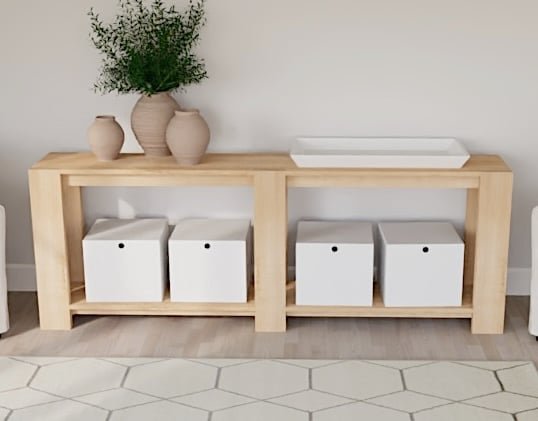
Specifications
| Project type | Console Table Plans |
|---|---|
| Room | Entryway and Mudroom |
| Difficulty | Intermediate |
Dimensions
Use the size-specific shopping and cut lists below.
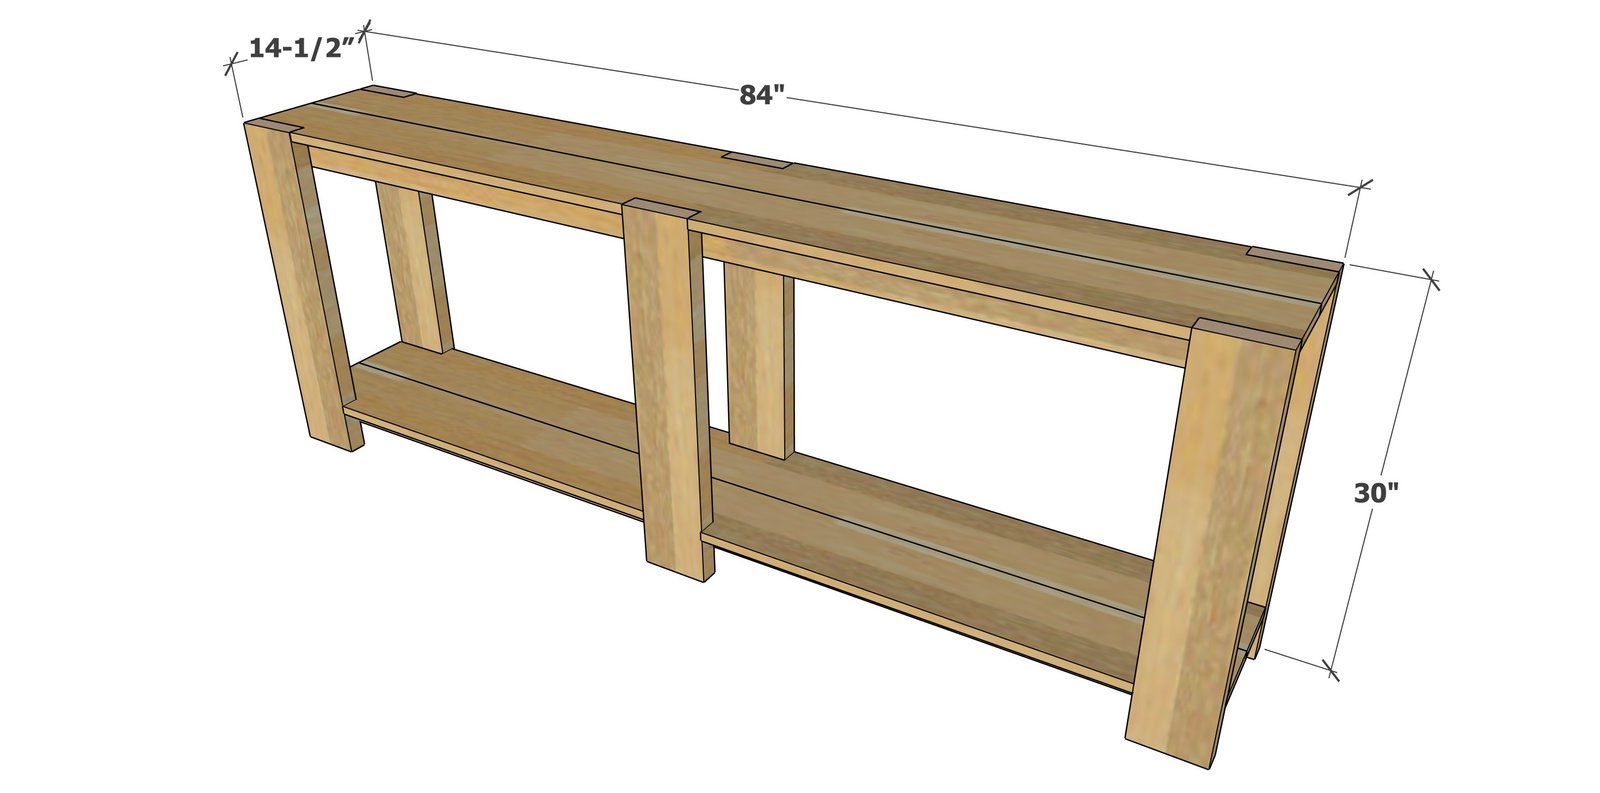
Shopping List
- 4 - 1x8 @ 8 feet long
- 2 - 2x6 @ 8 feet long
- 2 - 1x3 @ 8 feet long
- 2 - 1x2 @ 8 feet long
- 1-1/4" pocket hole screws (recommended)
- 1-1/4" brad nails (alternate option, use with glue)
Cut List
- 4 - 1x8 @ 84" - shelf and tabletops
- 2 - 1x3 @ width of shelf/tabletop after cuts (should be about 11-1/2") - top frame
- 2 - 1x3 @ 79-1/2" - top frame
- 2 - 1x3 @ width of shelf/tabletop after cuts (should be about 11-1/2") - bottom frame
- 2 - 1x3 @ 79-1/2" - bottom frame
- 6 - 2x6 @ 30" - legs
Tools
- measuring tape
- square
- pencil
- safety glasses
- kreg-jig
- drill
- compound miter saw
- sander
- level
Step-by-step Instructions
Step 1
Build two identical.
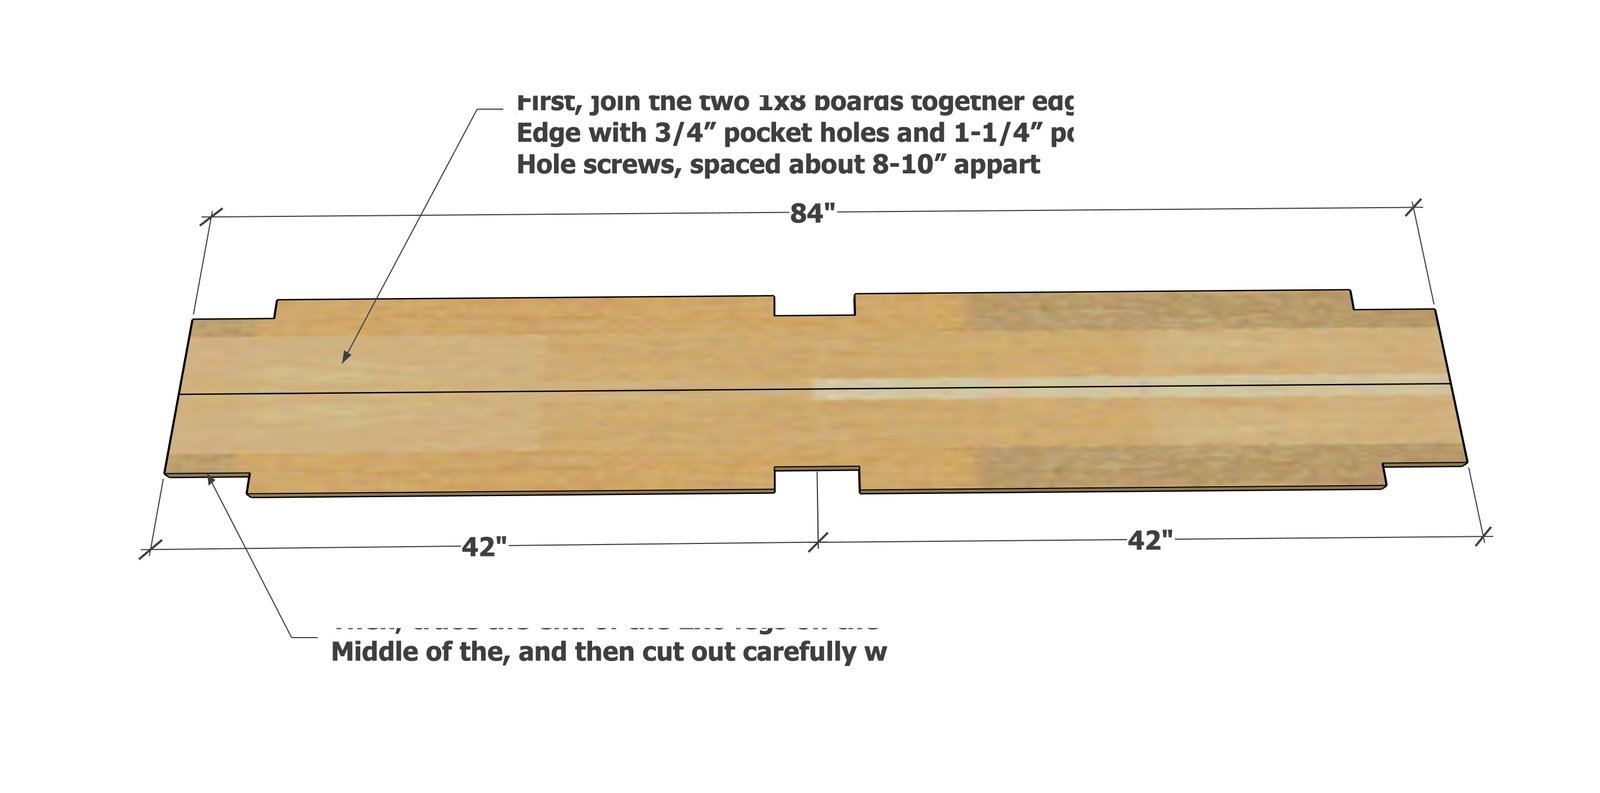
Step 2
Attach to the undersides of the top and shelf, but use 1x3s for the top and 1x2s for the bottom.
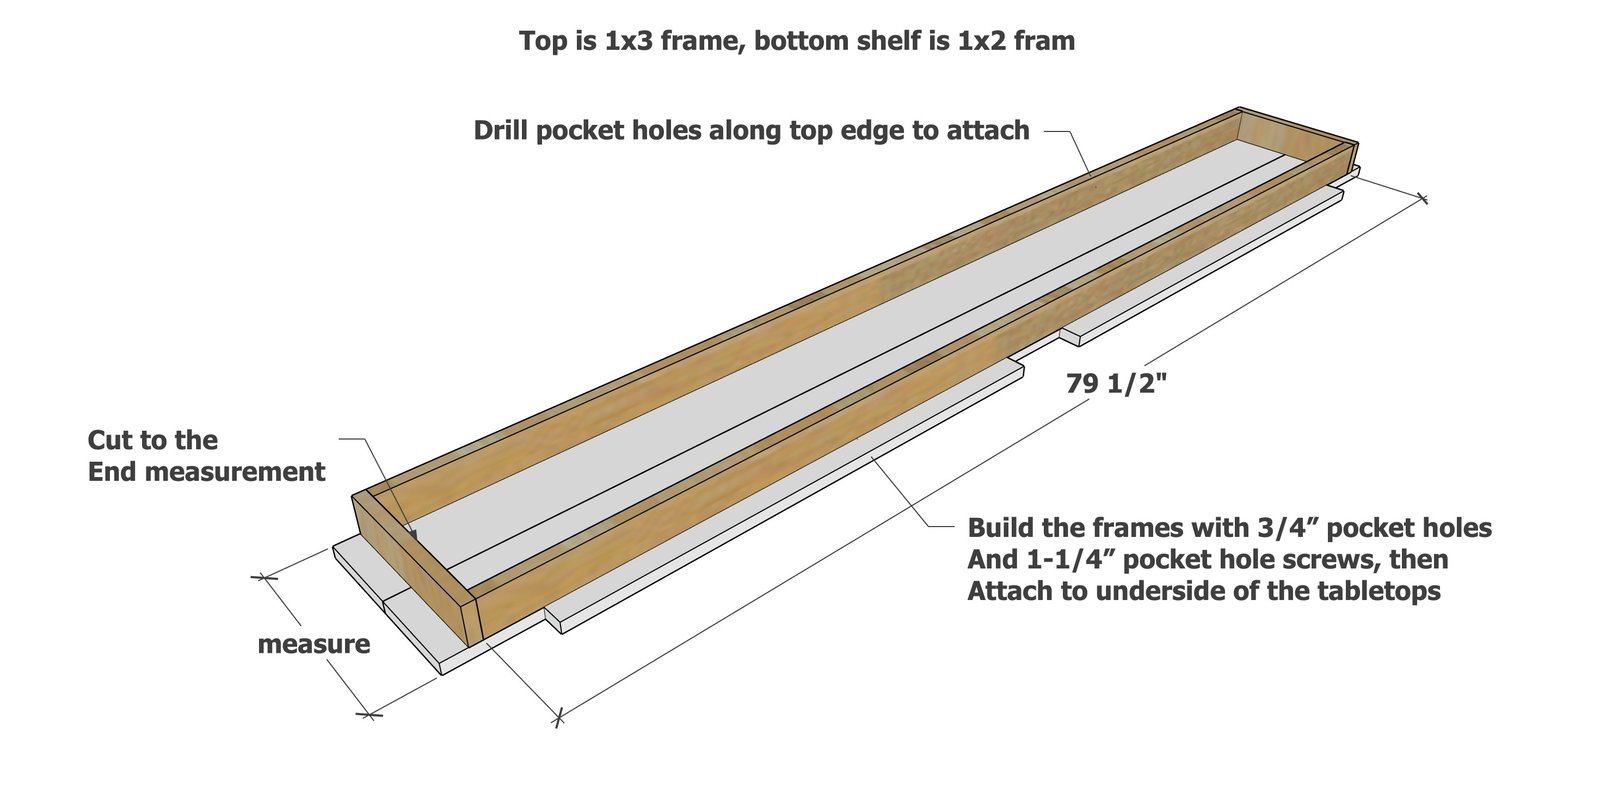
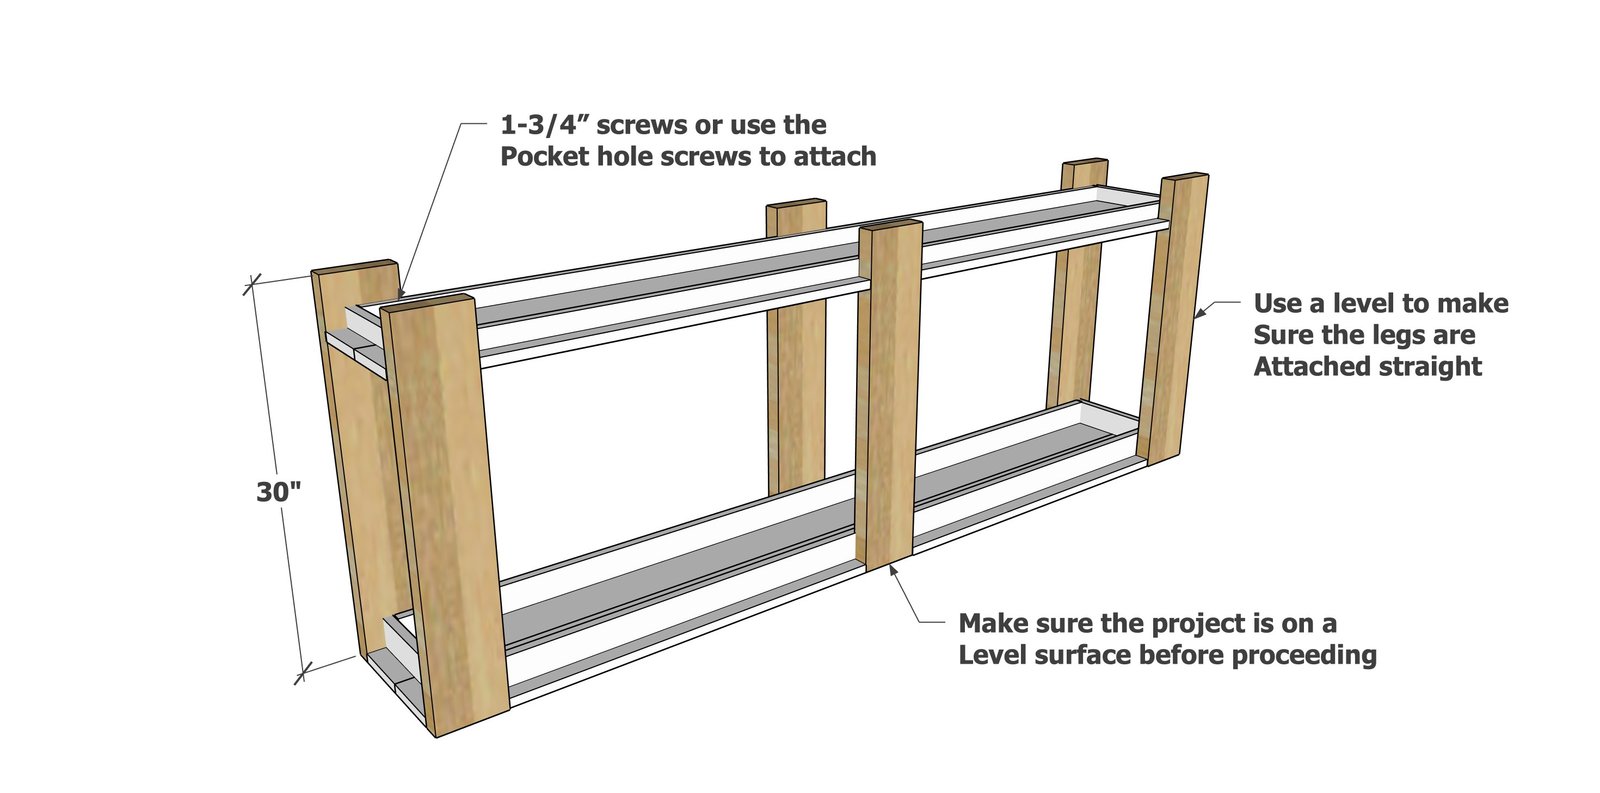
Attach the legs level to the shelves/top
There is a 3" space under the bottom shelf
Finishing
Sand all surfaces, starting with a medium grit and finishing with fine. Wipe off the dust, fill any holes or gaps with wood filler, and sand smooth once dry. Apply primer if you're painting, then finish with your choice of paint or stain and seal with a durable clear topcoat. For outdoor projects, use exterior-rated primer, paint or stain, and sealer so the piece stands up to the weather.
Source (temporary): https://www.ana-white.com/woodworking-projects/chunky-leg-grand-console-table