Classic Red Barn Bunk Bed
Red barn bunk bed with play area under, toy storage in stairs and the child gets to sleep in the loft of a barn. For more see,
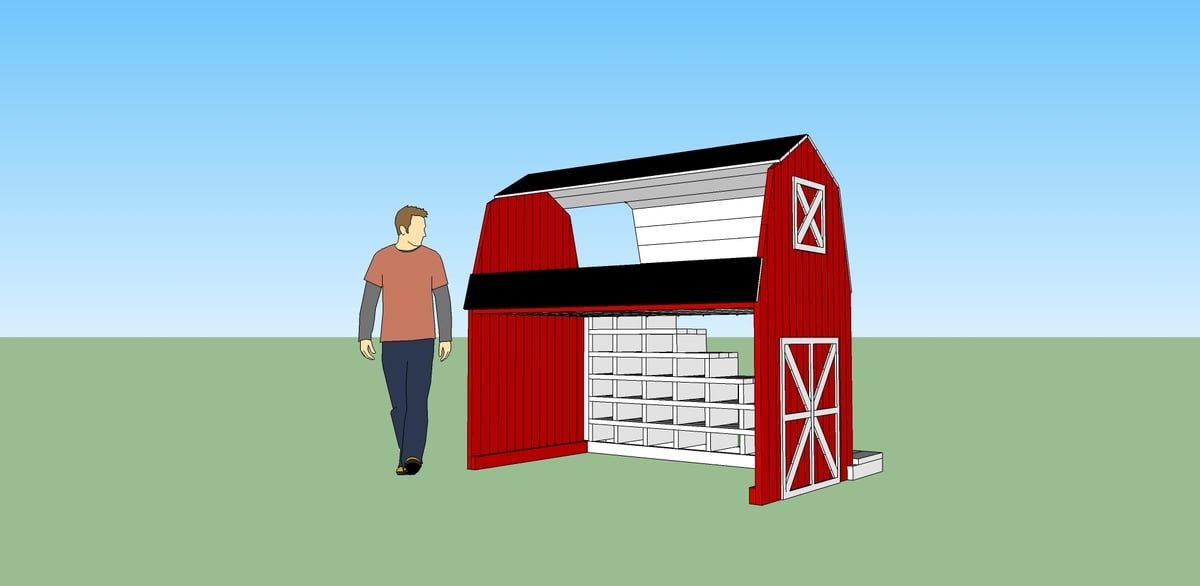
Specifications
| Project type | Bunk Bed |
|---|---|
| Room | Bedroom |
| Style | Children's and Kid's Room Furniture and Toy Plans |
| Difficulty | Beginner Projects |
| Estimated cost | $150 - $200 |
Dimensions
Use the size-specific shopping and cut lists below.
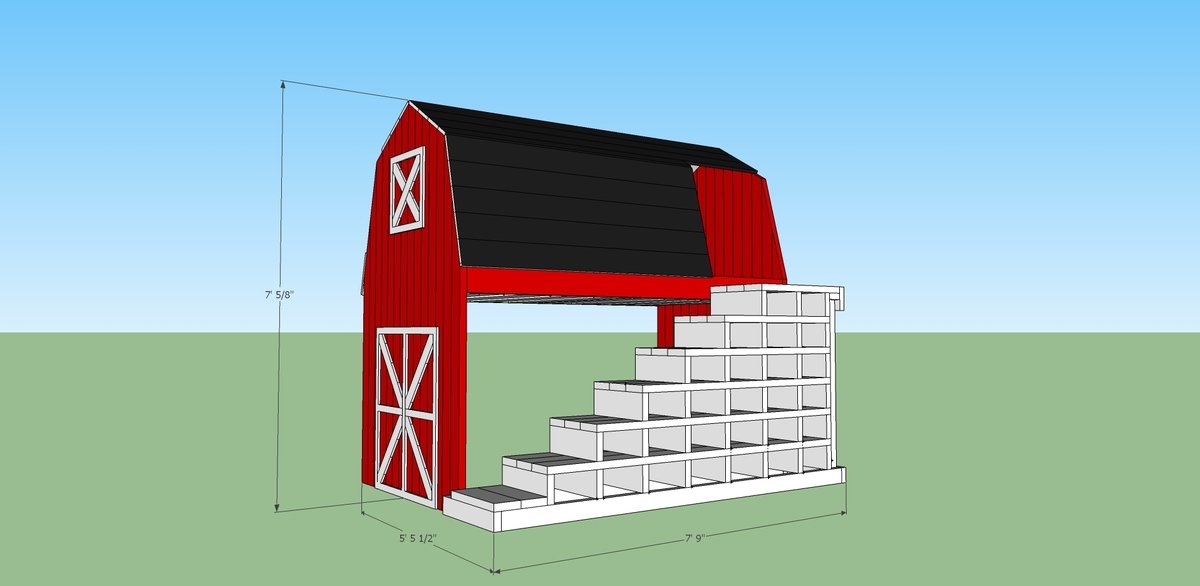
Shopping List
8' 2x4's for the barn ends
8' 2x6's for the bed frame and stairs
8' 1x6's for the roof
8' 1x12 for the guard rail
Trim for the decorative barn door and window
Metal stip to support barn roof at the door
Screws, lag screws, paint
Tools
- measuring tape
- pencil
- drill
- circular saw
- level
Step-by-step Instructions
Step 1
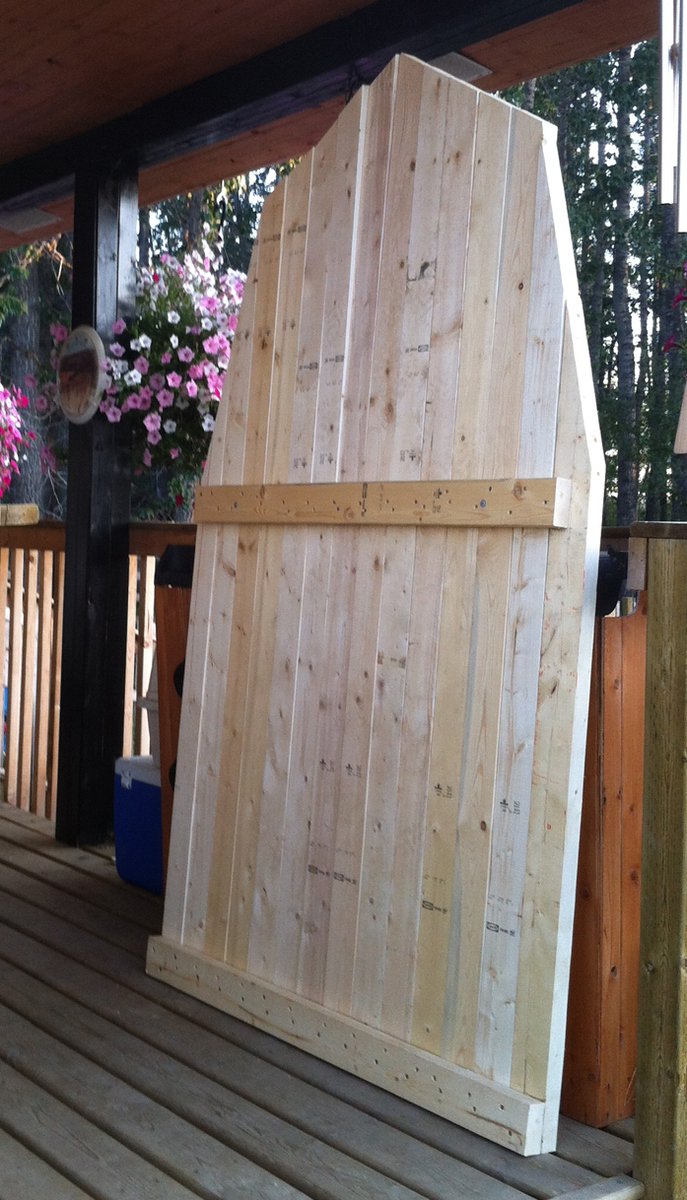
Assemble both barn ends. Secure together using one 2x4 along the bottom and one at the height you want the bed frame to be. This one will leave 1.5" on either end to attach the rest of the bed frame later. See step 3 picture to see.
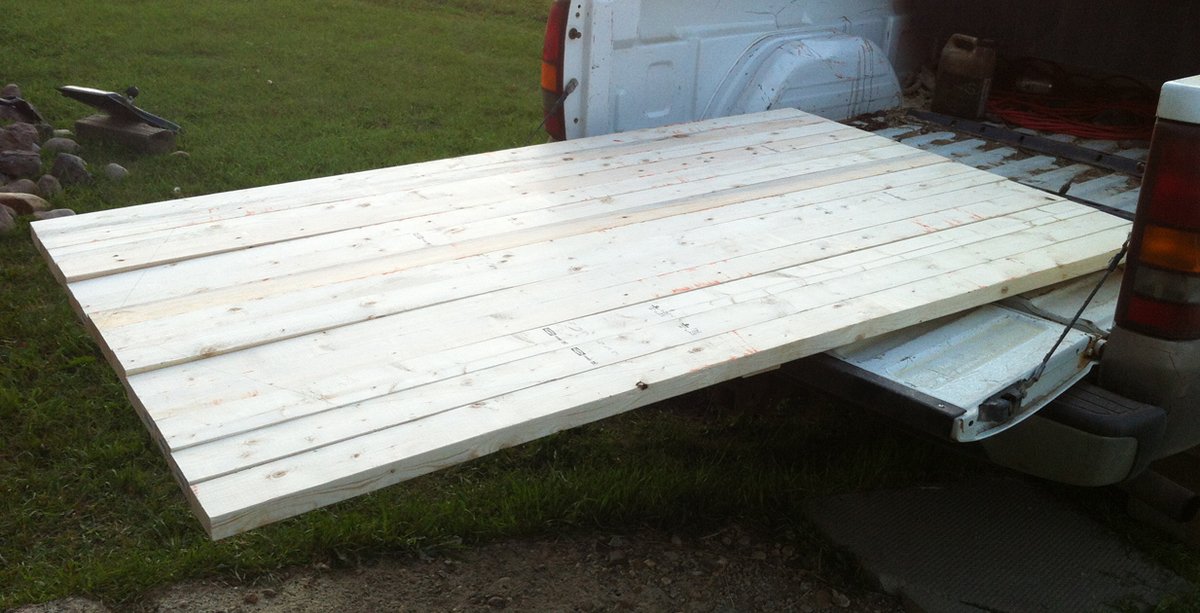
Step 2
Cut out the barn angles
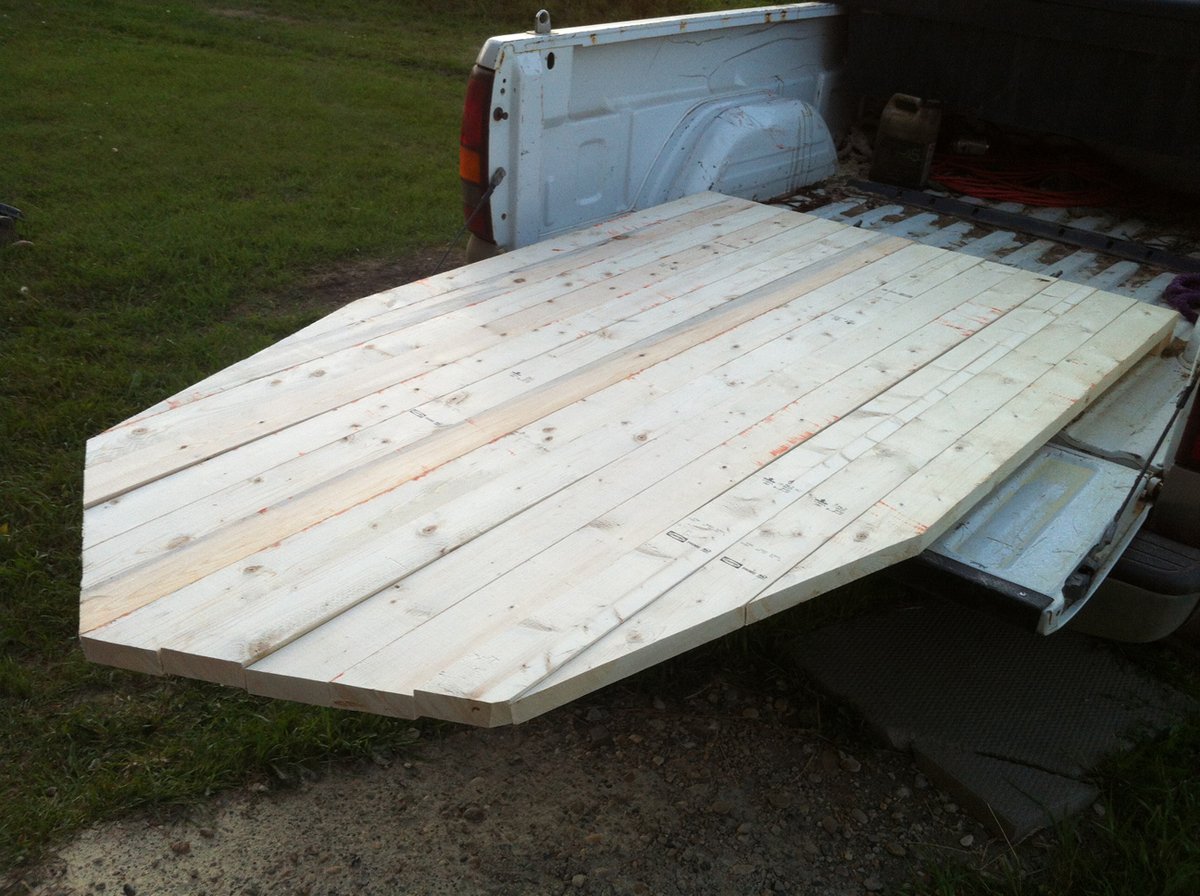
Step 3
Middle rail will become part of the bed frame
Step 4
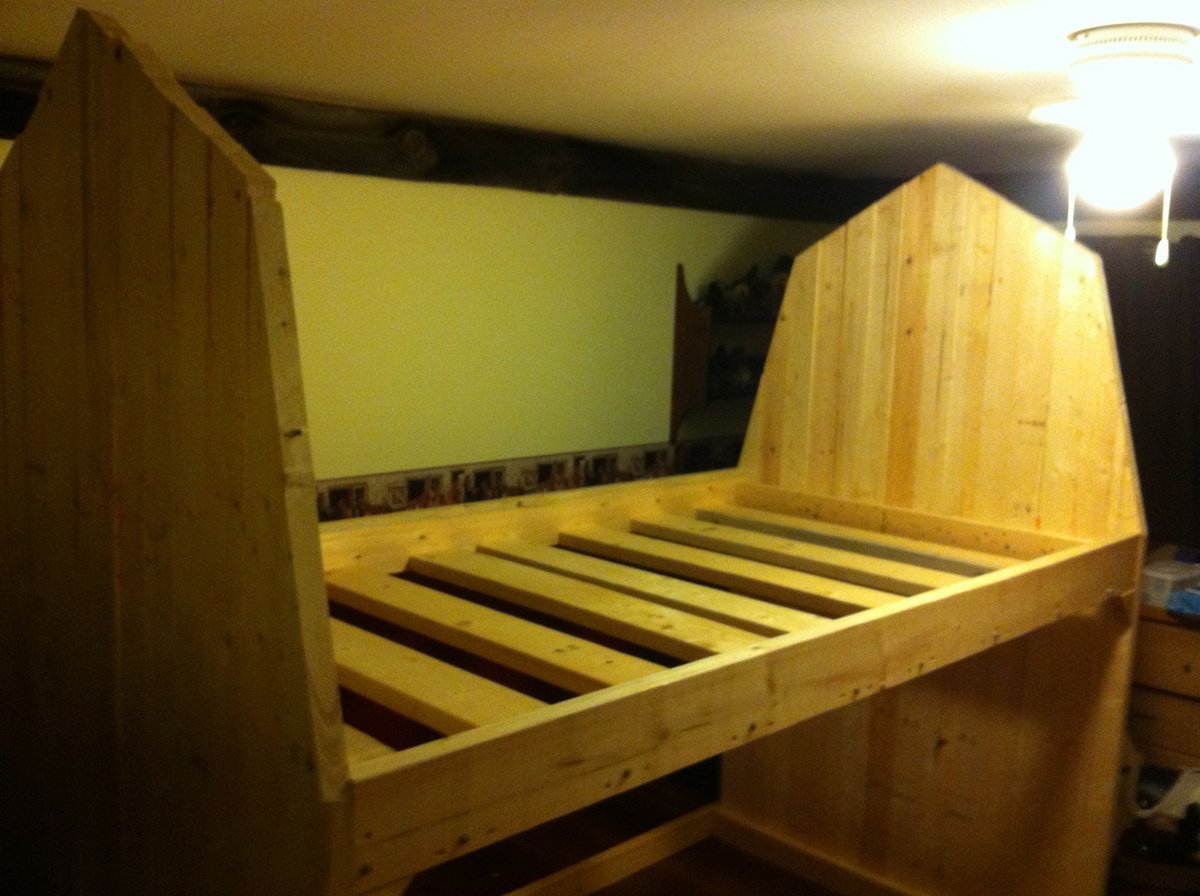
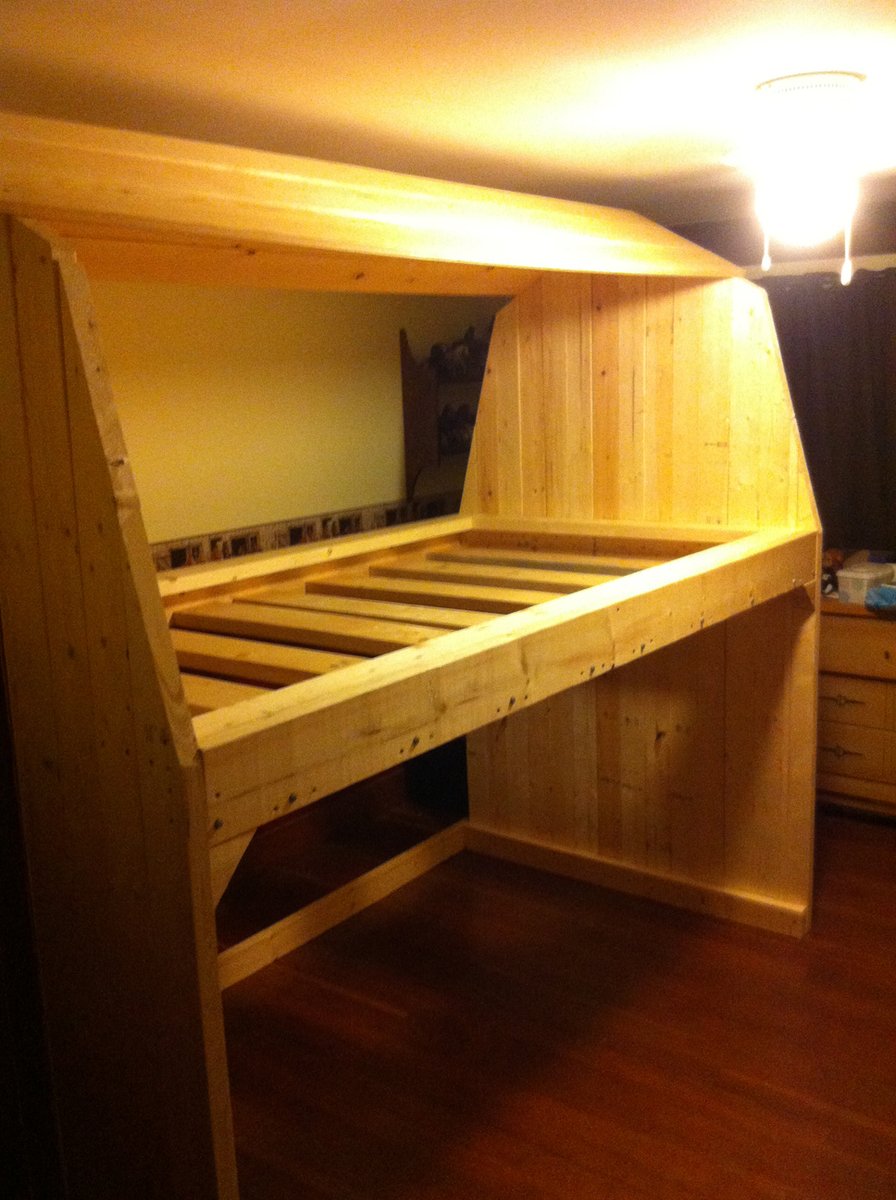
Assemble the bed frame to the 2x4 in step 3. I used lag screws here to secure the frame together. Attach one 2x6 on either side and then 2x6's running between the two.
Step 5
Step 6
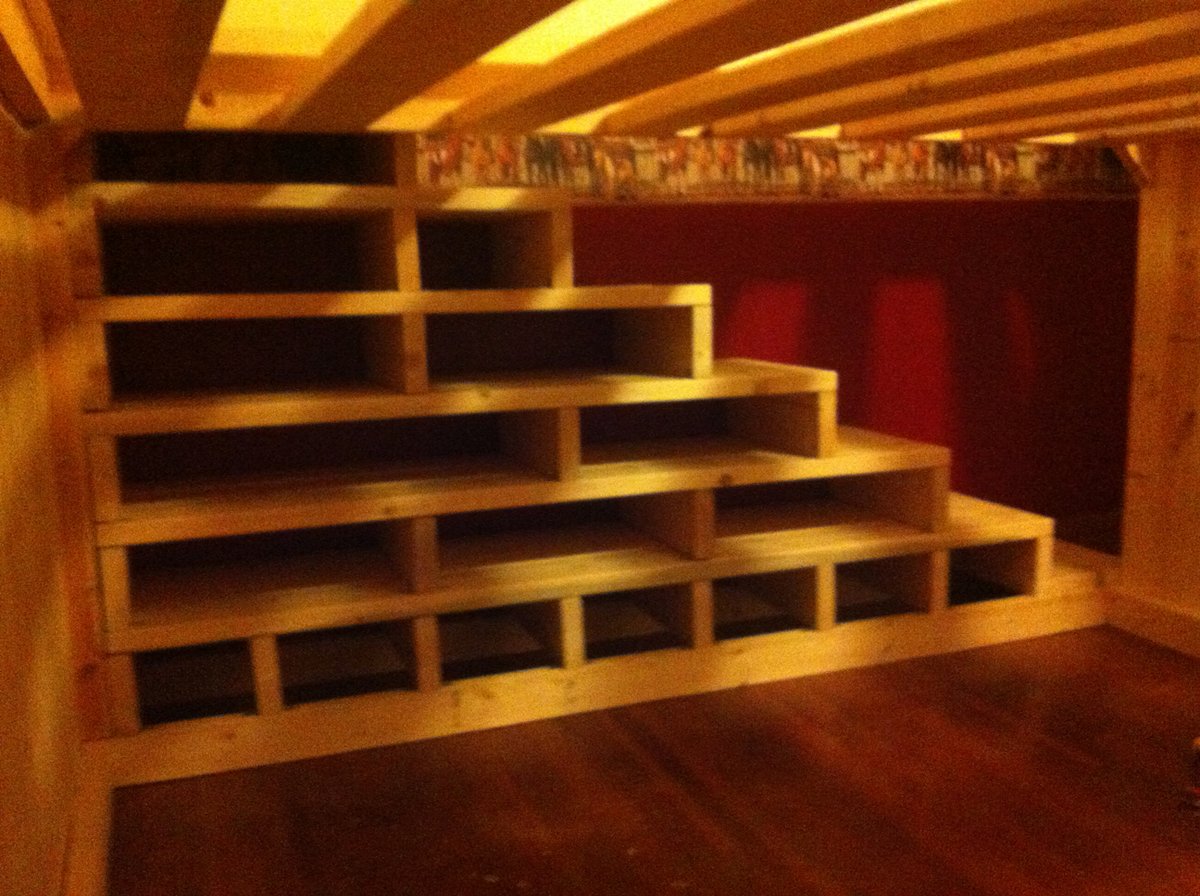
Assemble the stairs. 2-2x4's on the bottom secured to each barn end and then build up with 2x6's to the top of the bed frame. 16.5" wide (3-2x6's).
Step 7
Attached the remaining roof pieces (leaving an opening to get into the bed) using a metal strip to support the ends of the roof pieces. Attach to bed frame and at least one full length roof piece.
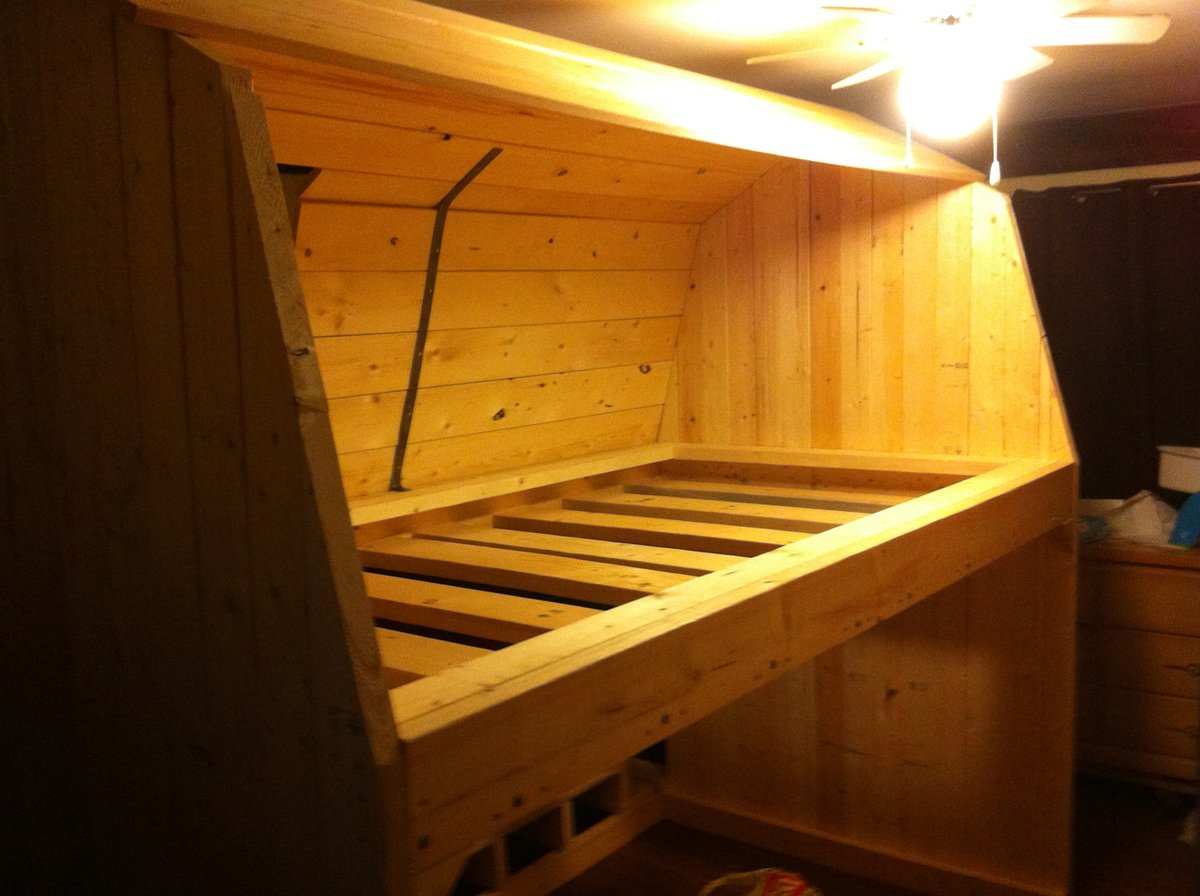
Step 8
Attach the guard rail using 4 hinges along the bed frame and 2 hooks at either end to hold it closed.
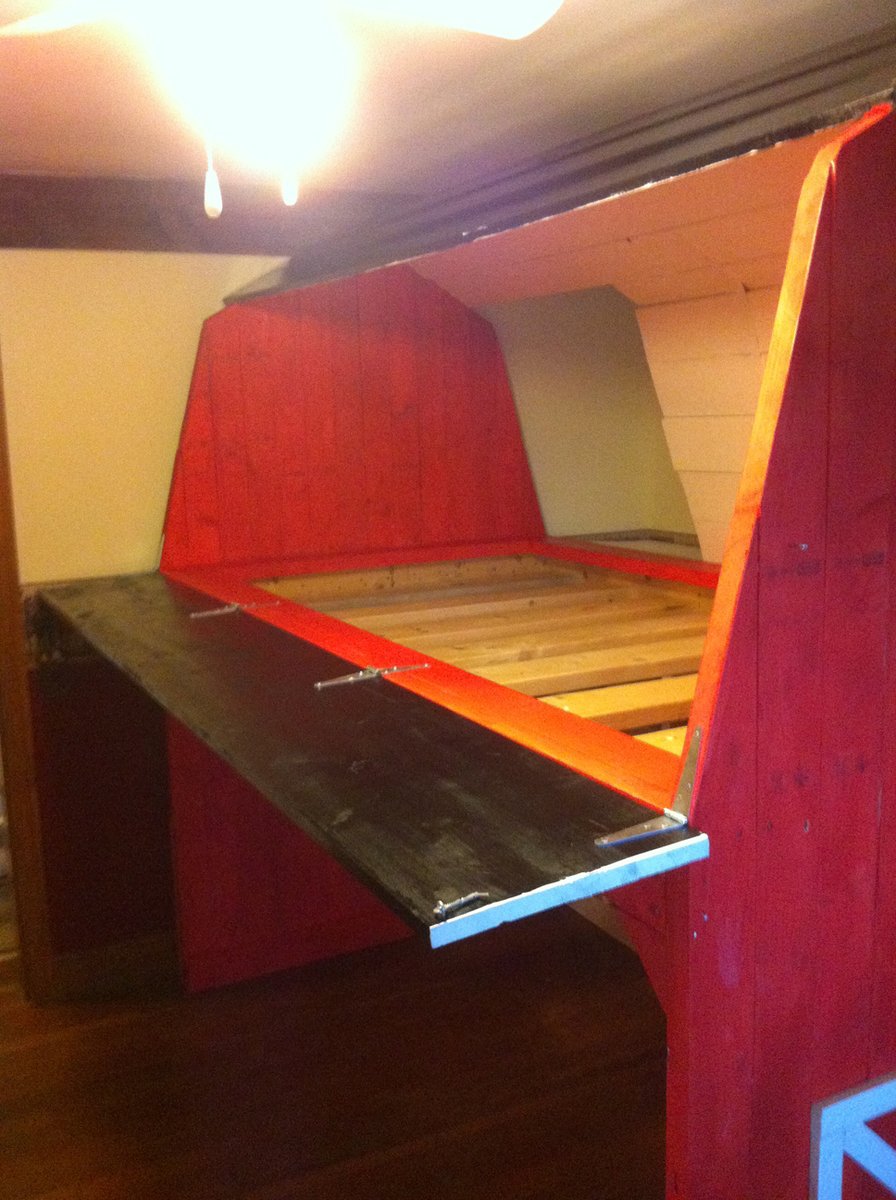
Step 9
Attach trim to make a decorative barn door and window.
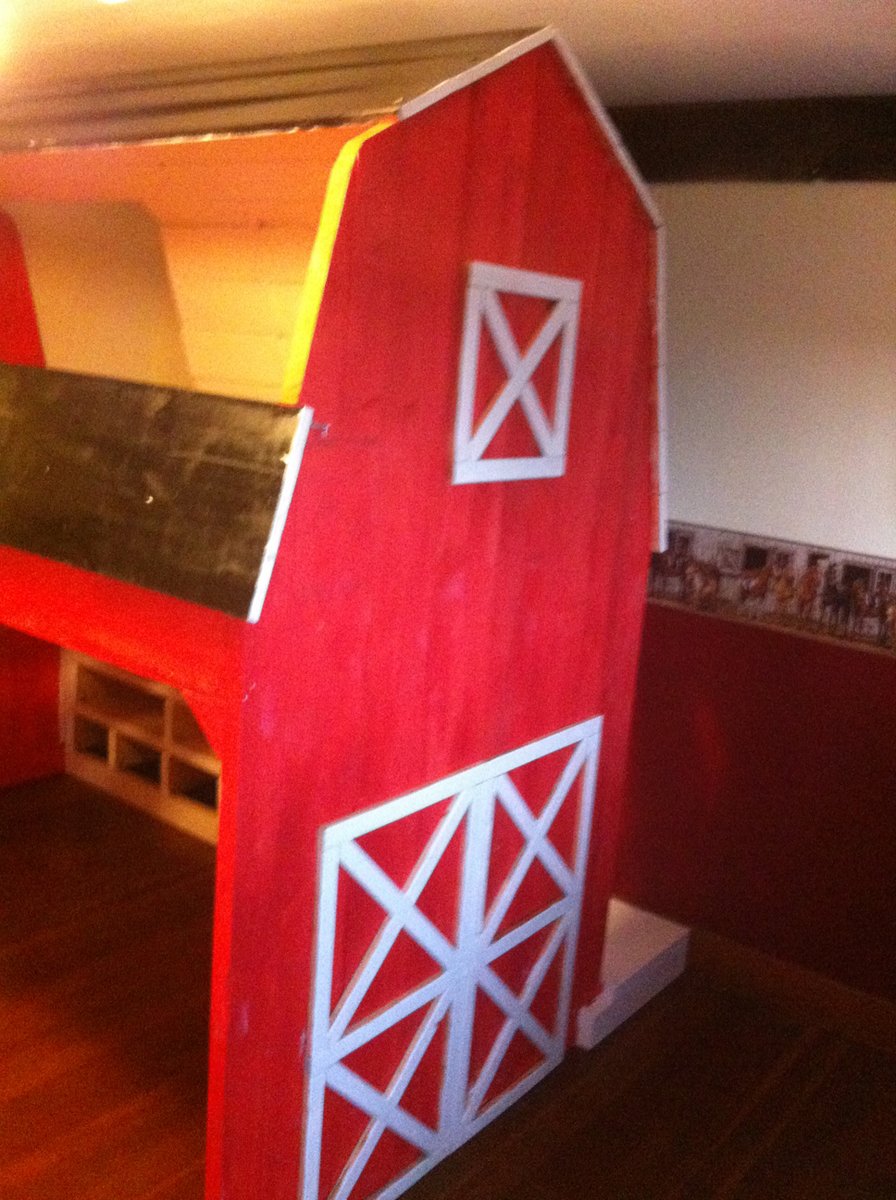
Step 10
Sand and Paint in classic barn colors
Finishing
Sand all surfaces, starting with a medium grit and finishing with fine. Wipe off the dust, fill any holes or gaps with wood filler, and sand smooth once dry. Apply primer if you're painting, then finish with your choice of paint or stain and seal with a durable clear topcoat. For outdoor projects, use exterior-rated primer, paint or stain, and sealer so the piece stands up to the weather.
Source (temporary): https://www.ana-white.com/woodworking-projects/classic-red-barn-bunk-bed