Corrugated Metal Raised Planter
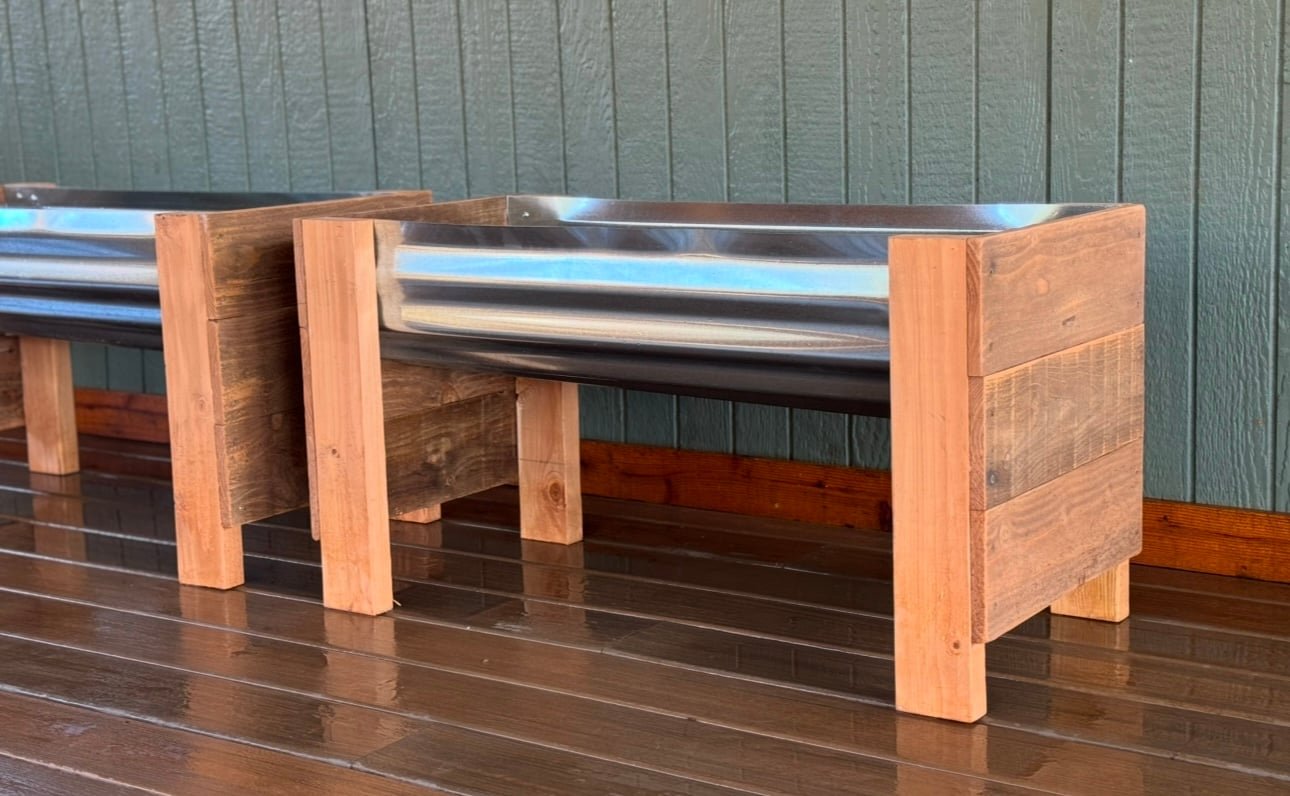
Here's how to make sturdy raised planters or garden beds quickly - use corrugated metal with 2x4s and cedar fence pickets. These garden beds can be placed on a deck, patio, or even lawn! You can modify to different sizes and styles easily. This is a free project plan that shows you how to build your own corrugated metal raised planters, with step by step plans, video, and lots of photos.
Specifications
| Project type | Planters, Garden Beds, and Greenhouses |
|---|---|
| Room | Outdoor |
| Difficulty | Starter Projects |
| Estimated cost | Under $20 |
Dimensions
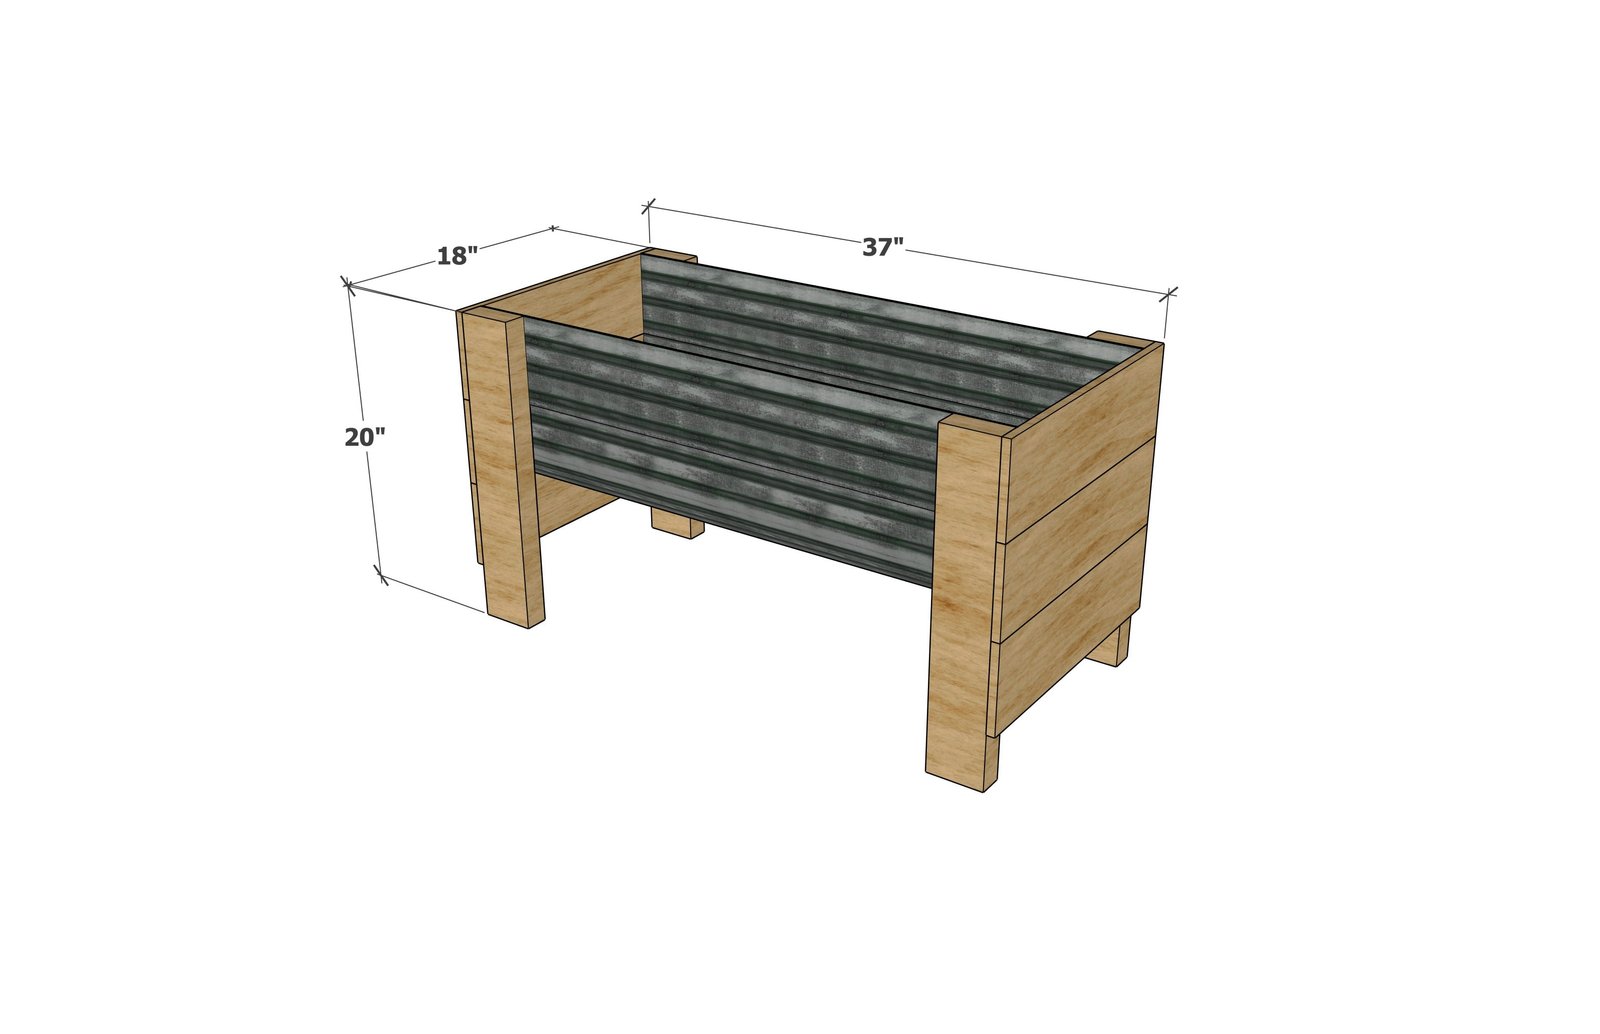
Use the size-specific shopping and cut lists below.
Shopping List
- 1 -2x4 @ 8 feet long (choose red toned or treated for longer lasting)
- 2 - 72" x 5-1/2" wide Cedar Fence Pickets (not dog eared)
- Metal roofing 26" wide x 36" long shown in the plans. 36" wide panels can also be used, will be a deeper raised bed, or could potentially go wider with the cedar fence pickets
- 24 - 1-1/2" self tapping exterior star bit screws
- 16 - 1-1/4" metal lathe or metal roofing screws
- Landscaping fabric and soil
Cut List
- 4 - 2x4 @ 20"
- 6 - Pickets @ 18"
Tools
- measuring tape
- pencil
- safety glasses
- hearing protection
- drill
- circular saw
- sander
Step-by-step Instructions
Step 1
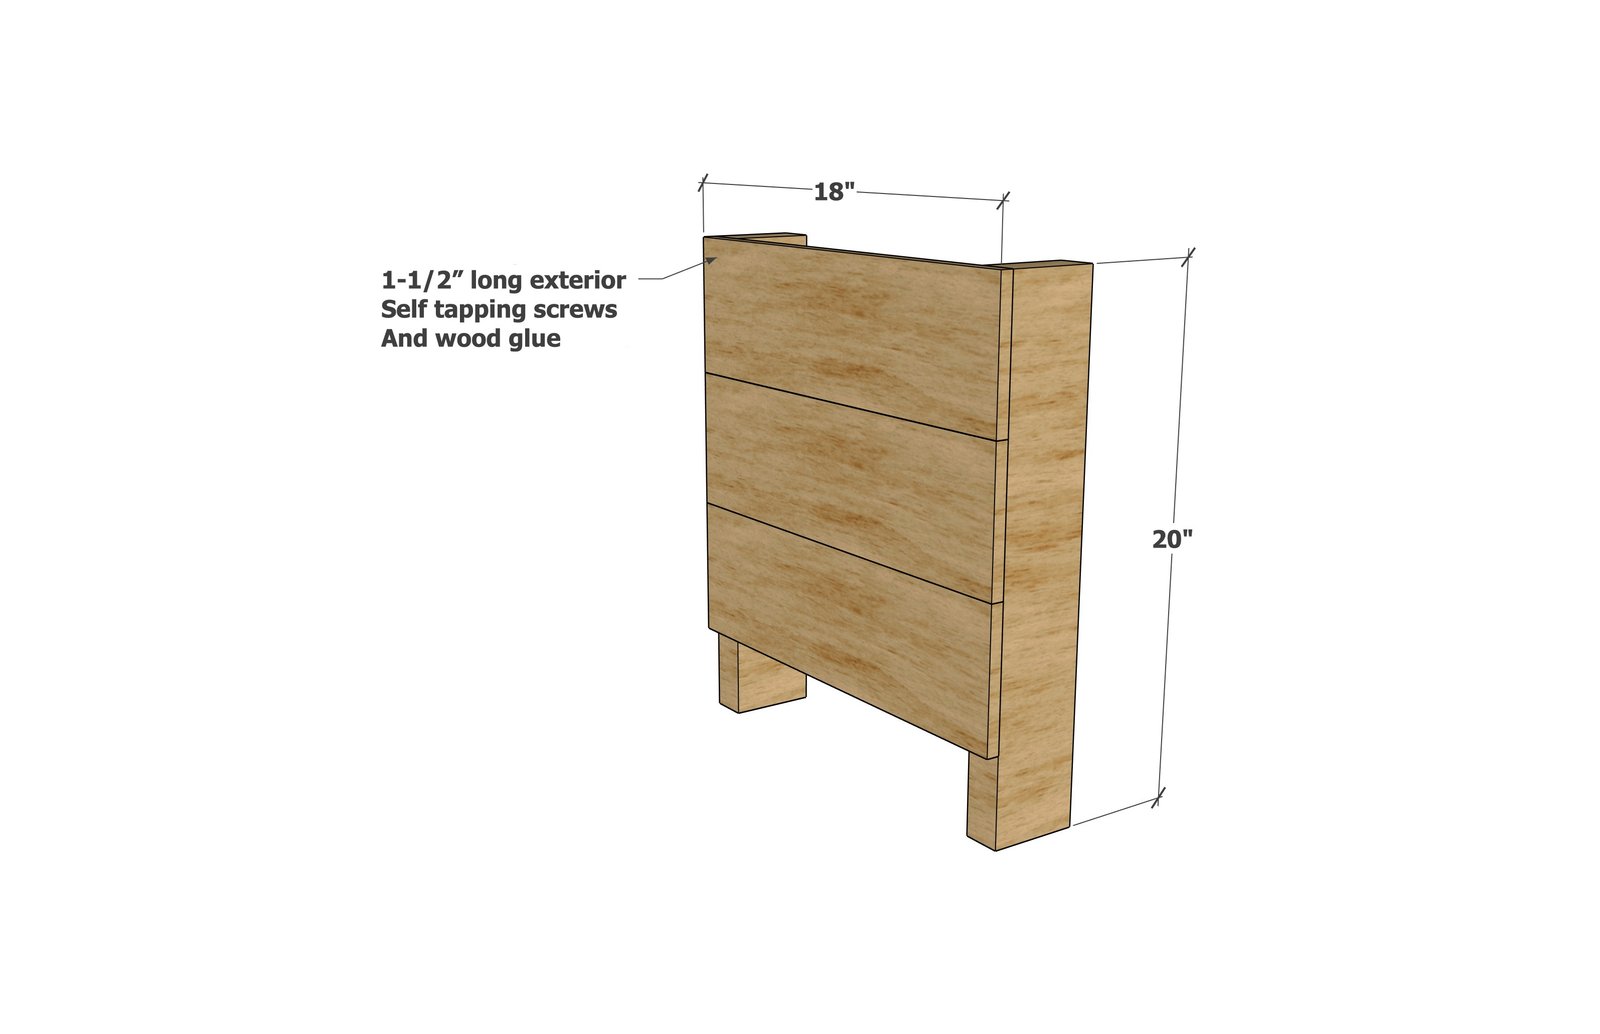
Build the legs for the ends using the 1-1/2" wood screws and wood glue.
Step 2
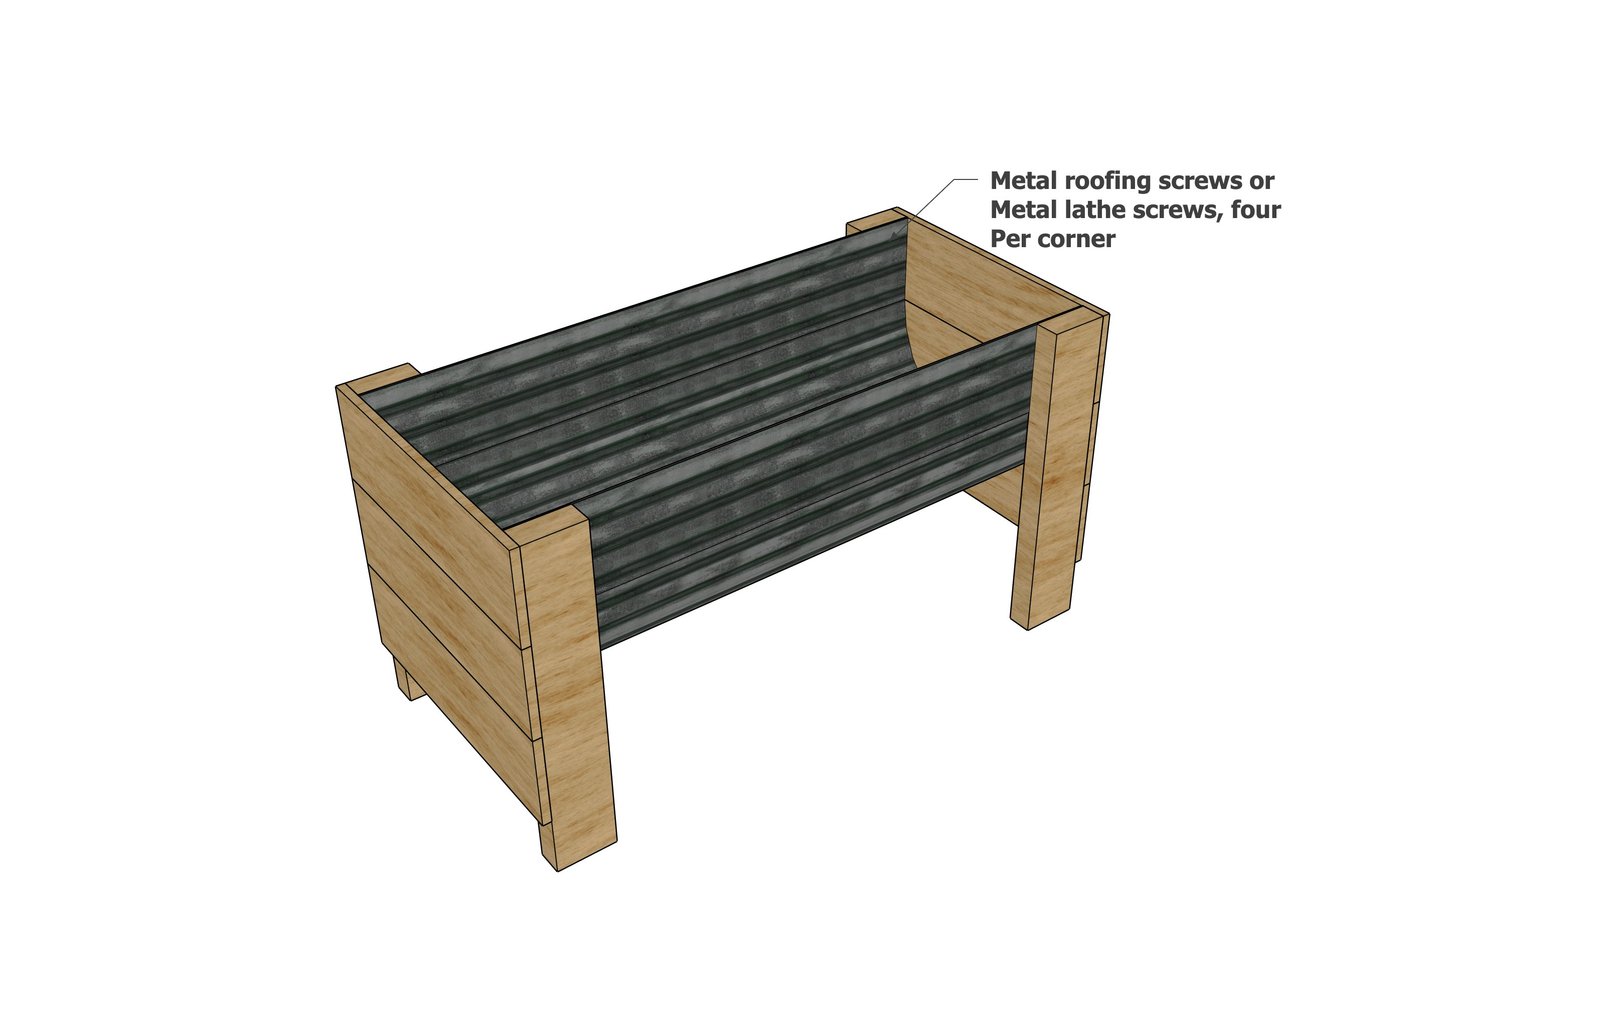
Add the metal roofing tin to the center, screwing securely to the legs.
Finishing
Sand all surfaces, starting with a medium grit and finishing with fine. Wipe off the dust, fill any holes or gaps with wood filler, and sand smooth once dry. Apply primer if you're painting, then finish with your choice of paint or stain and seal with a durable clear topcoat. For outdoor projects, use exterior-rated primer, paint or stain, and sealer so the piece stands up to the weather.
Source (temporary): https://www.ana-white.com/woodworking-projects/corrugated-metal-raised-planter-plans