Craftsman Frame
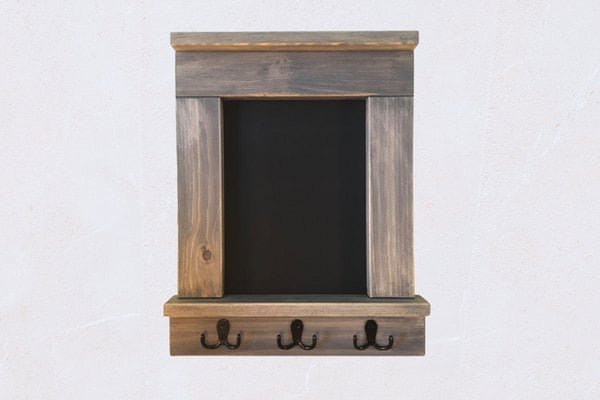
Free tutorial to build a craftsman style frame - no angle cuts and easy to build. Build in different sizes to fit your artwork or space. from
Specifications
| Project type | frames |
|---|---|
| Room | Teens |
| Style | Farmhouse Furniture |
| Difficulty | Starter Projects |
| Estimated cost | Under $20 |
Dimensions
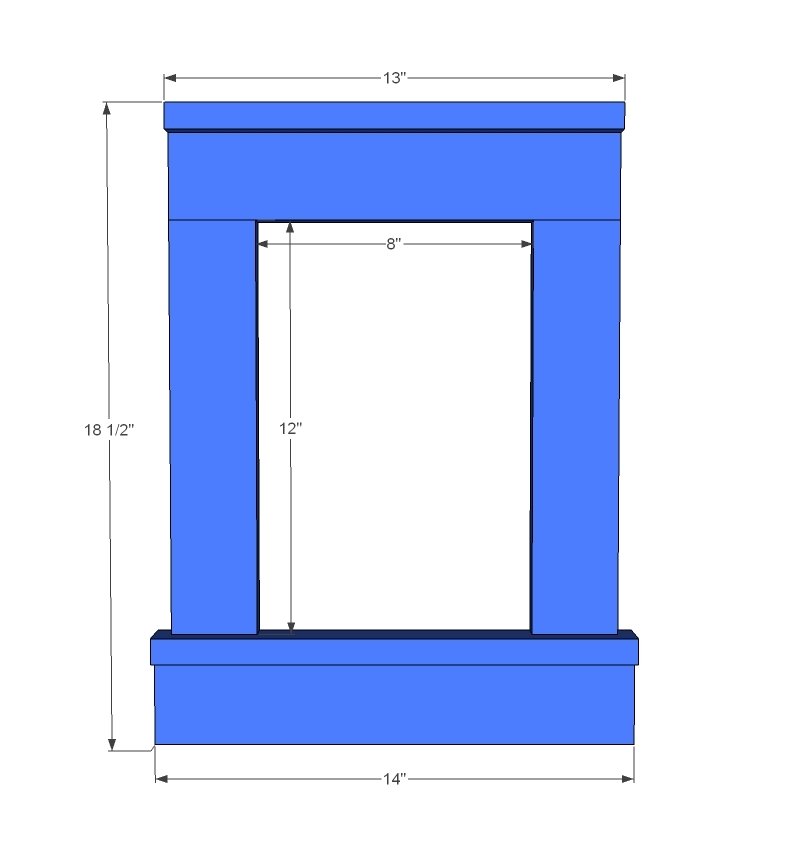
Use the size-specific shopping and cut lists below.
Shopping List
For a frame with inside measurement 8x12:
- 1 - 1x3 - 8 feet long
- 1 - 1x2 - 3 feet long
Cut List
For a frame with inside measurement 8x12:
- 2 - 1x3 @ 12" (sides)
- 1 - 1x2 @ 13" (top)
- 1 - 1x3 @ 13" (top)
- 1 - 1x2 @ 14" (bottom)
- 1 - 1x3 @ 14" (bottom)
Tools
- measuring tape
- pencil
- safety glasses
- hearing protection
- kreg-jig
- drill
- circular saw
Step-by-step Instructions
Step 1
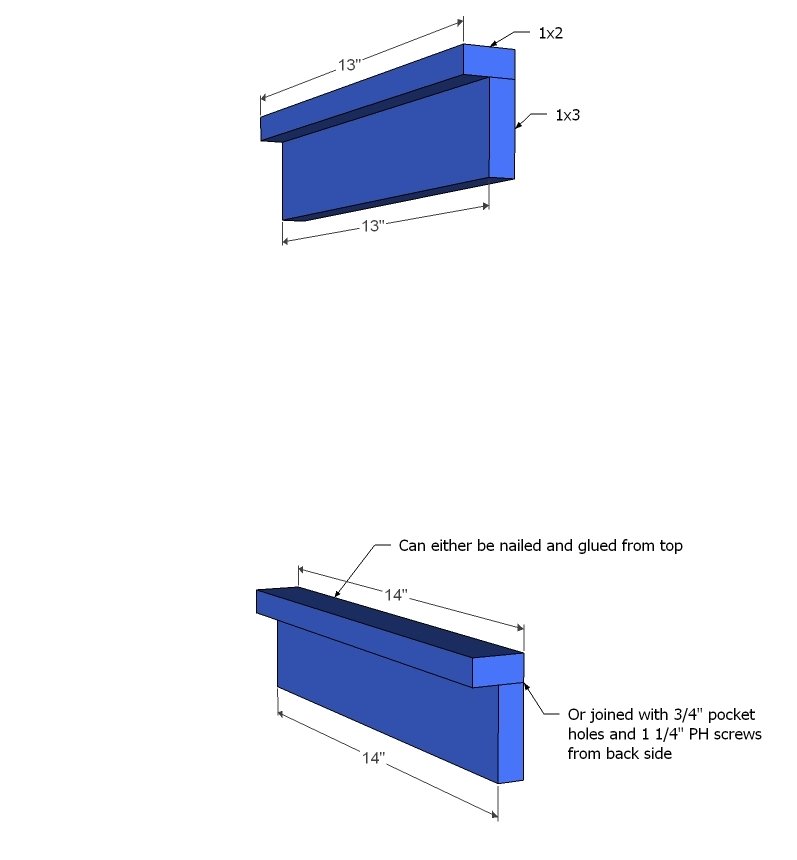
Attach the 1x2 to it's corresponding 1x3. The easiest way is 3/4" pocket holes and 1 1/4" pocket hole screws and glue.
Step 2
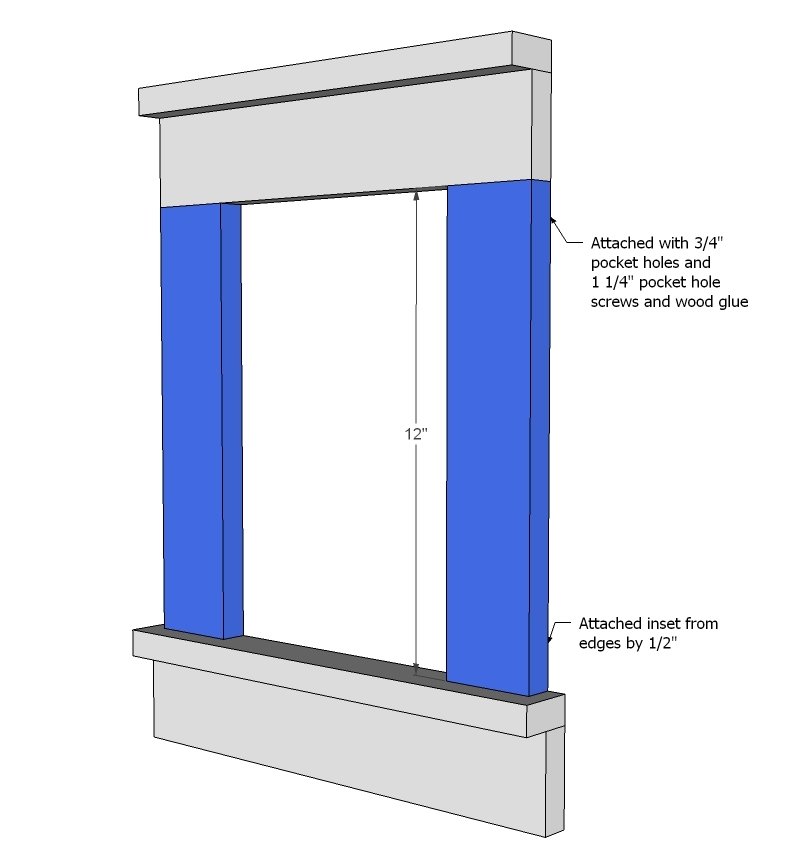
Now drill 2 3/4" pocket holes on each end of the sides and attach to top and bottom. Sometimes your wood will split when attaching this way. You can prevent by drilling slowly, and unscrewing and rescrewing screw as you go to soften up wood. Another trick is to take a small drill bit and predrill a hole into second board through first pocket hole with joint clamped. And if all else fails, this is a frame, no structure really here - so try setting jig to 1/2" setting and using 1" pocket hole screws. Frame can be hung with a sawtooth hanger or other hanging hardware.
Finishing
Sand all surfaces, starting with a medium grit and finishing with fine. Wipe off the dust, fill any holes or gaps with wood filler, and sand smooth once dry. Apply primer if you're painting, then finish with your choice of paint or stain and seal with a durable clear topcoat. For outdoor projects, use exterior-rated primer, paint or stain, and sealer so the piece stands up to the weather.
Source (temporary): https://www.ana-white.com/woodworking-projects/craftsman-frame