Cup Tree
Make this beautiful wooden cup tree from scraps! Free
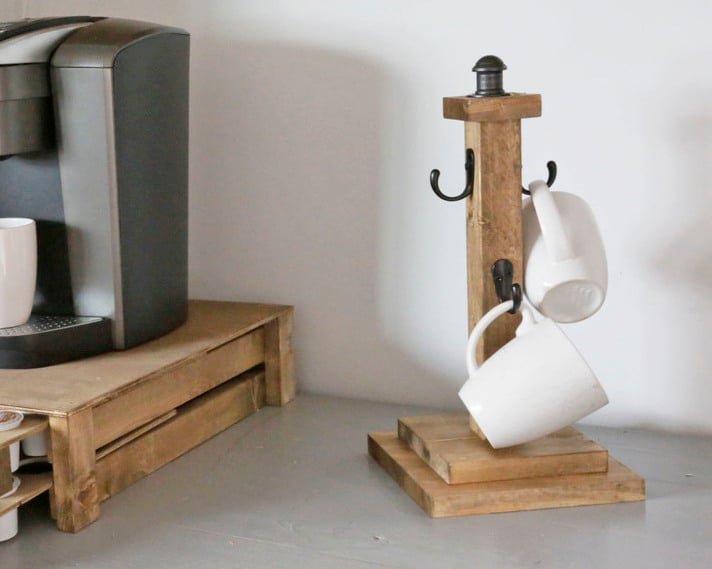
Specifications
| Project type | Kitchen Cabinet Plan, Accessories and Serving |
|---|---|
| Room | dining room |
| Style | Farmhouse Furniture |
| Difficulty | Starter Projects |
| Estimated cost | scraps |
Dimensions
Use the size-specific shopping and cut lists below.

Shopping List
1x8, 1x6, 1x3 scraps all at least a square size
2x2 @ 12" long
4 robe hooks
knob or curtain rod finial for the top (optional)
3" self tapping screw (Spax or similar)
1-1/4" brad nails
wood glue
Cut List
1 - 1x6 @ 5-1/2"
1 - 2x2 @ 12"
1 - 1x8 @ 7-1/4"
1 - 1x3 @ 2-1/2"
Tools
- measuring tape
- safety glasses
- hearing protection
- drill
- compound miter saw
- sander
Step-by-step Instructions
Drill a small pilot hole in the center of the 1x6, all the way through.
Drill a small pilot hole in the bottom center of the 2x2, about 1/2" deep.
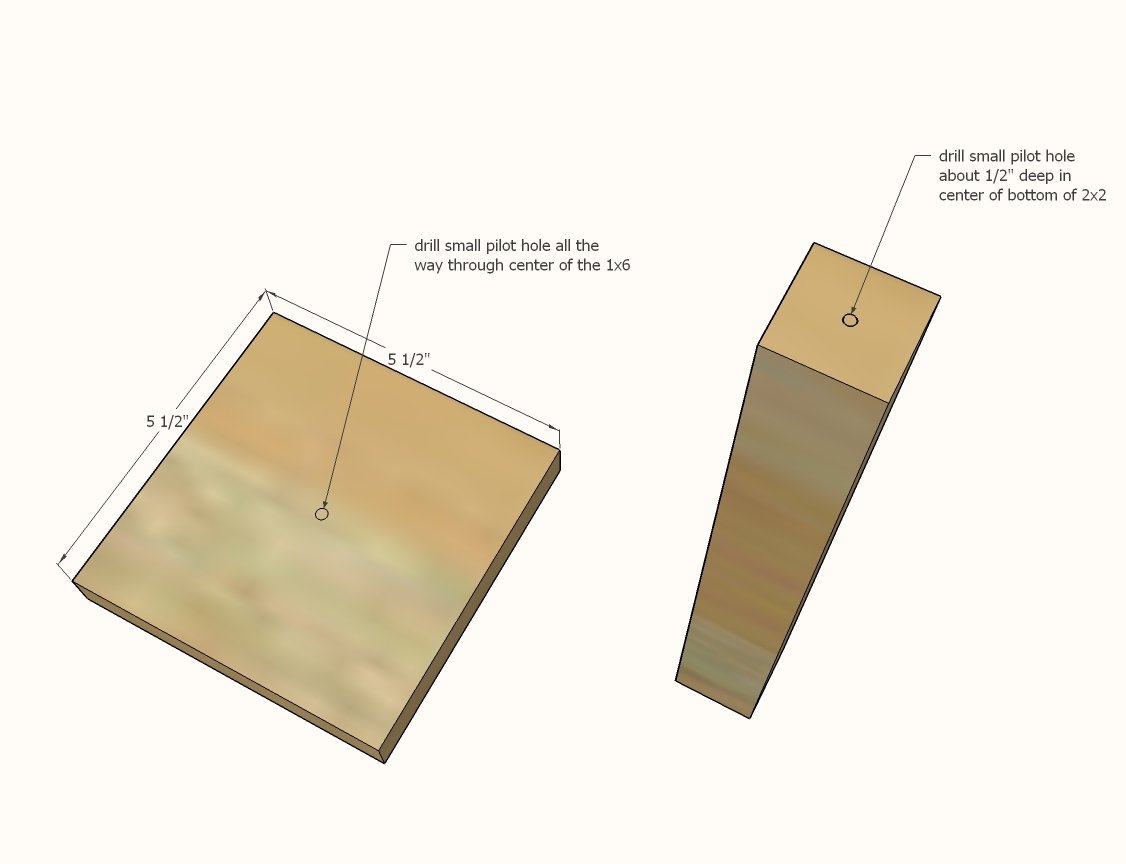
Thread the 3" wood screw all the way through the 1x6 so the tip protrudes out.
Line the screw tip up with the hole in the bottom of the 2x2. Tighten the screw until the 2x2 is attached to the 1x6. Straighten the 2x2.
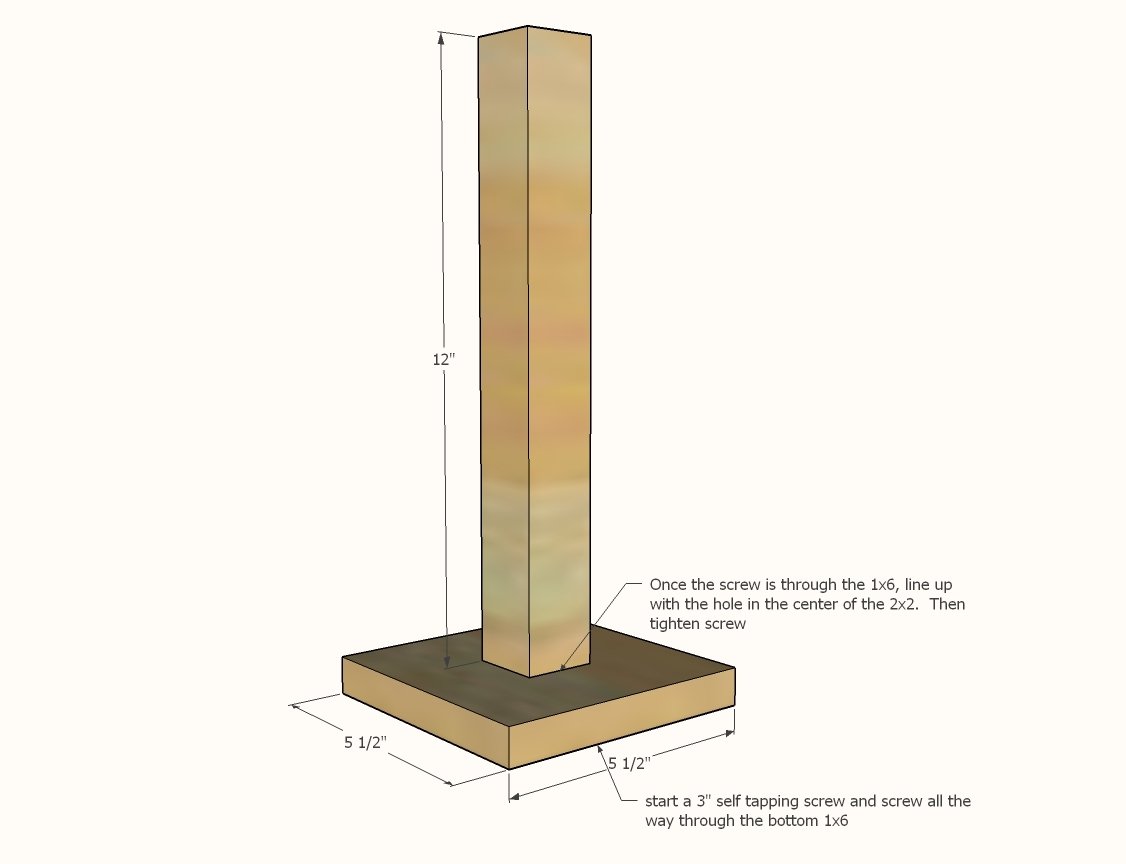
Step 3
Apply glue to the bottom of the 1x6. Center the 1x6 on the 1x8. Attach with 1-1/4" brad nails.
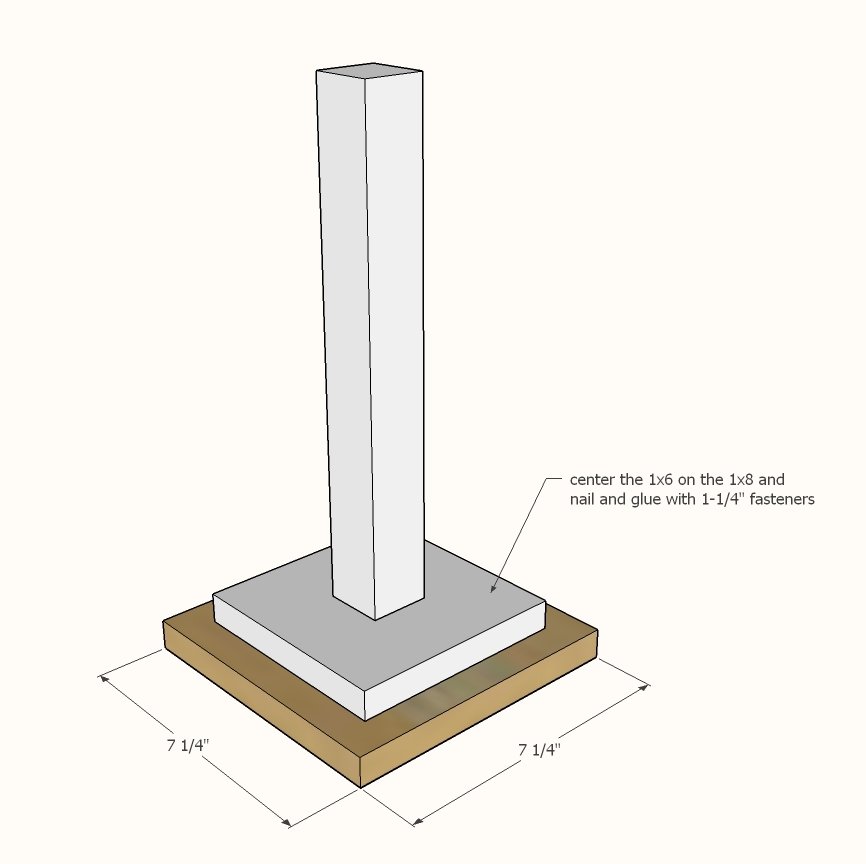
If using a curtain rod finial, skip this step.
Drill a hole sized for the knob screw you are using in the center of the 1x3 and mount the knob to the 1x3. Depending on the screw head, you may need to drill out the top of the 2x2 for the screw head to have clearance.
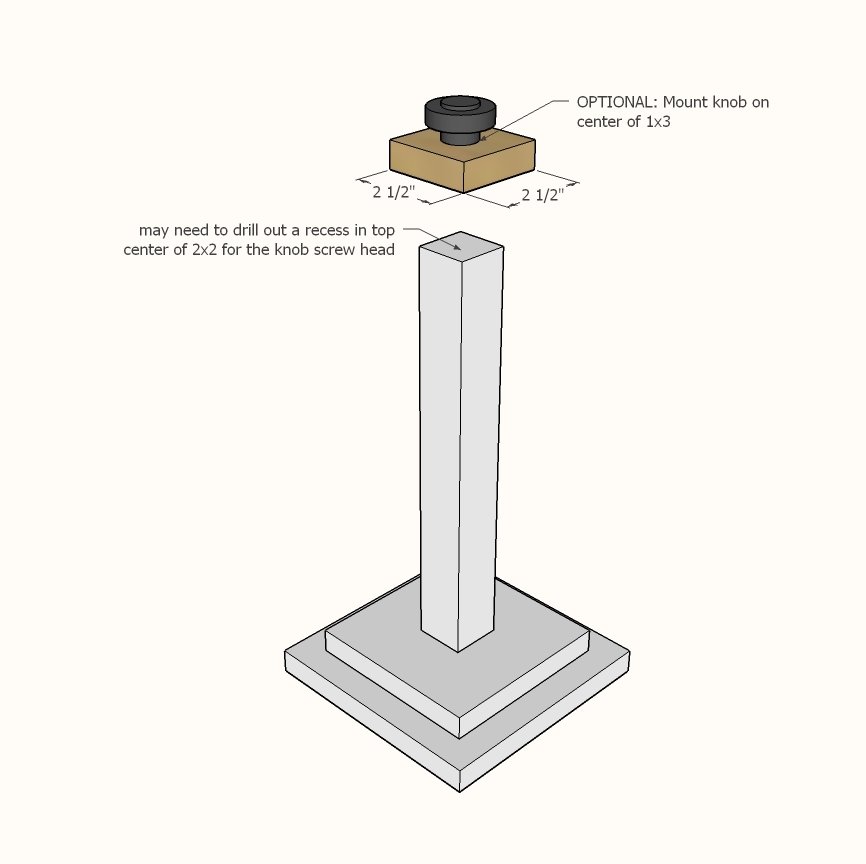
Step 5
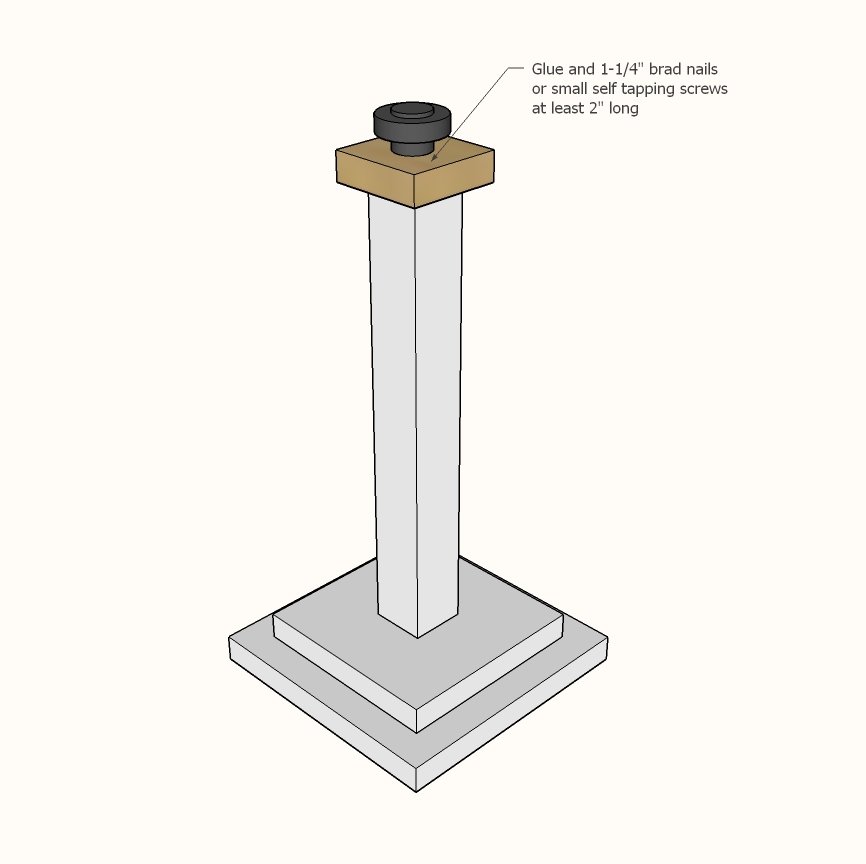
Step 6
Attach hooks to the 2x2. I recommend starting with the tops hooks close to the top of the 2x2. Hang the cups, and then place the lower row of hooks and attach.
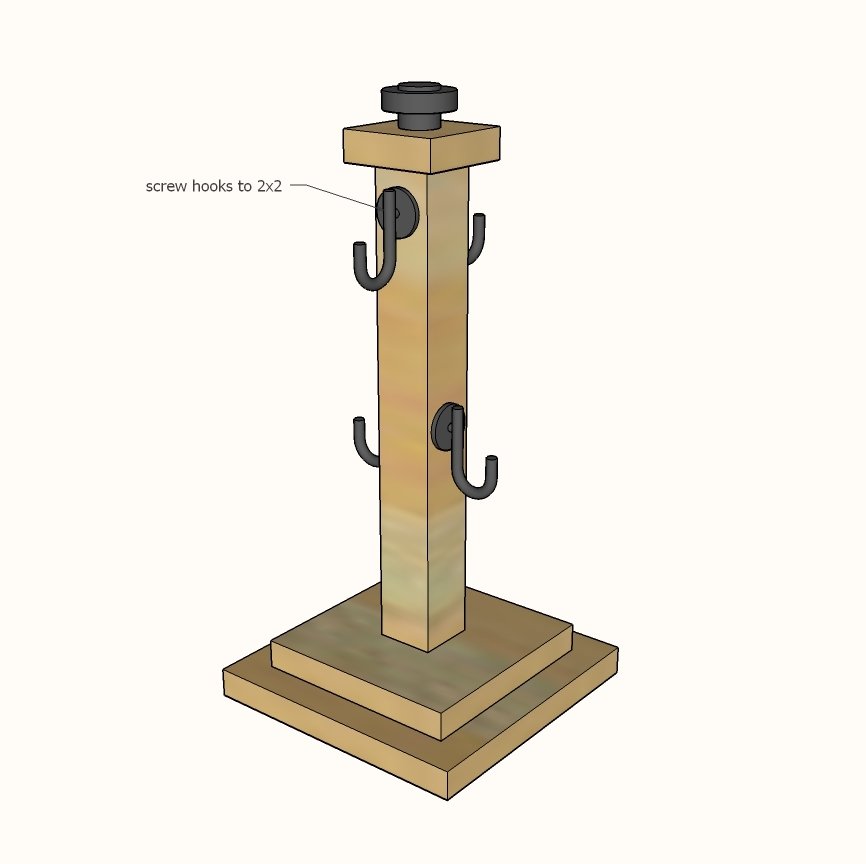
Finishing
Sand all surfaces, starting with a medium grit and finishing with fine. Wipe off the dust, fill any holes or gaps with wood filler, and sand smooth once dry. Apply primer if you're painting, then finish with your choice of paint or stain and seal with a durable clear topcoat. For outdoor projects, use exterior-rated primer, paint or stain, and sealer so the piece stands up to the weather.
Source (temporary): https://www.ana-white.com/woodworking-projects/cup-tree