Custom Decorative Privacy Screen
With already a guest in our guest room, we hosted a second guest in our living room. Needing to create some privacy, none of the premade shoji screens out there fit our decor. I wanted something more simple, warm and sturdy for our 1-year-old to be around than a screen made with rice paper. This decorative screen was made in a weekend and was a fun project. Enjoy.
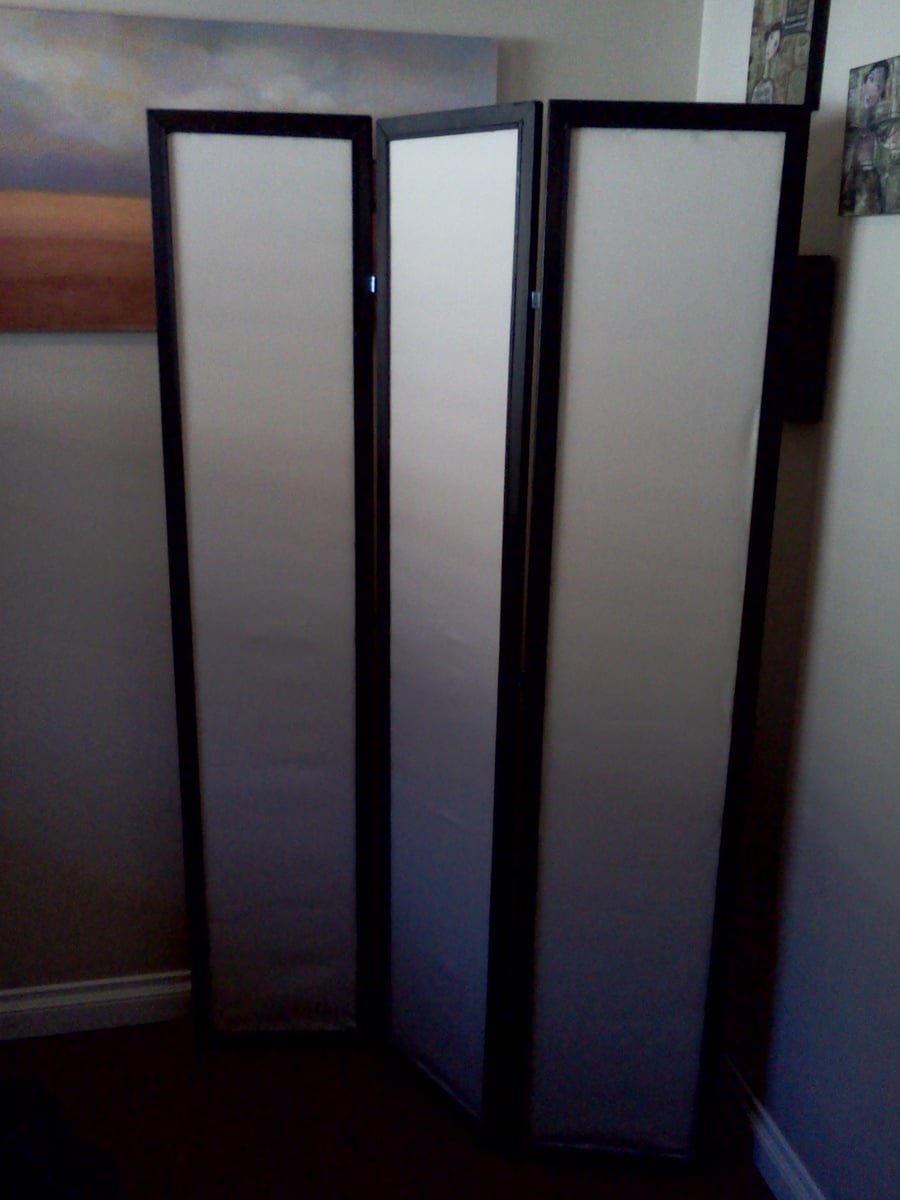
Specifications
| Project type | Upholstered Projects |
|---|---|
| Room | living room |
| Style | Cottage Style Furniture Plans |
| Difficulty | Intermediate |
| Estimated cost | $20 - $50 |
Shopping List
9 1x2x6'
15 3' length 1/4" square dowels
2 yards cotton fabric
4 narrow, medium duty hinges
Cut List
Frames:
6 1x2x72" mitered 45 degrees at both ends
6 1x2x14" mitered 45 degrees at both ends
Fabric:
3 14" x 70" sheets of fabric
Tools
- measuring tape
- square
- pencil
- hammer
- safety glasses
- hearing protection
- drill
- compound miter saw
- table saw
- nailer
- staple gun
- countersink drill bit
Step-by-step Instructions
Step 1
Once you have cut your pieces, lay them out to ensure proper fit. Then, drill a pilot hole at the end of each of the short pieces, approximately 3/4-1" from the ends into the 45 degree angled sections (this is where your screws will connect to the larger 1x2s). Do this for all 12 ends of the shorter boards.
Step 2
Using screws and finish nails, connect one long board and one short board to make a right angled L-shaped piece of wood. Use a clamp to ensure proper fit. Do this 6 times. Then, repeat the process and connect all 6 Ls together. You’ll have 3 rectangular frames.
Step 3
Paint or stain your project now. I used General Finishes Java Gel Stain. Make sure project dries completely as you don’t want to get any stain onto your fabric. Don’t forget to stain the square dowels.
Step 4
Once wood is dry, lay pieces of fabric into frames. Stretch to provide desired tautness while using staple gun to affix fabric to frames. Do this for all 3 frames (TIP: first affix one long side, then one short side, then, pull the fabric to desired tautness and staple on the next long side and “seal” at the last short end). You’re nearly there! Three frames that just now need to be doweled and attached.
Step 5
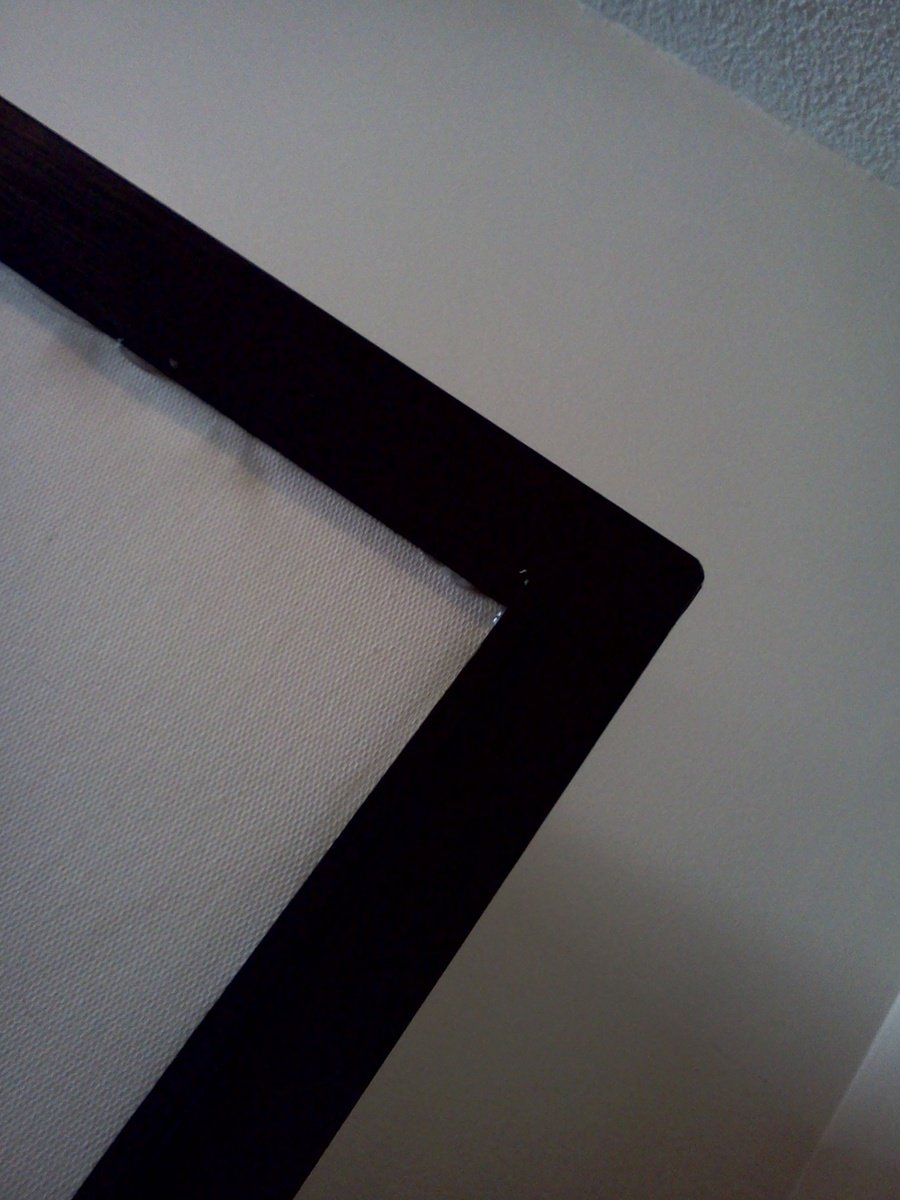
Step 6
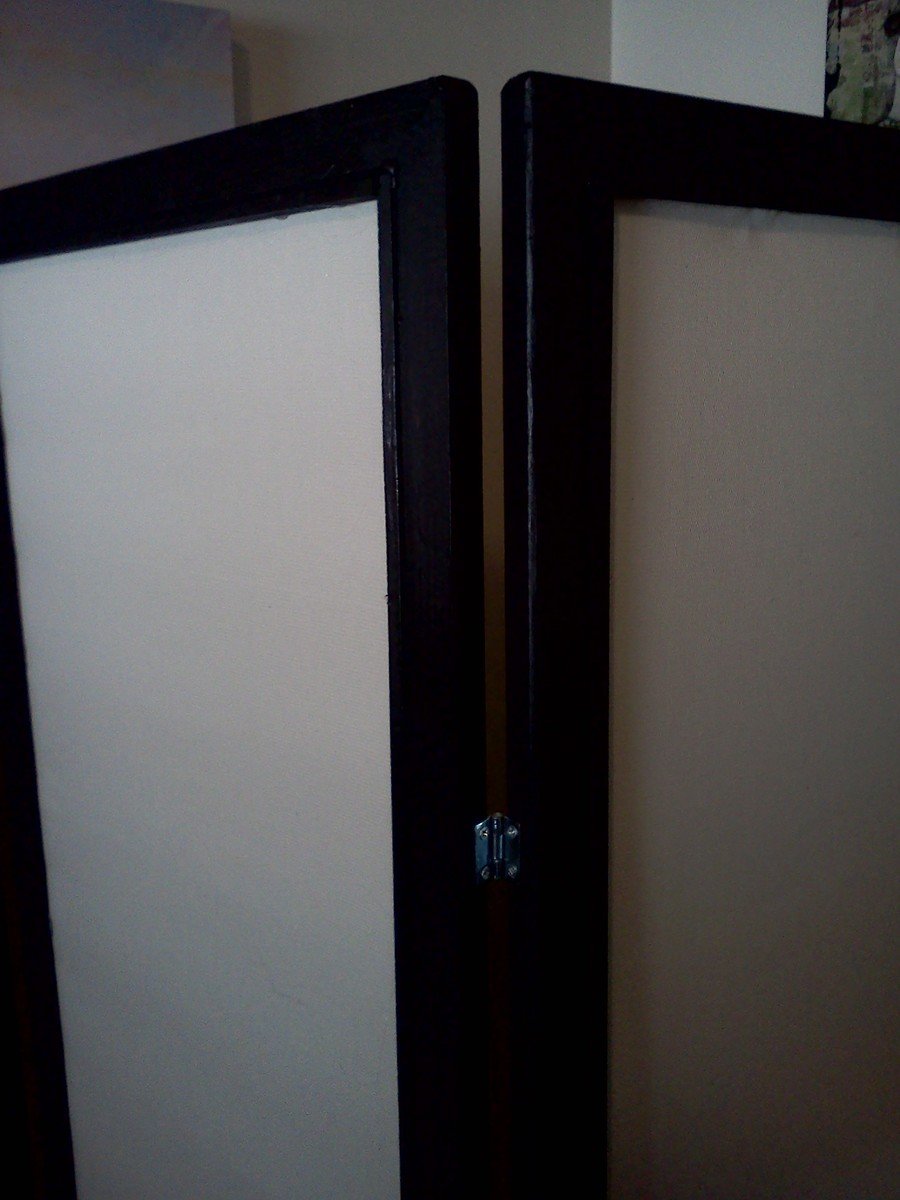
Using your hinges, attach at the top and bottom (I measured 1’ in from the ends), and you’re done.
Finishing
Sand all surfaces, starting with a medium grit and finishing with fine. Wipe off the dust, fill any holes or gaps with wood filler, and sand smooth once dry. Apply primer if you're painting, then finish with your choice of paint or stain and seal with a durable clear topcoat. For outdoor projects, use exterior-rated primer, paint or stain, and sealer so the piece stands up to the weather.
Source (temporary): https://www.ana-white.com/woodworking-projects/custom-decorative-privacy-screen