Daybed
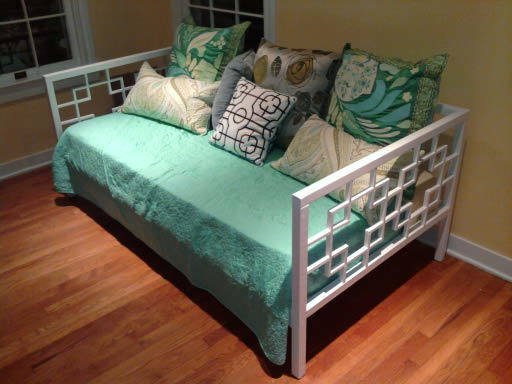
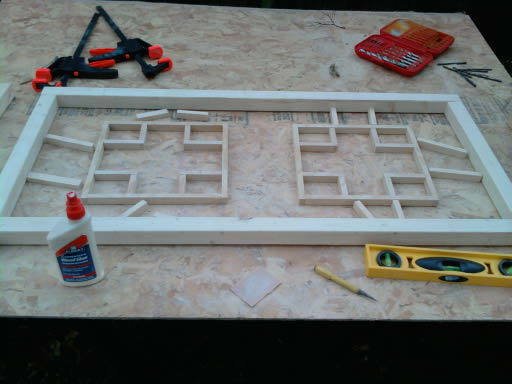
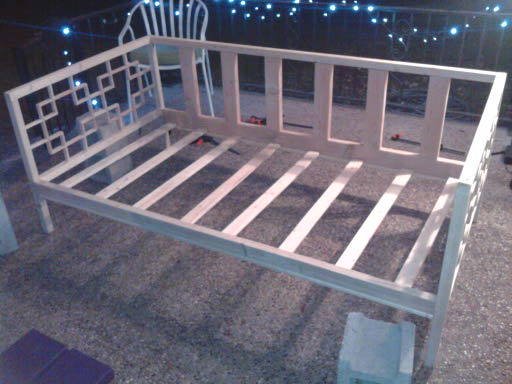
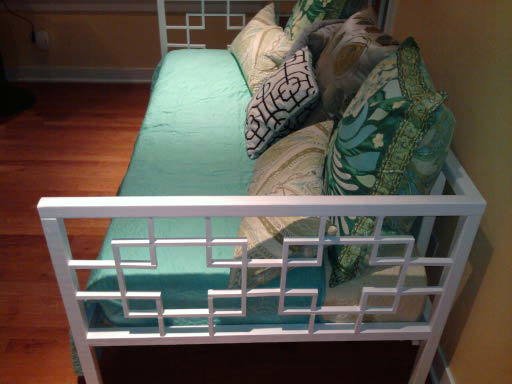
Full size day-bed. After making all the cuts, I started on the sides by gluing and nailing the 1/2 X 3/4 wood into the side design. That was the most difficult part of the build. The rest of the bed went fairly smooth but it did take me well into the night to get it sanded and painted. I got the plans from this site after we had seen this same bed at a furniture store for about ten times the cost of what it took me.
Specifications
| Project type | Outdoor Projects |
|---|---|
| Room | Outdoor |
| Style | Cottage Style Furniture Plans |
| Difficulty | Beginner Projects |
| Estimated cost | $20 - $50 |
Tools
- measuring tape
- square
- pencil
- hammer
- safety glasses
- drill
- compound miter saw
- sander
- level
- countersink drill bit
Step-by-step Instructions
Step 1
Step 2
Step 3
Step 4
Step 5
Finishing
Sand all surfaces, starting with a medium grit and finishing with fine. Wipe off the dust, fill any holes or gaps with wood filler, and sand smooth once dry. Apply primer if you're painting, then finish with your choice of paint or stain and seal with a durable clear topcoat. For outdoor projects, use exterior-rated primer, paint or stain, and sealer so the piece stands up to the weather.
Source (temporary): https://www.ana-white.com/woodworking-projects/daybed