Rustic Wall Clip Frame
Create this charming wall-mounted clip frame using simple 1x2 boards. Designed with horizontal slats and clothespins, it’s perfect for displaying photos, cards, notes, or small keepsakes. The clean, framed look comes from side pieces mounted over the slats.
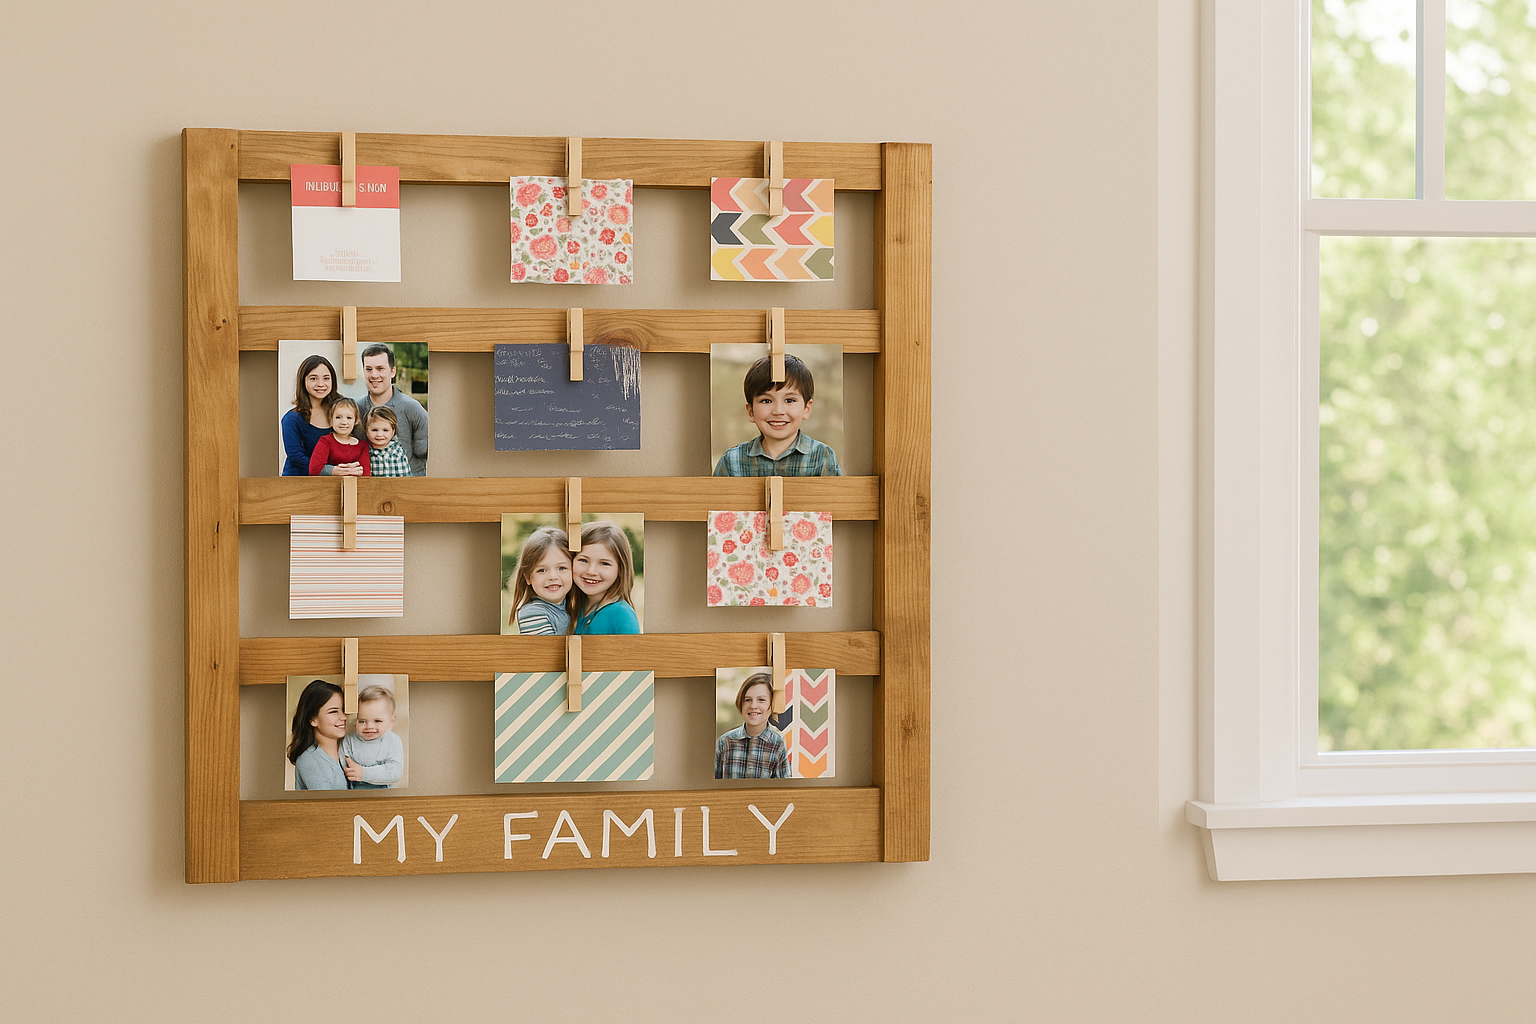
Specifications
| Project type | frames |
|---|---|
| Room | Teens |
| Style | Cottage Style Furniture Plans |
| Difficulty | Starter Projects |
| Estimated cost | scraps |
Shopping List
Shopping List for Wall Photo Display
- 2 - 1x2 @ 8 feet long
- 1 - 1x3 @ 2 feet long
- 12 wood clothespins
- wood stain
- wood glue
- 1-1/4" brad nails
Cut List
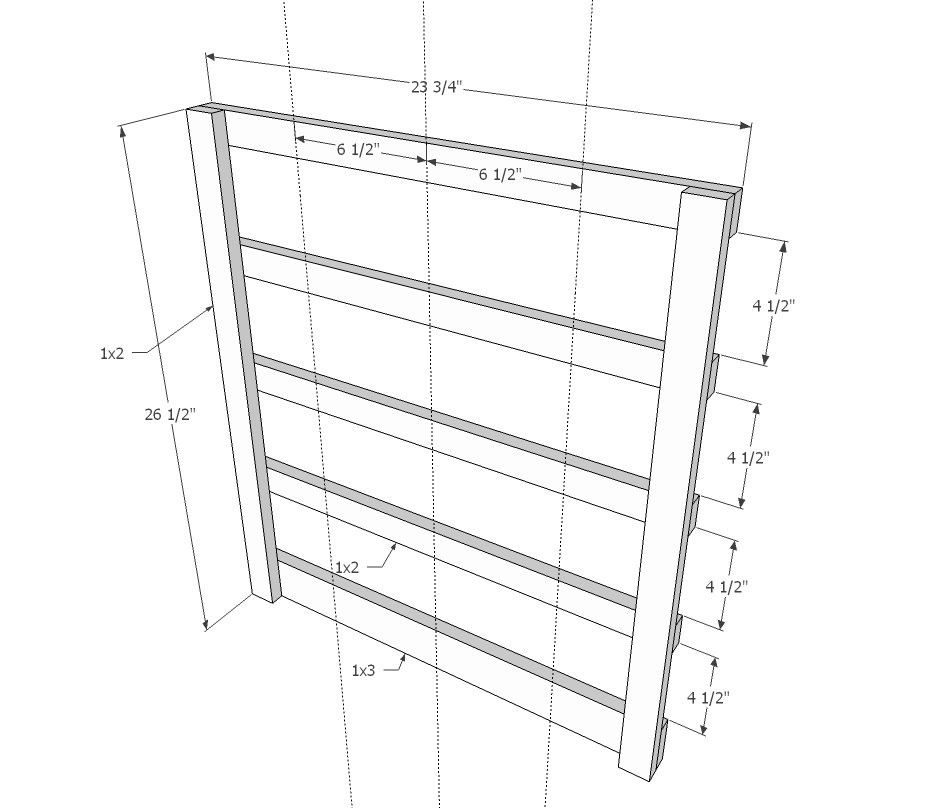
- 4 - 1x2 @ 23-3/4" long
- 1 - 1x3 @ 23-3/4" long
- 2 - 1x2 @ 26-1/2" long
Tools
- measuring tape
- square
- pencil
- safety glasses
- hearing protection
- compound miter saw
- nailer
Step-by-step Instructions
Step 1
Attach with ends square in all four corners with 1-1/4" brad nails or staples with glue. Take diagonal measurements from opposite outside corners to ensure project is square. Adjust if necessary until diagonals match. Attach remaining 1x2 boards to side boards, two fasteners per joint, using glue. Stain project and let dry. Glue clothespins to frame in center and 6-1/2" from center. Hang with a picture hanging kit on back.
Finishing
Sand all surfaces, starting with a medium grit and finishing with fine. Wipe off the dust, fill any holes or gaps with wood filler, and sand smooth once dry. Apply primer if you're painting, then finish with your choice of paint or stain and seal with a durable clear topcoat. For outdoor projects, use exterior-rated primer, paint or stain, and sealer so the piece stands up to the weather.
Source (temporary): https://www.ana-white.com/woodworking-projects/diy-rustic-wall-clip-frame