Upholstered Poufs
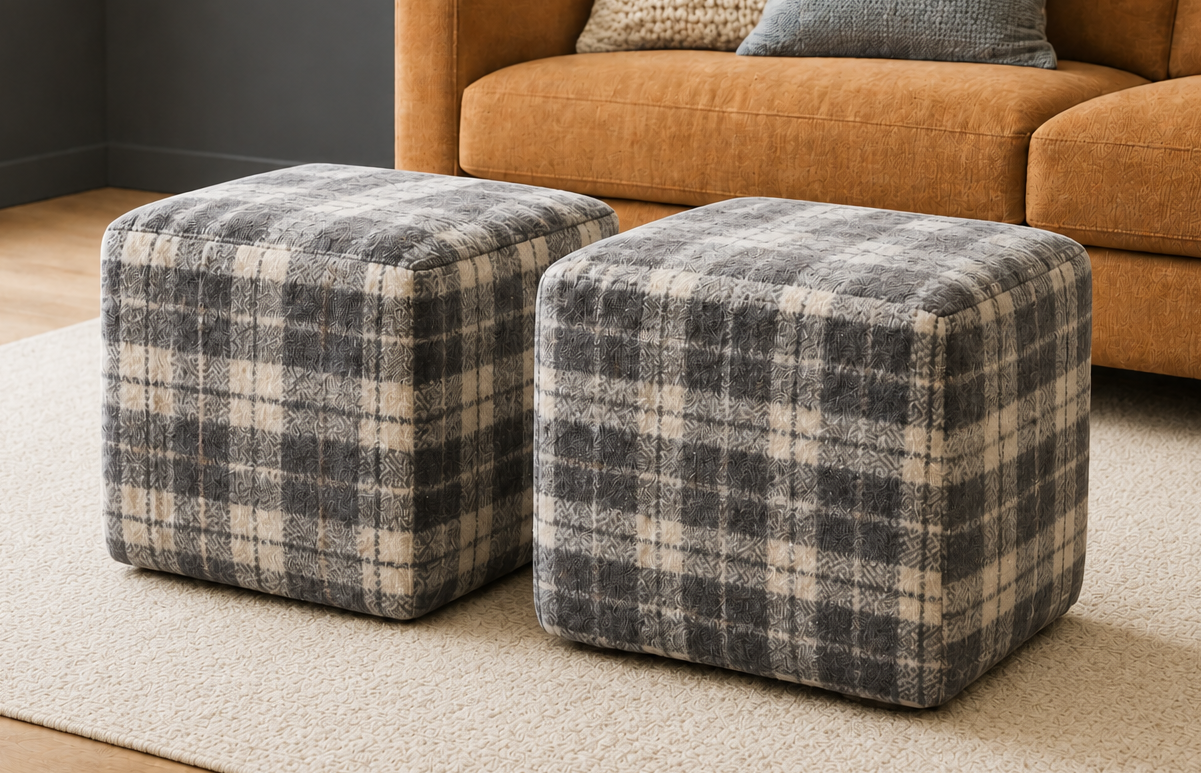
Build your own lightweight upholstered poufs for extra seating or a comfy footrest! These beginner-friendly cube ottomans use inexpensive furring strips, thick cardboard, foam and fabric. Customize them with any fabric to perfectly match your living room, bedroom or kids’ space—all for less than buying ready-made.
Specifications
| Project type | Stools |
|---|---|
| Room | Teens |
| Style | Cottage Style Furniture Plans |
| Difficulty | Beginner Projects |
| Estimated cost | Under $20 |
Dimensions
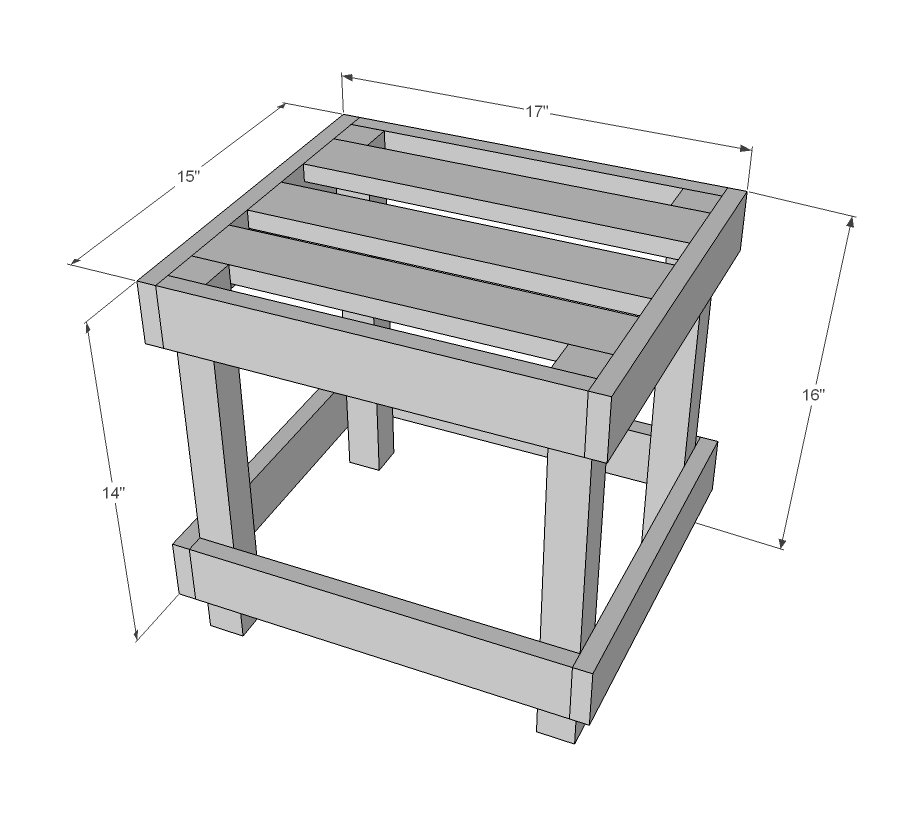
Use the size-specific shopping and cut lists below.
Shopping List
- 2 – 1x3 boards 8 feet long
- 1 – 2x2 board 8 feet long
- Thick cardboard
- ½” staples
- 2” screws
- 1 yard batting
- 1 yard decorator fabric
- 1 – 15” x 17” x 2” foam
Cut List
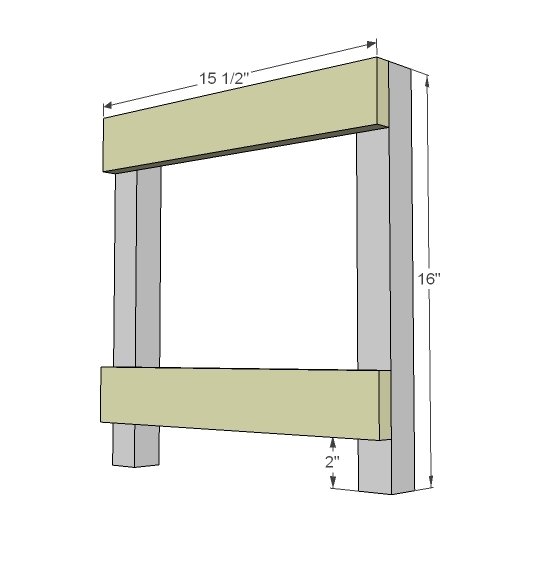
- 7 – 1x3 @ 15 ½”
- 4 – 2x2 @ 16”
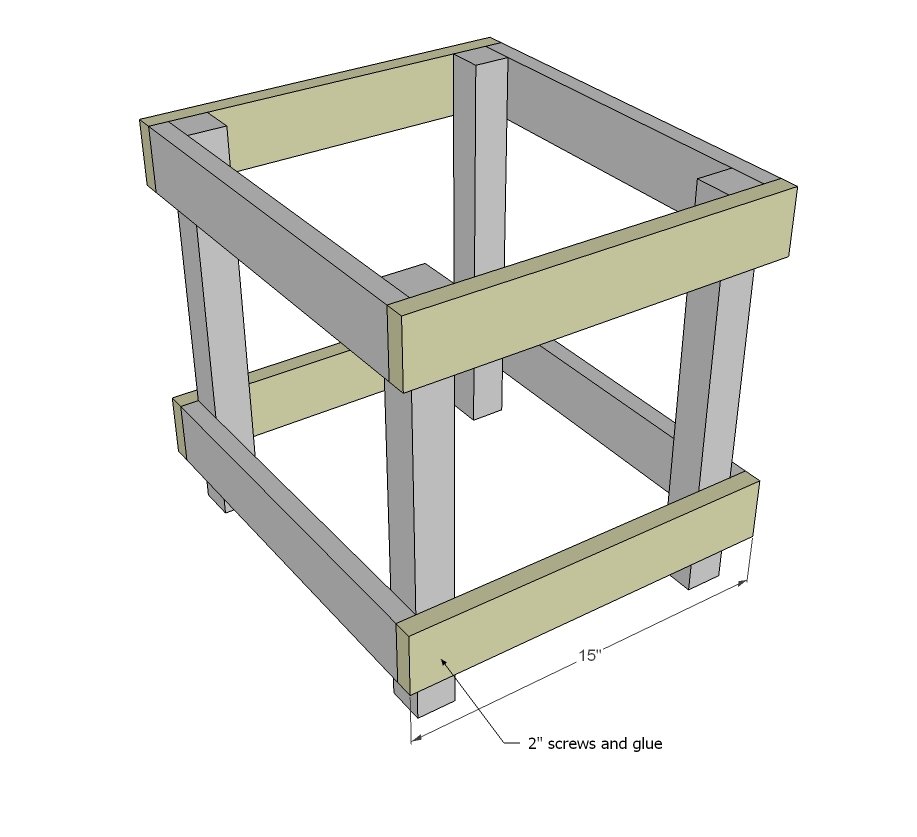
- 4 – 1x3 @ 15” long
Tools
- measuring tape
- square
- pencil
- hearing protection
- drill
- staple gun
- countersink drill bit
Step-by-step Instructions
Step 1
Build two side frames as shown above.
Step 2
Then join together to make a cube.
Step 3
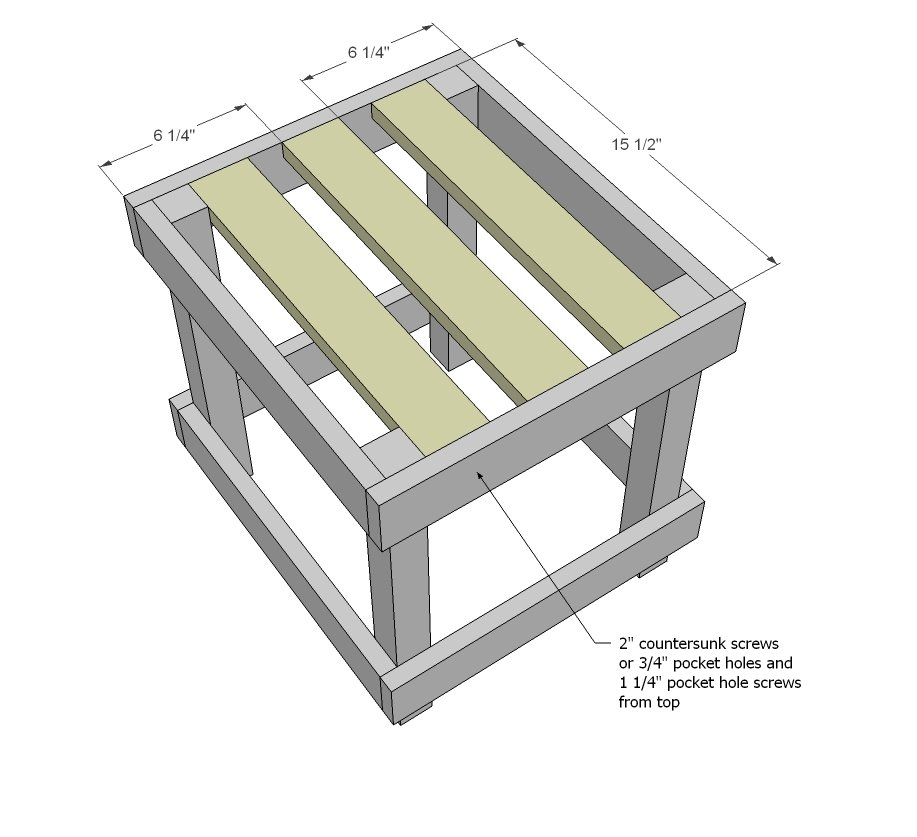
Add some top slats. I used the top slats instead of a solid top just incase you had a spill:)
Step 4
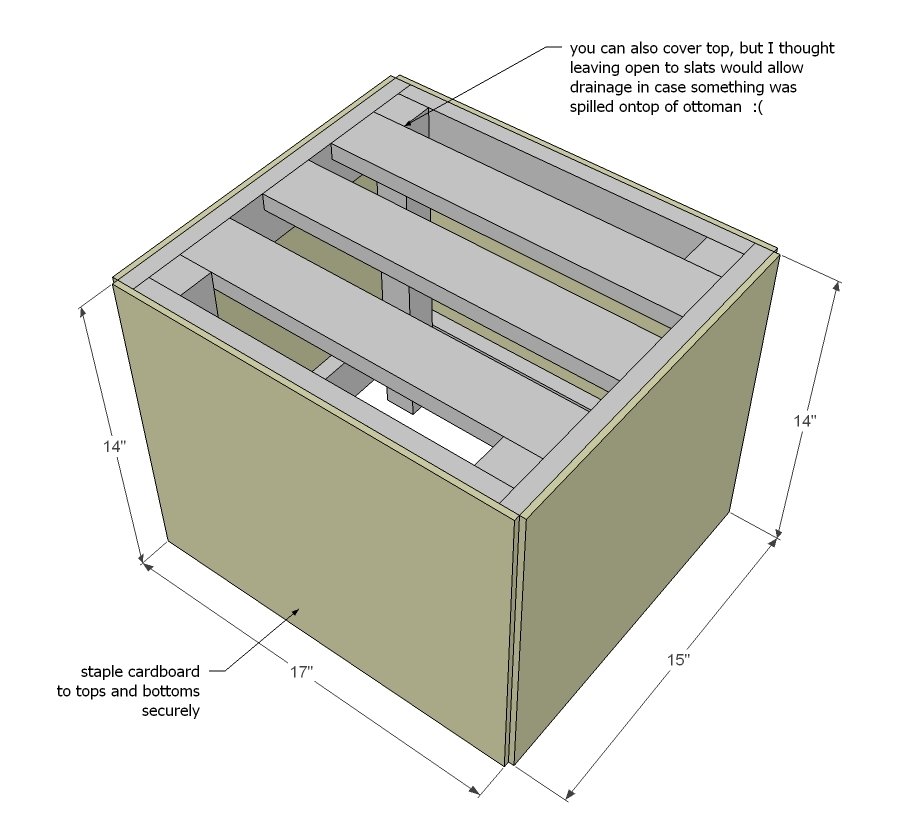
Now cover the sides in thick cardboard or 1/4" plywood.
Step 5
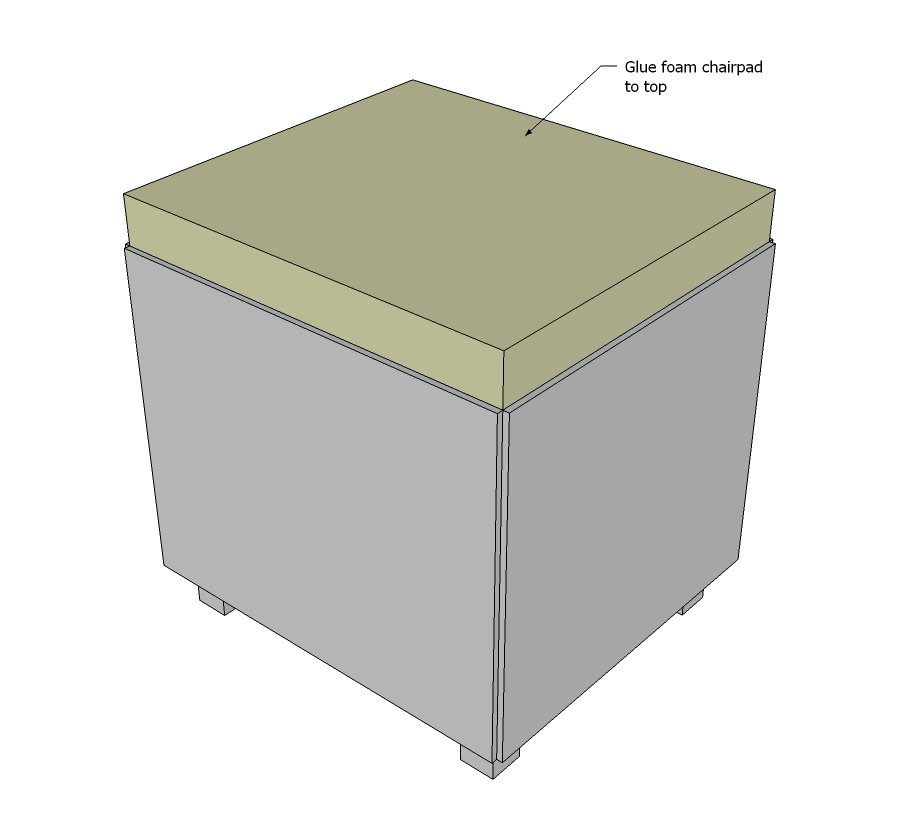
Add top on to the top, cover the sides with batting.
Step 6
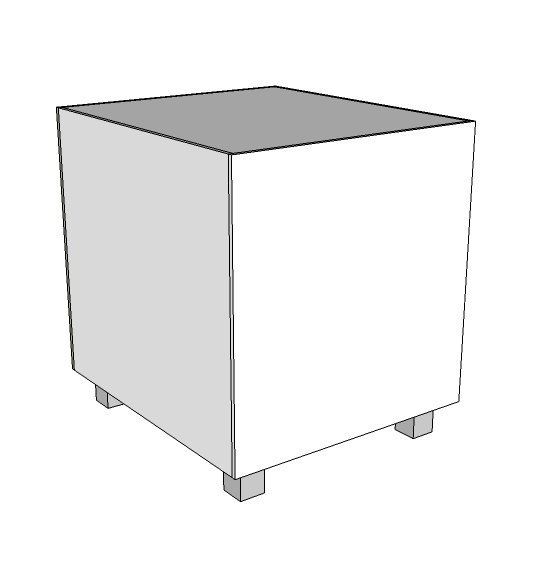
And sew a slipcover. To smooth out edges, you can cover the ottoman in batting before adding the slipcover. TIP: Use a thick stretchy fabric like polar fleece for the most forgiving cover. add elastic to the bottom to further secure.
Finishing
Sand all surfaces, starting with a medium grit and finishing with fine. Wipe off the dust, fill any holes or gaps with wood filler, and sand smooth once dry. Apply primer if you're painting, then finish with your choice of paint or stain and seal with a durable clear topcoat. For outdoor projects, use exterior-rated primer, paint or stain, and sealer so the piece stands up to the weather.
Source (temporary): https://www.ana-white.com/woodworking-projects/diy-upholstered-poufs-made-cardboard-and-furring-strips