Wall Mounted Shoe Rack
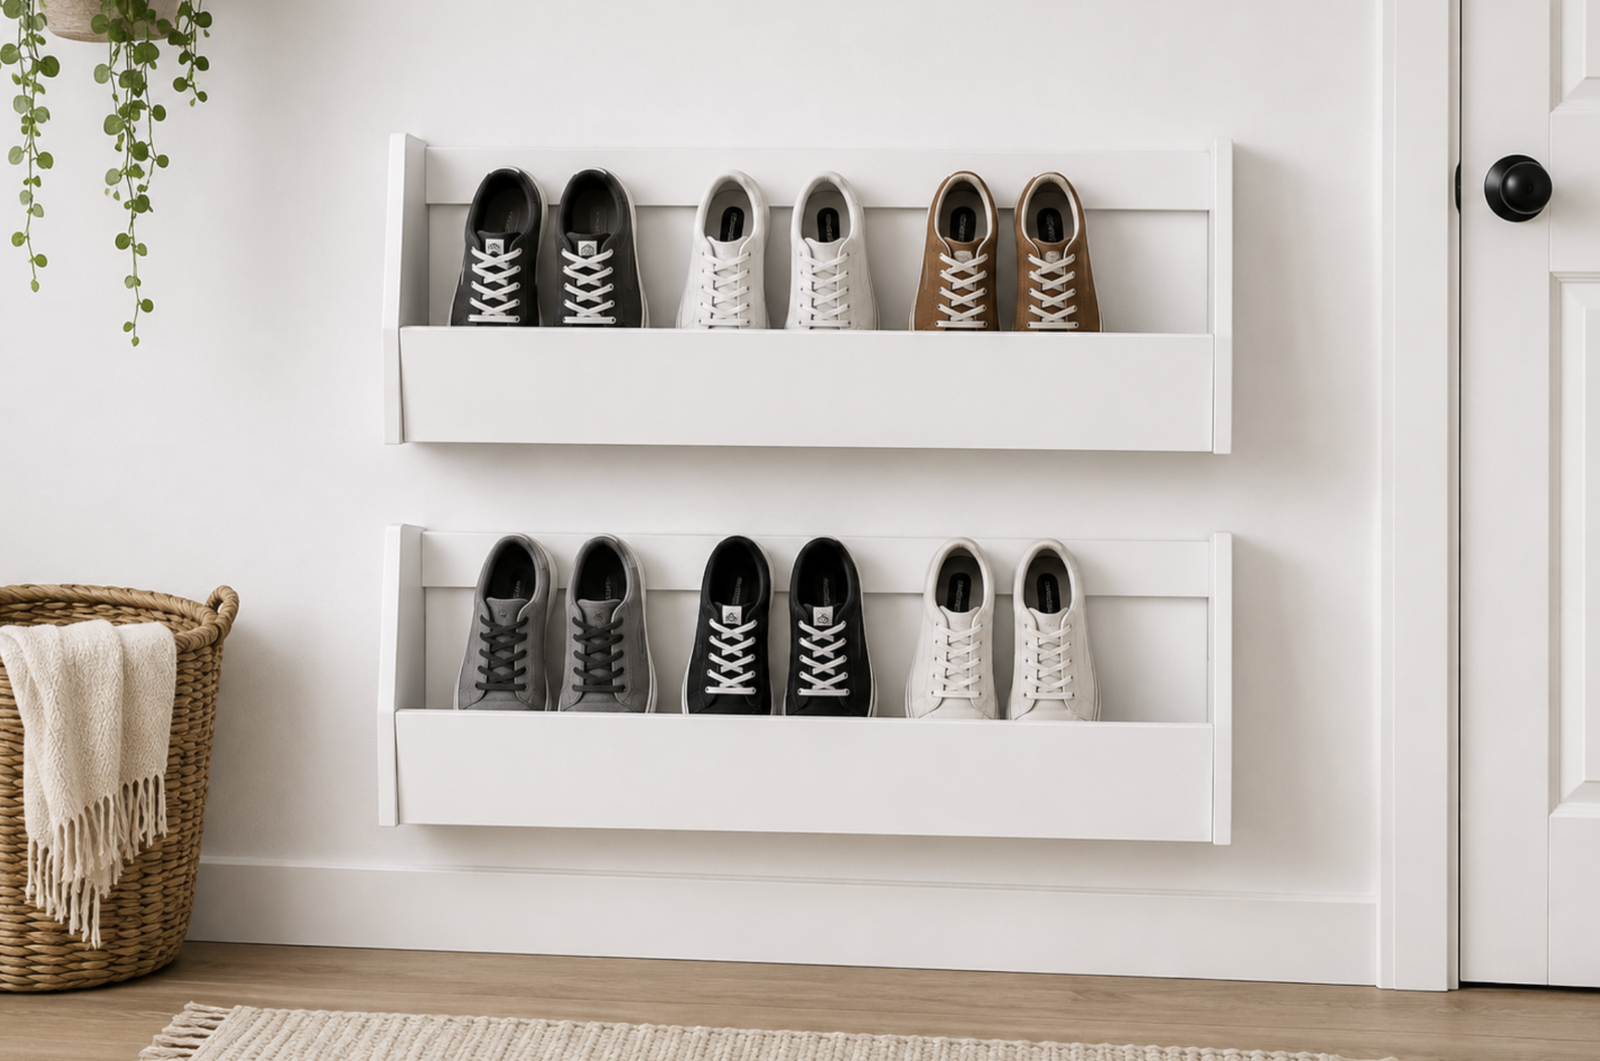
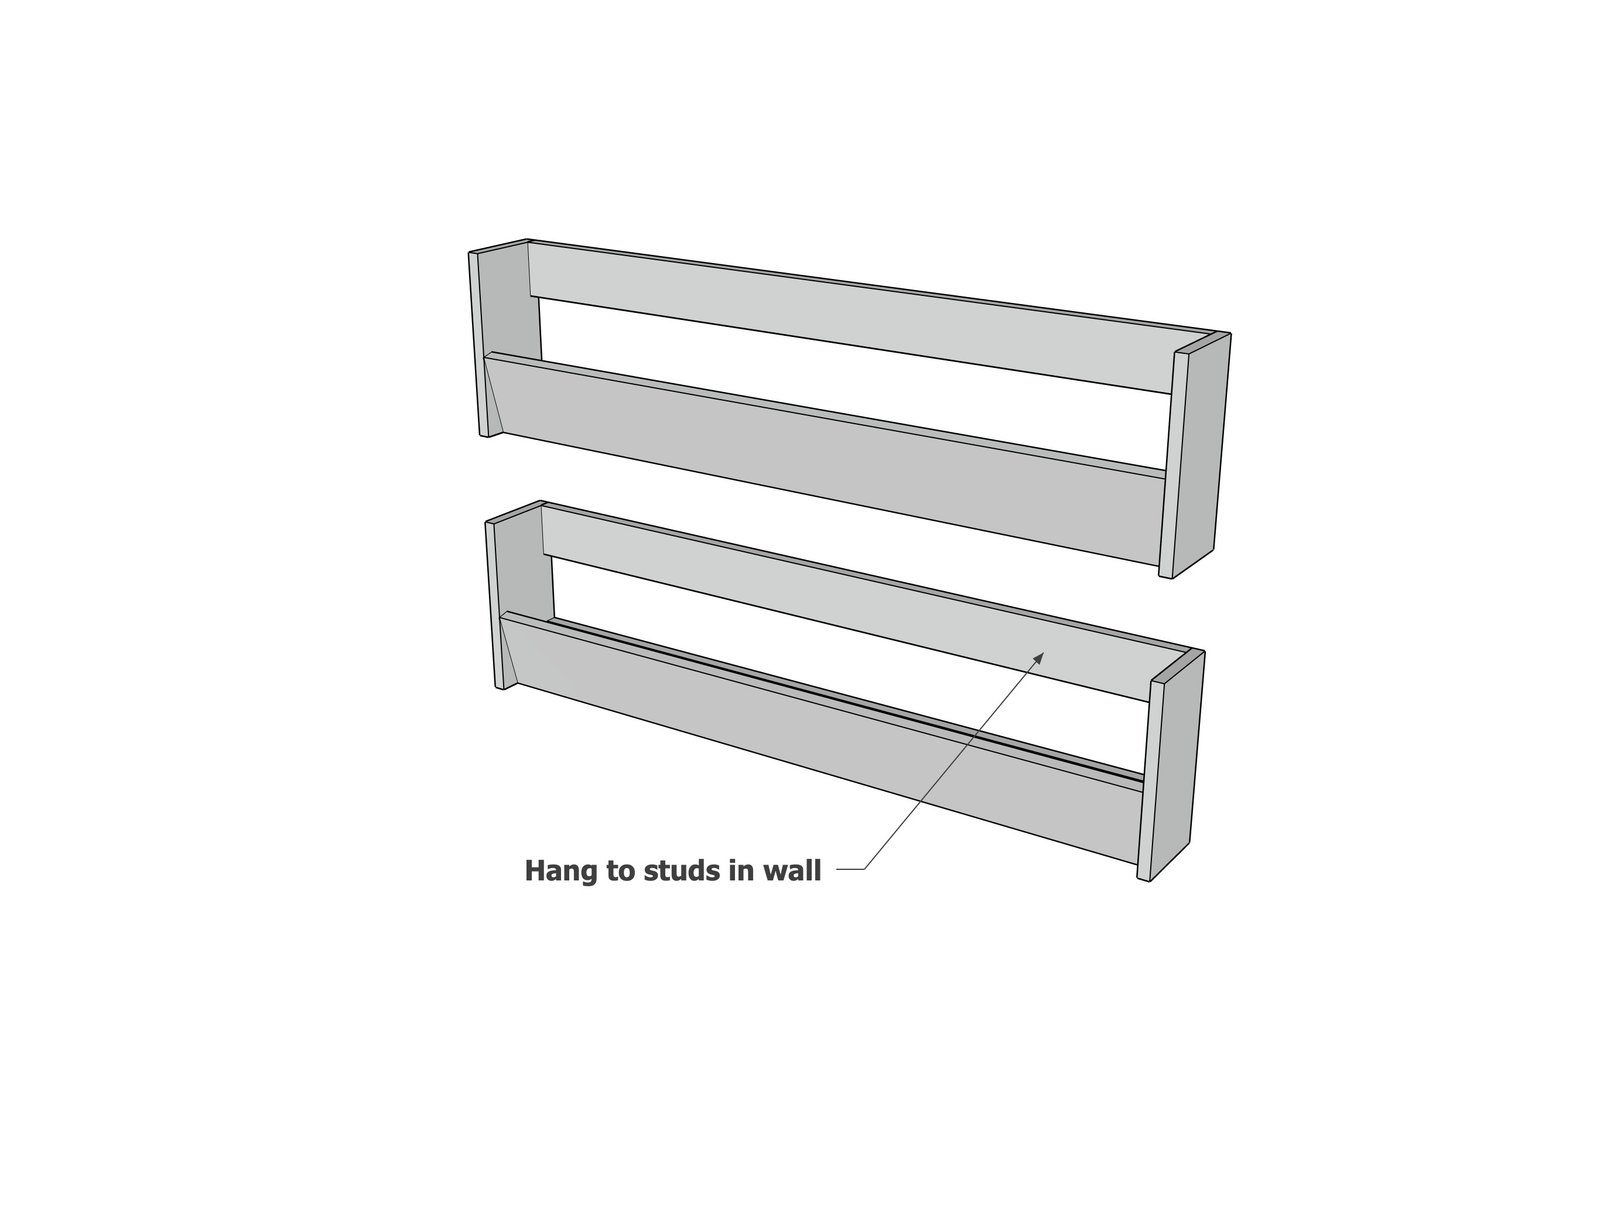
Get shoes off the floor with this easy DIY wall mounted shoe rack. The slim, space-saving design holds shoes upright against the wall, making it perfect for entryways, mudrooms, closets, and small spaces. Build one or stack several vertically for more shoe storage. make this a quick and beginner-friendly woodworking project.
Specifications
| Project type | Entryway Furniture |
|---|---|
| Room | Entryway and Mudroom |
| Difficulty | Beginner Projects |
Dimensions
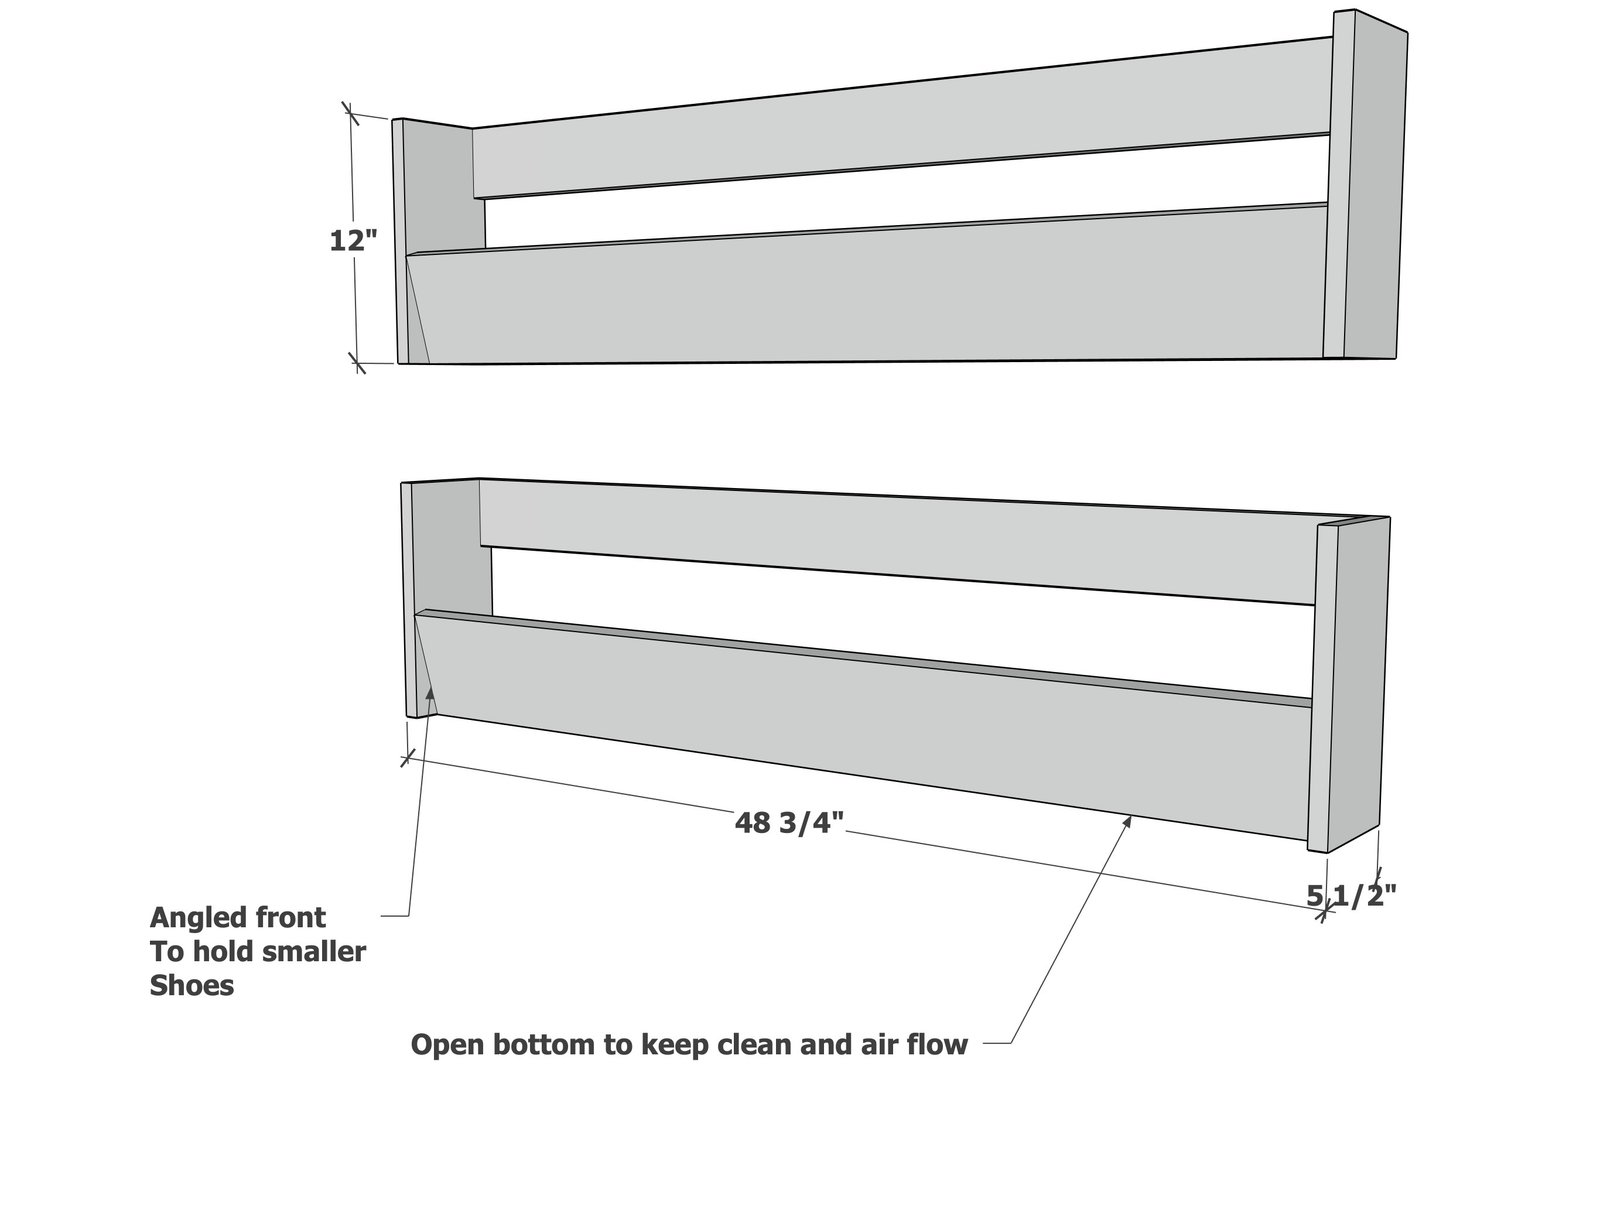
Use the size-specific shopping and cut lists below.
Shopping List
- 1 - 1x6 @ 6 feet long
- 1 - 1x3 or 1x4 @ 8 feet long
- 1-1/4" brad nails or 1-3/4" self tapping star bit screws
- wood glue
- wood filler
- 2-1/2" self tapping wood screws (for hanging)
Cut List
Per Shoe Rack -
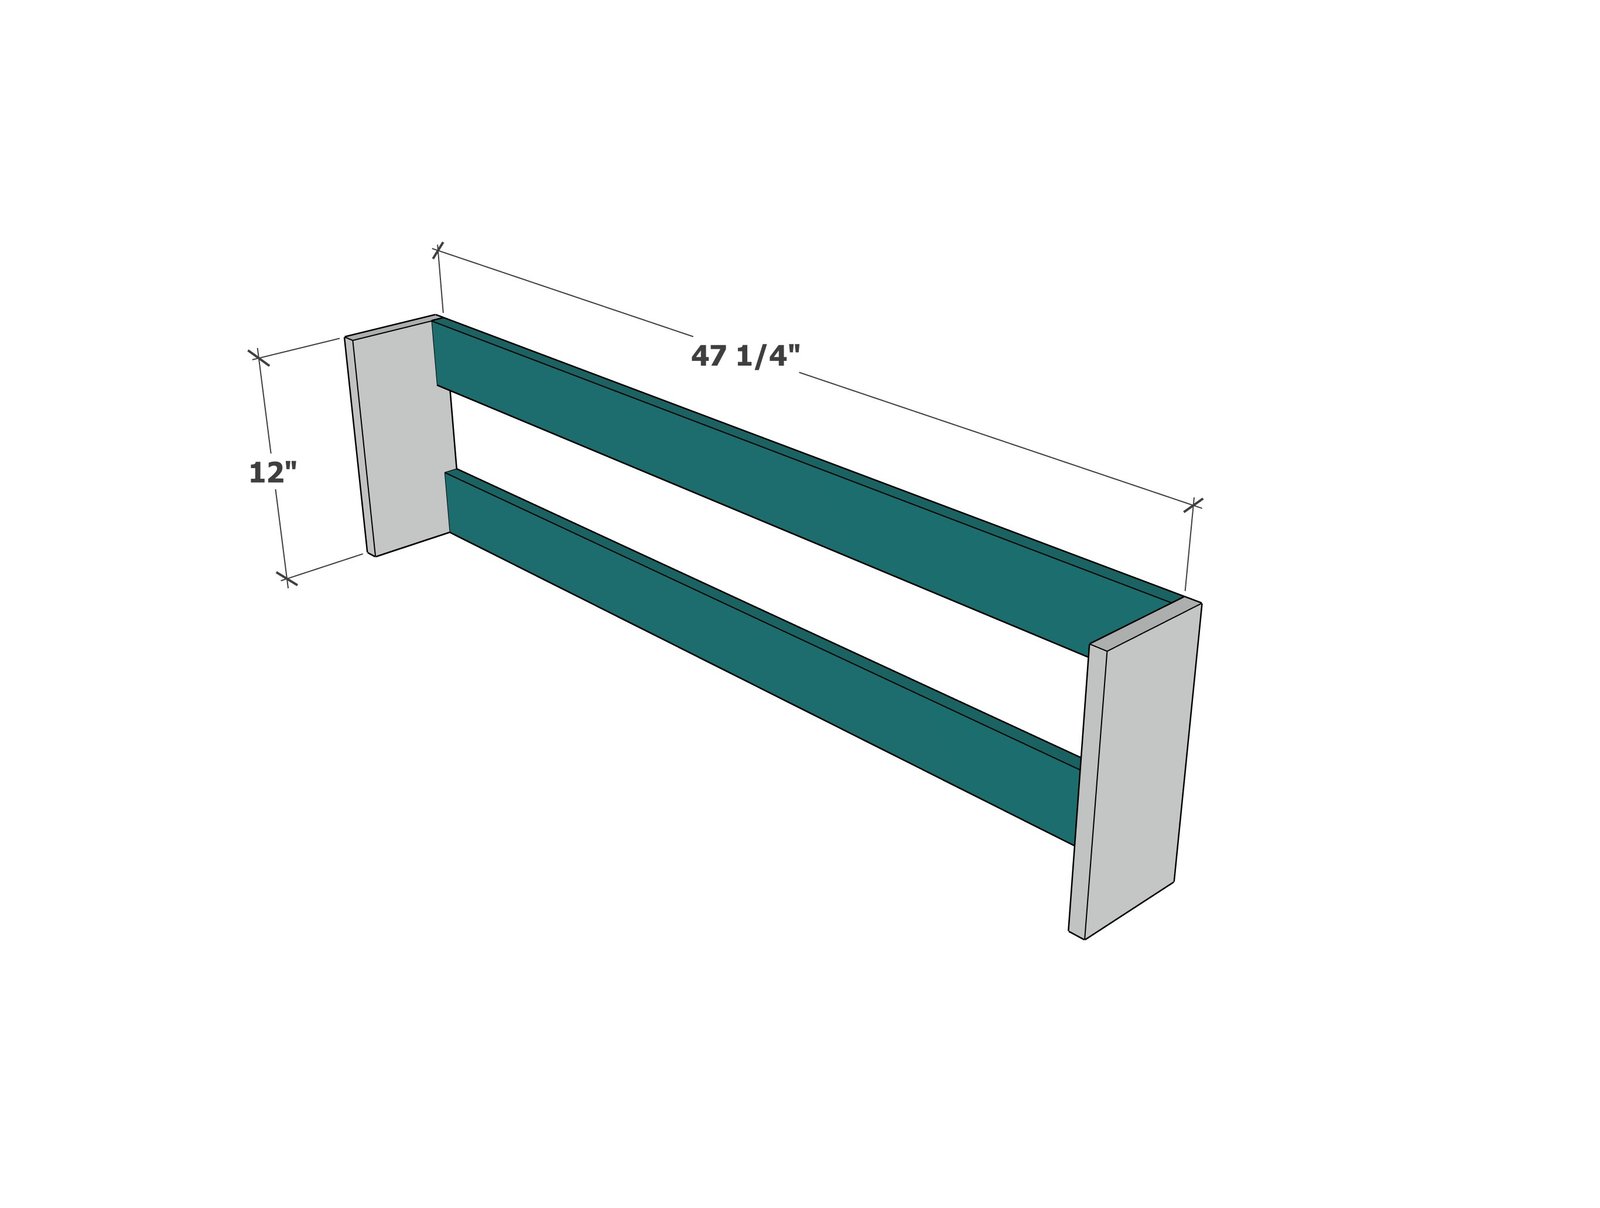
- 2 - 1x6 @ 12" - sides
- 2 - 1x3 or 1x4 @ 47-3/4" - backs
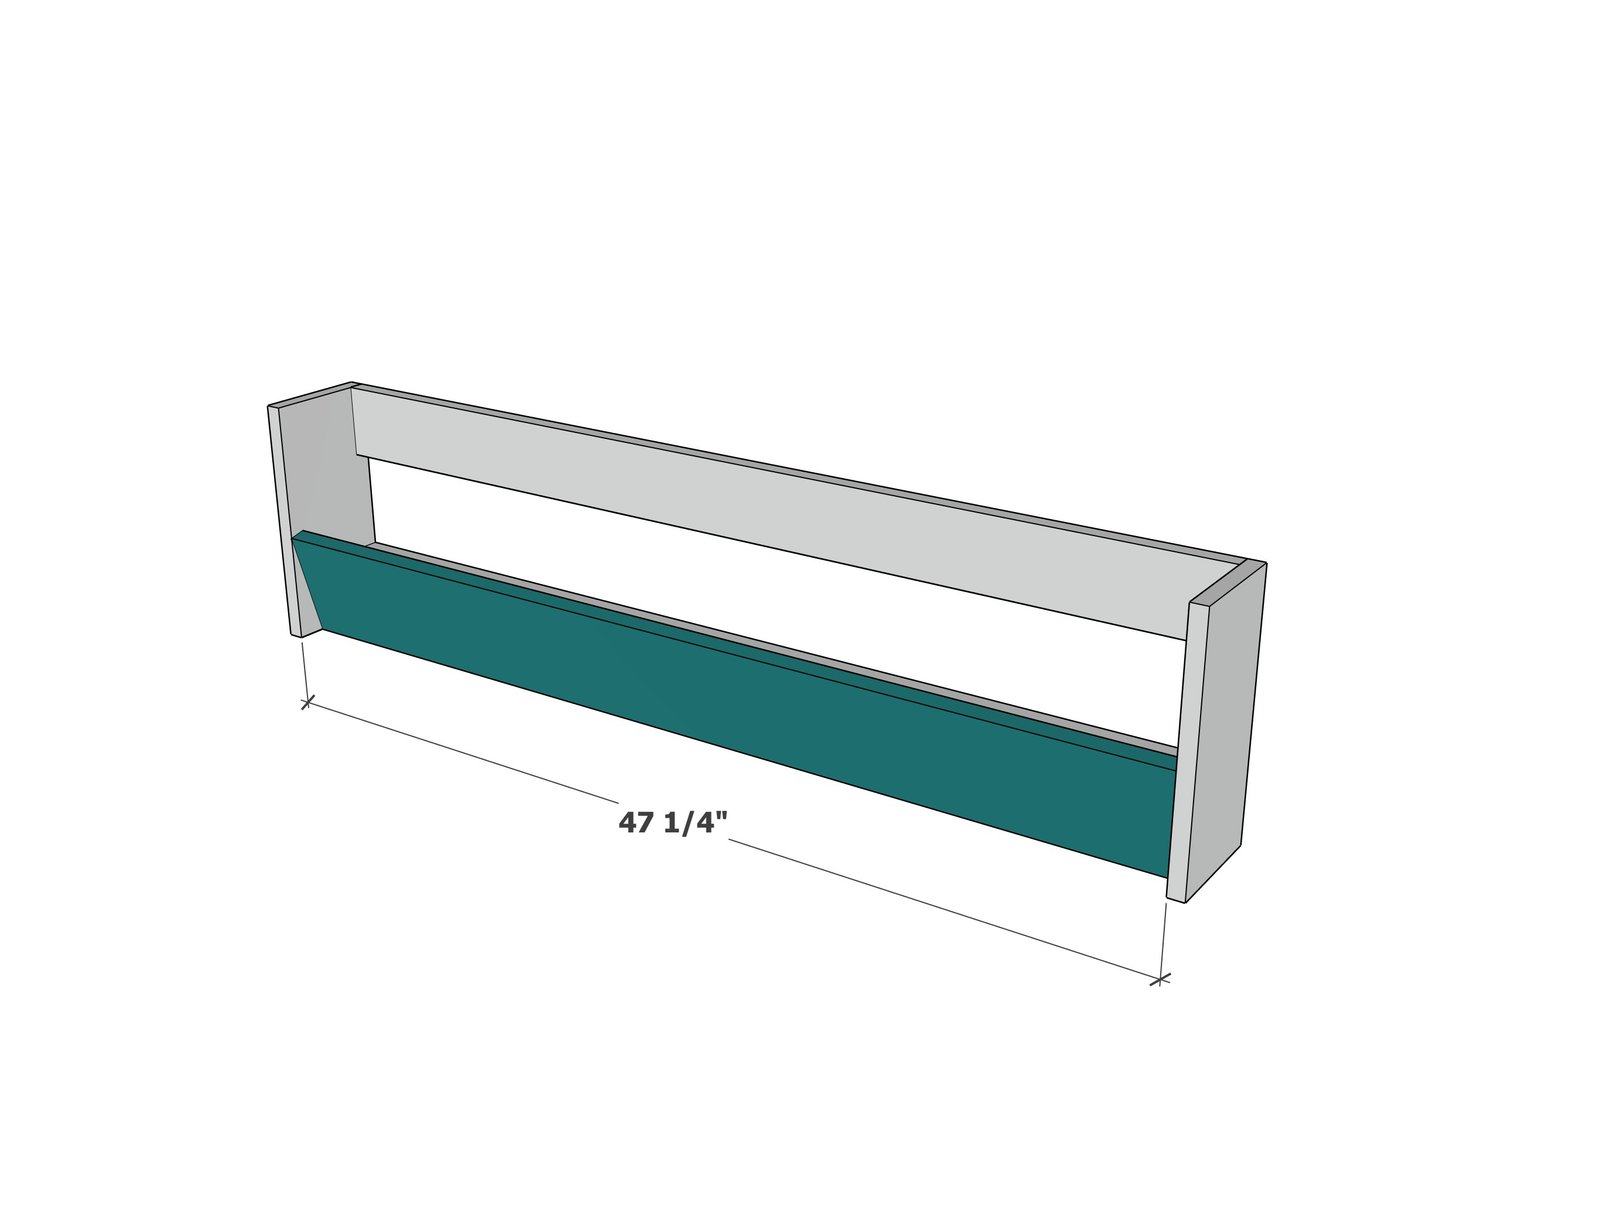
- 1 - 1x6 @ 47-3/4" - front
Step-by-step Instructions
Step 1
Step 2
Step 3
Finishing
Sand all surfaces, starting with a medium grit and finishing with fine. Wipe off the dust, fill any holes or gaps with wood filler, and sand smooth once dry. Apply primer if you're painting, then finish with your choice of paint or stain and seal with a durable clear topcoat. For outdoor projects, use exterior-rated primer, paint or stain, and sealer so the piece stands up to the weather.
Source (temporary): https://www.ana-white.com/woodworking-projects/diy-wall-mounted-shoe-rack-easy-space-saving-shoe-storage