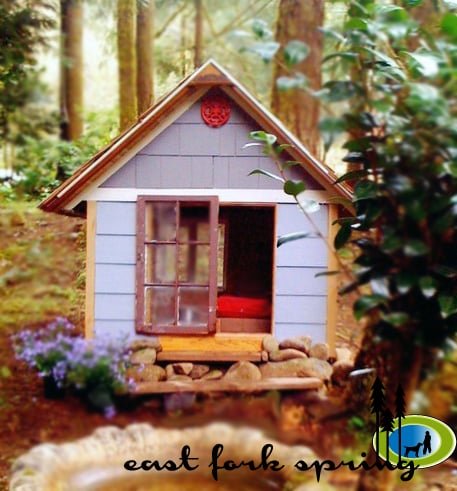
East Fork Free Doghouse (or Playhouse or Storage Shed) Plans (Kind of)...
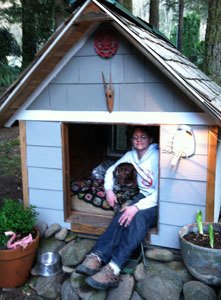
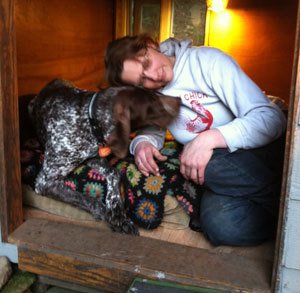
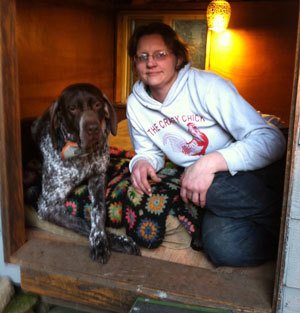
My dog Barli, a neurotic German Shorthaired Pointer, was the absolute bane of my existence for the first year and a half we were together. But then something happened. I don't know if it happened over the course of a single day or two miserable years, but it surely happened: Barli became my best friend. Barli and I called a truce and have been inseparable since. Woman's best friend. He's got his big ol fat stupid head in my lap right now. Helping, of course. He's my best helper. So I built him a doghouse. He wanted to start napping in there before I was even done framing. He loves his house, and me. And I love him back.
Specifications
| Project type | Other Projects |
|---|---|
| Room | Outdoor |
| Style | Cottage Style Furniture Plans |
| Difficulty | Intermediate |
| Estimated cost | Under $20 |
Shopping List
Materials I Used
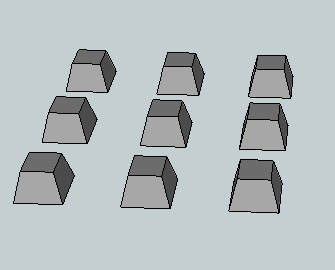
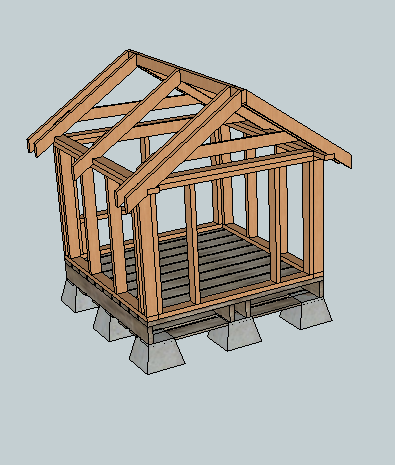
- Foundation – concrete piers on gravel
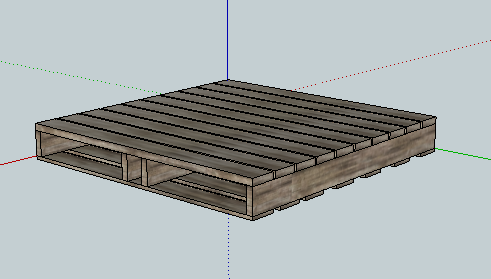
- Floor frame – oversized pallet
- Subfloor – plywood
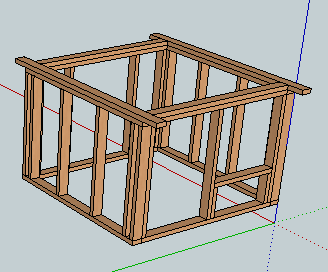
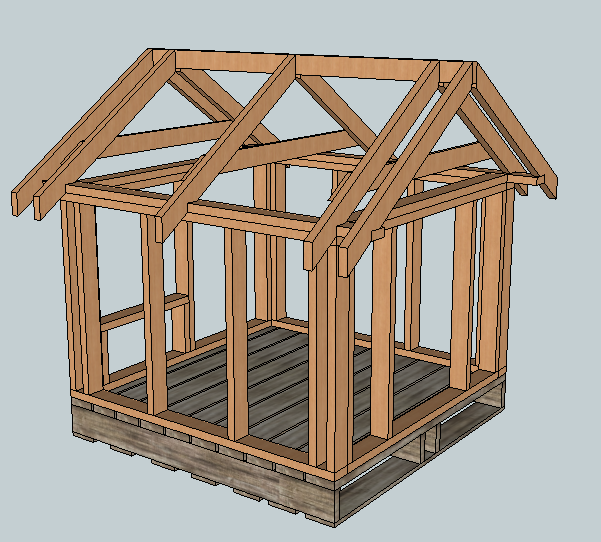
- Sill plate (mud sills), studs, top plate- fir 2x4s
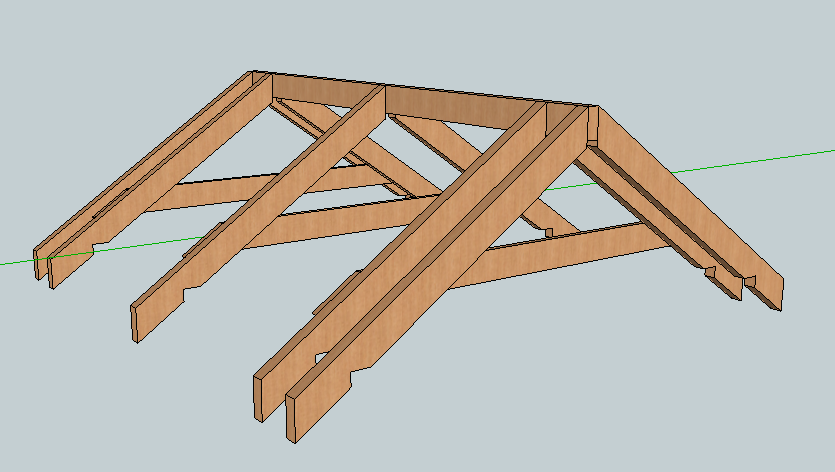
- Rafters – I used fir 2x6s because I had a ton available, but I think 2x4s would be sufficient
- Collar ties and ridge – fir 1×6 (I doubt collar ties are really necessary, I used them because I didn’t want a ceiling but still wanted to use the space under the rafters for storage if needed… considerations of an admitted wood hoarder whose stash gets out of hand from time to time)
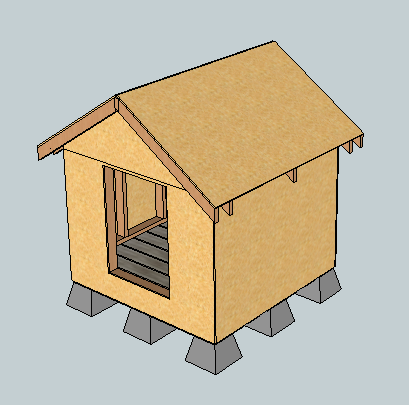
- Sheathing – 7/16″ OSB
- Building wrap – Raindrop by GreenGuard
- Roof underlayment – #30 felt paper
- Siding – fiber cement lap siding and shakes (both are Certainteed products)
- Roofing – cedar shakes
- Insulation – mostly r-13 bat
- Interior and exterior trim – oak flooring
- Interior walls – wood paneling
- Flooring – tile on Hardie (for his dining area) and laminate on foam underlayment (for his bedroom)
- Fasteners – a boatload of 8(2-1/2″), 10(3″), and 16 penny (3-1/2″) nails for the framing; 2″, 12-1/2 gauge nails for the siding, 1-1/2″ (medium crown) staples for the cedar, and other odds and ends screws and finish nails throughout
- Other – 2′ vinyl window, old wood frame window, paint, rocks, 2×10 (steps), cast concrete birdbath (project for another day), flowers
Tools I used
- Safety glasses- honey is always nagging me about that one, so I’ll list first lest I forget
- Work gloves
- Tape measure
- Pencil
- Hammer
- Utility knife
- Squares: T, roofers, speedy
- Levels: 4′, torpedo, string
- Drill
- Saws- I used a circular saw, miter saw, table saw, tile saw, and hand saw. Really, you could do it all with a circular saw or hand saw. If they’re available to you, the others just make it a little easier/quicker.
- Air compressor along with a pneumatic stapler, framing nailer, and finish nailers (I prefer to hand nail all framing, but for ease of installation of siding, shingles, and trim, you can’t beat pneumatic tools. They’re a luxury, but one I’m unashamed to indulge in. I’m guessing build time would have been 2x longer without)
- Shovel, rake, tamp (site prep)
Step-by-step Instructions
Step 1
Step 2
Step 3
Step 4
Step 5
Step 6
Step 7
Step 8
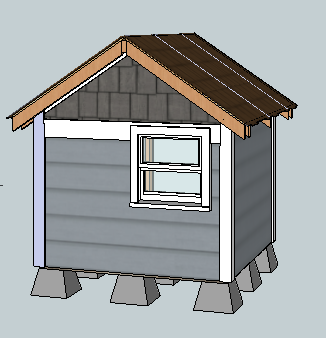
Step 9
Done! Nice work!
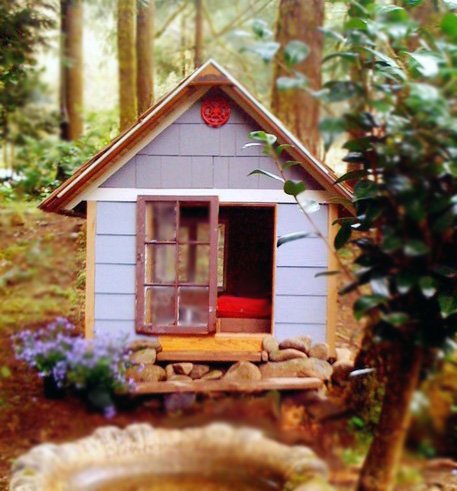
Step 10

Step 11
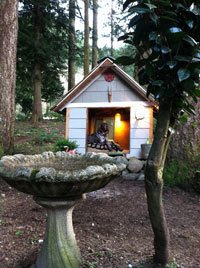
Step 12
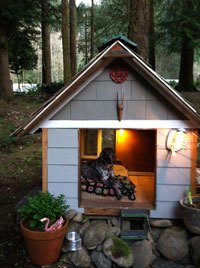
Step 13
Step 14
Step 15
Finishing
Sand all surfaces, starting with a medium grit and finishing with fine. Wipe off the dust, fill any holes or gaps with wood filler, and sand smooth once dry. Apply primer if you're painting, then finish with your choice of paint or stain and seal with a durable clear topcoat. For outdoor projects, use exterior-rated primer, paint or stain, and sealer so the piece stands up to the weather.
Source (temporary): https://www.ana-white.com/woodworking-projects/east-fork-free-doghouse-or-playhouse-or-storage-shed-plans-kind