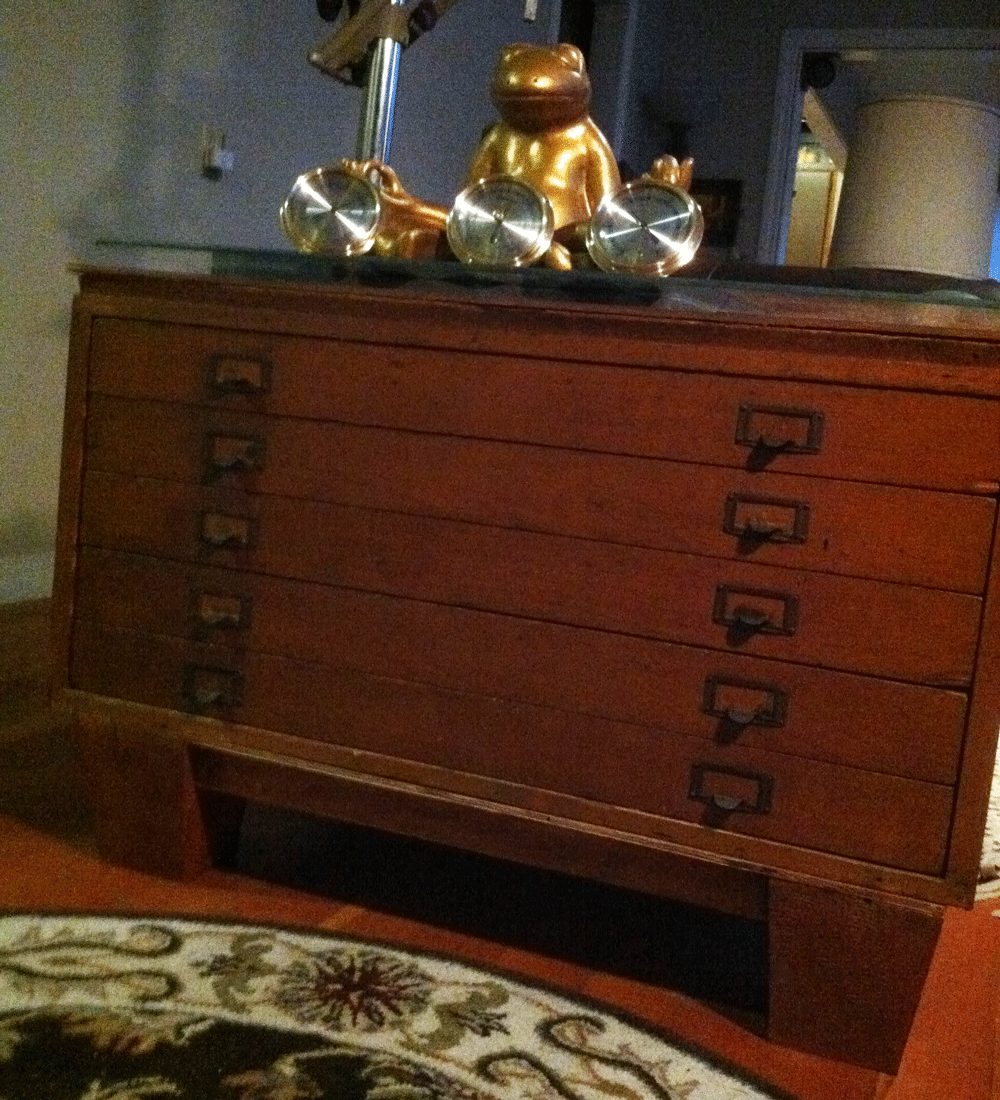
East Fork Map Cabinet / Occasional Table with Safety Glass Top
Latest from the East Fork. In order to make your building experience more tailored to fit your needs/materials/skill level, I have uploaded the map cabinet/ safety glass-topped occasional table to the Sketchup 3D Warehouse. Download, look around, edit to meet your mood and space, share with your pals. You can find the fully accessible model in all its 3D glory at http:// All of my builds are made from 100% reclaimed material. Why? Because it's fun, inexpensive, challenging, and I'm a tree-hugger. It takes a bit of effort and some reverse engineering. The traditional build has plans and calls for materials. My build has materials and calls for a plan. How does that affect your build? Well, if you follow my plans, you might go crazy looking for a 31-3/4" x 24-1/8" piece of safety glass, and I'll feel terrible for requesting you spend a fortune on hardwood lumber only to mill down perfectly good boards to match my dimensions. So please, amend as needed. During your build, I encourage you to be safe, creative, and awesome (like you always are). If you have any questions or would like more guidance on a "re-plan" to fit your build, please ask.
Specifications
| Project type | Side and End Table Plans |
|---|---|
| Room | Storage Solutions |
| Style | Green or Eco-Friendly Style Furniture |
| Difficulty | Intermediate |
| Estimated cost | Under $20 |
Dimensions
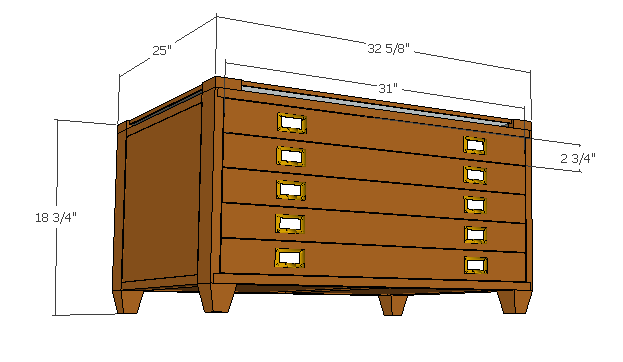
Use the size-specific shopping and cut lists below.
Shopping List
***see summary***
approx 30" x 24" safety glass (table top)
(3) 1" x 4" x 12' (case)
(5) 1" x 4" x 10' (drawers)
(1) 4' x 8' sheet 3/8" plywood (to match or complement) your chosen lumber
(10) old card catalog style drawer pulls (if you're lucky enough to track some down)
Cut List
Rip all 1x4s to 2-3/4" wide, then
Qty//Description// Length///Width///Thickness
5 drawer back 31" 2 3/4" 3/4"
5 drawer front 31" 2 3/4" 3/4"
10 drawer side 24" 2 3/4" 3/4"
10 drawer guides 23" 3/4" 3/4"
4 frame hrz.top 32 1/8" 2 3/4" 3/4"
1 frame support 21" 2 3/4" 3/4"
4 frame top rail 21" 2 3/4" 3/4"
4 frame vertical 15 5/8" 2 3/4" 3/4"
4 glass support 2 3/4" 2 1/4" 3/4"
5 drawer bottom 30 1/4" 23 3/4" 3/8"
2 side panel 19 1/2" 14 1/8" 3/8"
1 top panel 28 1/8" 21" 3/8"
2 top side trim 23" 3/4" 3/8"
2 top side trim2 32 1/8" 3/4" 3/8"
1 back panel 32 1/8" 14 1/8" 3/8"
2 bottom panel 21" 12 3/4" 3/8"
4 leg* 2 3/4" 2 1/4" 2 1/4"
*create legs by laminating 2 3/4" scrap before cutting to size
Tools
- measuring tape
- square
- pencil
- hammer
- safety glasses
- hearing protection
- drill
- compound miter saw
- table saw
- nailer
- staple gun
- level
- countersink drill bit
Step-by-step Instructions
Step 1
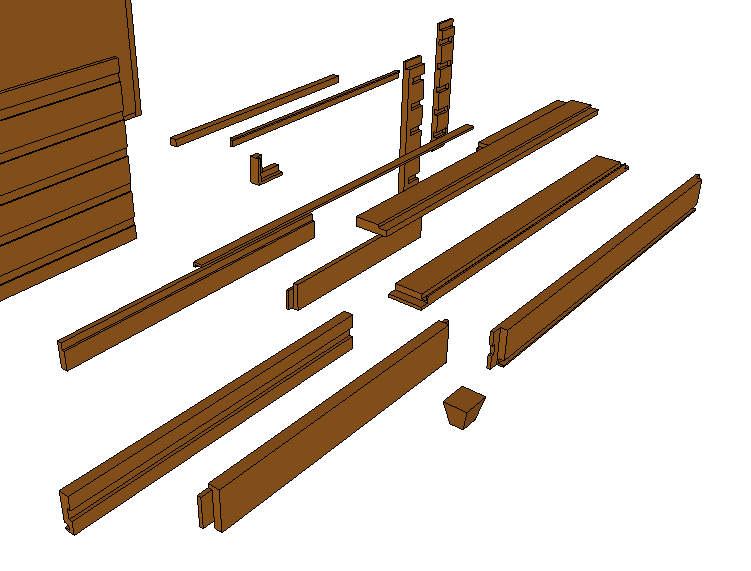
This mess of rabbets, dadoes, and other fun joinery cuts is where Sketchup lifts an instruction manual the size of Websters unabridged off my shoulders and I instruct: please reference Sketchup model for rabbet/dado widths, depths, and locations. Thanks, Googs.
Step 2
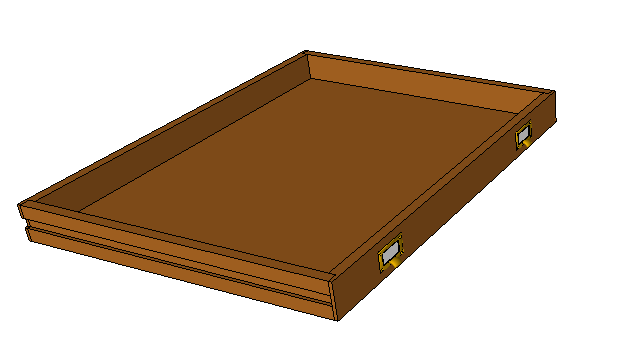
Glue, clamp, and nail drawers (please reference Sketchup model for joinery details)
Step 3
Glue, clamp, and nail side panels (please reference Sketchup model for joinery details)
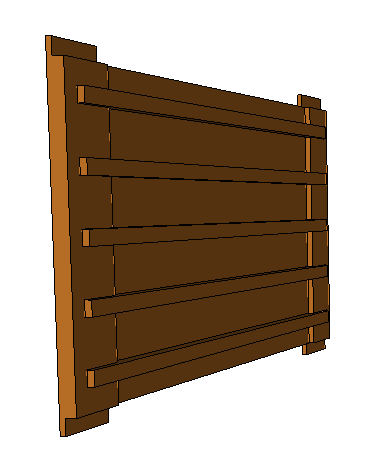
Step 4
Glue, clamp, and nail top and bottom panels (please reference Sketchup model for joinery details)
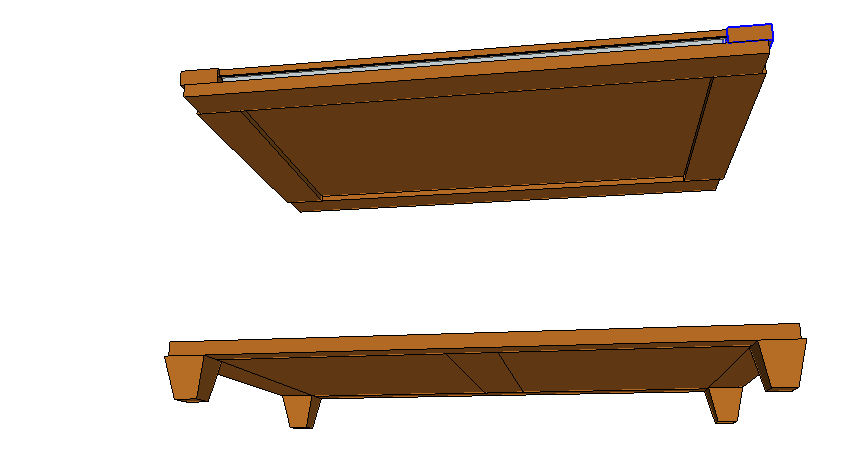
Step 5
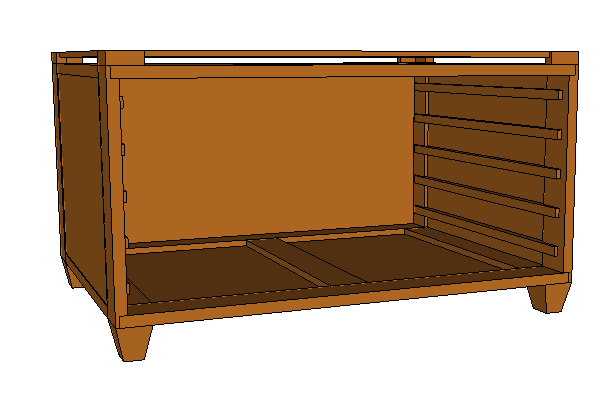
Step 6
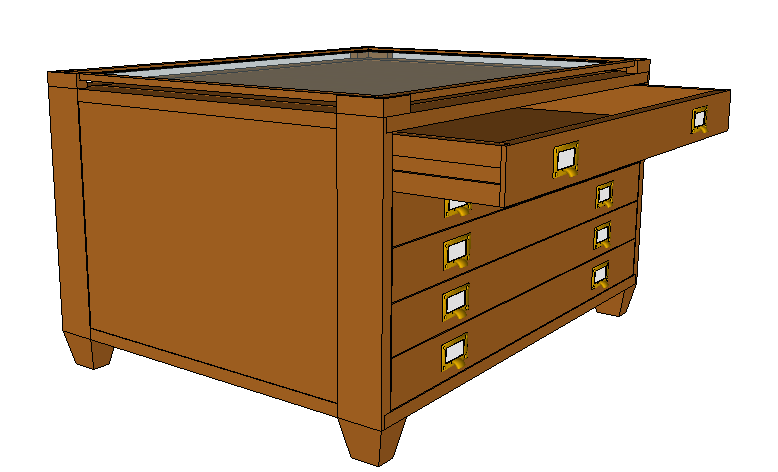
Slide drawers into case, set glass in top, jump up and down, clapping and squeeling with glee because it's done (except for a quick bit of finishing) and you just built the sweetest map cabinet of all time. You rule.
Finishing
Sand all surfaces, starting with a medium grit and finishing with fine. Wipe off the dust, fill any holes or gaps with wood filler, and sand smooth once dry. Apply primer if you're painting, then finish with your choice of paint or stain and seal with a durable clear topcoat. For outdoor projects, use exterior-rated primer, paint or stain, and sealer so the piece stands up to the weather.
Source (temporary): https://www.ana-white.com/woodworking-projects/east-fork-map-cabinet-occasional-table-safety-glass-top