Easy Clip Art Rails
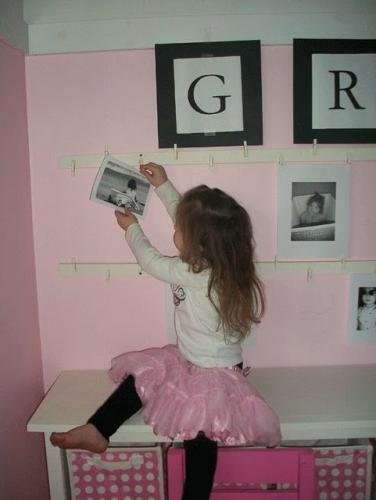
If you are looking for an inexpensive project to dress up a blank wall or a means to hang your child's artwork, look no further. These easy clip art rails are inexpensive and easy to build.
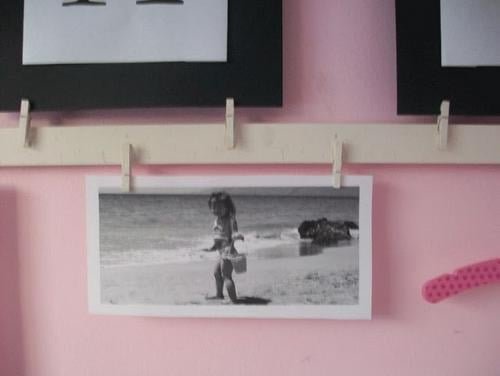
Specifications
| Project type | Home DIY |
|---|---|
| Room | Bedroom |
| Style | Cottage Style Furniture Plans |
| Difficulty | Beginner Projects |
| Estimated cost | Under $20 |
Shopping List
2 – 1×2 pine or MDF strips, 8 feet long (I used firring strips from Lowes for 75 cents each) 2 – bags of small clothespins, 24 count each (bought mine at Joanns for $2.49 each) Glue (I used Elmers) Paint (I used Valspar Antique White Satin leftover from the bookcases. The fastest method would be to spraypaint) 4 screws or 4 Picture Hanging Brackets
Cut List
You can cut your boards down to size, but it's not necessary.
Tools
- sander
Step-by-step Instructions
Step 1
Remove the springs from the clothespins.
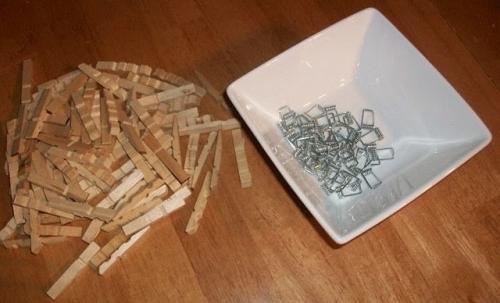
Step 2
Paint the wood part of the clothespins and the boards.
Step 3
Step 4
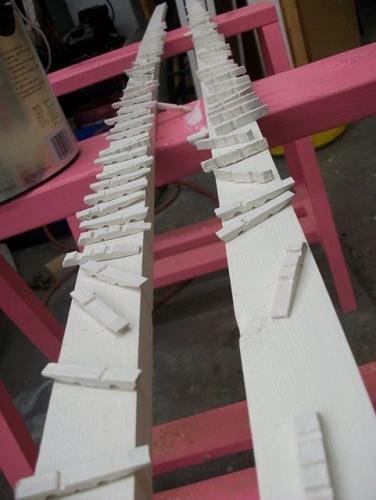
Reassemble the clothespins. Then glue the clothespins to the boards. I glued the clothespins ever 4″ starting 2″ from the ends. You can do this by marking the board at 2″, 6″, 10″, 14″, 18″, 22″... and so on, every 4″ until the last mark at 94″. Alternate pins facing upwards and downwards.
Finishing
Sand all surfaces, starting with a medium grit and finishing with fine. Wipe off the dust, fill any holes or gaps with wood filler, and sand smooth once dry. Apply primer if you're painting, then finish with your choice of paint or stain and seal with a durable clear topcoat. For outdoor projects, use exterior-rated primer, paint or stain, and sealer so the piece stands up to the weather.
Source (temporary): https://www.ana-white.com/woodworking-projects/easy-clip-art-rails