Easy Fence Picket Wood Pumpkin Decor
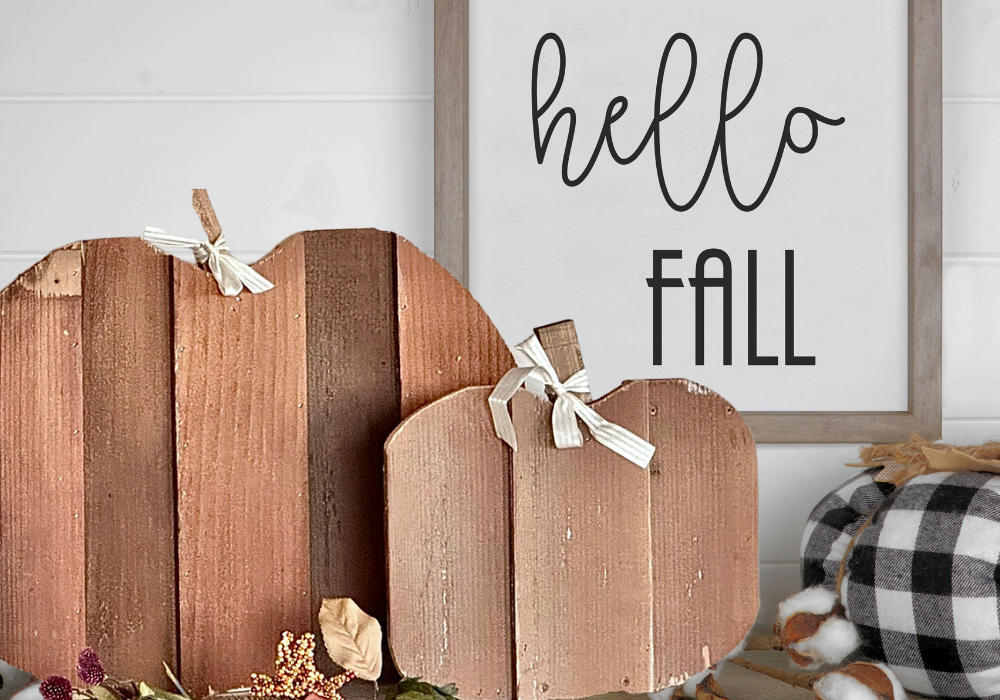
Make your own wood pumpkins out of fence pickets! This simple to build design can be used indoors or out. This is a great way to add fall beauty to your home, the wood pumpkin shape adds texture and a subtle fall touch. Free tutorial from
Specifications
| Project type | Home Decor |
|---|---|
| Room | Decor for Any Room |
| Difficulty | Starter Projects |
| Estimated cost | Under $20 |
Dimensions
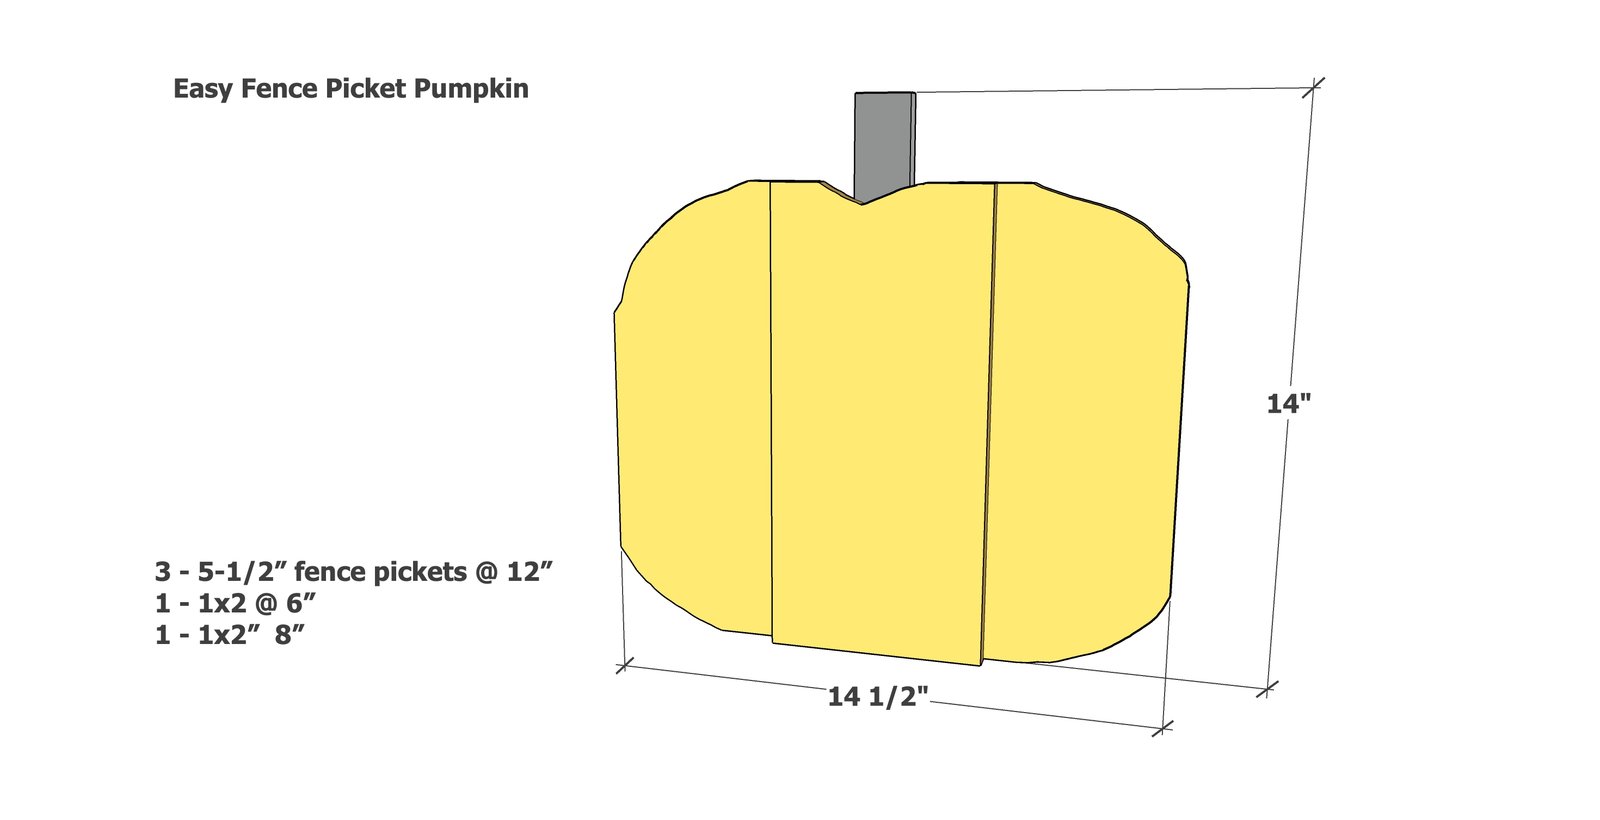
Use the size-specific shopping and cut lists below.
Shopping List
To make both the small and large pumpkin, you'll just need two 5-1/2" wide x 72" long cedar fence pickets.
For Small Pumpkin
- 3 board feet of 5-1/2" wide cedar fence picket (half of a 72" fence picket)
- 12" of 1x2
- 1" staples or brad nails
- wood glue
- Jigsaw
- Brad nailer or stapler
For Large Pumpkin
- 9 board feet of 5-1/2" wide cedar fence picket (one and a half 72" fence pickets)
- 18" of 1x2
- 1" staples or brad nails
- wood glue
- Jigsaw
- Brad nailer or stapler
Cut List
Small Pumpkin Cut List
- 3 - cedar fence pickets @ 12" long
- 1 - 1x2 @ 4" long
- 1 - 1x2 @ 8" long
Large Pumpkin Cut List
- 5 - cedar fence pickets @ 18" long
- 1 - 1x2 @ 4" long
- 1 - 1x2 @ 12" long
Tools
- measuring tape
- pencil
- safety glasses
- jigsaw
- nailer
Step-by-step Instructions
Step 1
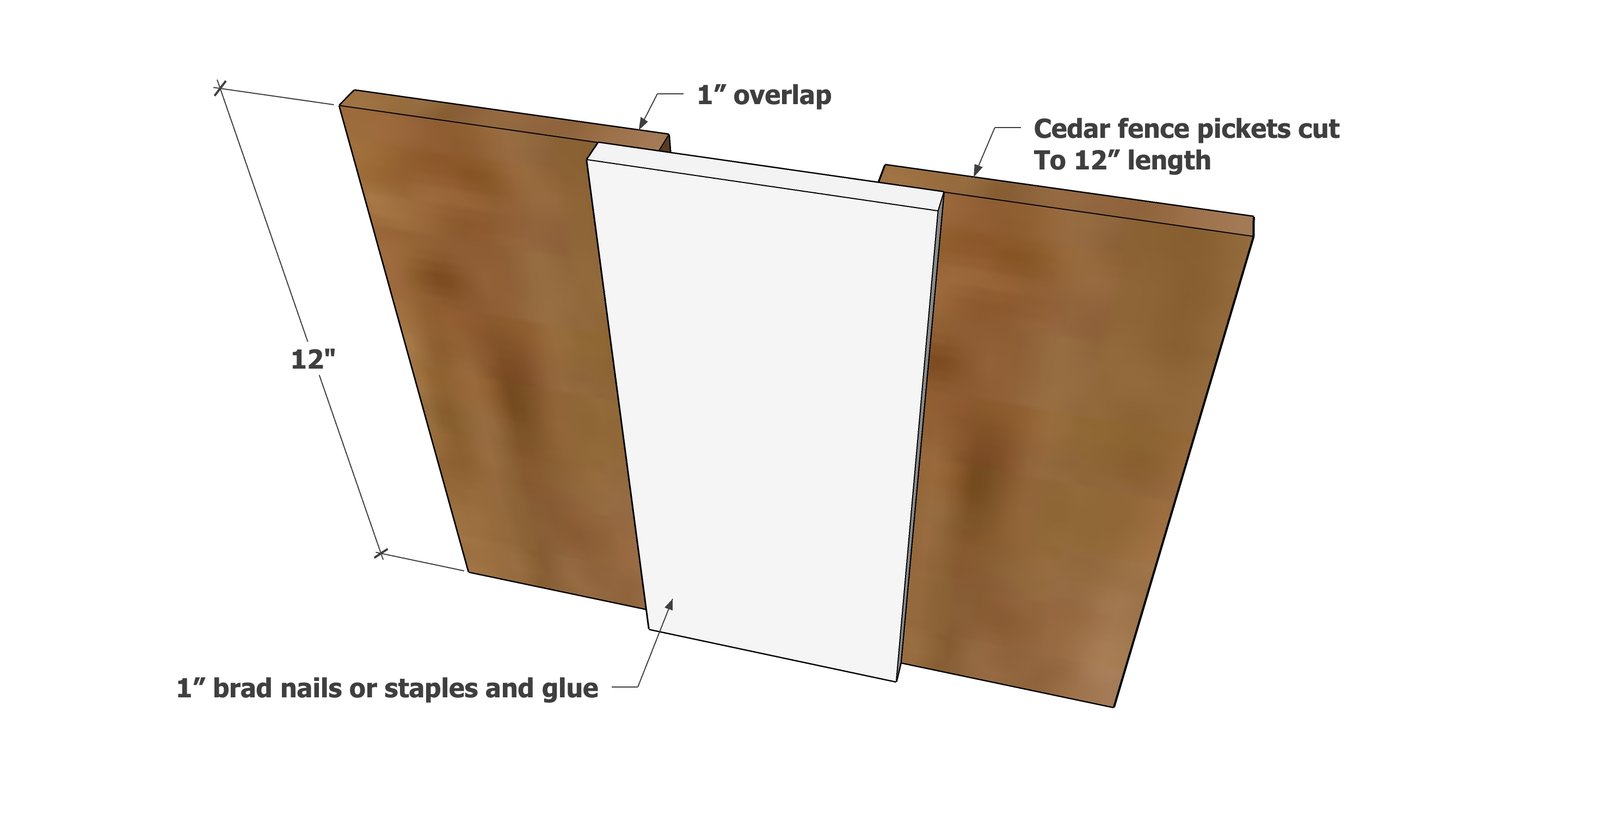
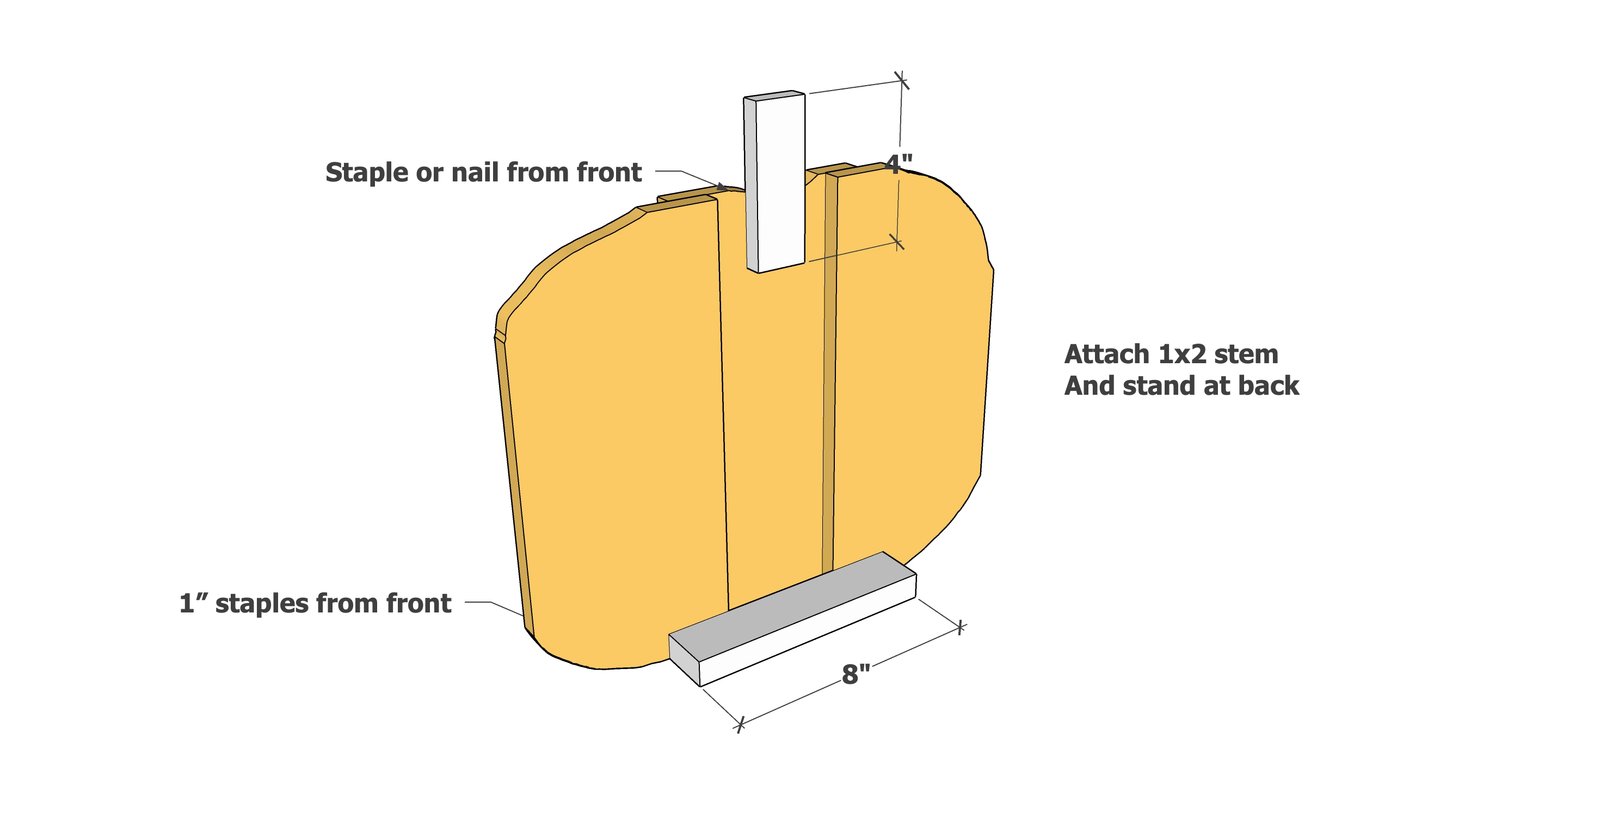
Glue and nail the fence picket pieces together, with about a 1" overlap, using 1" fasteners (staples or brad nails and glue). For the larger pumpkin add two additional layered fence pickets.
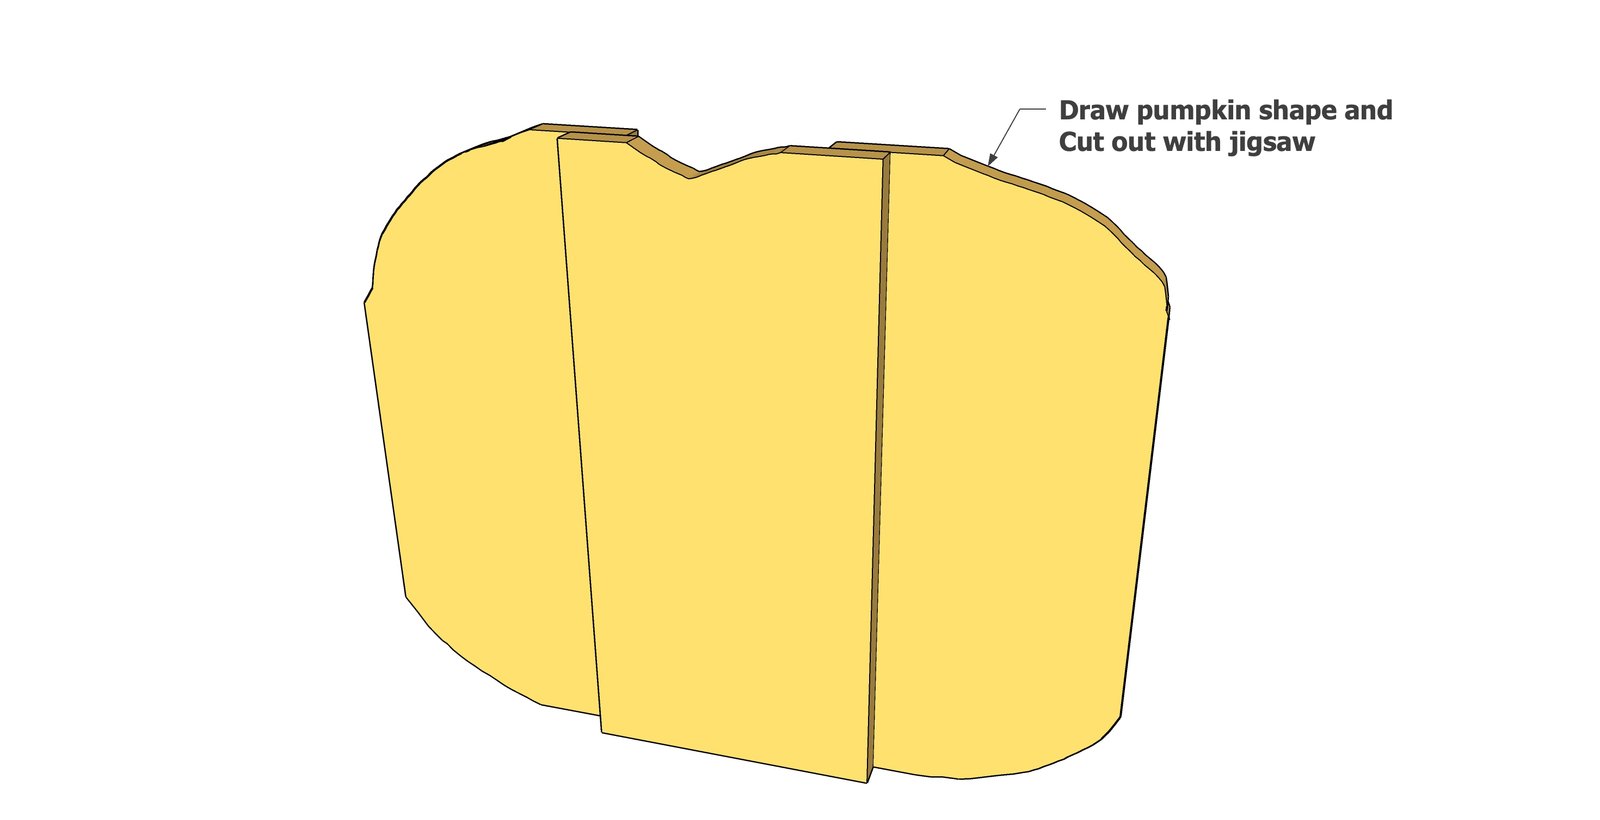
Use a pencil to free hand a pumpkin shape. All pumpkins are different, so any shape is up to you.
Cut out with a jigsaw and lightly sand any rough edges. For a two tone look, paint or stain the pumpkin in this stage. Paint or stain the stem in a different color if desired.
Glue and attach the 1x2 pieces to the back of the pumpkin.
To do this, you'll need to nail or staple from the fence picket side into the back of the 1x2 pieces. Make sure the pumpkin stays upright with the 1x2 piece.
Finishing
Sand all surfaces, starting with a medium grit and finishing with fine. Wipe off the dust, fill any holes or gaps with wood filler, and sand smooth once dry. Apply primer if you're painting, then finish with your choice of paint or stain and seal with a durable clear topcoat. For outdoor projects, use exterior-rated primer, paint or stain, and sealer so the piece stands up to the weather.
Source (temporary): https://www.ana-white.com/woodworking-projects/easy-fence-picket-wood-pumpkin-decor