Easy Kids' Tent / Reading Nook
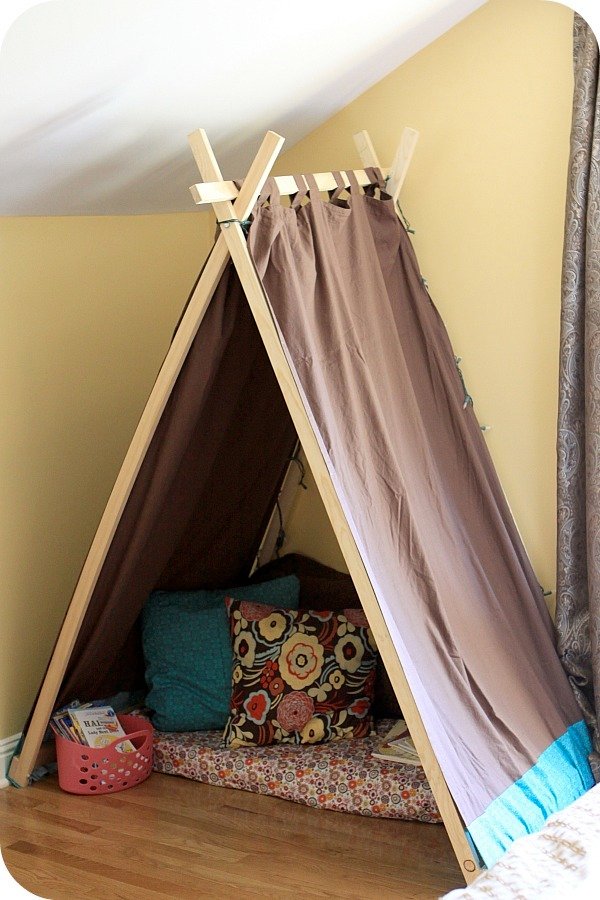
Only one cut and easy-to-follow instructions make for a kid-sized reading nook that you can build today! This is a simple project that comes together in an hour or less. You need recycled material for the panels and approximately $20 worth of supplies, assuming you own a drill, staple gun and wrench. Questions: Please send me a message anna{AT}lawrencegirls{DOT}com
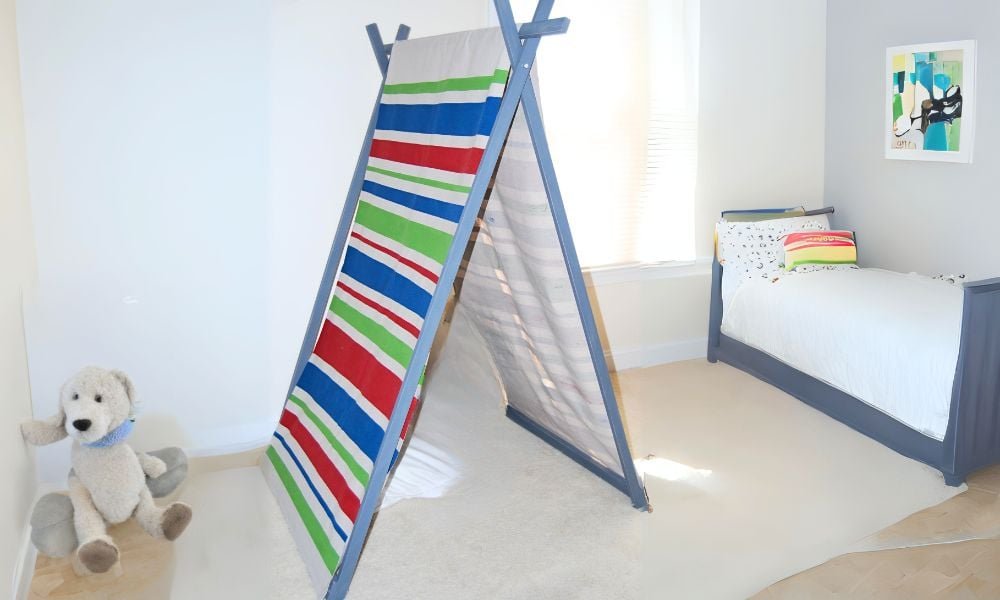
Specifications
| Project type | Toys |
|---|---|
| Room | Kids and Toys |
| Style | Children's and Kid's Room Furniture and Toy Plans |
| Difficulty | Starter Projects |
| Estimated cost | $20 - $50 |
Shopping List
5, 1x2x6 Select Pine Boards 1, 1x3x6 Select Pine Board 2, 8mm hex head bolts - 50mm long 4, 8mm hex head bolts - 60mm long 6, 8mm hex nuts 2, tab top curtain panels 84" long
Cut List
Ask for the 1x3x6 to be cut in half, so you will have two 1x3x3 pieces.
Tools
- measuring tape
- pencil
- drill
- staple gun
Step-by-step Instructions
Step 1
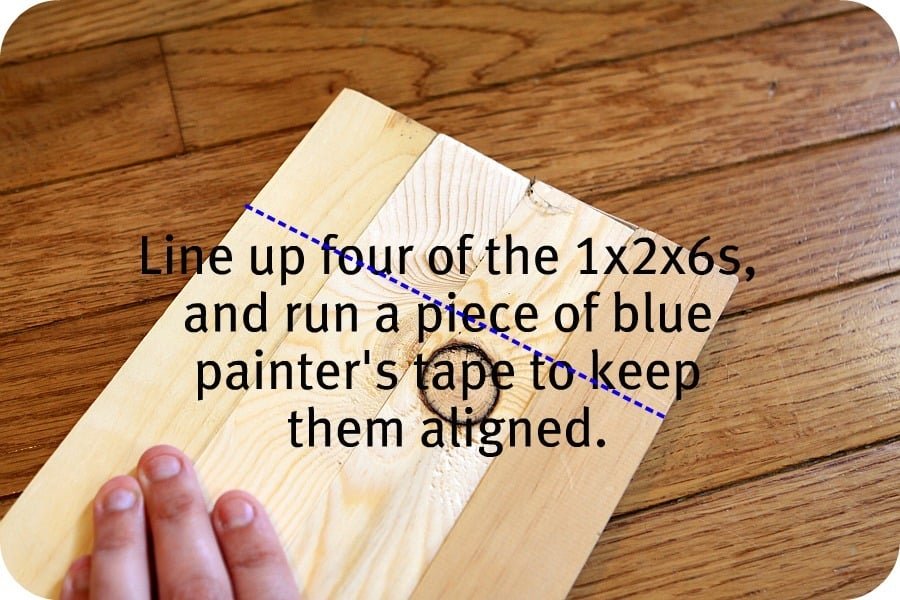
Line up four of the 1x2x6s, and run a piece of blue painters tape around them to keep the boards flush with one another.
Step 2
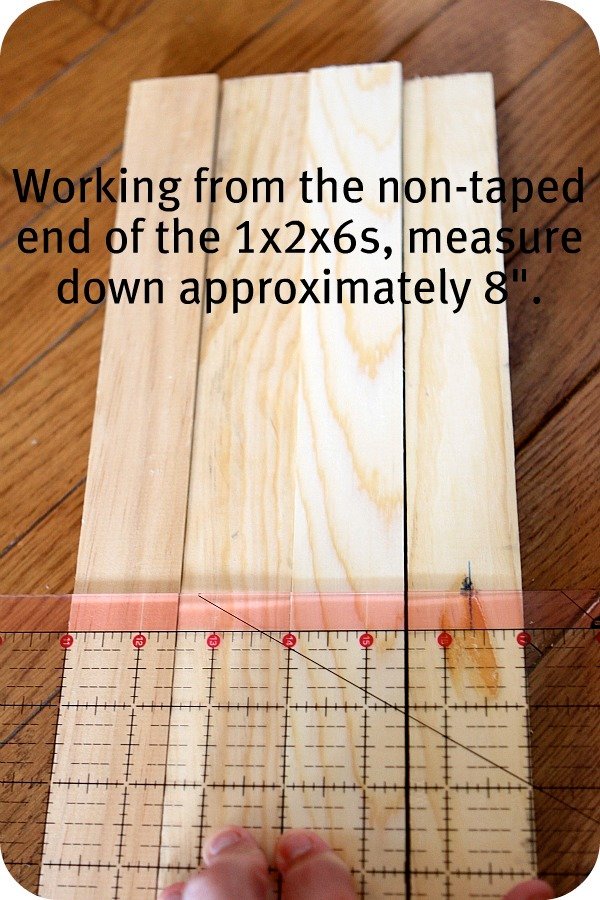
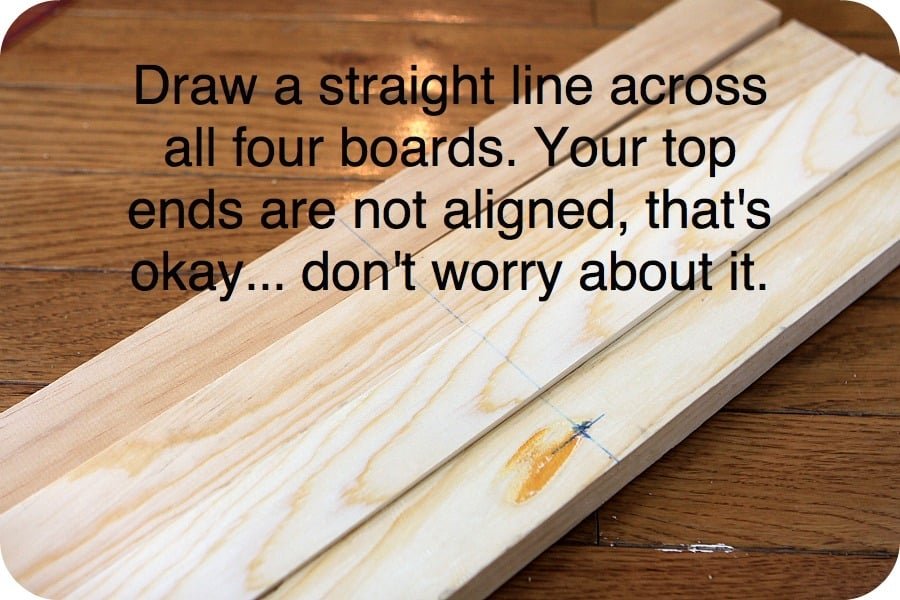
Working at the non-taped end of the boards, measure a straight line across all four boards. The line should be approximately 8" from the top.
Step 3
Step 4
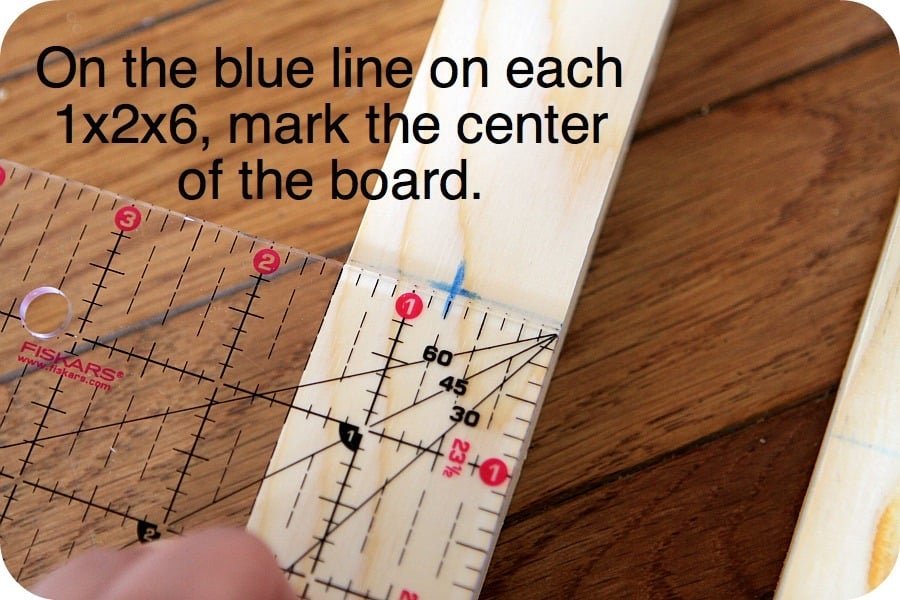
Using your straight line as a reference, mark the center of each 1x2x6. This will be your drill point on each board.
Step 5
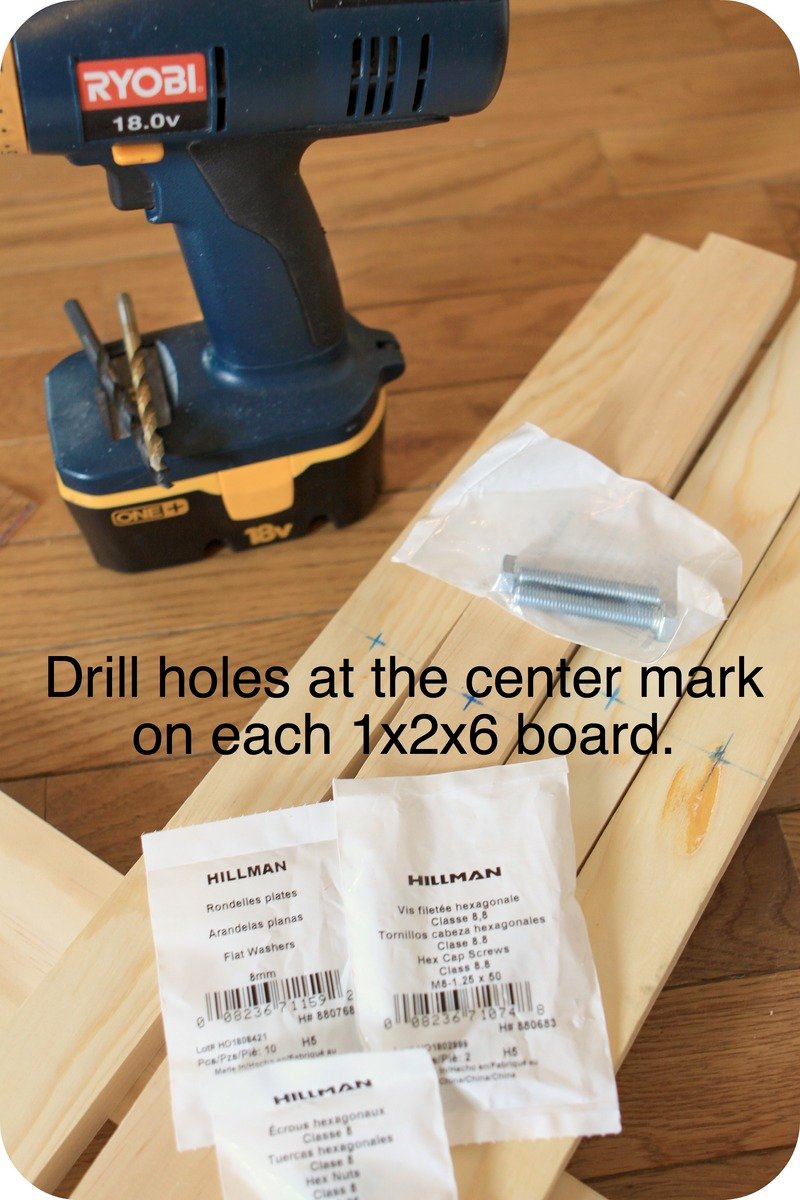
Step 6
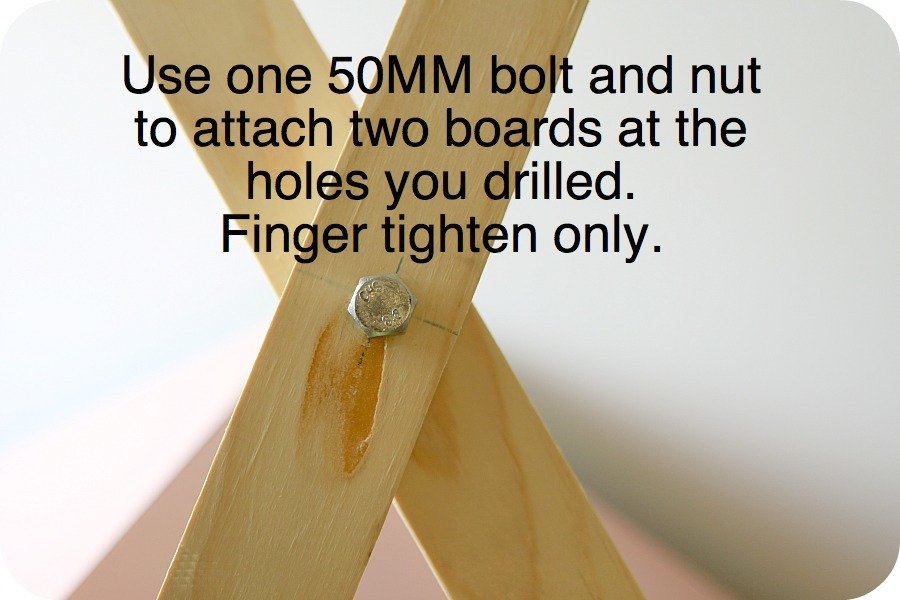
Use one 50mm bolt and nut to attach two boards together. Finger tighten only at this point.
Step 7
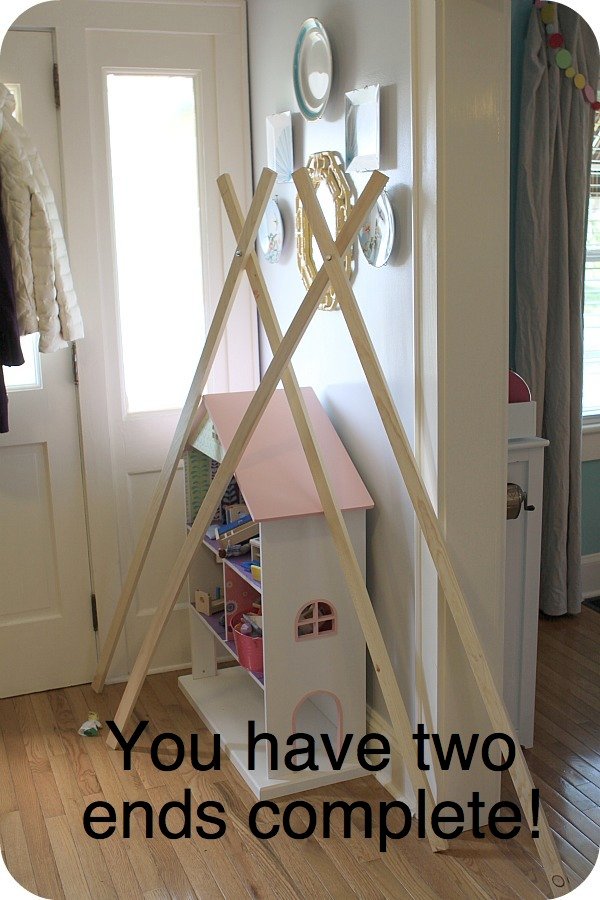
Repeat with remaining two drilled 1x2x6 boards.
Step 8
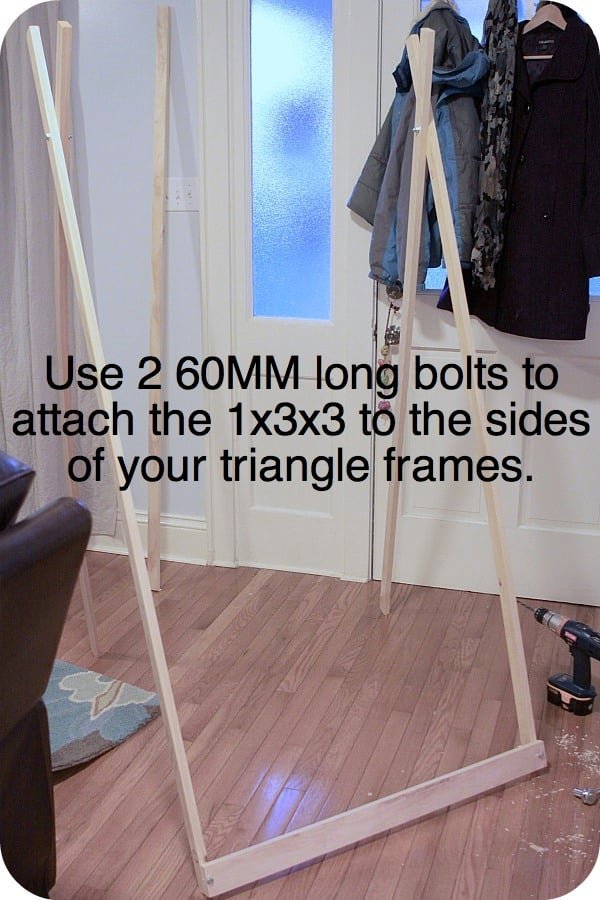
Place the 1x3x3 board about 1/4" off the ground and mark your drill spot 1/2" from the board edge. Mark a second drill spot 1/2" from the edge of your 1x2x6. Drill through both boards separately. Use one 60mm bolt per corner to attach the 1x3x3 boards to opposite, outside 1x2x6 boards.
Step 9
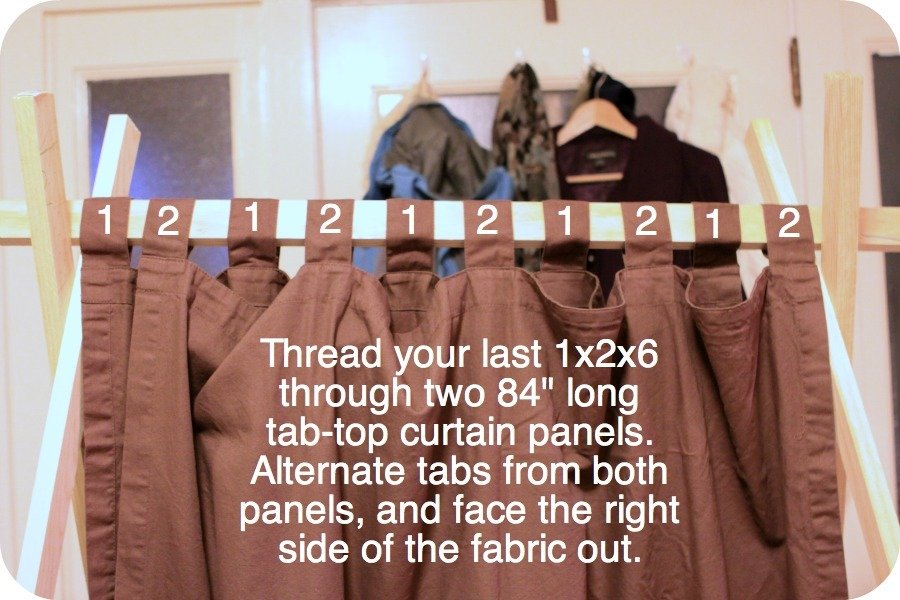
Use your last 1x2x6 board as the "roof" of your nook. Thread the board through alternating curtain tabs from two separate panels. Make sure the right side of the curtain is facing out.
Step 10
Panels are ready to attach now.
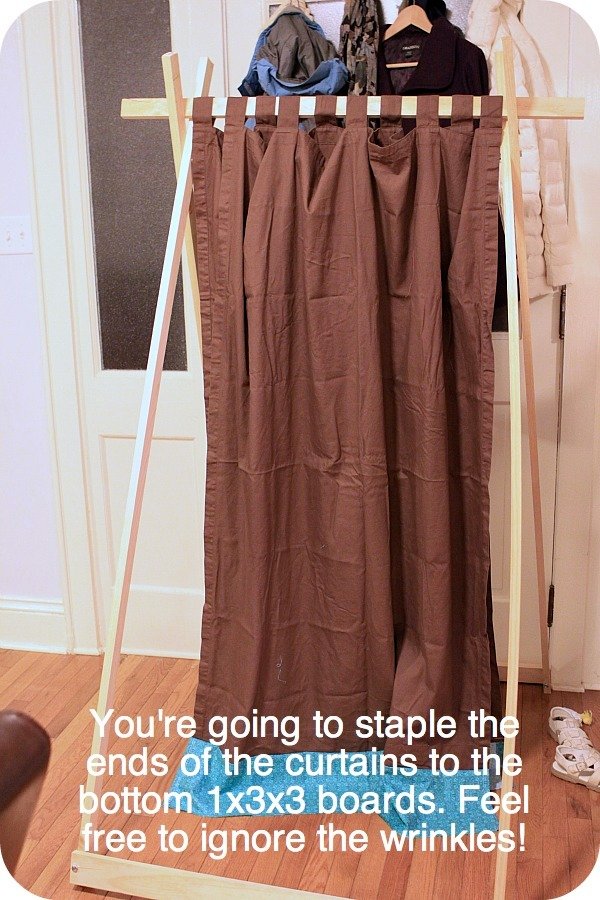
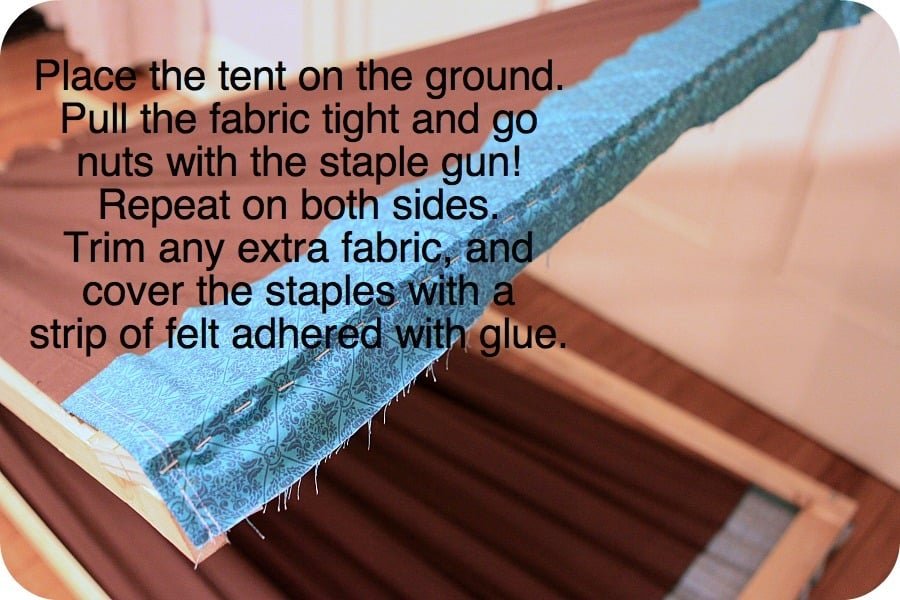
Place the tent on the ground to have easier access to the underside of your 1x3x3 boards.
Pull the fabric tight, down and around the 1x3x3 board. Staple all the way across keeping the fabric pulled tight. Cover the staples with a strip of felt, if desired. The tent does not rest on this board, but little fingers may creep under the tent.
Step 12
Set-up tent where you desire, tighten nuts with a wrench, and secure back legs to the wall if you want a permanent location. Load in comfy pillows, lights and books for a reading nook that will be fun, cozy and relaxing.
Finishing
Sand all surfaces, starting with a medium grit and finishing with fine. Wipe off the dust, fill any holes or gaps with wood filler, and sand smooth once dry. Apply primer if you're painting, then finish with your choice of paint or stain and seal with a durable clear topcoat. For outdoor projects, use exterior-rated primer, paint or stain, and sealer so the piece stands up to the weather.
Source (temporary): https://www.ana-white.com/woodworking-projects/easy-kids-tent-reading-nook