Easy Scrap Wood Crayon or Pencil Block Holder
Well this is it! Our final Handmade Holiday gift plan for this Christmas season!!! It's been such a fun series, and I hope you enjoyed the projects as much as Jaime and I have working on them!
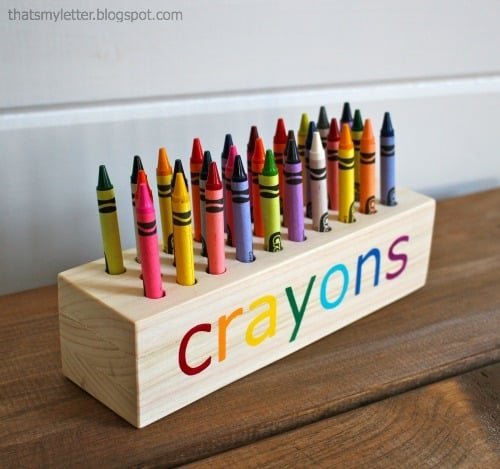
Specifications
| Project type | Toys |
|---|---|
| Room | Kids and Toys |
| Style | Children's and Kid's Room Furniture and Toy Plans |
| Difficulty | Starter Projects |
| Estimated cost | scraps |
Dimensions
Use the size-specific shopping and cut lists below.
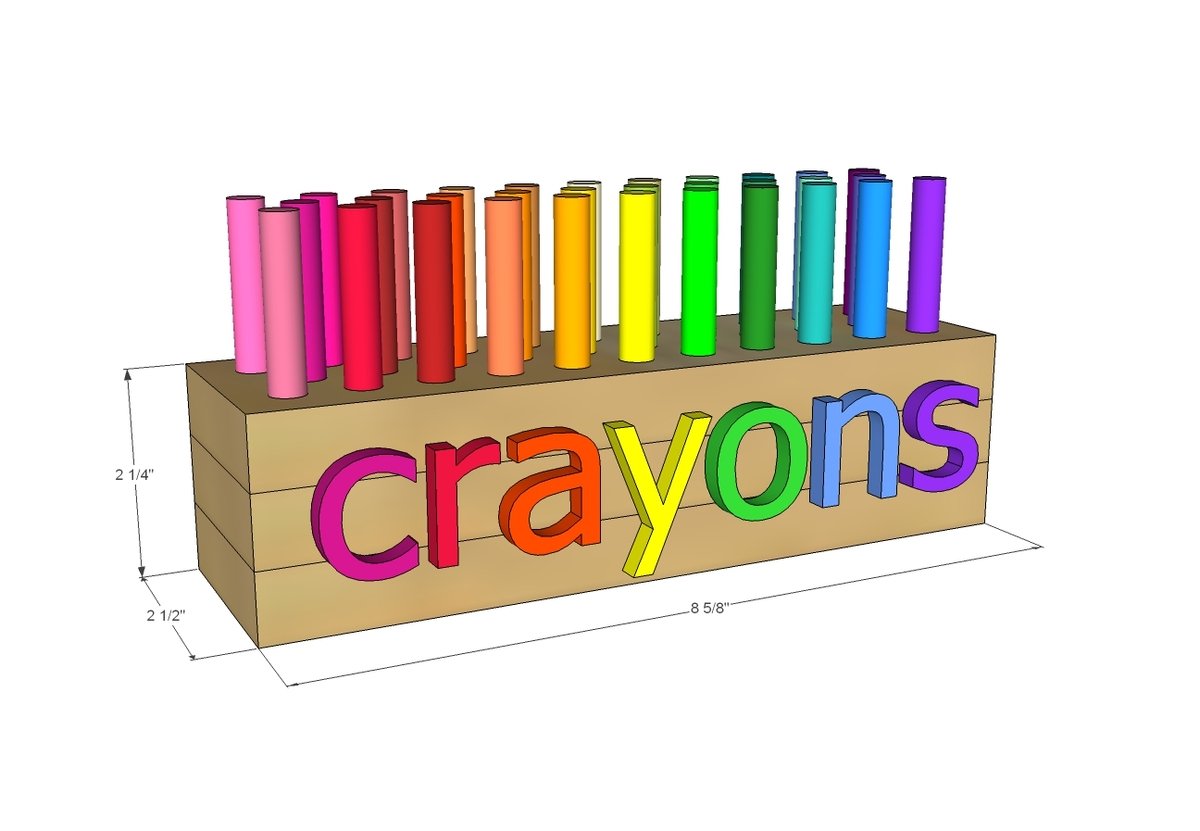
Shopping List
27" of 1x3 boards
Cut List
3 - 1x3 @ 8-5/8" long
Tools
- measuring tape
- square
- pencil
- safety glasses
- hearing protection
- drill
- circular saw
Step-by-step Instructions
Step 1
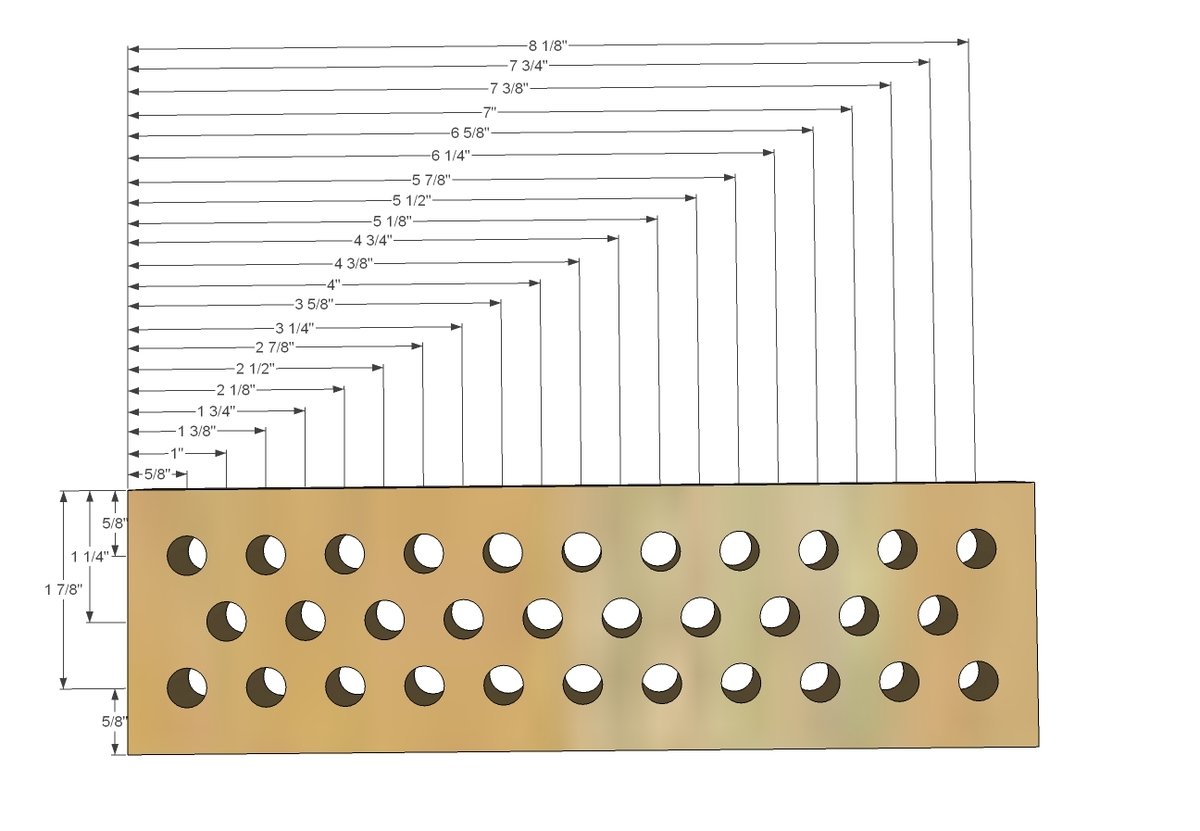
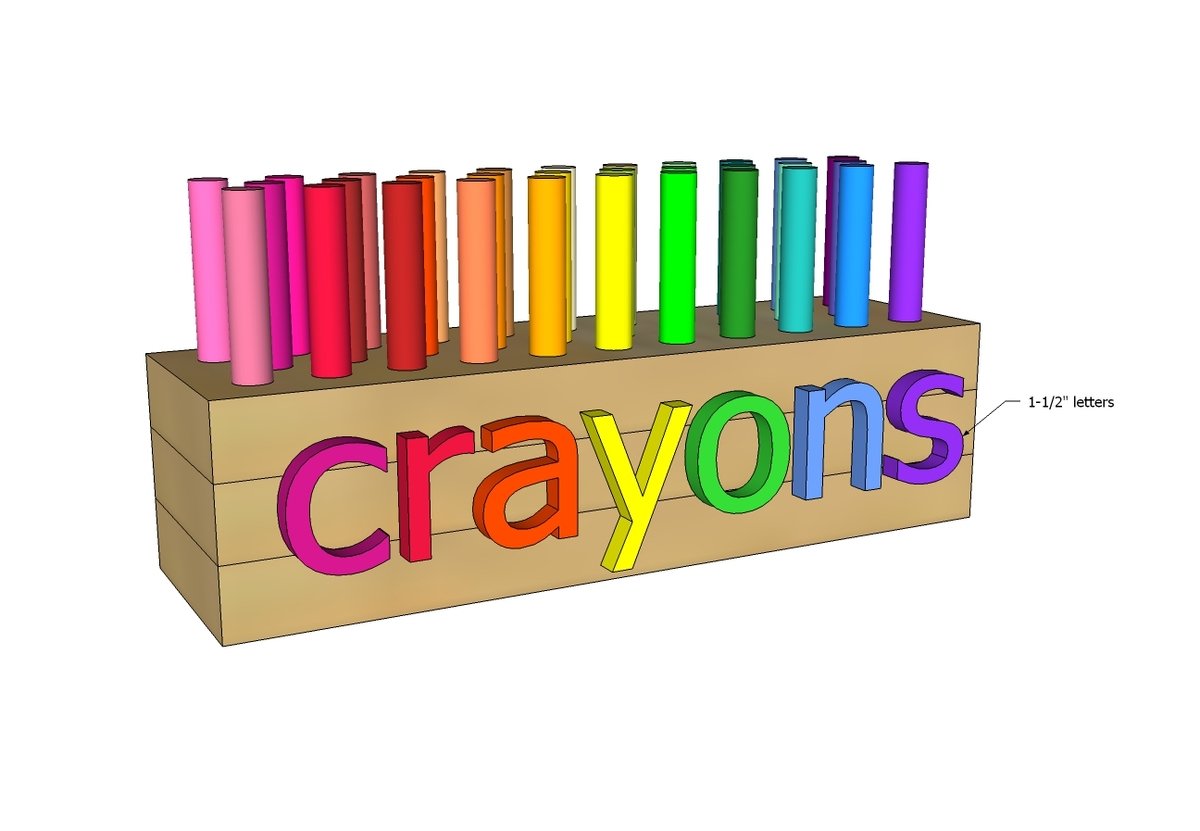
Take one of the 1x3 pieces and drill holes as shown in the above diagram, using a drill bit a little larger than the crayons. Drill all the way through. NOTE: For markers or taller crayons/pencils - you may wish to drill through 2 layers of 1x3s instead of just one.
Step 2
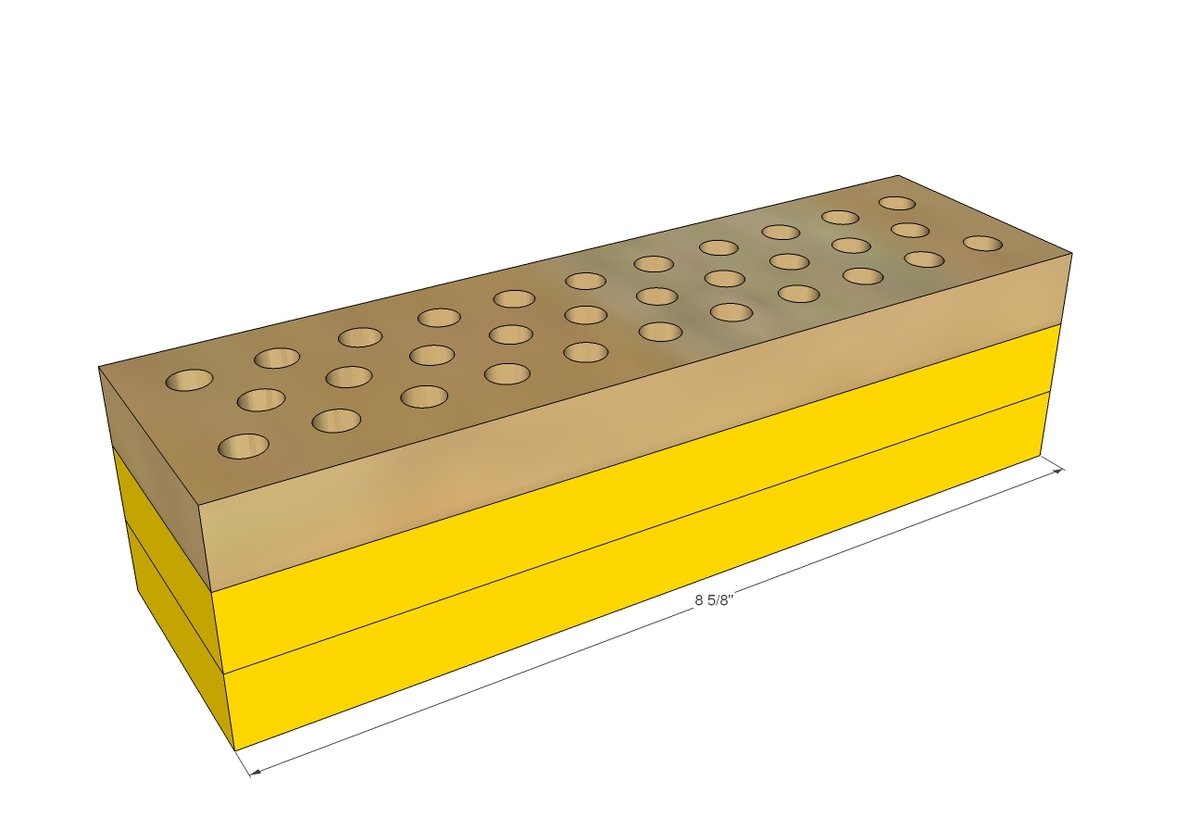
Glue and clamp the first board to the second and third. Let dry. Sand outside edges smooth.
Step 3
Add crayons and lettering to front.
Step 4
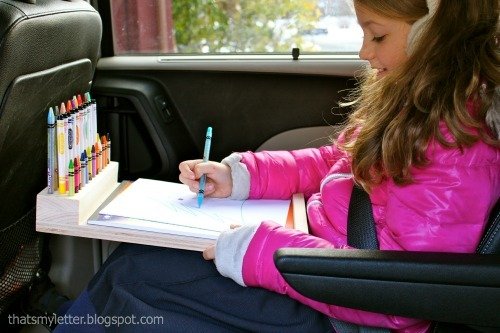
For more instruction making a lap desk (perfect for travel) head on over and check out Jaime's building post.
Finishing
Sand all surfaces, starting with a medium grit and finishing with fine. Wipe off the dust, fill any holes or gaps with wood filler, and sand smooth once dry. Apply primer if you're painting, then finish with your choice of paint or stain and seal with a durable clear topcoat. For outdoor projects, use exterior-rated primer, paint or stain, and sealer so the piece stands up to the weather.
Source (temporary): https://www.ana-white.com/woodworking-projects/easy-scrap-wood-crayon-or-pencil-block-holder