Easy Stairs
How to build stairs! Free step by step instructions from
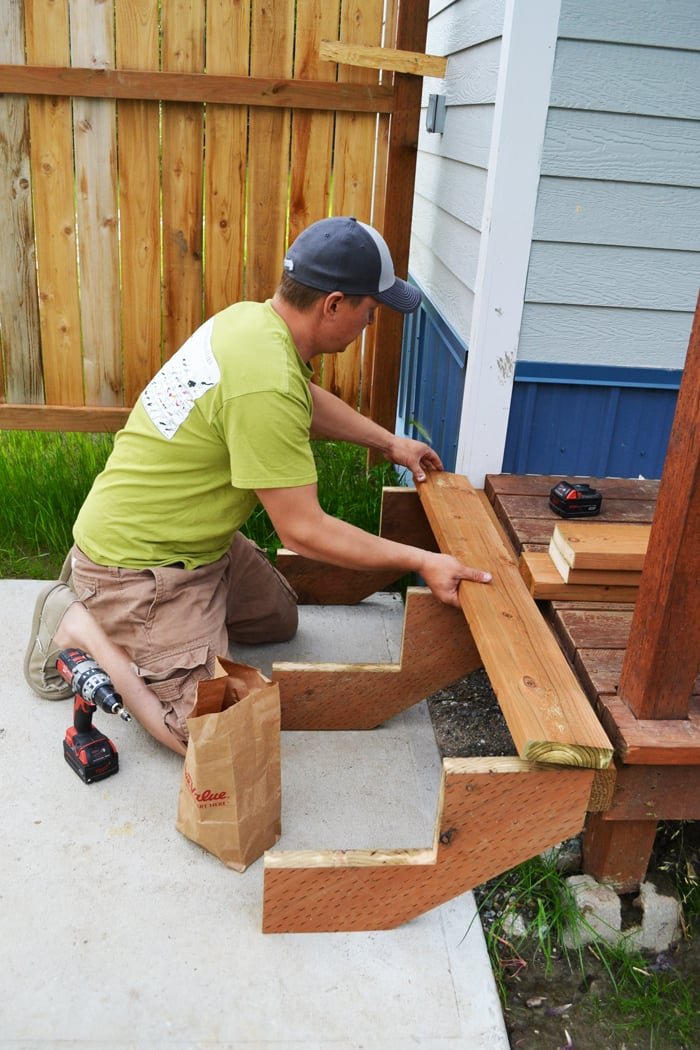
Specifications
| Project type | Other Projects |
|---|---|
| Room | Outdoor |
| Difficulty | Intermediate |
Shopping List
2x12s for stringers (most likely sometimes 2x10 or 2x8 are used, depending on rise/run)
2x6 for treads or other tread material
Tools
- measuring tape
- square
- pencil
- safety glasses
- hearing protection
- drill
- circular saw
- level
- countersink drill bit
Step-by-step Instructions
Measuring
The first thing you do is take an overall measurement. What is the overall height that your stairs will cover? Write this number down. Also figure the width you want your stairs to be.
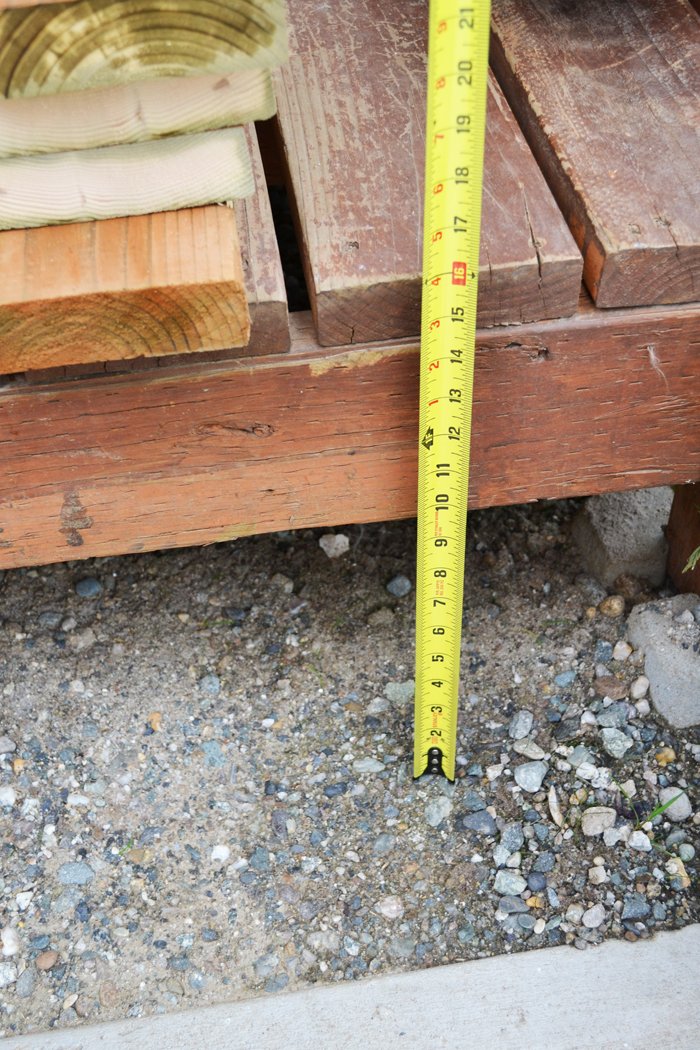
Calculating
Now some math: 1. Find Number of Rises Divide Overall Height by 7 (OVERALL HEIGHT / 7 =????) Whatever number you come up with will be followed by decimals. Drop the decimals. Keep the whole number. This is your number of RISES. So in my example, my overall height is 16". 16 / 7 = 2.2857.... I drop the decimals and we know we need 2 rises. 2. Find Height of Rises Now we know the overall height of all rises and the number of rises, now we just need to find the height of each rise. Take your Overall Height and divide by your number of rises. In my example, my overall height is 16" and we have two rises. 16 / 2 = 8. Each rise will be 8". 3. Determine Tread Widths. For us it doesn't matter where the stairs come out, so we pick 11" as our tread width (that's 2 - 2x6s and a little nosing). If your stairs must come out at a certain spot, find your overall desired run length, divide by the number of treads, and that's how you would figure your tread width. Keep in mind what material you will use for your treads.
Marking Stair Stringers
You'll need a rafter square, preferably one that has adjustable metal stops on it. Identify on your square your rise and tread run and mark. For me, it's 8 and 11. In the diagrams, I show 7 and 11. Line the rise and runs up with the edge of the board and mark. Here's how we marked our stringers for the Momplex: We are using a rafter square with metal stops.
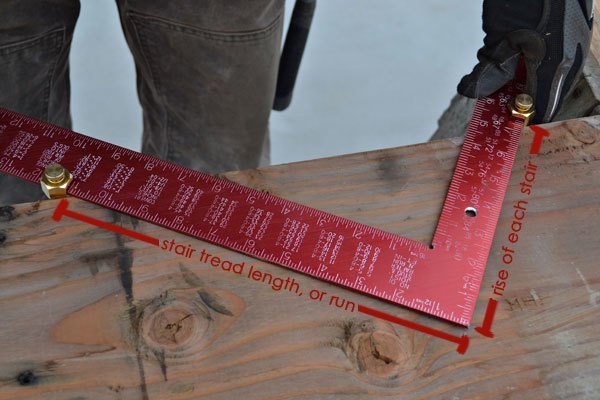
Marking Additional Stairs
And this is easy now - just move down, lining up the square with the previous marks and edge.
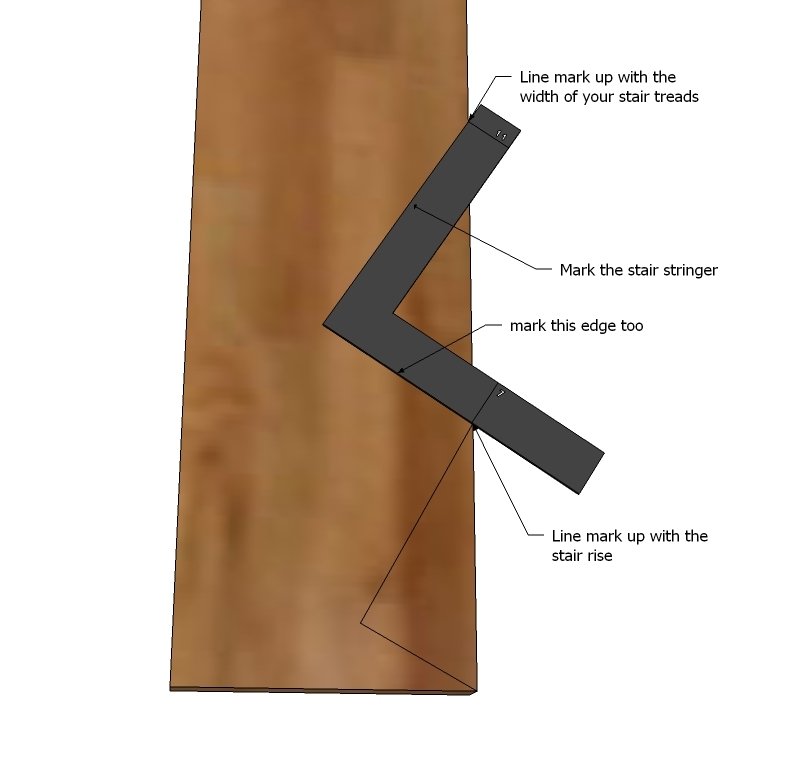
Step 5
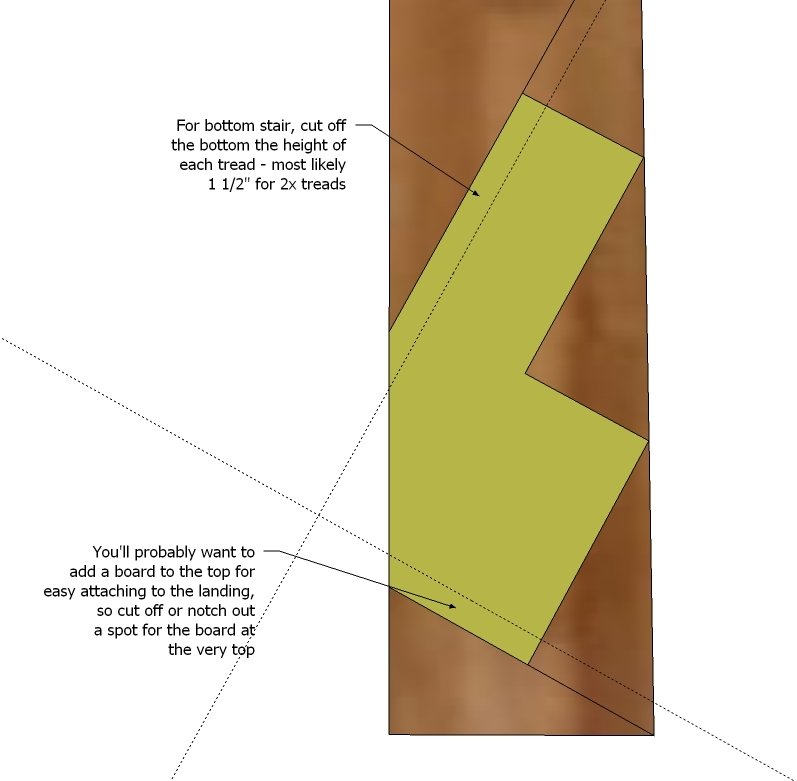
Here's our pretty dinky stringers, but you get the idea.
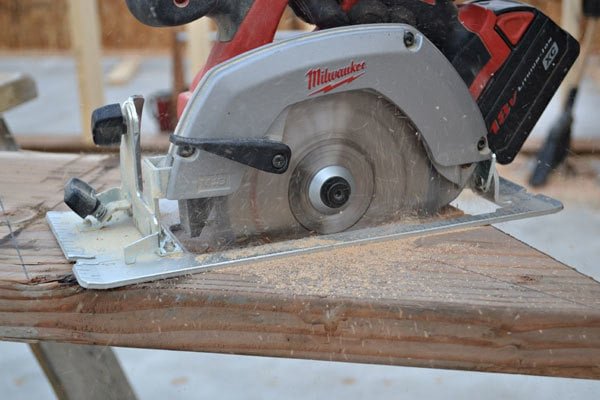
The stringers are cut with a circular saw and the cuts finished with a hand saw.
Step 7
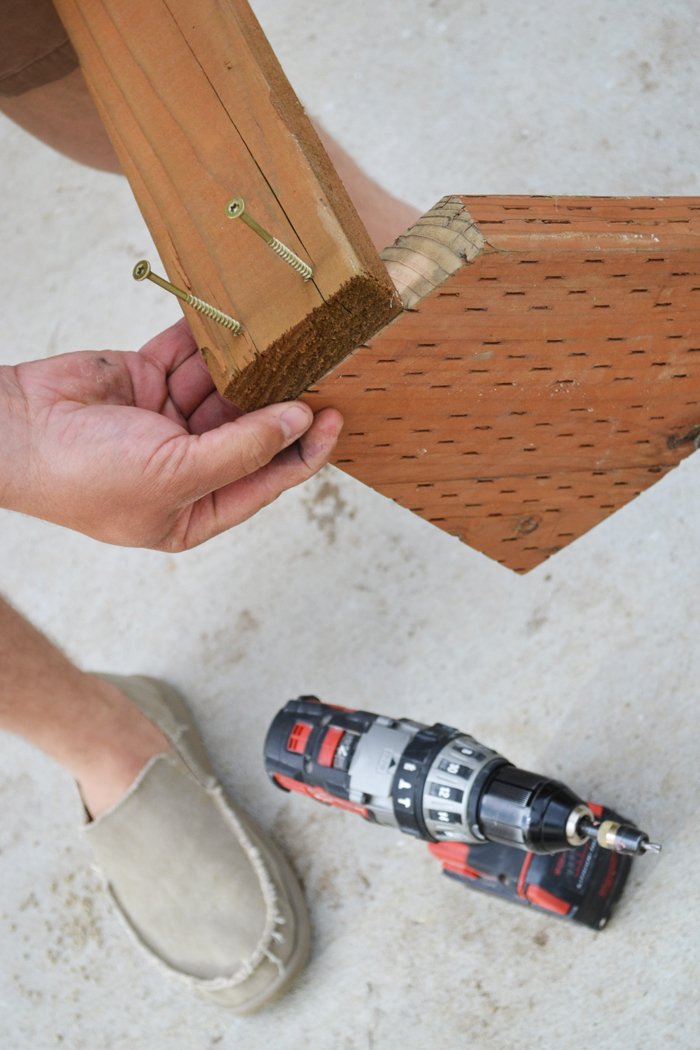
Then we attach a back to the tops of the stringers.
Step 8
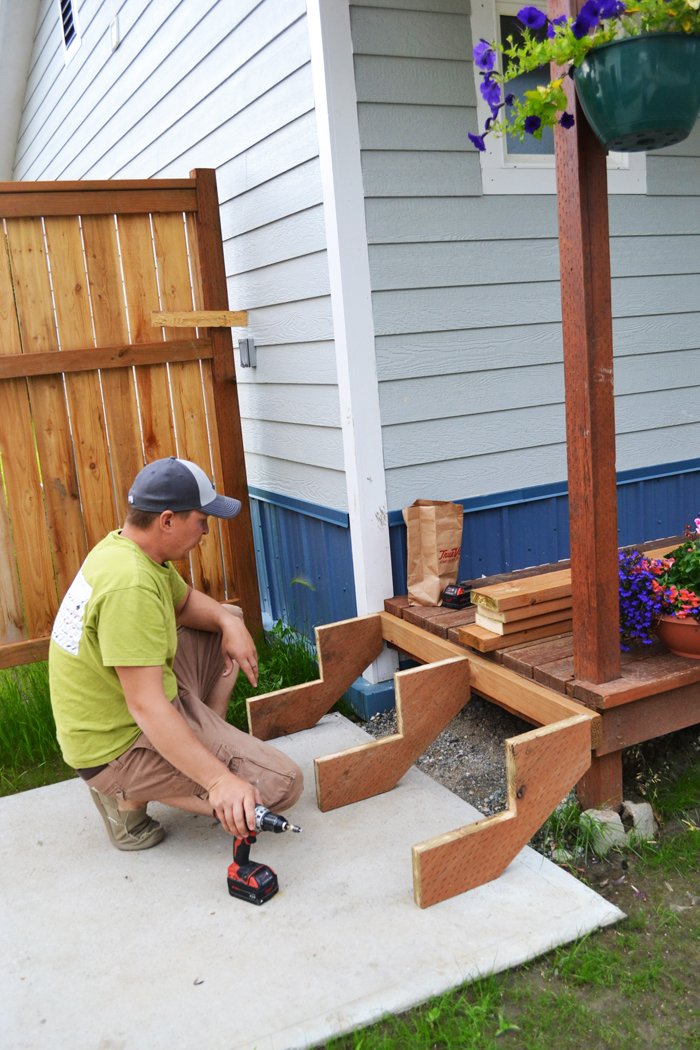
And attach the back then to the landing.
Step 9
Then we just add the first tread.
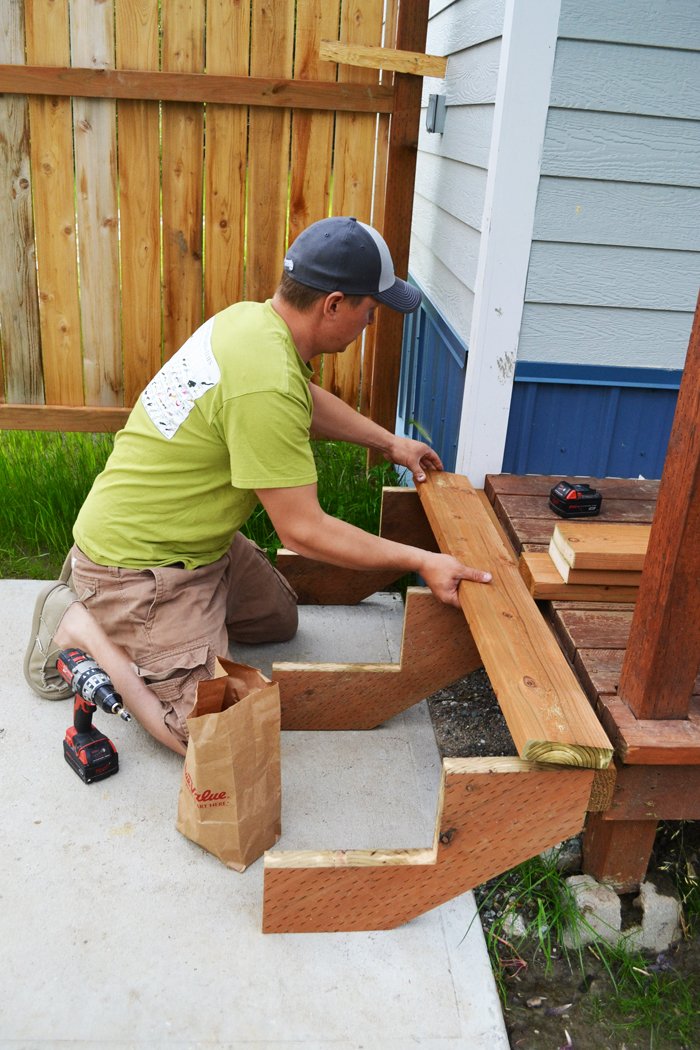
Step 10
And then the next treads.
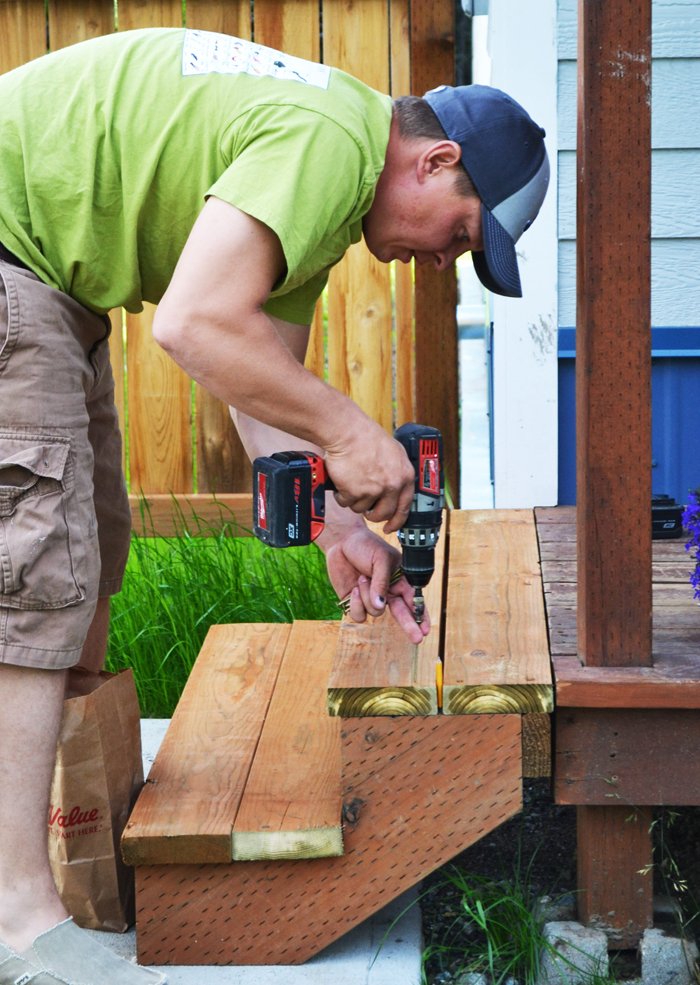
Step 11
We use a carpenter's pencil for a gap between the treads.
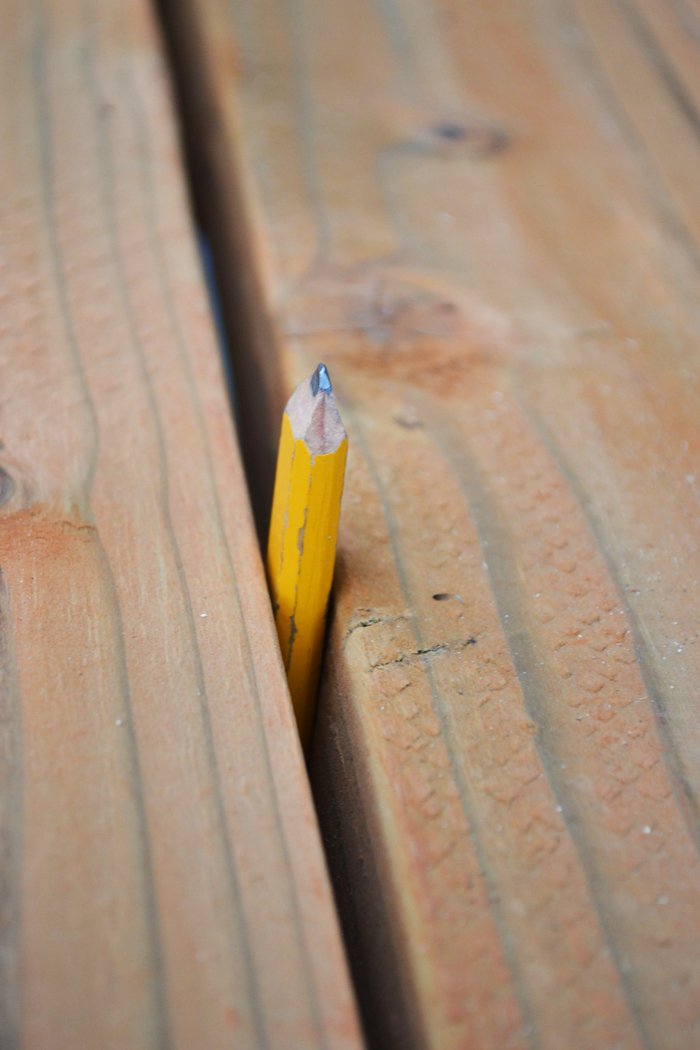
And just screw all the treads down.
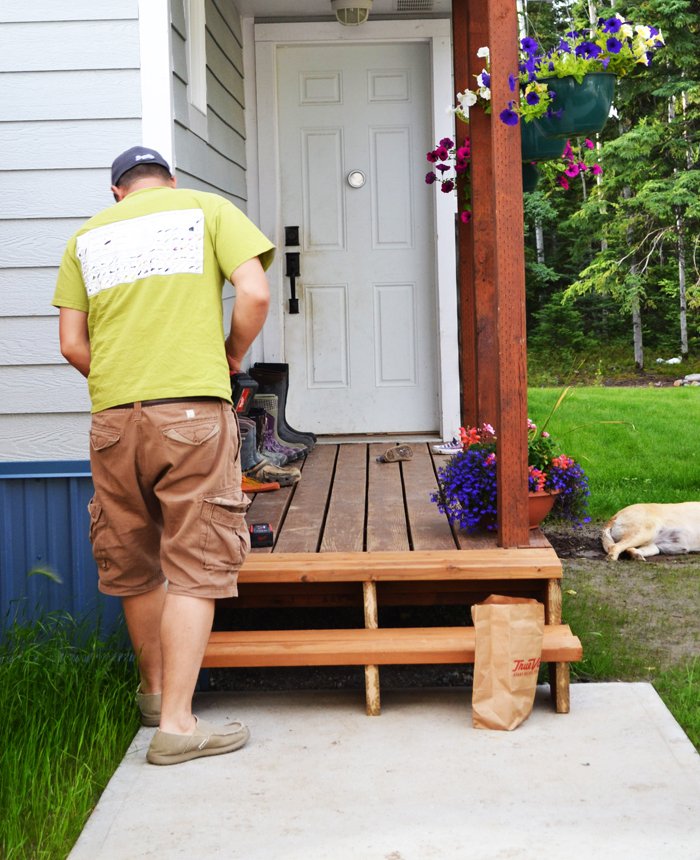
And that's the quick and easy way to build stairs!
Finishing
Sand all surfaces, starting with a medium grit and finishing with fine. Wipe off the dust, fill any holes or gaps with wood filler, and sand smooth once dry. Apply primer if you're painting, then finish with your choice of paint or stain and seal with a durable clear topcoat. For outdoor projects, use exterior-rated primer, paint or stain, and sealer so the piece stands up to the weather.
Source (temporary): https://www.ana-white.com/woodworking-projects/easy-stairs