Easy Window Trim
How to trim out windows and doors without a ton of cutting and different moulding pieces.
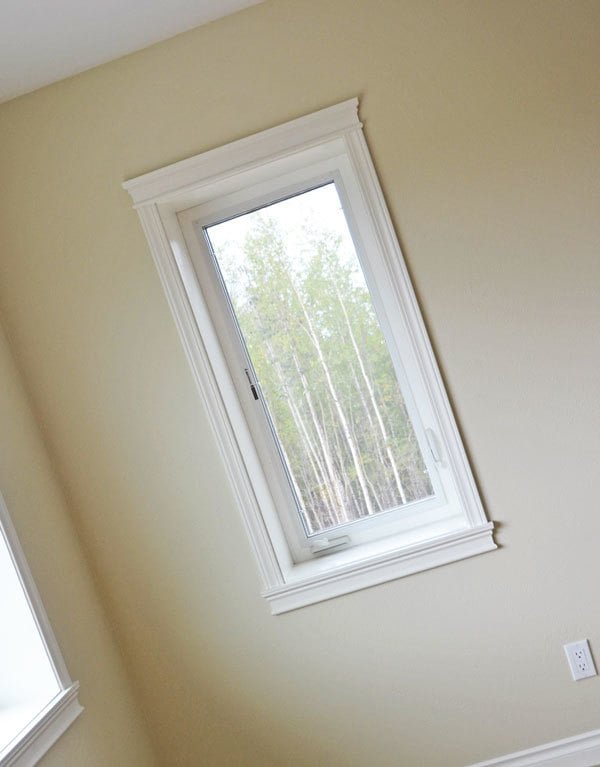
Specifications
| Project type | Home DIY |
|---|---|
| Room | Bathroom |
| Style | Farmhouse Furniture |
| Difficulty | Intermediate |
Shopping List
Casing trim height of windows multiplied by 2, then add a few inches (we used this pattern, but there's fancier options like this one ) Header trim, width of windows, multiplied by 2, then add at least 1 foot (we used this trim, but for an even fancier window, try this one )
Finish nails for attaching to window jambs and longer nails for attaching to studs in walls
Wood filler for filling nail holes
Cut List
Side casings are cut to interior height of windows + 1/2" (For 1/4" reveal on top and bottom. For no reveal at bottom for flush window sill, cut just 1/4" longer)
Header and aprons are cut to fit - see project plan below
4 - header and apron mitered returns - see project plan below
Tools
- measuring tape
- square
- pencil
- safety glasses
- hearing protection
- compound miter saw
- nailer
Step-by-step Instructions
Step 1
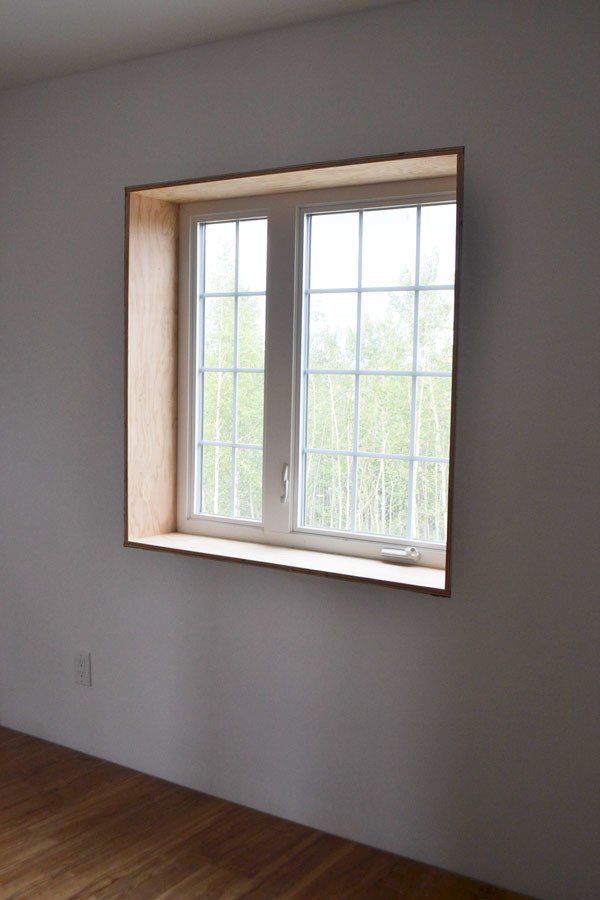
Start with your window, and remove any moulding until your window is flush to the wall. If you need to finish out the window jambs, you can read how we did that here. Measure the interior height of the window. Add 1/4" for the top reveal. Add 1/4" more if you want the bottom of your window to have a reveal too. This is the length of your side casings. Cut side casing.
Step 2
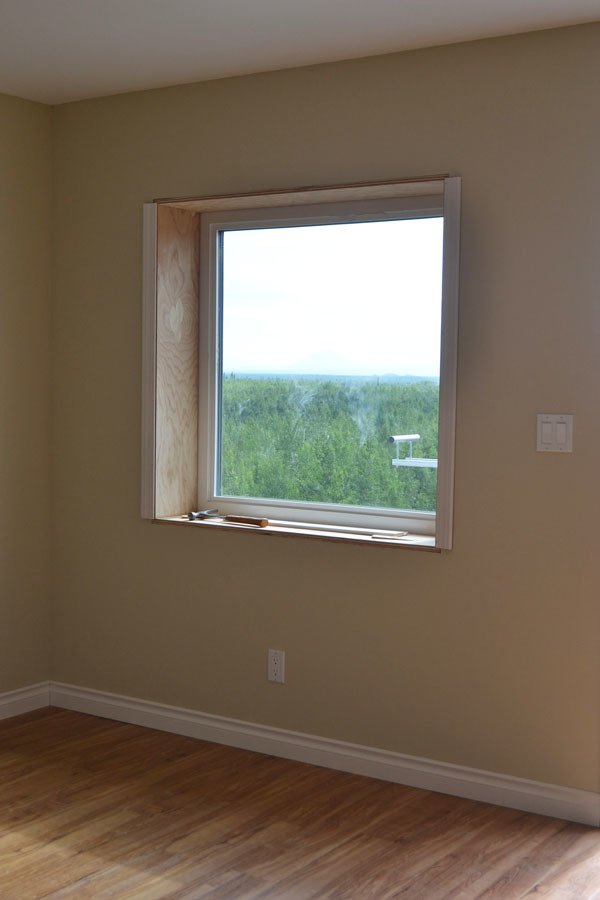
Nail side casings to window jambs and to rough framing of window (behind drywall). We used 1" nails to nail casing to window jambs, and 2" nails to nail window casings to rough framing behind drywall, with an 18 gauge nailer. The casings are attached with a 1/4" reveal - meaning they are not flush to the insides of the jamb, and instead, 1/4" of the jamb's front face is revealed. This is done because it is very difficult to get two edges perfectly aligned, and keep them aligned over time (think wood shrinking, house settling etc.) The revealed edge also provides and added layer, giving the window even more interest. You can read more details about how we installed casing trim here.
Step 3
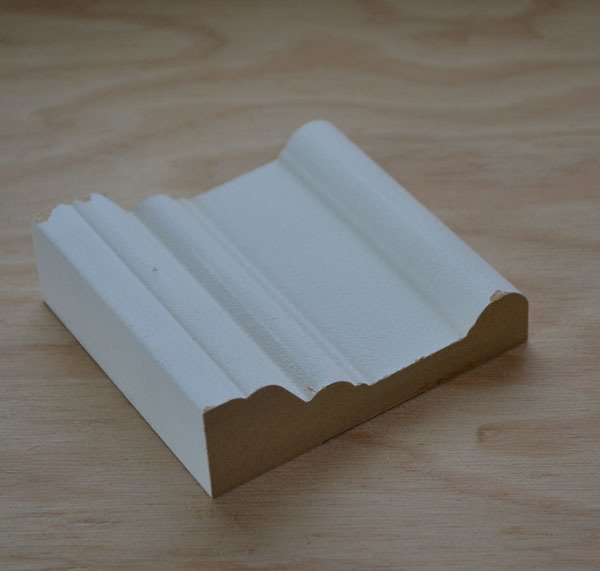
For the headers, you have to use a moulding that has a base that is at least as wide as your casing to cover the casing. The wider top edge gives the window header the appearance of a crown moulding - without doing all the work. These mouldings come in different sizes - use a larger moulding for a more dramatic window.
Step 4
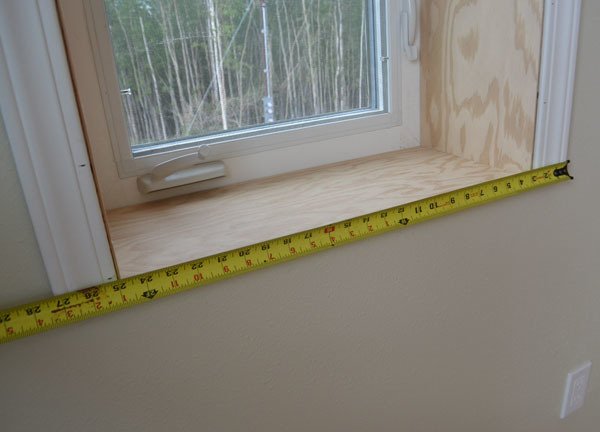
With your casings installed, measure the outside dimensions of casing to casing. Measure the top and bottom and note.
Step 5
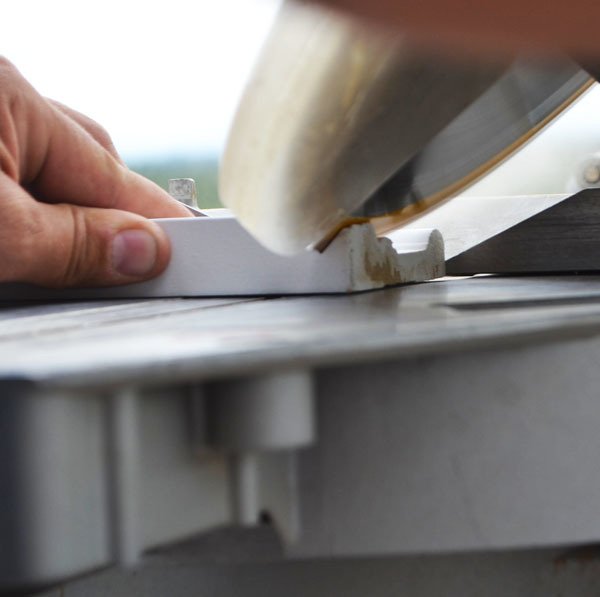
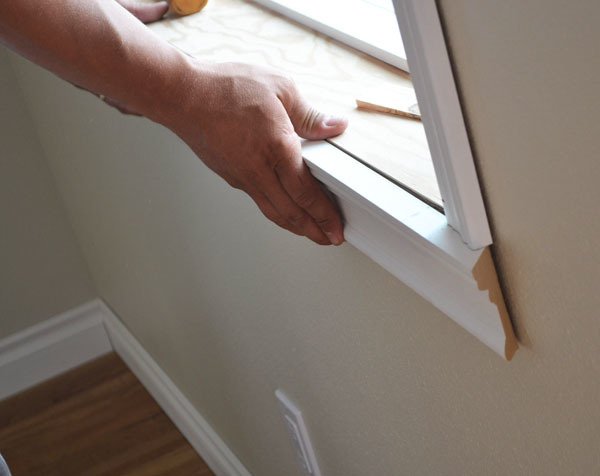
Once the headers and aprons were cut, we fit on the windows.
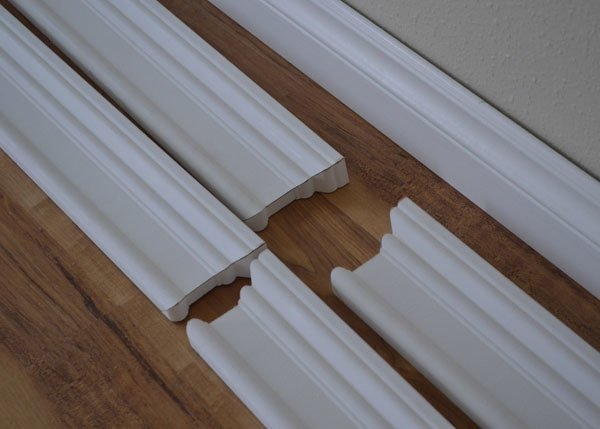
We'll need to cut mitered returns to finish off the ends of the headers and aprons.
Step 7
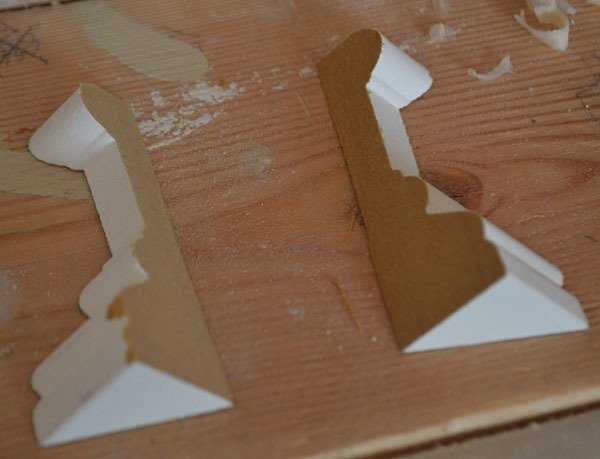
These are the mitered returns - they are basically the header moulding, cut at 0" long to a 45 degree bevel.
Step 8
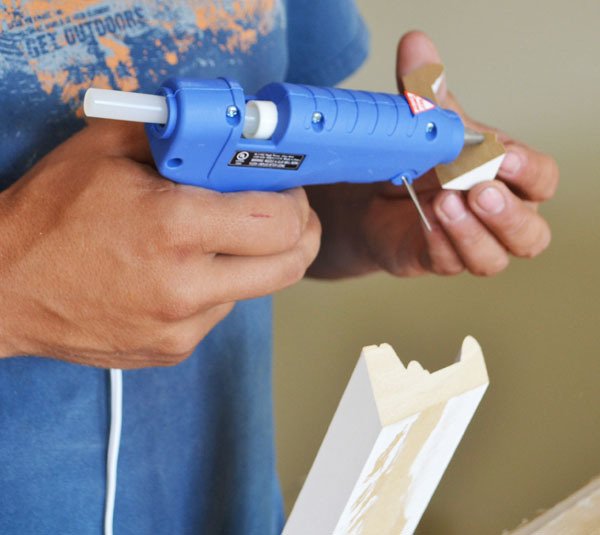
We used hot glue to glue the mitered returns to the ends of the headers and aprons.
Step 9
We build all of the headers and aprons at once, and labeled the back sides to keep them from getting mixed up. We also used wood filler to fill any cracks on the ends, sanded the ends, and then painted them on sawhorses. It's much easier to paint on the ground, then having to tape the headers off, and paint over your head.
Step 10
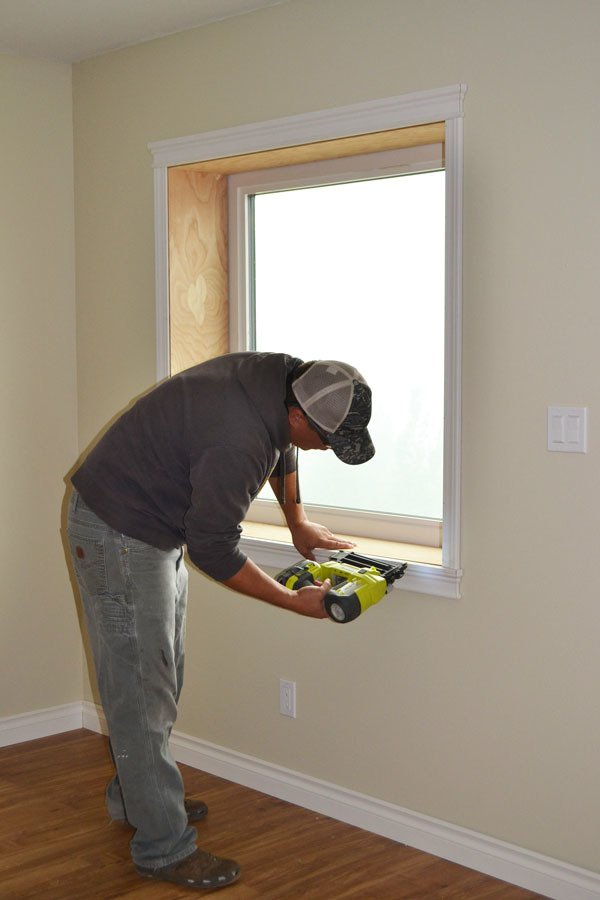
Then the headers and aprons are nailed up, same as the casings.
Step 11
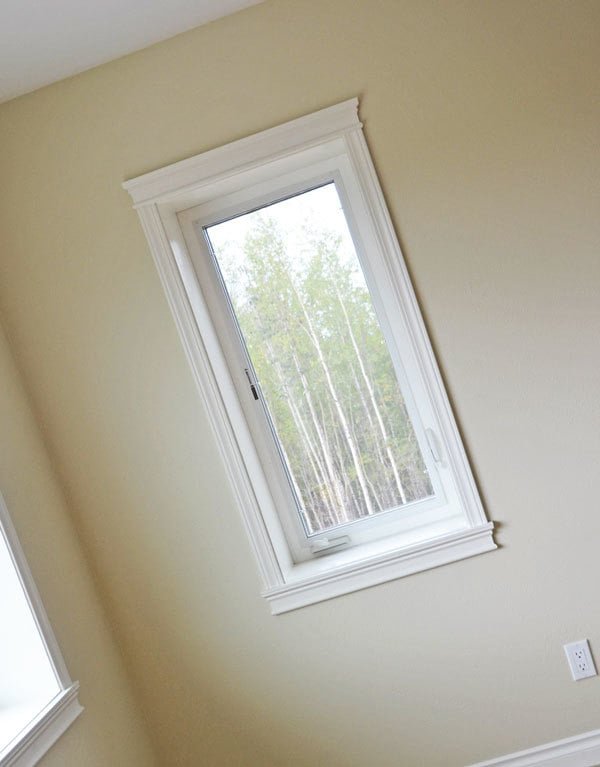
Since the headers and aprons are already pre-painted, I just went and filled all nail holes with wood filler. Then I just had to paint the casings and touch up the headers. We then siliconed any stubborn cracks/gaps. You can read more about how we built the headers/aprons here.
Step 12
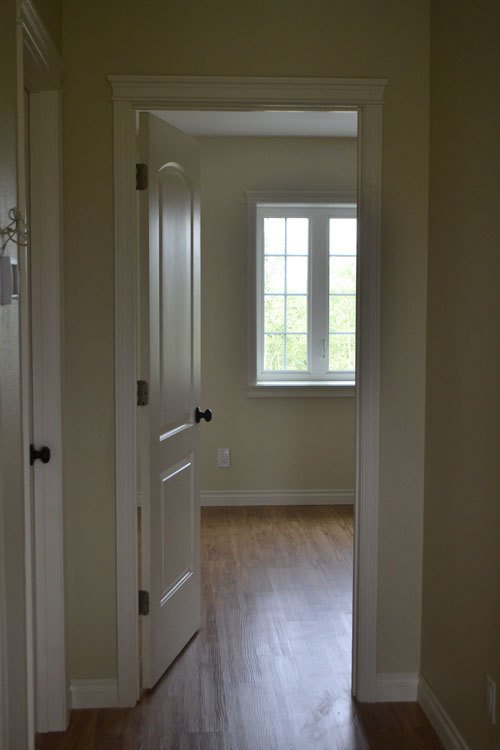
We did the same with the door headers and closet headers. There were close to 30 headers in just this side, so being able to finish a header without multiple pieces of moulding was a HUGE timesaver.
Finishing
Sand all surfaces, starting with a medium grit and finishing with fine. Wipe off the dust, fill any holes or gaps with wood filler, and sand smooth once dry. Apply primer if you're painting, then finish with your choice of paint or stain and seal with a durable clear topcoat. For outdoor projects, use exterior-rated primer, paint or stain, and sealer so the piece stands up to the weather.
Source (temporary): https://www.ana-white.com/woodworking-projects/easy-window-trim