Floating Shelves
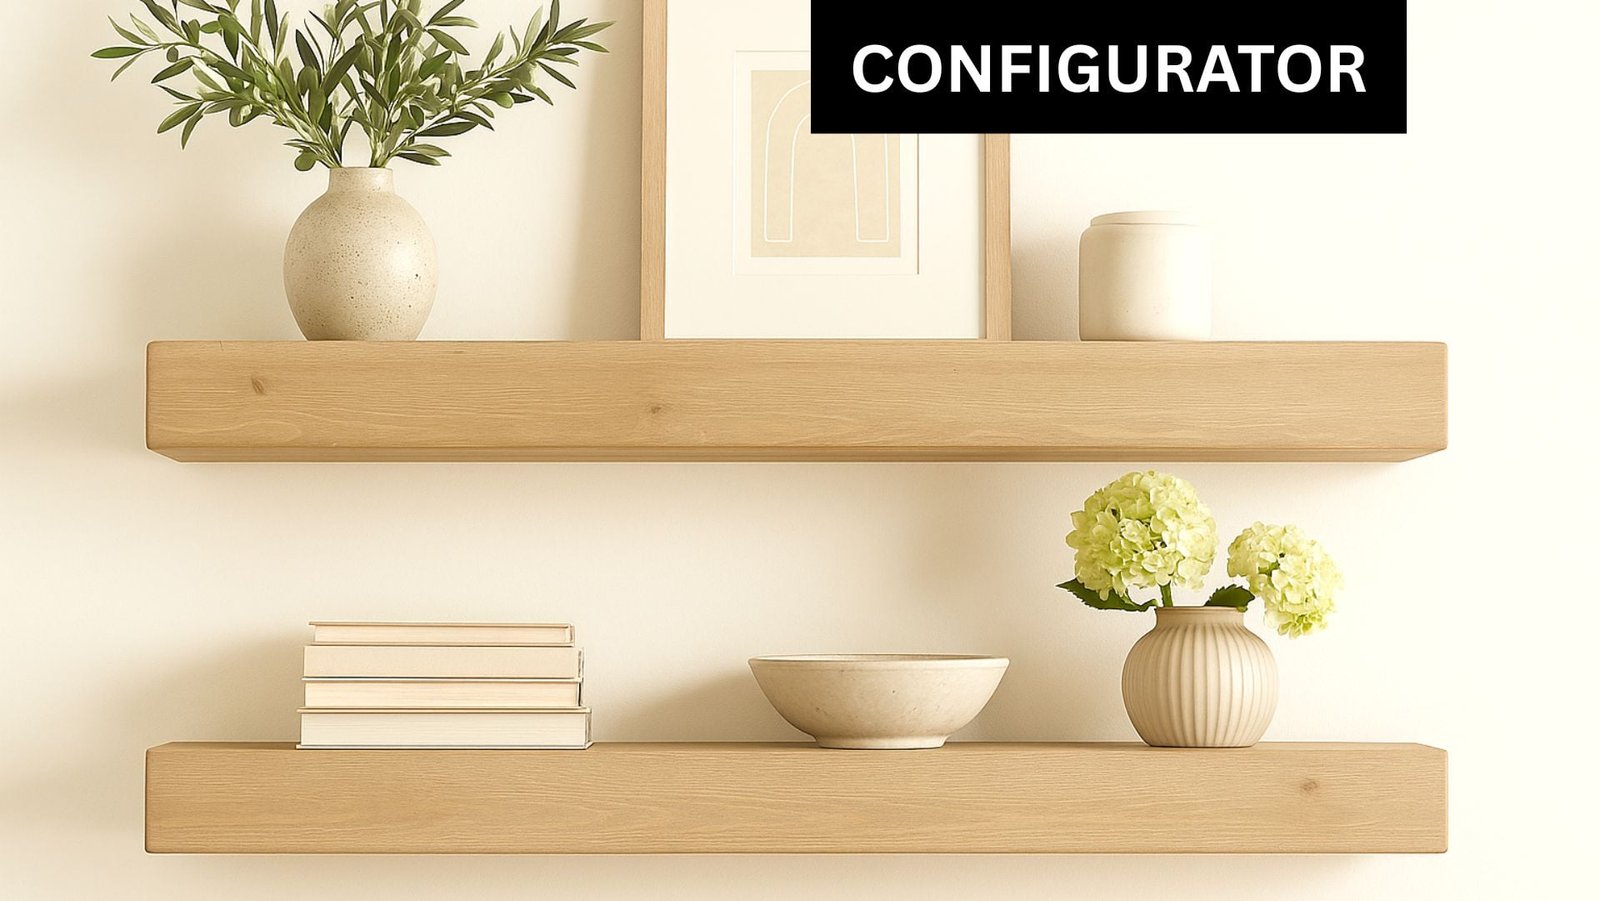
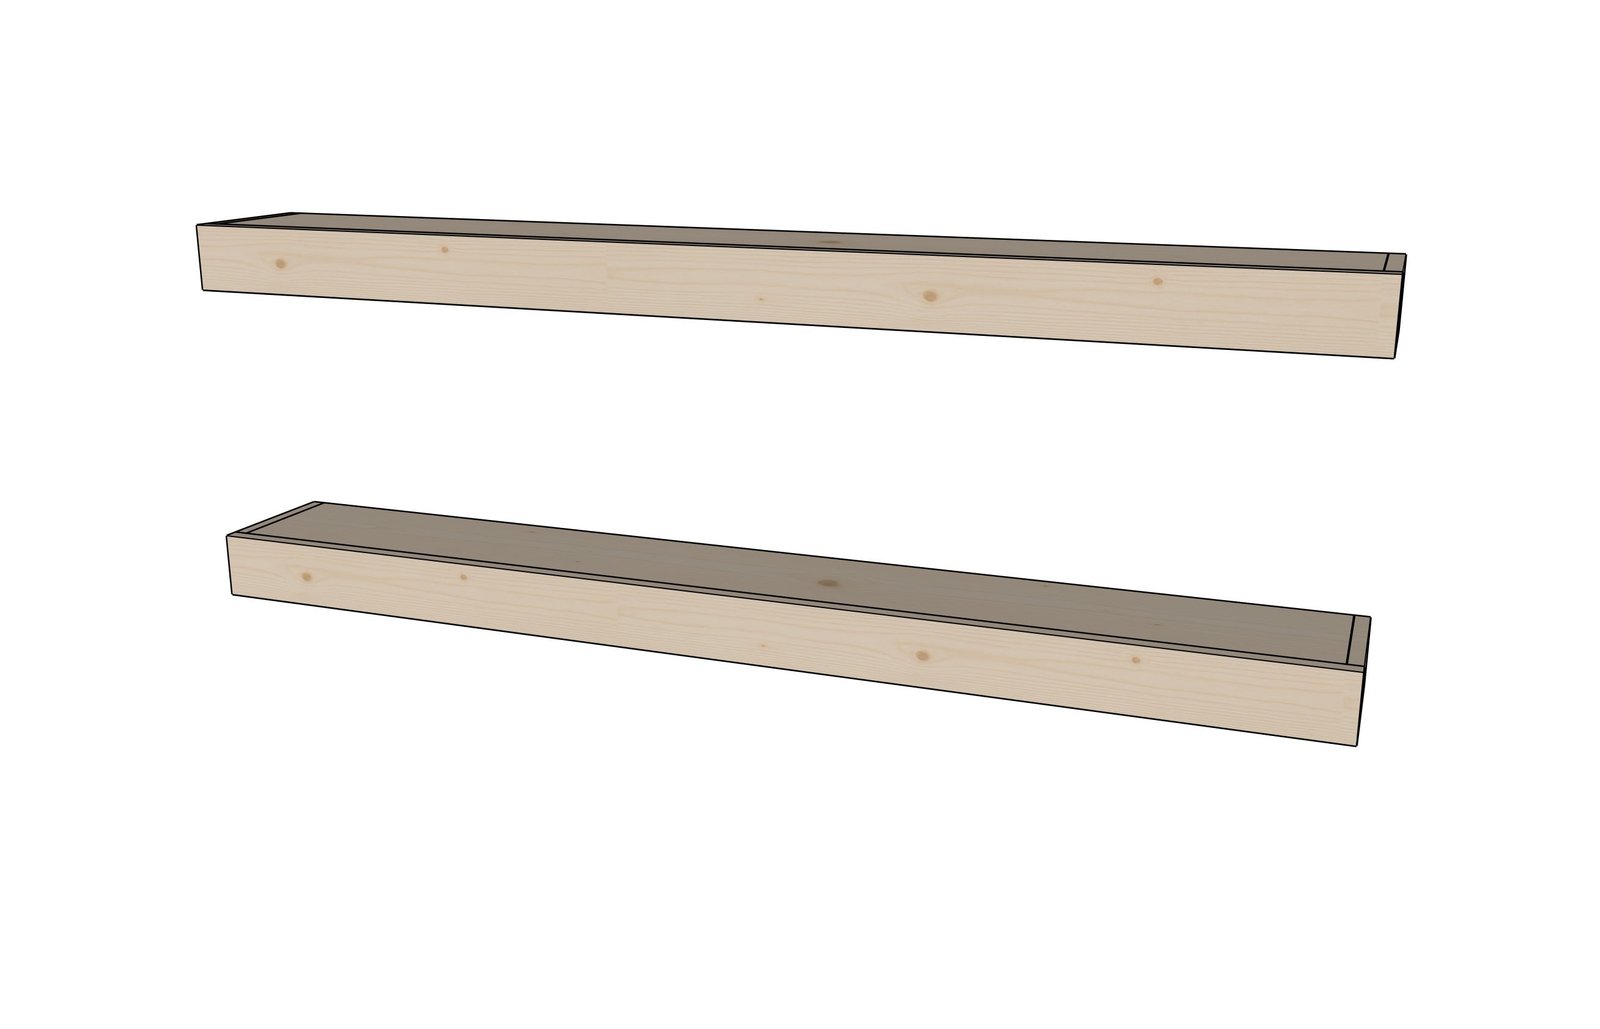
Build your own floating shelves in your desired dimensions using innovate design and configurator. The floating shelves use a two part design - an easy to build and mount frame, and a simple cover. You'll love the simplicity in building AND hanging these floating shelves! Plan Notes • 1x10 and 1x12 shelves should be built using the larger frame for greater support • Measure your 1x boards and confirm a 1x6 is 5-1/2" wide, 1x8 is 7-1/4" wide, 1x10 is 9-1/4" and 1x12 is 11-1/4" wide • Shelf frames need to be attached to at least two studs in the wall • Shelves are not heavy duty - do not fill with very heavy objects Short Video of Building These Floating Shelves
Specifications
| Project type | shelves |
|---|---|
| Room | Decor for Any Room |
| Difficulty | Starter Projects |
Dimensions
Use the size-specific shopping and cut lists below.
Tools
- measuring tape
- square
- drill
- circular saw
- nailer
- sander
Step-by-step Instructions
Step 1
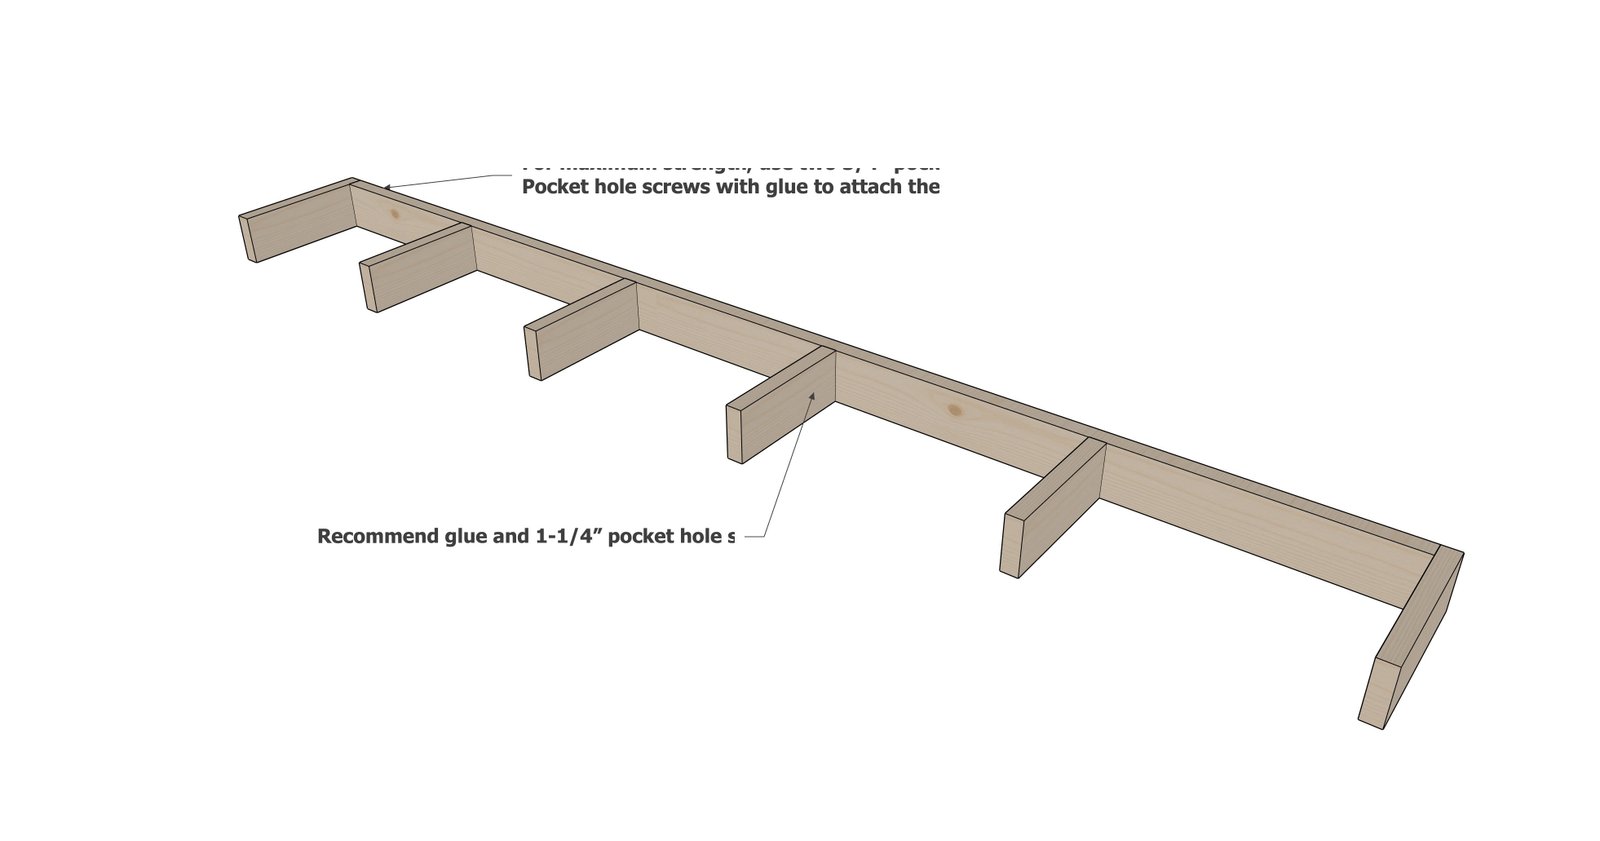
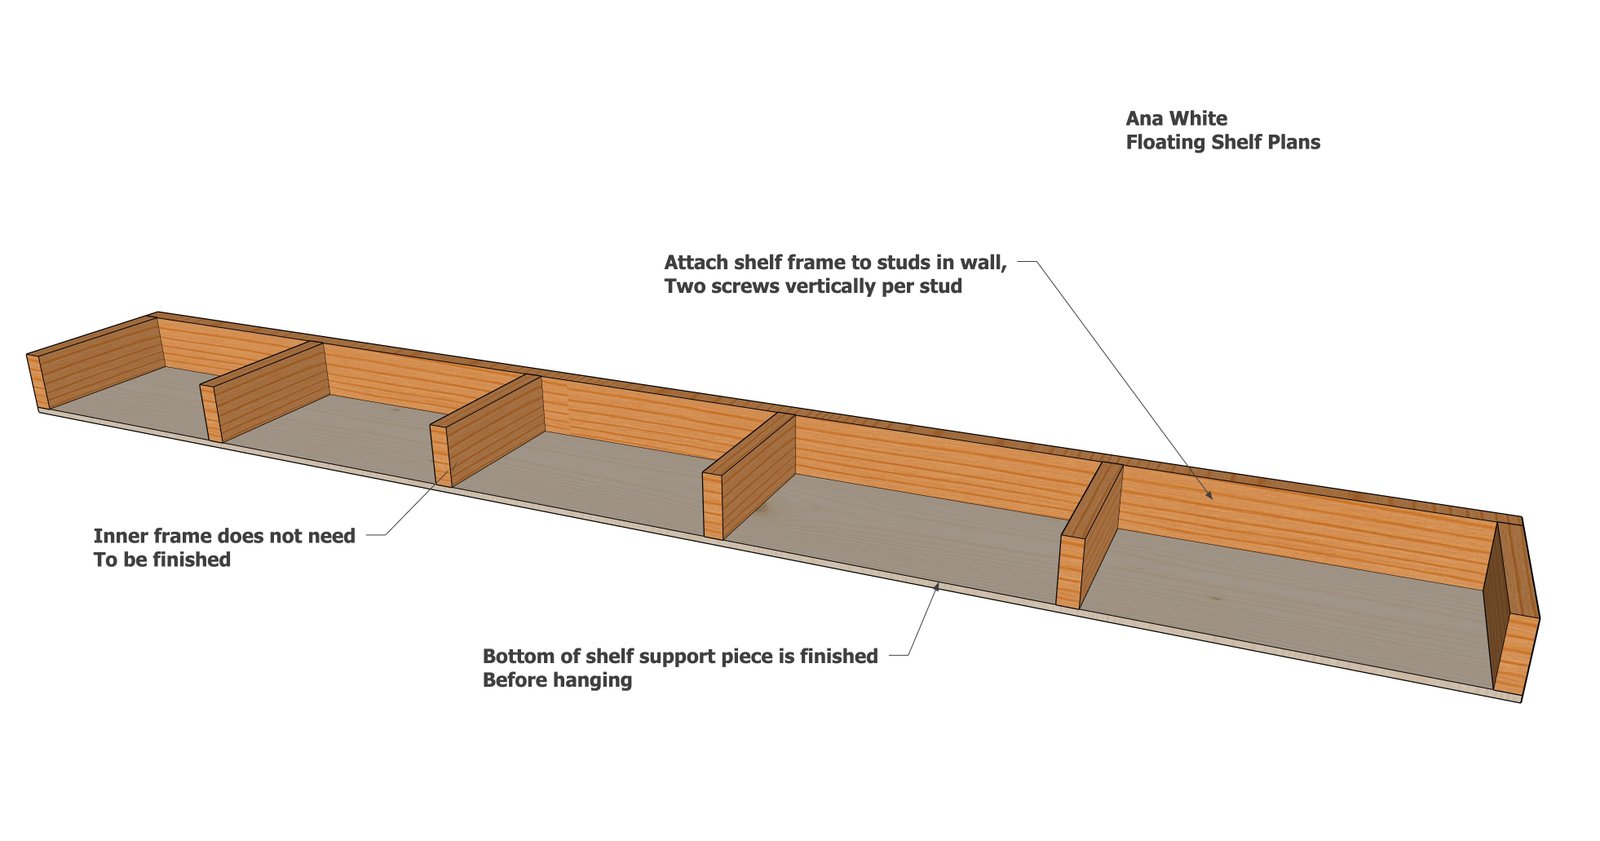
Cut the back 1x2 (for 1x3 thick shelves) or 1x3 (for 1x4 thick shelves) to your desired shelf length minus 1-1/2". Cut supports from 1x2s or 1x3s (to match the back board), as figured in the configurator. Attach with either 3/4" pocket holes and 1-1/4" pocket hole screws, or 2 screws and glue. NOTE the side supports are attached to the end of the back - this is for maximum strength.
Step 2
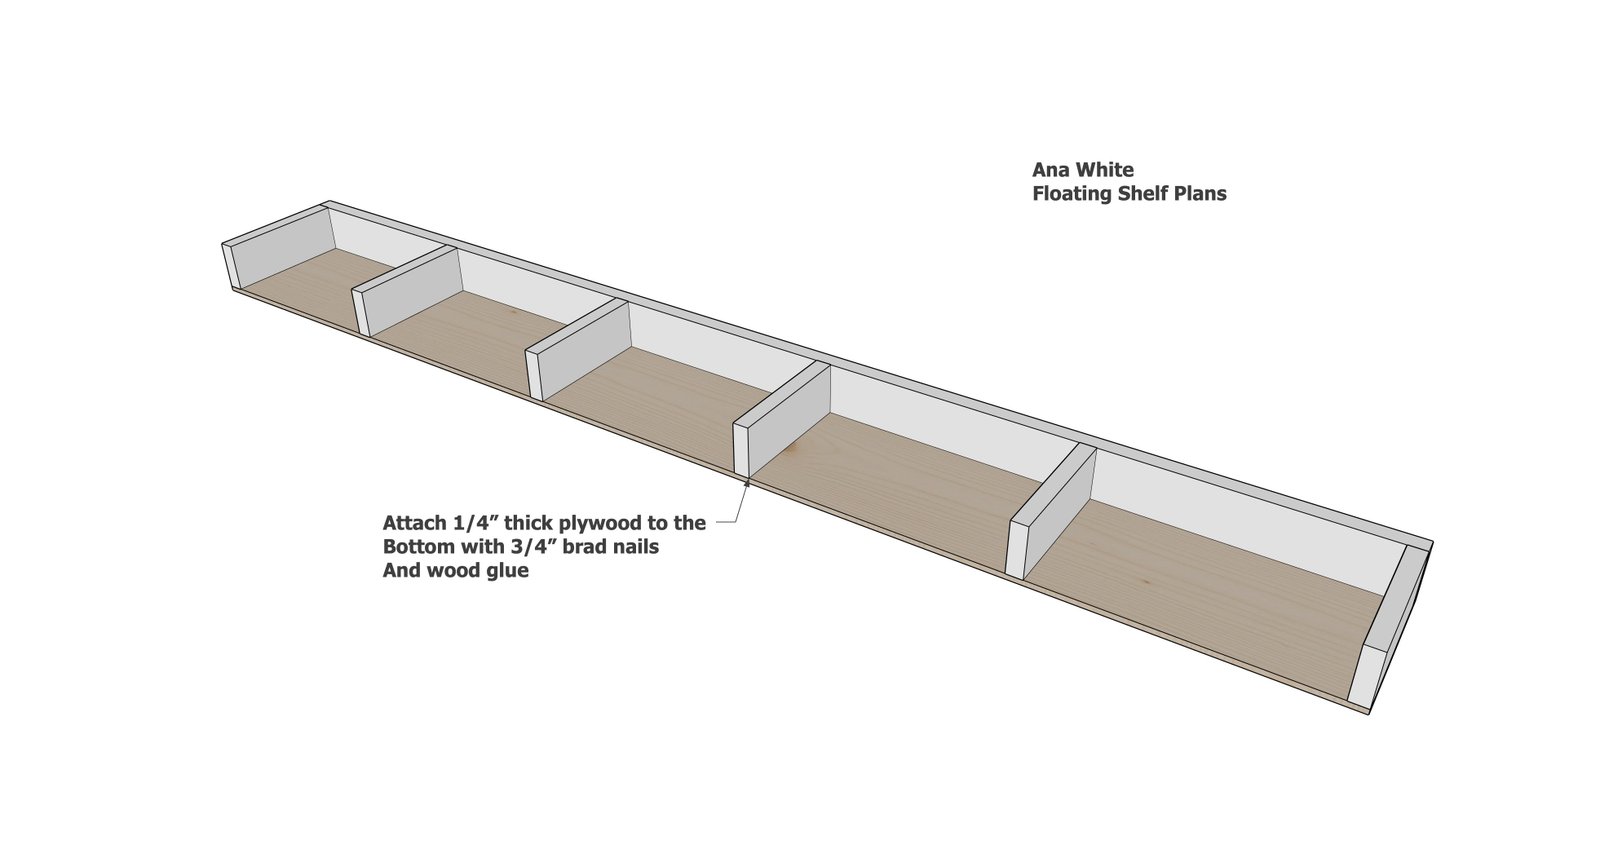
Cut 1/4" plywood and attach to the bottom of the shelf frame with 3/4" brad nails and wood glue.
Step 3
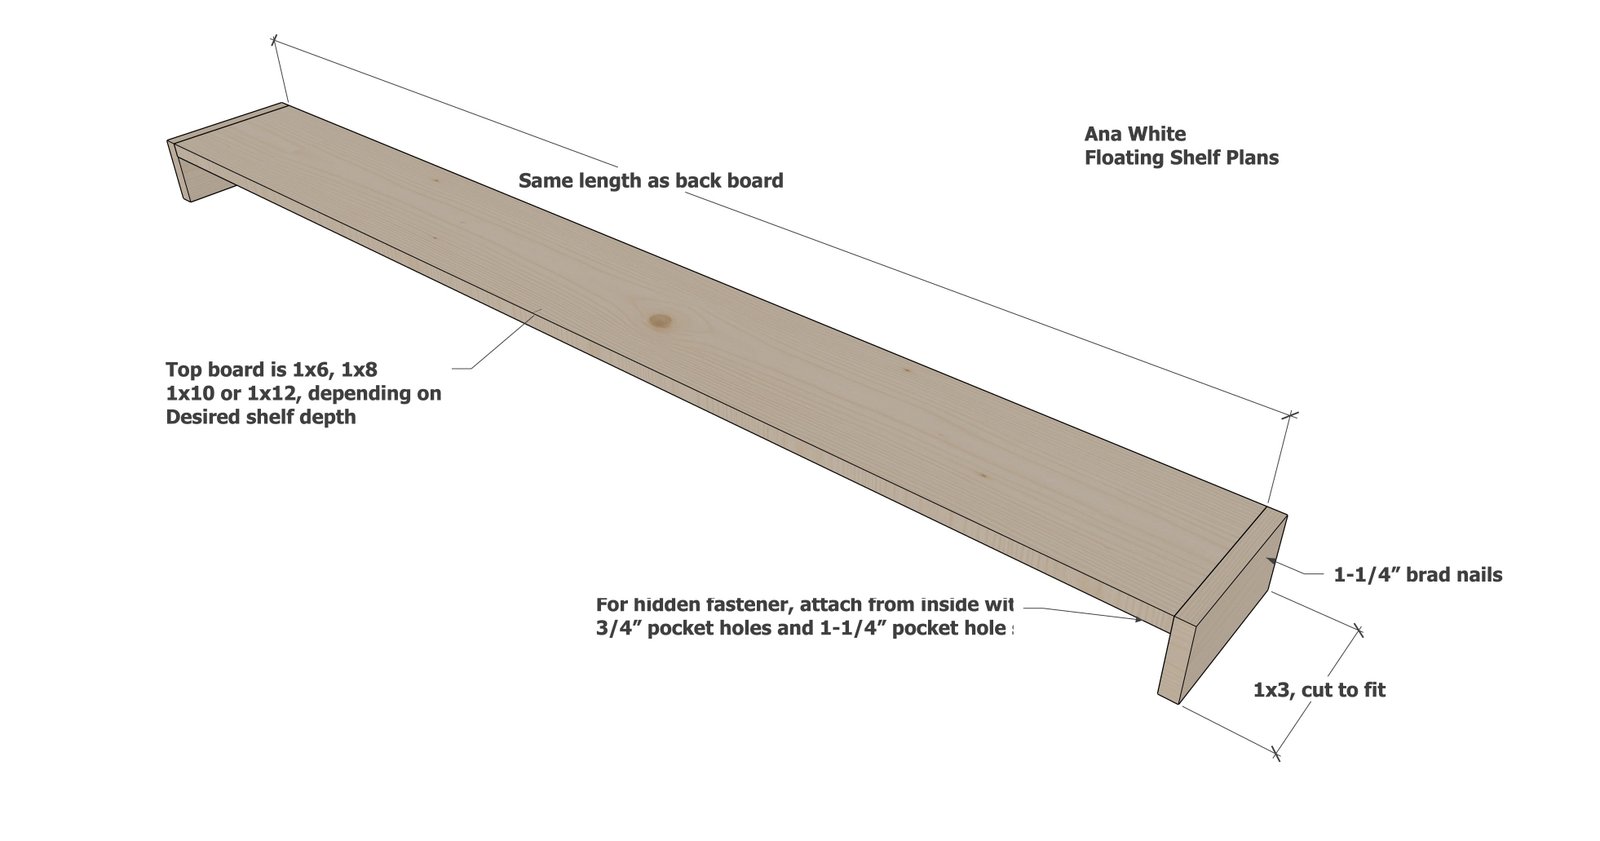
Start building the shelf cover by attaching 1x3 (for a 1x2 shelf frame) or 1x4 (for a 1x3 shelf frame) to the ends of the top shelf board.
Step 4
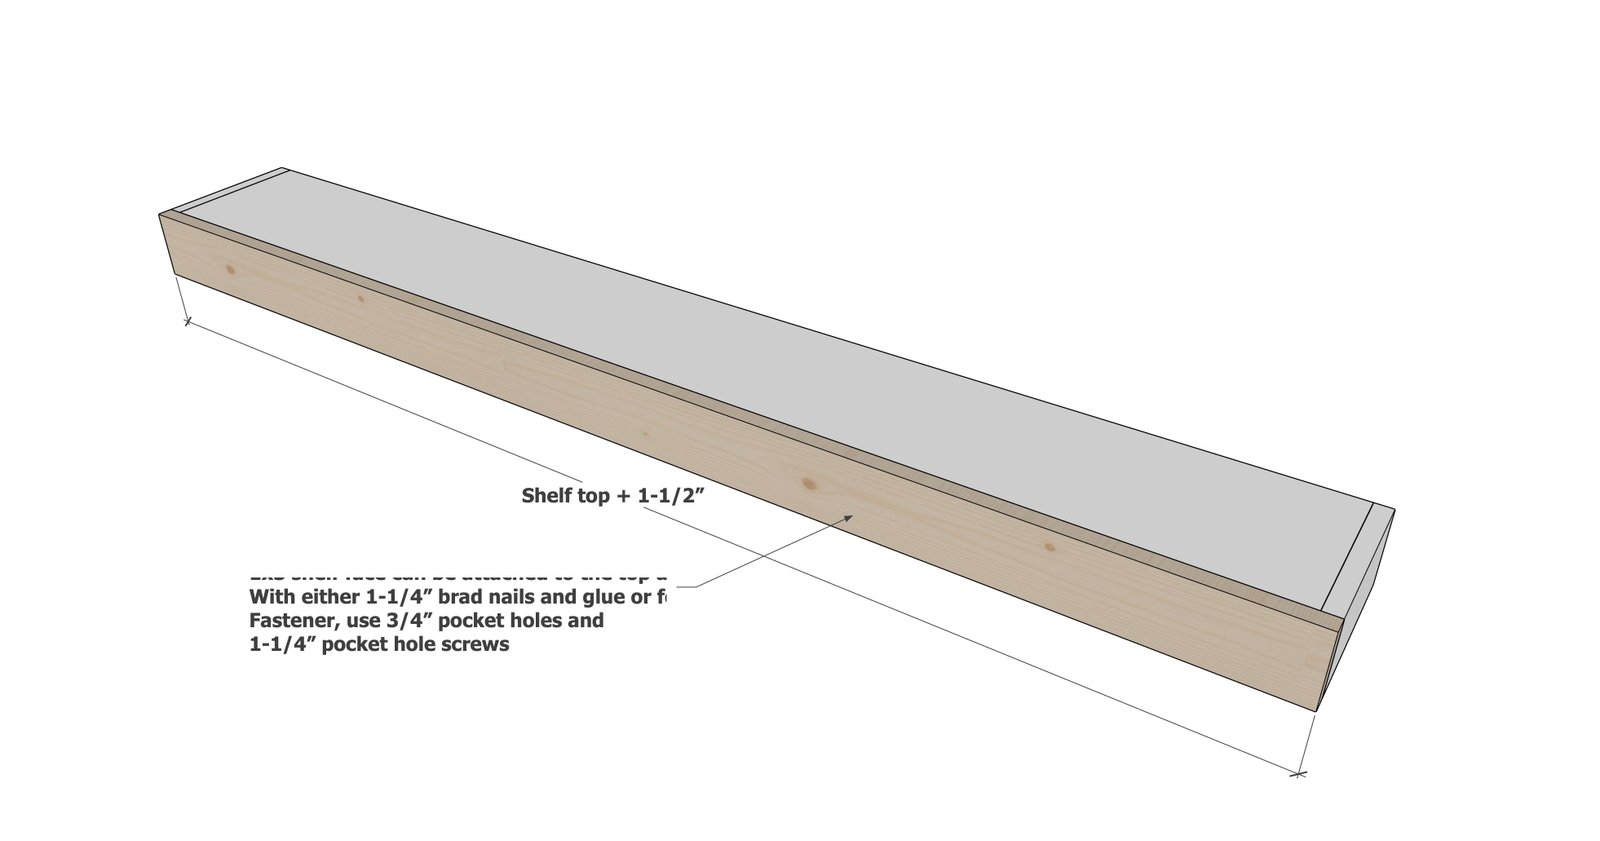
Finish the shelf cover by attaching the front board to the front. For a perfect fit, measure and cut to fit. For hidden fasteners, use 3/4" pocket holes and 1-1/4" pocket hole screws from the inside. Sand and finish the shelf cover.
Step 5
Attach the floating shelf frames to the wall by locking studs in the wall (at least two place closer to ends is best). Try to get two screws vertically stacked per stud, to prevent the shelf from tipping downward if possible. You may need to predrill out the back shelf board to keep wood from splitting. Use 2-1/2" to 3" long self tapping screws to attach to studs in the wall.
Step 6
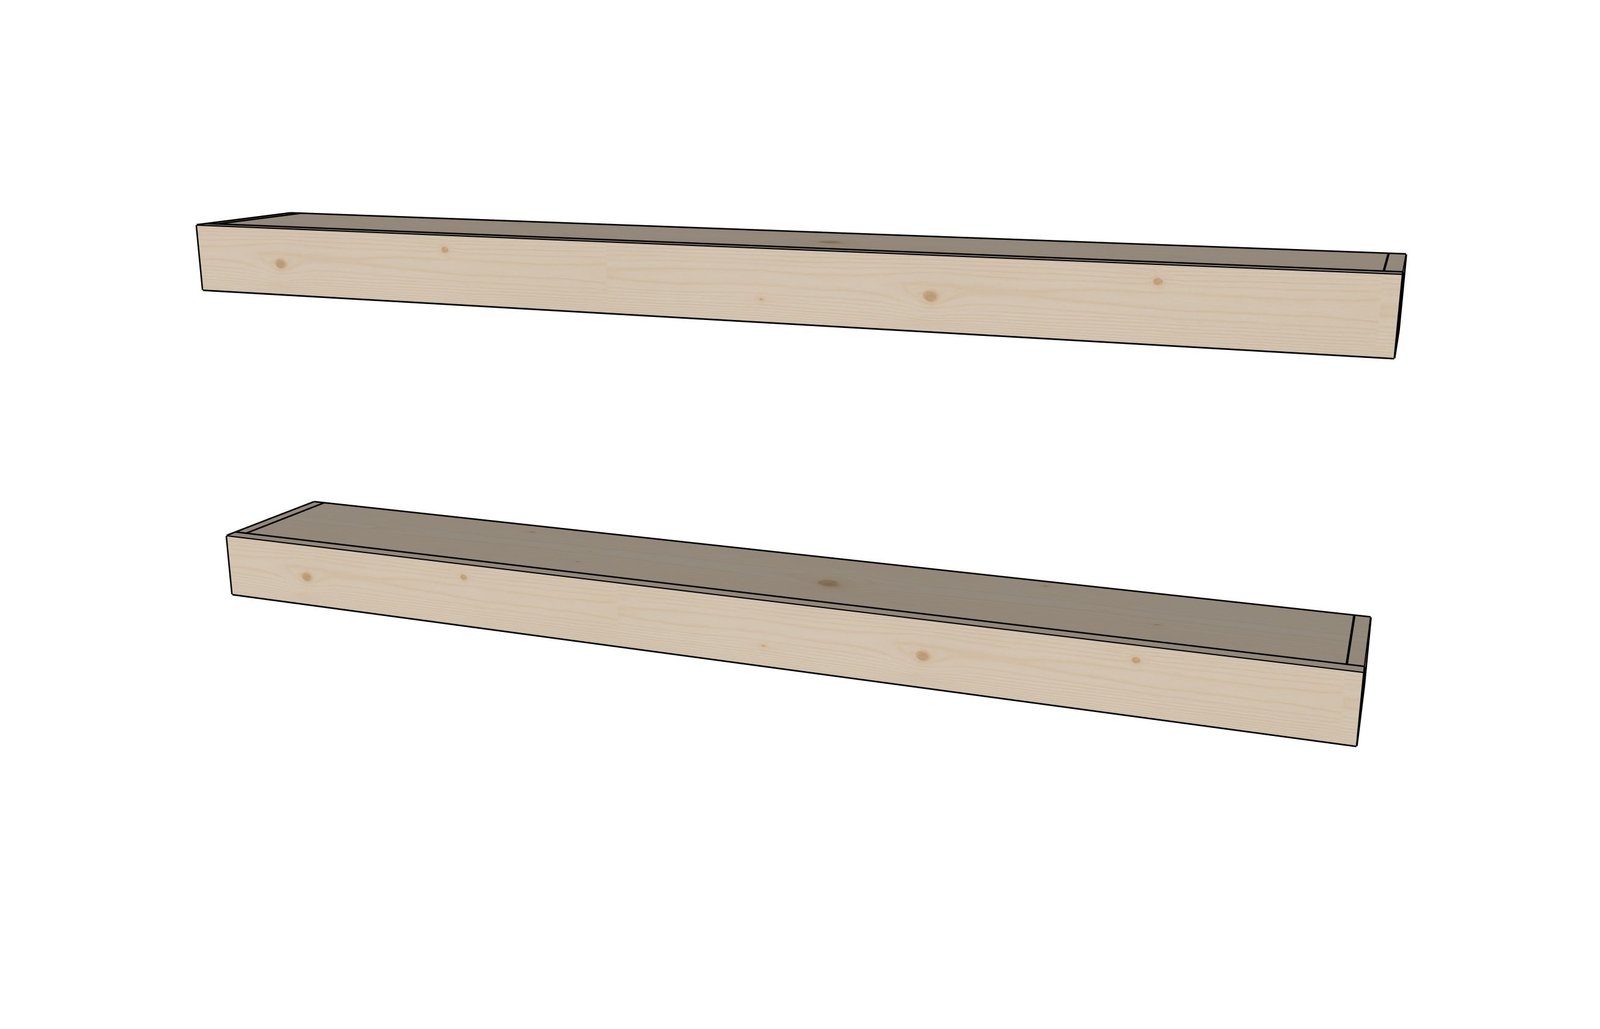
Slide the covers over the frames that are hung on the wall. Tack in a few places with trim screws to secure.
Finishing
Sand all surfaces, starting with a medium grit and finishing with fine. Wipe off the dust, fill any holes or gaps with wood filler, and sand smooth once dry. Apply primer if you're painting, then finish with your choice of paint or stain and seal with a durable clear topcoat. For outdoor projects, use exterior-rated primer, paint or stain, and sealer so the piece stands up to the weather.
Source (temporary): https://www.ana-white.com/woodworking-projects/floating-shelves-easy-build-plan-configurator-custom-sizes