Floating Nightstands
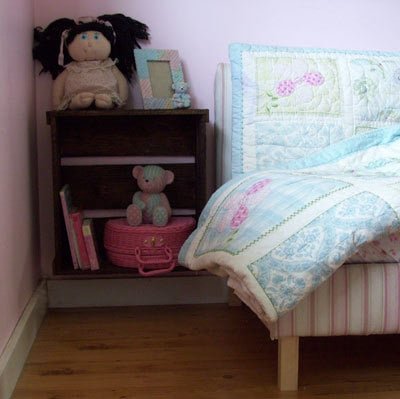
Use a pallet to create a floating nightstand. Also can be used as shelving or as a storage crate.
Specifications
| Project type | shelves |
|---|---|
| Room | Kids and Toys |
| Style | Green or Eco-Friendly Style Furniture |
| Difficulty | Beginner Projects |
Step-by-step Instructions
Step 1
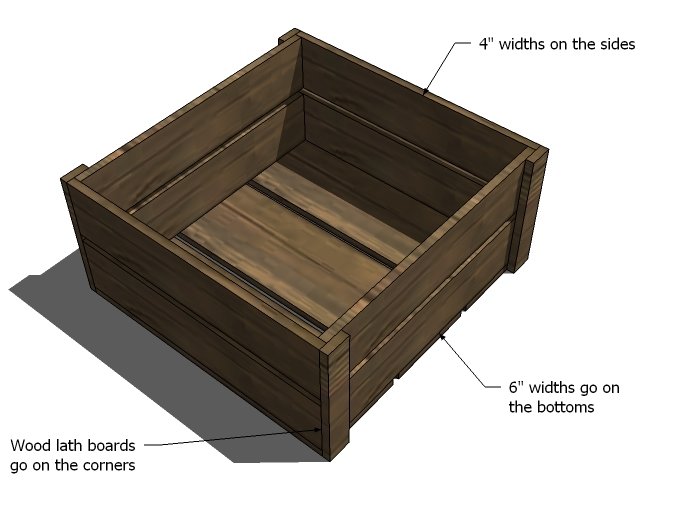
You can see the different boards and how they all fit together in my cad drawing above.
Step 2
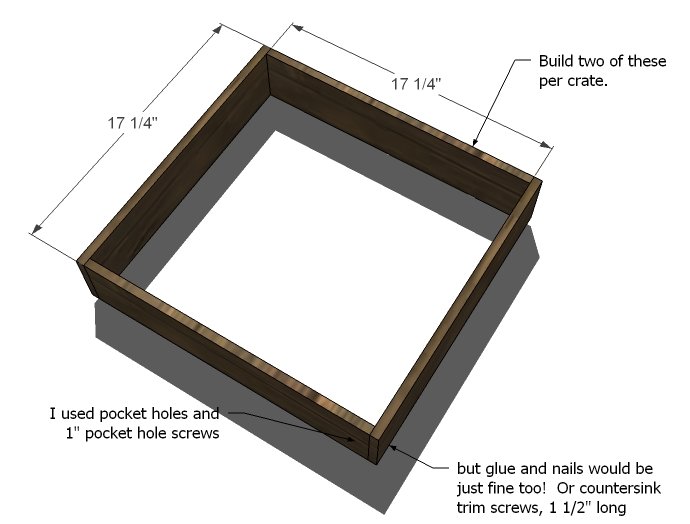
Use up all the 4″ widths by building basic boxes as I did above. I used my Kreg Jig™ to build boxes, adjusting the jig for 1/2″ thick stock, but there is no reason why you couldn’t build the crate like people have for hundreds of years with nails. Just don’t forget the glue.
Step 3
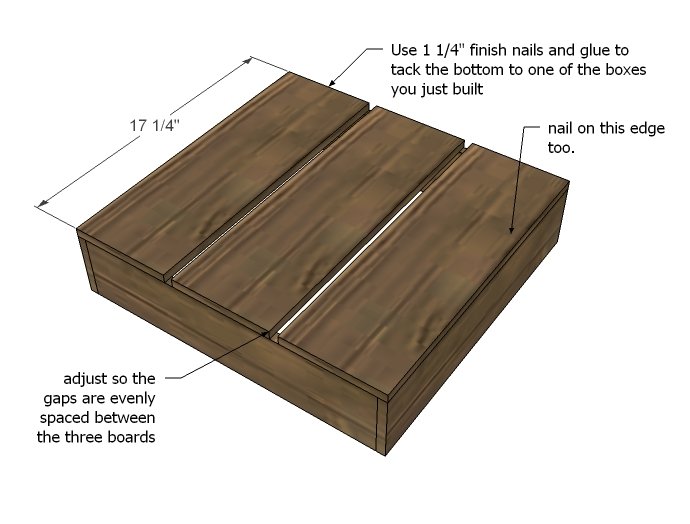
To one of the boxes you just built, use 1 1/4″ finish nails and glue to tack on the bottom. Make sure your box is square before nailing down.
Step 4
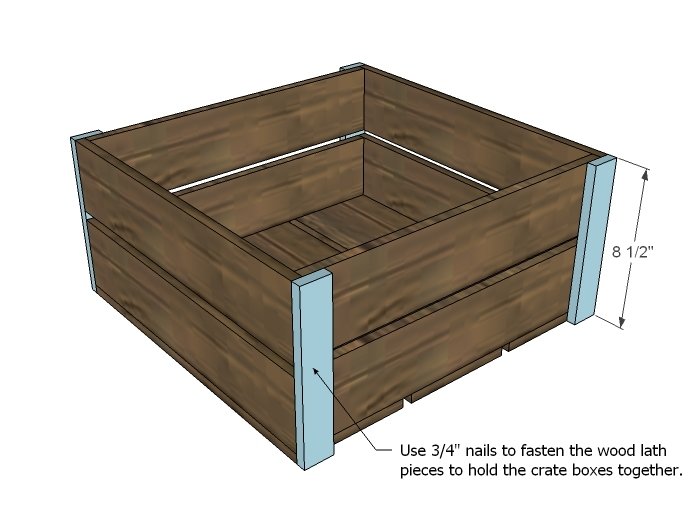
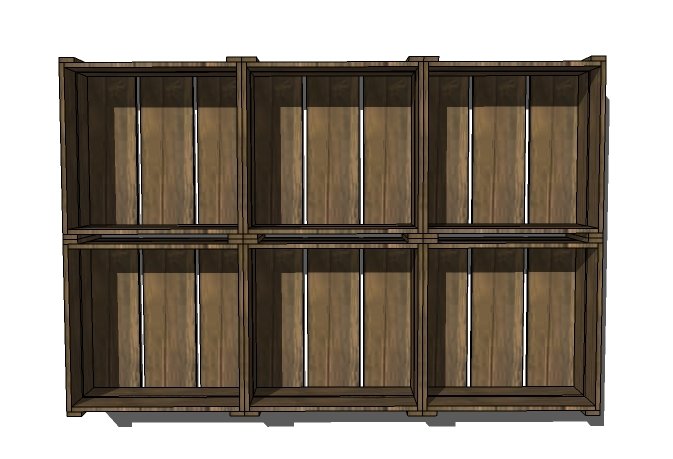
And then use the wood laths to join the two boxes together as shown above. I used glue and my nailer. I then brushed on Early American stain/finish stuff from minwax. And it’s beautiful. I just screwed it right to a stud in the wall and had an instant floating nightstand. Of course, you could use it as an end table, stack them for a coffee table, arrange a few of them as a wall storage unit...
Step 5
Finishing
Sand all surfaces, starting with a medium grit and finishing with fine. Wipe off the dust, fill any holes or gaps with wood filler, and sand smooth once dry. Apply primer if you're painting, then finish with your choice of paint or stain and seal with a durable clear topcoat. For outdoor projects, use exterior-rated primer, paint or stain, and sealer so the piece stands up to the weather.
Source (temporary): https://www.ana-white.com/woodworking-projects/free-floating-nightstands