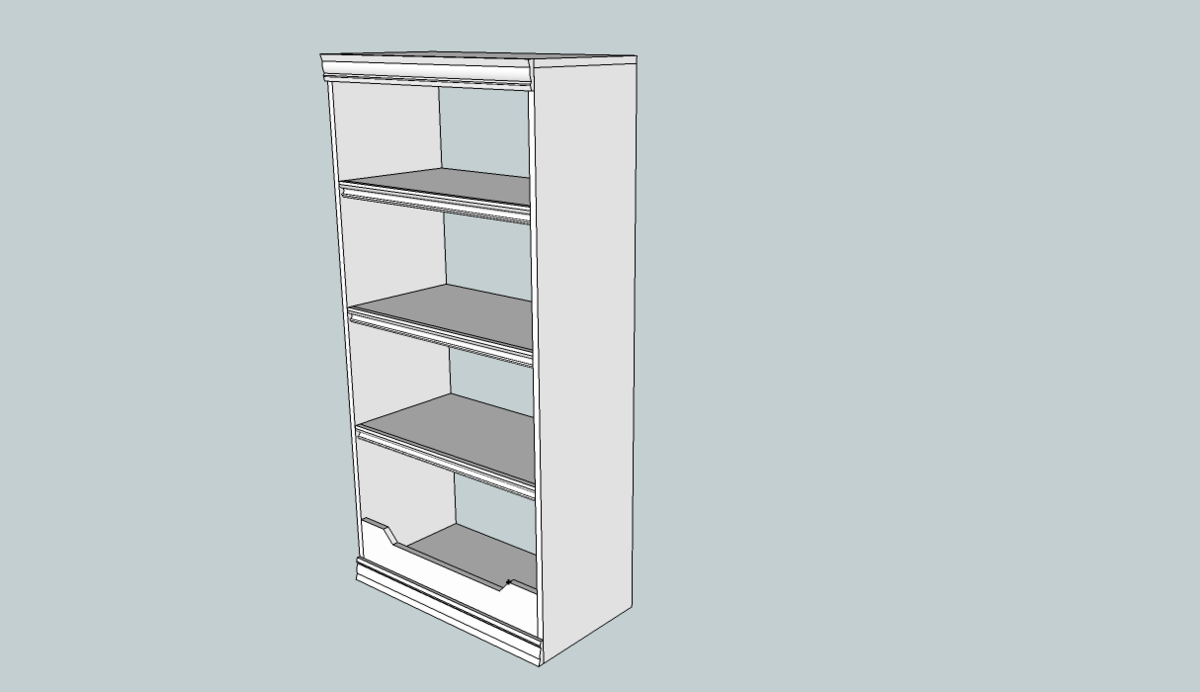
Full Toy box bookcase
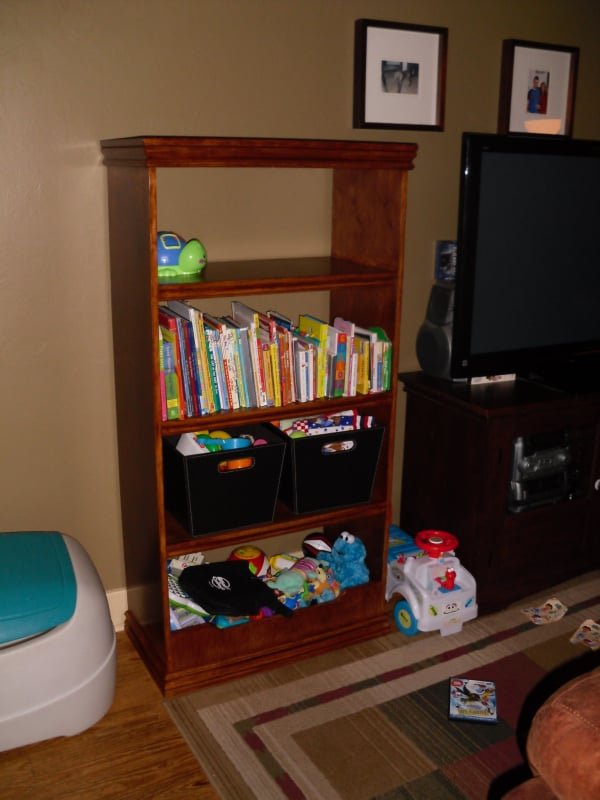
I got the idea from the Bankable Bookcase plans on this site, but modified it to closer resemble the closed top version that I found on the Land of Nod website. I think the resemblence is good, and at a fraction of the price. This is my first plan using Google Sketchup...they should get better...I added trim all the way around the top and the bottom of mine, if you follow the plans, the trim will only be on the front and you will be able to bank multiple cases together, if you trim out the sides of the top and bottom, they are better suited as stand-alone book cases.
Specifications
| Project type | Bookshelf and Bookcase Plans |
|---|---|
| Room | Kids and Toys |
| Style | Children's and Kid's Room Furniture and Toy Plans |
| Difficulty | Beginner Projects |
| Estimated cost | $100-$150 |
Shopping List
1 Sheet 4x8 Hardwood Plywood (I used Lowe's Blondewood)
1 8ft. 1x2
11ft. 2 3/4" trim (I used Colonial)
8ft. 1 3/4" trim (I used Colonial)
Hardwood edge banding (if you want to stain)
Cut List
2- 15" x 60" plywood (sides)
4- 14" x 28" plywwod (shelves/bottom)
1- 15" x 29 1/2" plywood (top)
1- 7 3/4" x 28" plywood, top cut with a jigsaw for the offset look (front)
1- 1x2 @ 28" (Back support)
8- 3/4" x 3/4" x 14" (cut 1x2's in 4- 14" sections, then split them on the table saw) (shelf supports)
3- 28" of the 1 3/4" colonial trim (shelf trim)
2- 31" with 45 degree mitered ends of the 2 3/4 colonial trim (top and bottom rim)
4- 15 3/4" with 45 degree mitered ends of the 2 3/4" colonial trim (top and bottom side trim)
Tools
- measuring tape
- square
- pencil
- safety glasses
- hearing protection
- kreg-jig
- drill
- circular saw
- compound miter saw
- table saw
- nailer
- sander
- level
- countersink drill bit
Step-by-step Instructions
Step 1
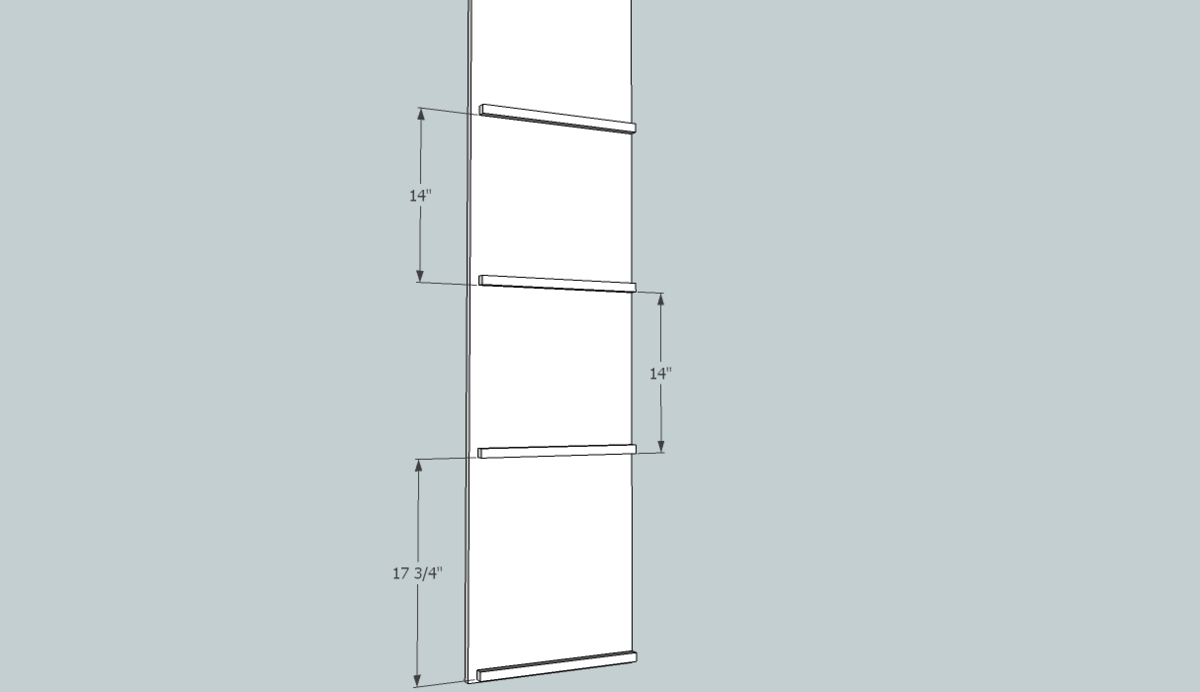
Start by attaching the shelf supports to the sides of the bookcase. *All of the supports are attached 3/4" from the fronts of the sides. The bottom of the bottom support is 1/4" from the bottom of the side. The next support is 18" from the bottom of the side. The next 2 supports are 14" from the bottom of the previous support. I found it easier to measure and draw all of the lines, then countersink holes(3 on each support), then glue and screw all of the supports to the sides at the same time. Do this for both sides. *Remember the other side will mirror this side, it will not be exactly the same.
Step 2
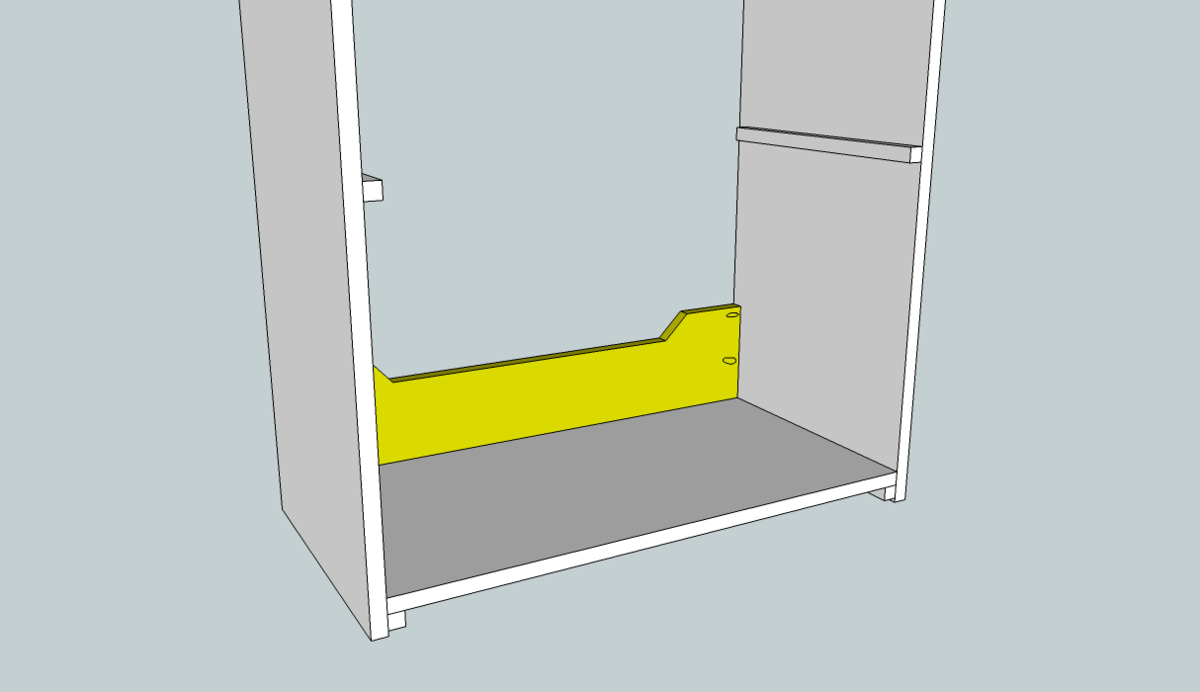
Attach the bottom and front to the sides with pocket screws and glue. Always check for square.
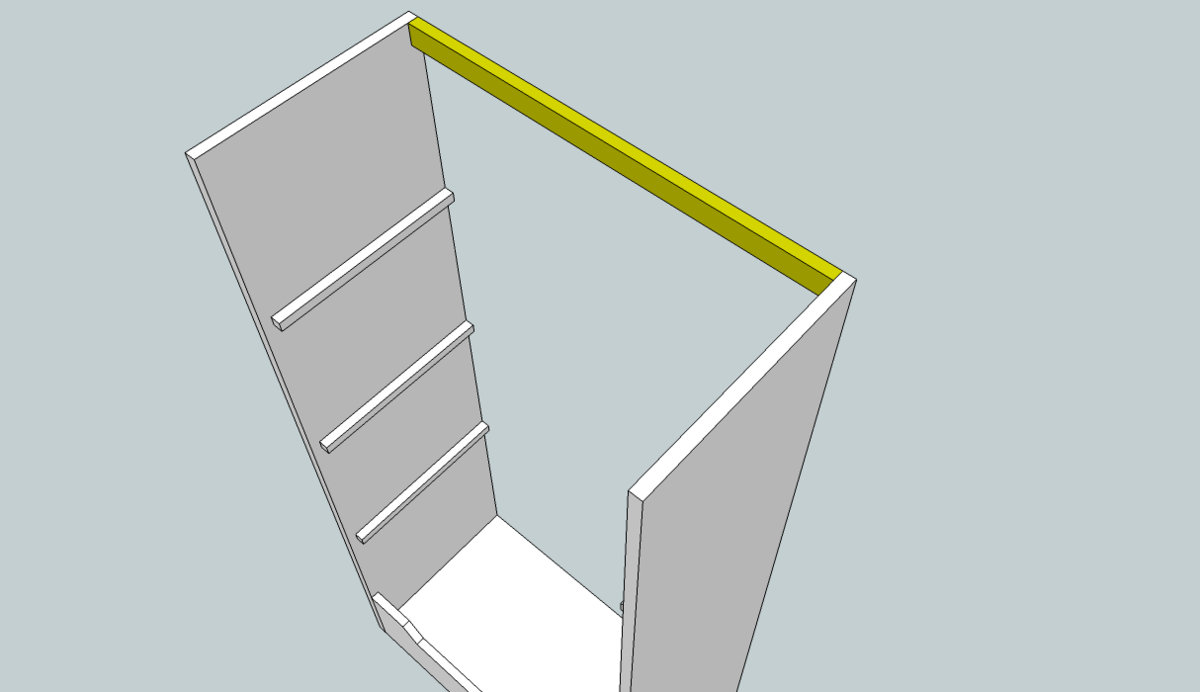
Attach the top support with pocket screws.
*You may wish to pre drill pocket holes for attaching the top through the back support and through the sides.
Step 4
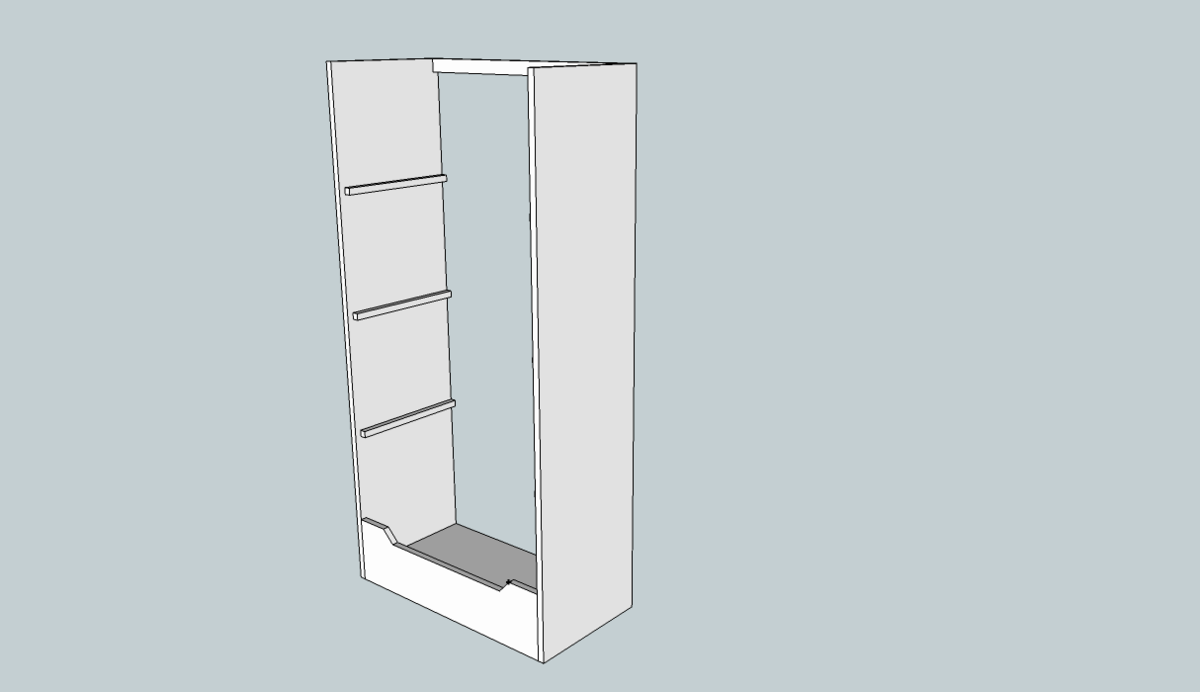
Step 5
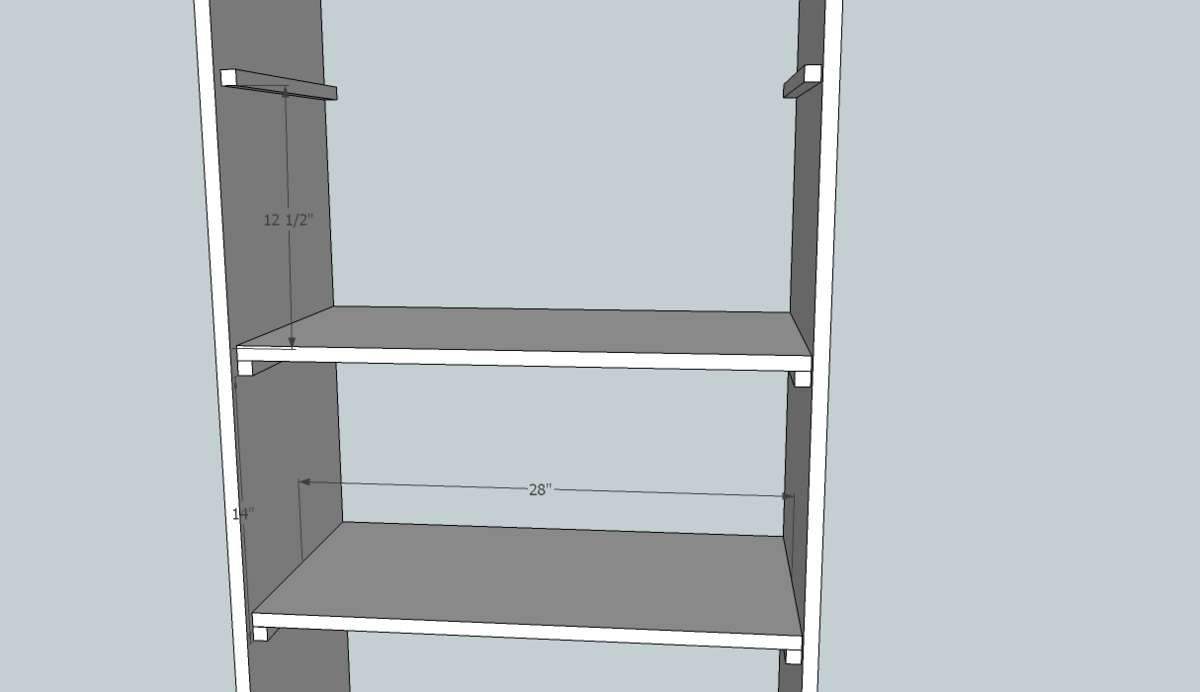
Step 6
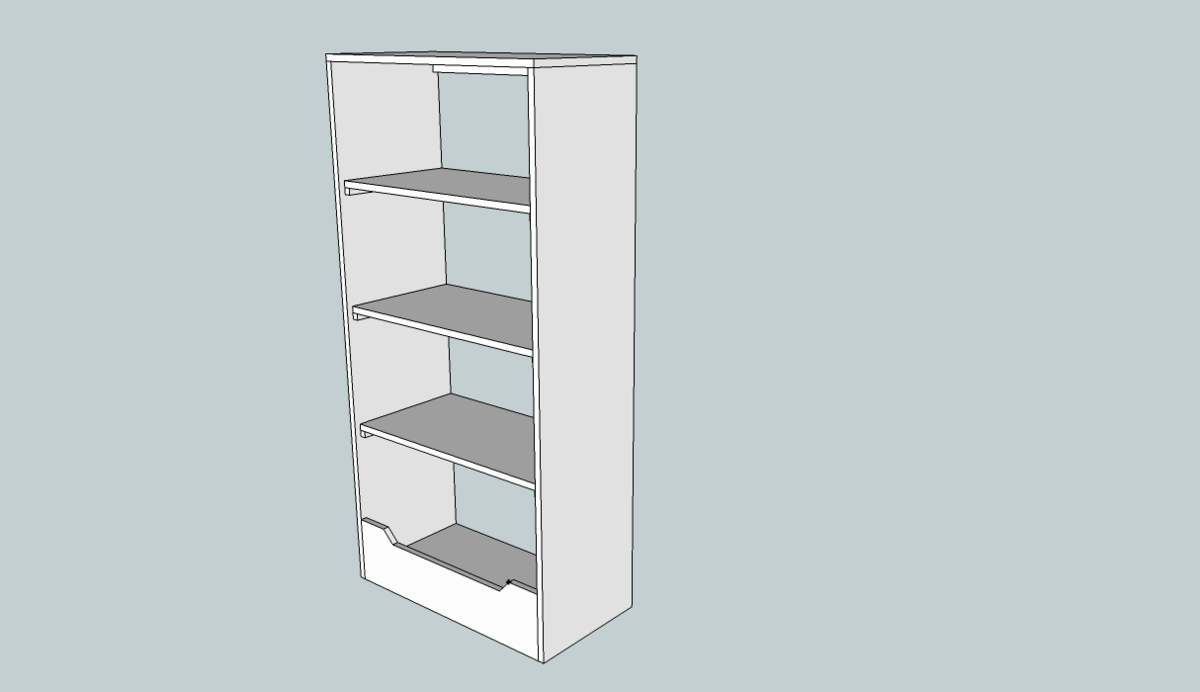
Attach the shelf trim with a finish nailer, glue, and clamps.
Wipe off any excess glue.
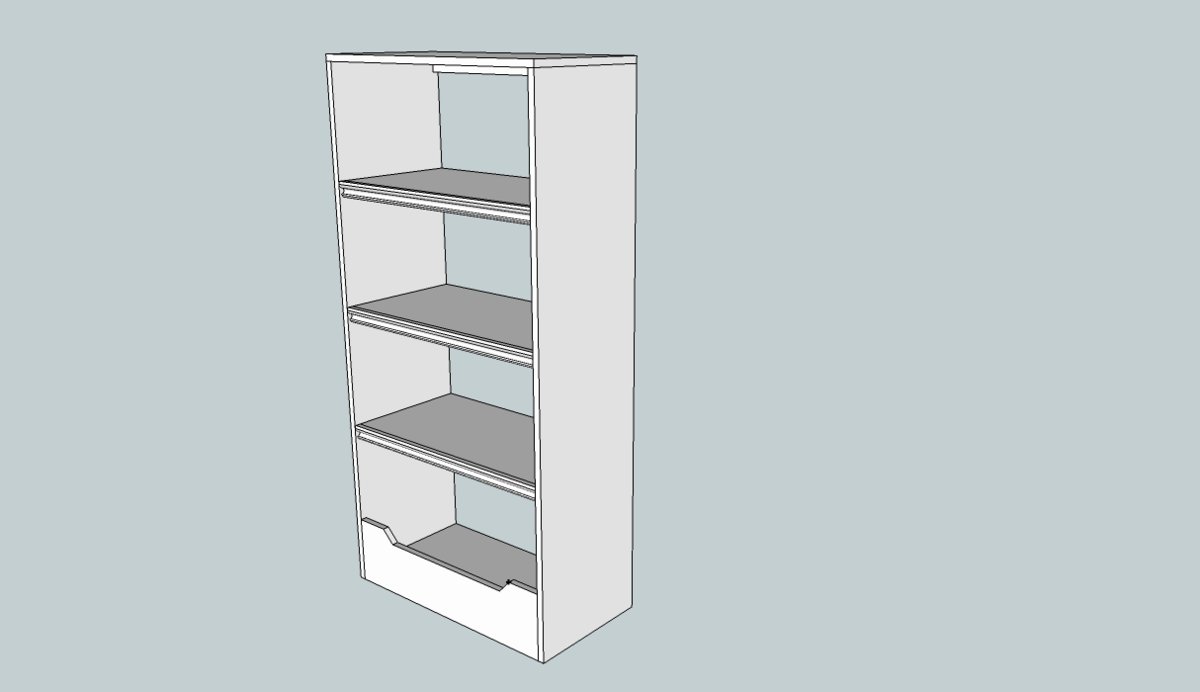
Attach the top and bottom trim with a finish nailer, glue, and clamps.
Wipe off any excess glue. If you only trim out the front of the unit, you will able to bank the bookcases together if you make multiple units. If you wish to create a stand-alone unit, you can trim out the sides of the top and bottom as well, you just have to cut the trim accordingly atth a 45 degree miter on a miter saw.
Finishing
Sand all surfaces, starting with a medium grit and finishing with fine. Wipe off the dust, fill any holes or gaps with wood filler, and sand smooth once dry. Apply primer if you're painting, then finish with your choice of paint or stain and seal with a durable clear topcoat. For outdoor projects, use exterior-rated primer, paint or stain, and sealer so the piece stands up to the weather.
Source (temporary): https://www.ana-white.com/woodworking-projects/full-toy-box-bookcase