Grazing Board or Charcuterie Board
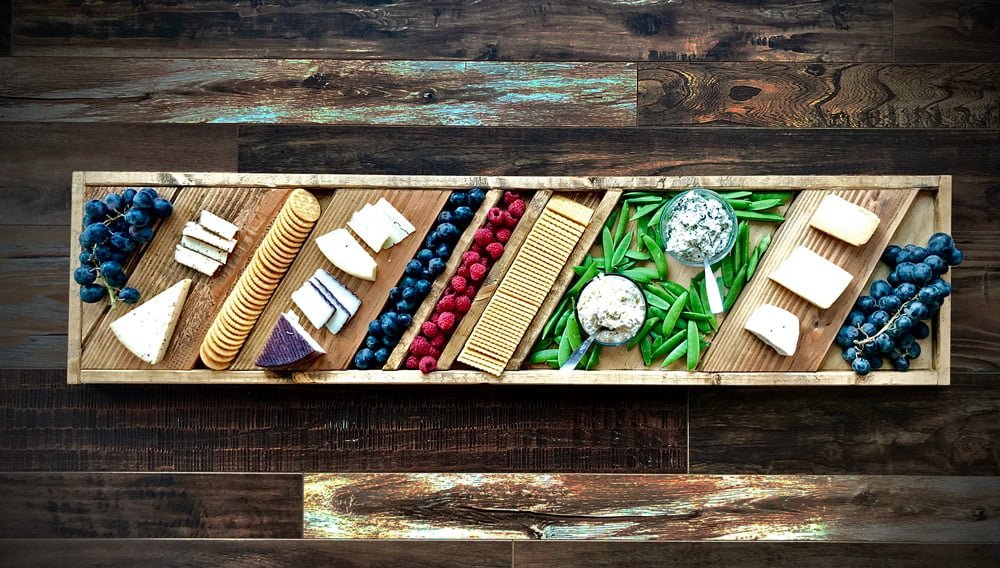
Build this amazing and unique grazing board or charcuterie board with scrap wood! This is a SIMPLE DIY project that you can tackle in a couple hours. Tutorial by
Specifications
| Project type | Kitchen Cabinet Plan, Accessories and Serving |
|---|---|
| Room | dining room |
| Difficulty | Beginner Projects |
| Estimated cost | scraps |
Dimensions
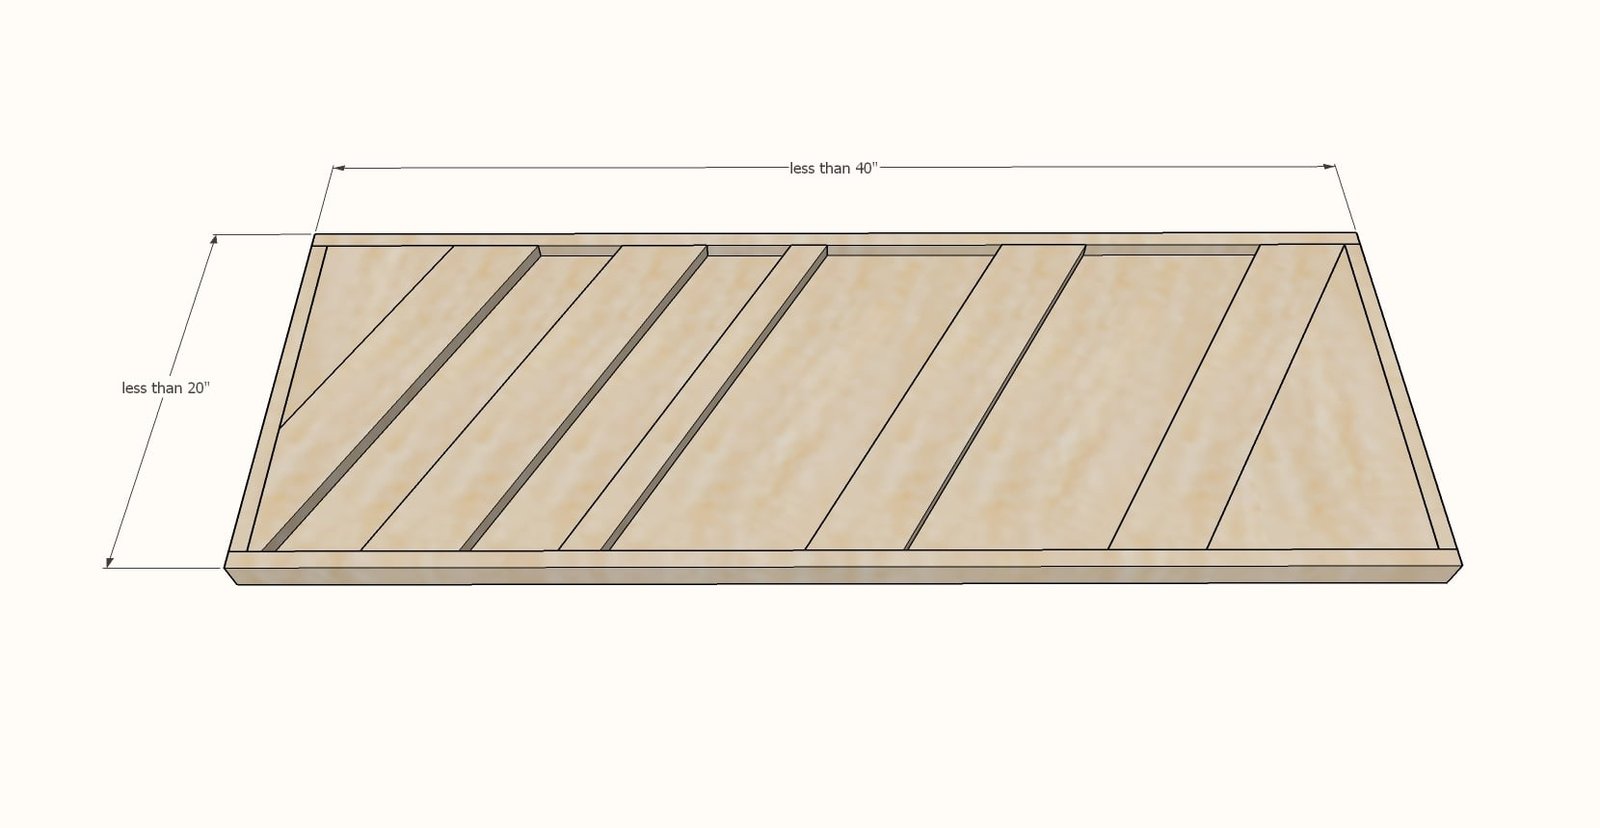
Use the size-specific shopping and cut lists below.
Shopping List
- 1x and 2x scrap wood, a couple inches longer than your desired final width of your charcuterie board
- 1x2s to frame the outside of the charcuterie board
- 1-1/4" brad nails
- wood glue
- wood stain and polyurethane
Step-by-step Instructions
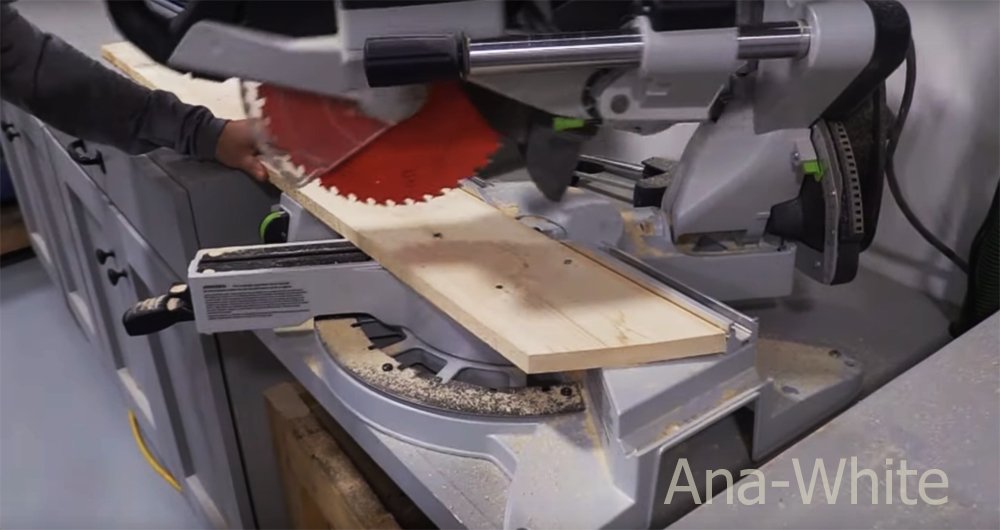
Set your miter saw to a 30 degrees off square angle cut.
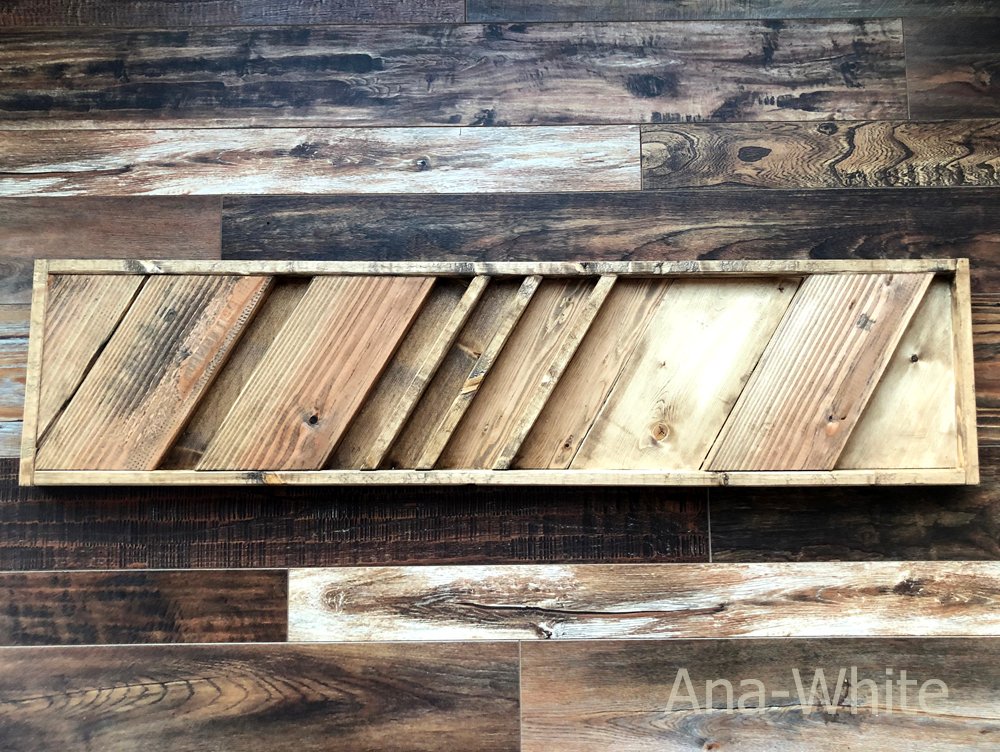
Cut scrap wood pieces with both ends parallel, both ends cut at 30 degrees off square. The long point to short point measurement is equal to the final desired width of your charcuterie board. Example: If you want your charcuterie board to be 16" deep, cut the boards 16" long, long point to short point measurement, both ends cut at 30 degrees off square, ends ARE parallel. TIP: It is VERY important that all of your boards are cut to the same length. Use a stop block to cut all the pieces the same length.
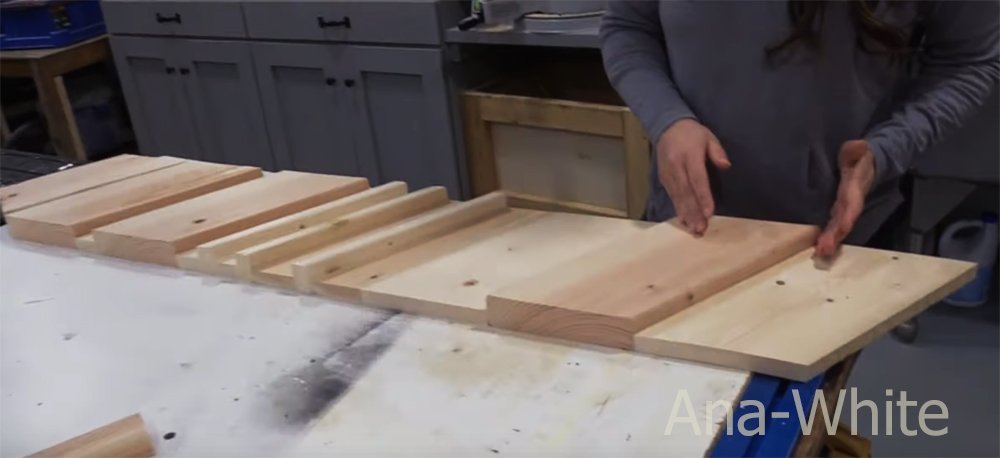
As you cut your boards, lay out, creating different depths and channels.
Use 1x2s to create dividers - cut the 1x2s flat to the fence on your saw (stood upright) to get the same angle.
Step 3
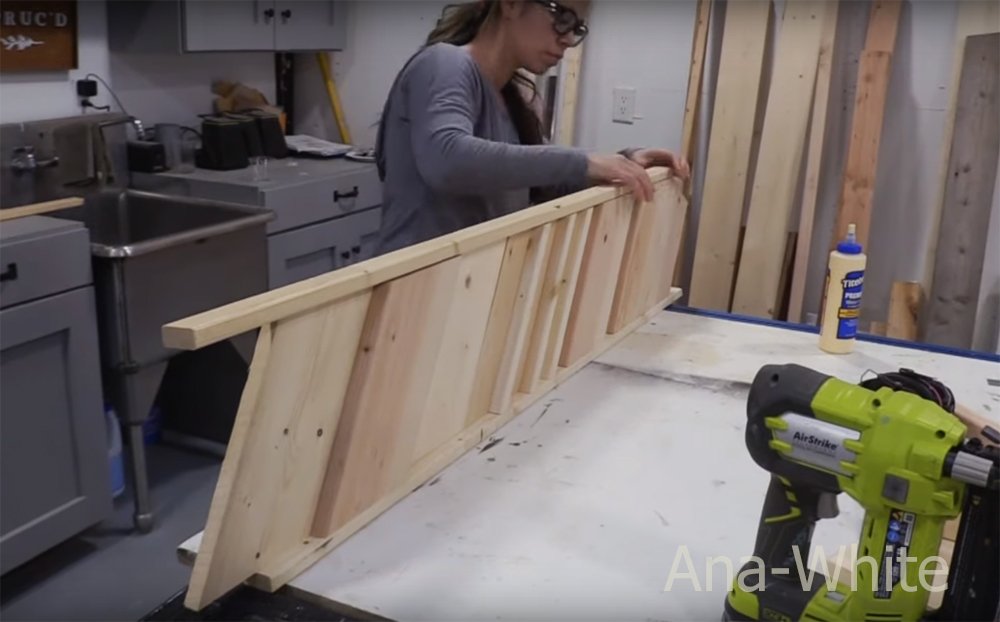
Cut a 1x2 a little longer than needed, and use 1-1/4" brad nails and glue to attach the 1x2 frame to the ends of your charcuterie board pieces. Use glue in between boards too. Keep all edges flush to the bottom.
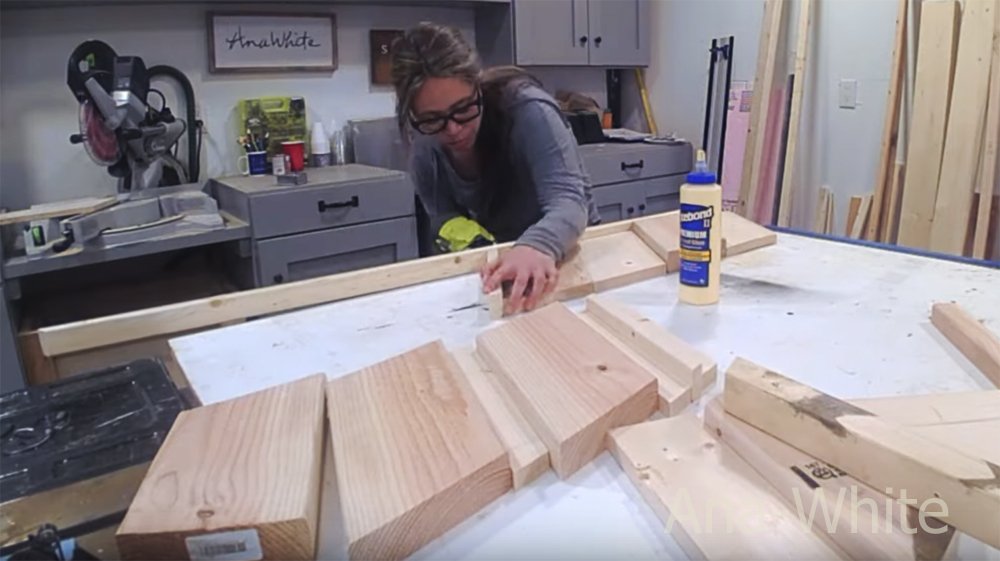
Step 4
Repeat for the opposite side.
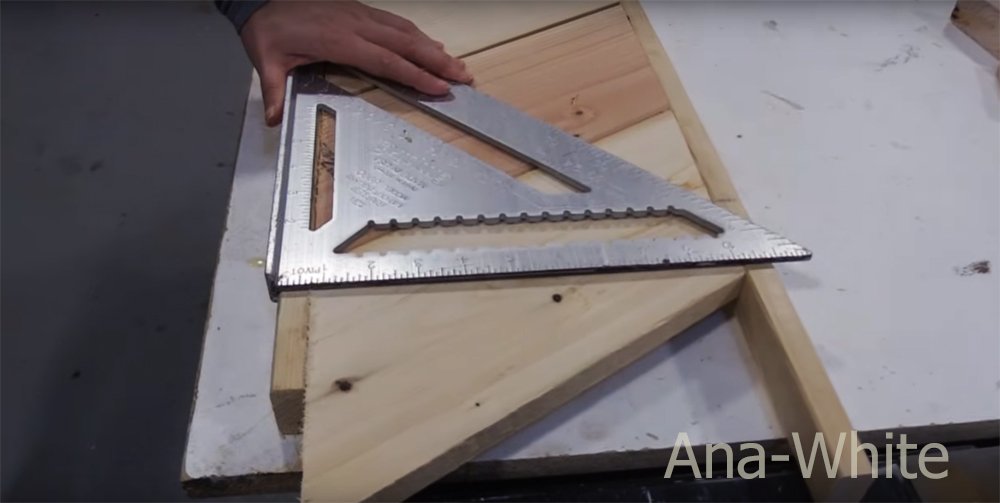
Use a square to mark the ends to be cut off.
Make sure there are no nails where you will cut. Cut the ends off with either a circular saw or a miter saw if your charcuterie board can be cut on your miter saw.
Step 6
Cut 1x2 pieces for ends and nail and glue to the ends.
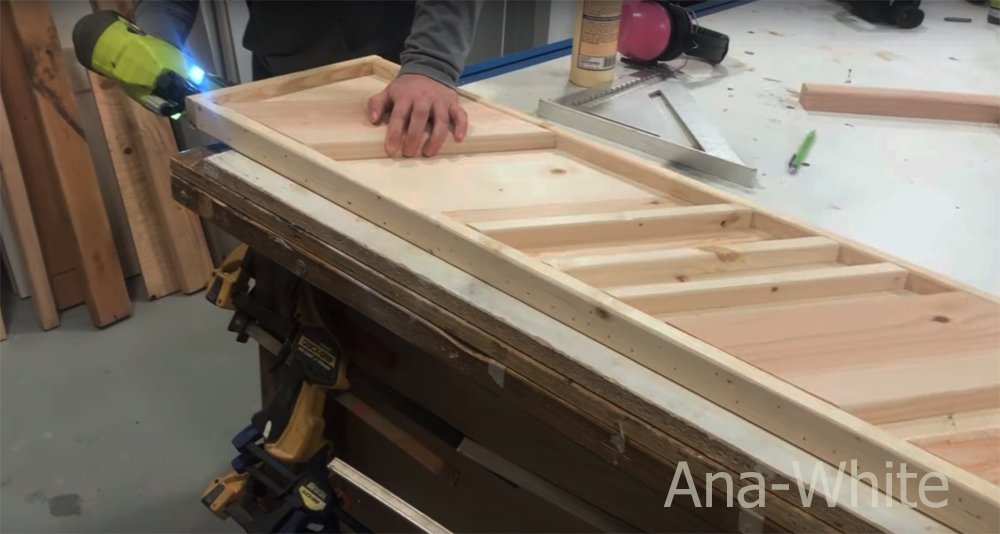
Finish as desired.
For serving food, make sure you add a good coat of polyurethane to allow the charcuterie board to clean up after use and protect food from the stain.
Finishing
Sand all surfaces, starting with a medium grit and finishing with fine. Wipe off the dust, fill any holes or gaps with wood filler, and sand smooth once dry. Apply primer if you're painting, then finish with your choice of paint or stain and seal with a durable clear topcoat. For outdoor projects, use exterior-rated primer, paint or stain, and sealer so the piece stands up to the weather.
Source (temporary): https://www.ana-white.com/woodworking-projects/grazing-board-or-charcuterie-board-serving-tray