hanging clipper plane
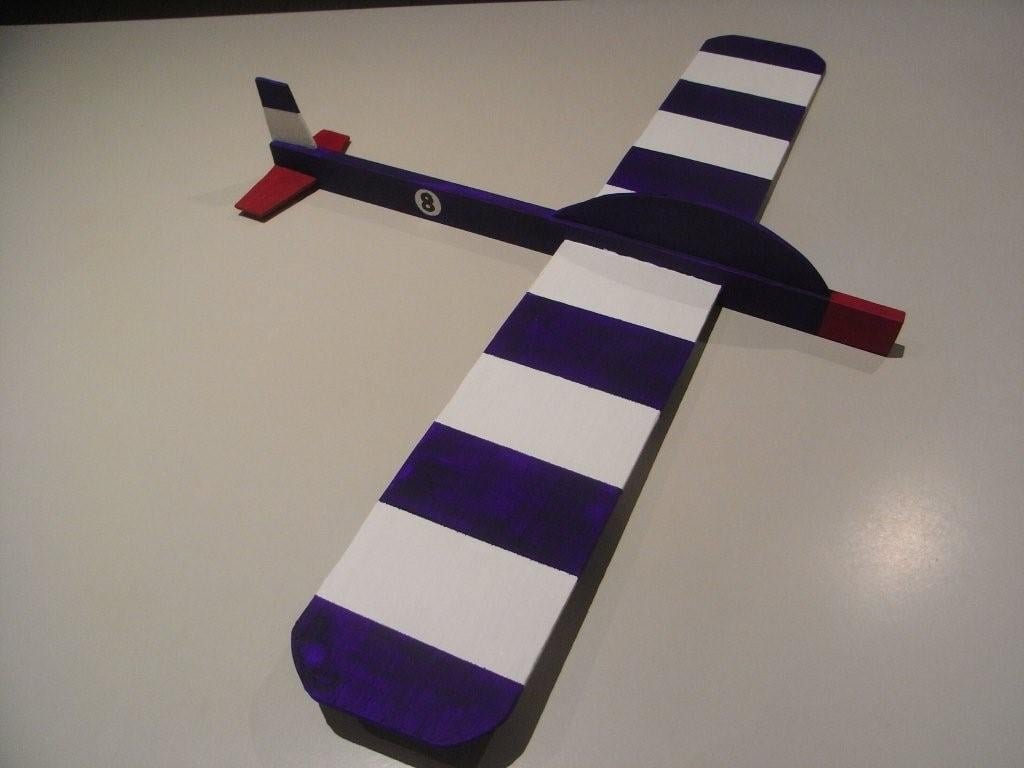
I first cut a piece of 10mm x 30mm timber to 46cm in length. This became the body of the plane.
Specifications
| Project type | Toys |
|---|---|
| Room | Kids and Toys |
| Style | Children's and Kid's Room Furniture and Toy Plans |
| Difficulty | Starter Projects |
| Estimated cost | scraps |
Step-by-step Instructions
This is how I made the small clipper plane
I first cut a piece of 10mm x 30mm timber to 46cm in length. This became the body of the plane.
Step 2
The wings (well one wing really as it is in one piece) are out of ply cut to 68cm x 11cm with the corners rounded.
Step 3
The tail pieces are 6.5cm straight side, 4cm short straight side (attached to plane) top side 2.5cm, with the remaining side at an angle between.
Step 4
The cockpit on top measures 19cm long and 4 cm high, rounded on one side.
Step 5
Then it was just a matter of pushing the wings through to the centre and gluing it and the other pieces on.
Step 6
Sand and paint, and it was done. Oh and attach hooks onto the body (as it's the strongest part) and hang.
Finishing
Sand all surfaces, starting with a medium grit and finishing with fine. Wipe off the dust, fill any holes or gaps with wood filler, and sand smooth once dry. Apply primer if you're painting, then finish with your choice of paint or stain and seal with a durable clear topcoat. For outdoor projects, use exterior-rated primer, paint or stain, and sealer so the piece stands up to the weather.
Source (temporary): https://www.ana-white.com/woodworking-projects/hanging-clipper-plane