Heavy Duty Bulk Pantry Bins for Cans
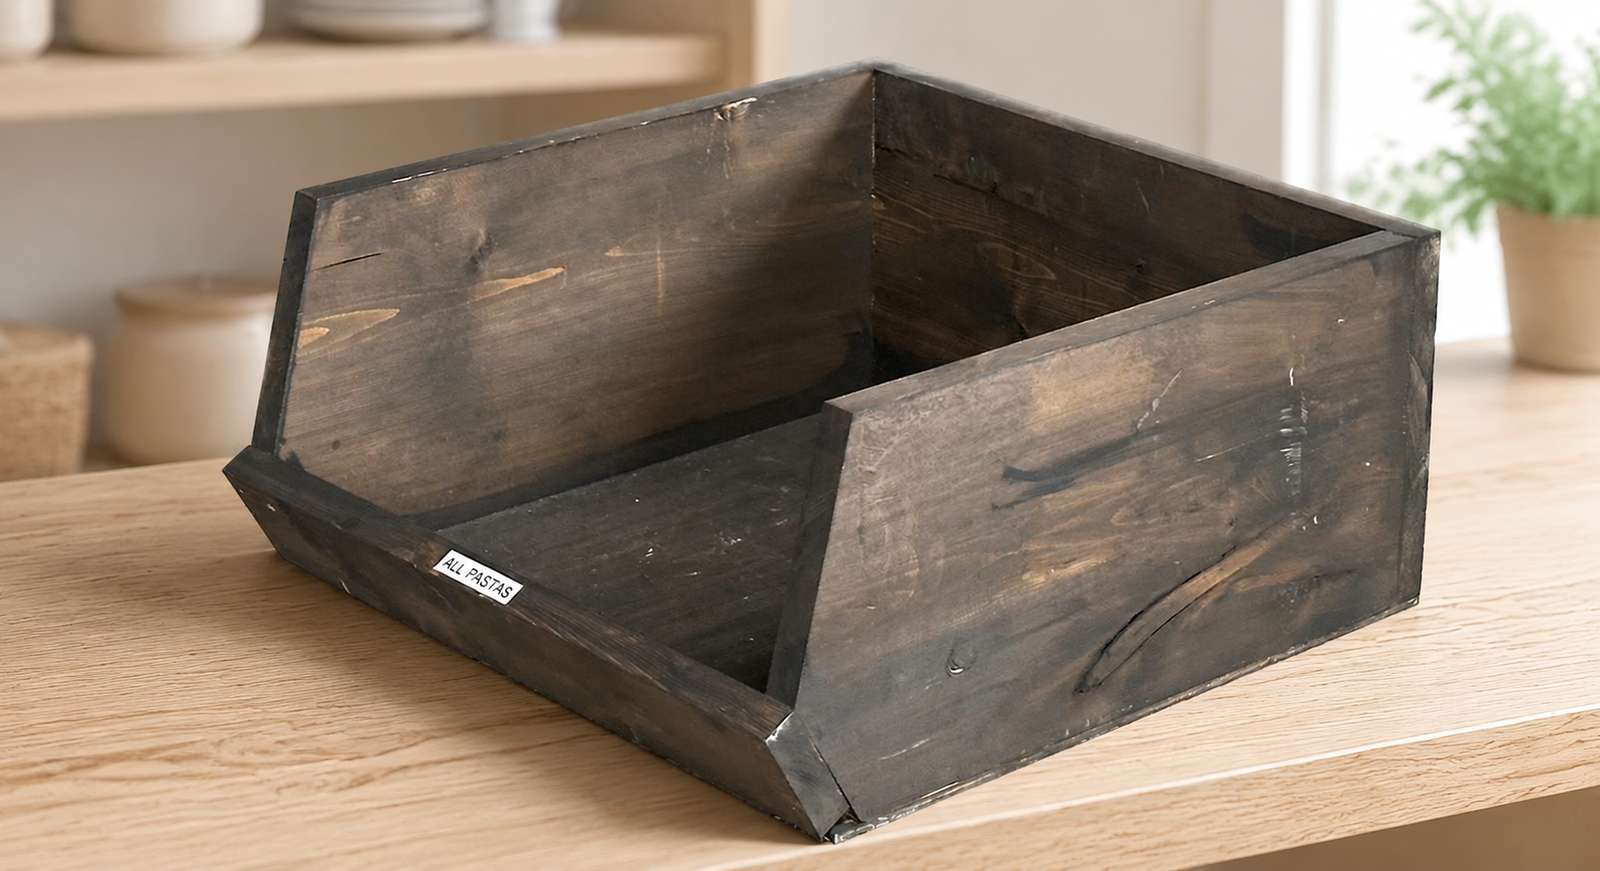
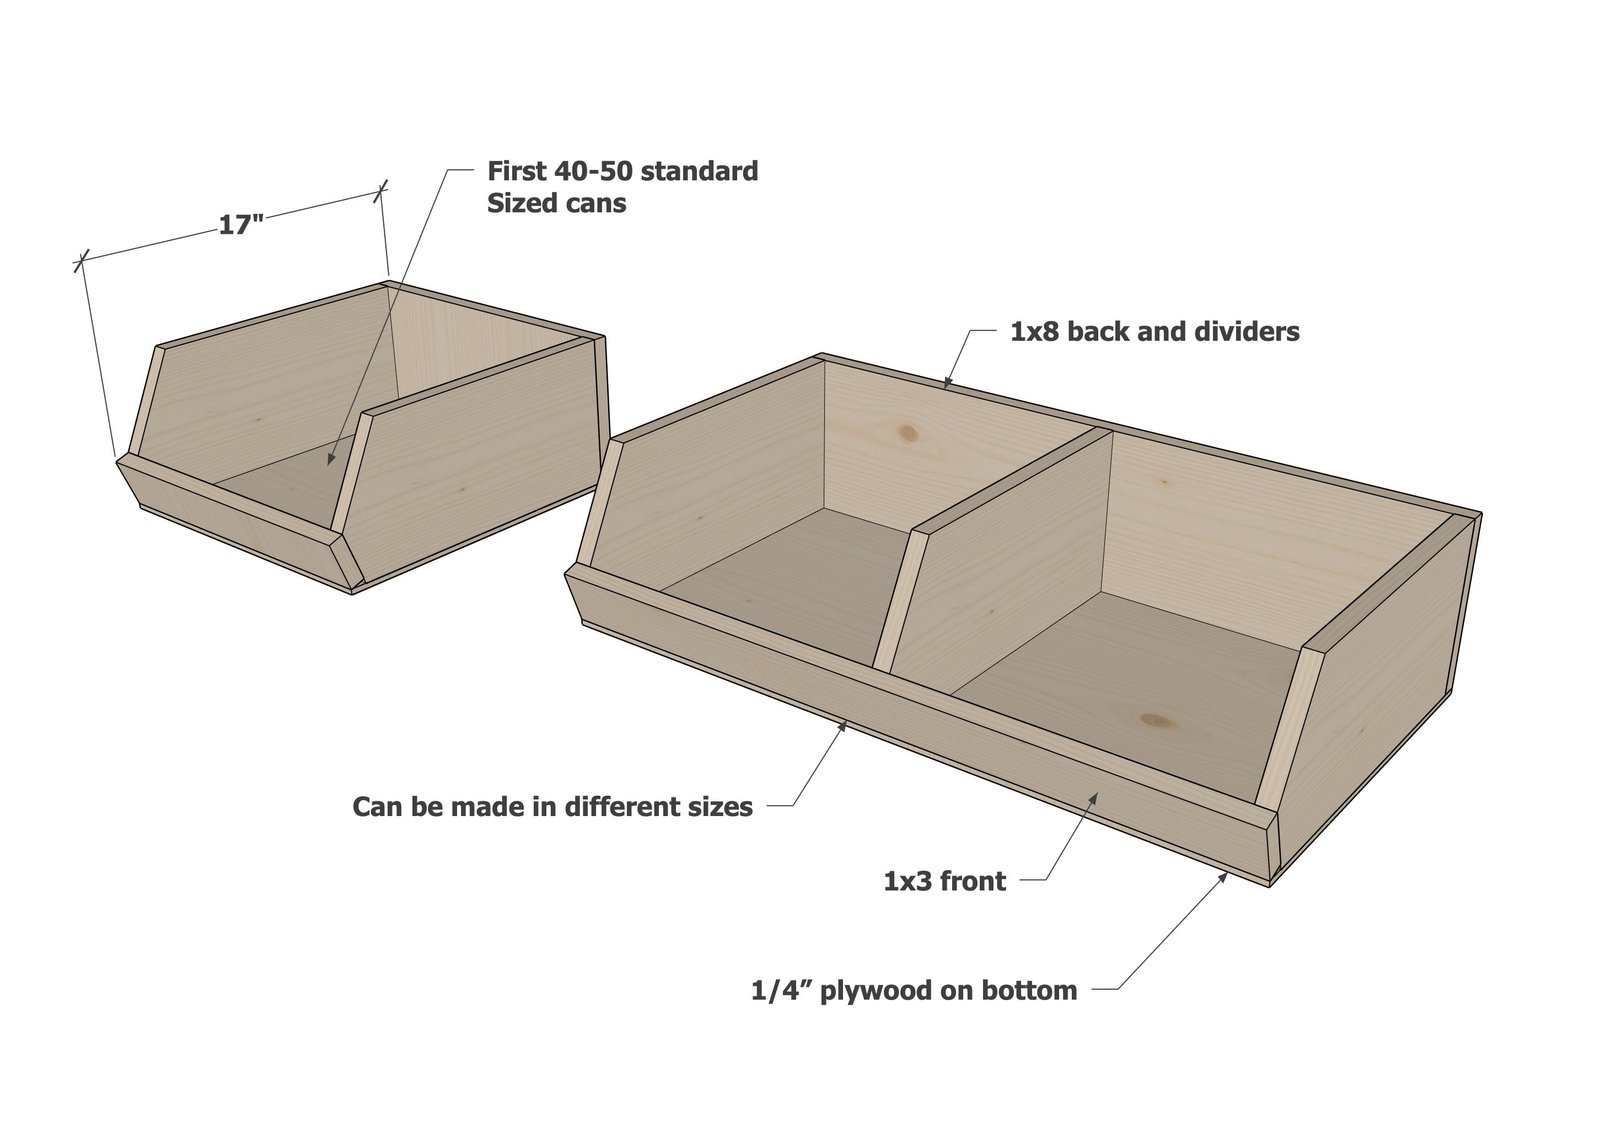
Build these heavy-duty bulk pantry bins for canned goods and pantry staples. The compact 15-1/2-inch-wide bin is sized so standard cans fit neatly - three columns wide - and it easily holds at least three dozen cans. The same design can be built longer with dividers added for strength and organization. UPDATE FROM ANA: I have been using these bulk bins for about 5 YEARS in my pantry loading them with cans and abusing them - still going strong!!! Great project.
Specifications
| Project type | Pantry Organization |
|---|---|
| Difficulty | Beginner Projects |
Dimensions
Use the size-specific shopping and cut lists below.
Shopping List
FOR ONE STANDARD BIN
1 - 1x8 board, 4 feet long
1 - 1x3 board, at least 15-1/2 inches long
1 - 1/4-inch plywood panel, at least 15-1/2 inches x 16 inches
1-3/4-inch trim screws
1-1/4-inch flat-head screws
Wood glue
Sandpaper
Optional foam furniture pads to protect the shelf
Paint or stain and protective topcoat, as desired
FOR LONGER/DOUBLE BINS
Increase the 1x3 front, 1x8 back, and plywood bottom to the desired overall width. Add one additional shaped 1x8 divider for every 15-1/2 to 18 inches of width.
Cut List
STANDARD 15-1/2-INCH-WIDE BIN
2 - Sides - 1x8 @ 15-1/2 inches; cut the angled front profile shown in Step 1
1 - Back - 1x8 @ 15-1/2 inches
1 - Front - 1x3 @ 15-1/2 inches
1 - Bottom - 1/4-inch plywood @ 15-1/2 inches x 16 inches
LONGER WIDTH OPTION
2 - End sides - same as standard sides
Front - 1x3 @ desired overall width
Back - 1x8 @ desired overall width
Bottom - 1/4-inch plywood @ desired overall width x 16 inches
Dividers - 1x8 @ 15-1/2 inches, shaped like the sides; add one every 15-1/2 to 18 inches
Check your shelf opening before cutting a custom width.
Tools
- Tape Measure
- Speed Square
- Pencil
- Safety Glasses
- Drill
- Circular Saw
- Power Sander
Step-by-step Instructions
CUT THE SIDES AND DIVIDERS
Cut two 1x8 sides at 15-1/2 inches long. Lay out the angled front exactly as shown: 13-1/4-inch upper straight section, 14-5/8-inch lower straight section, and 2-3/4-inch short lower-front angled edge. Cut the first side, then trace it for the second side. For a longer bin, cut matching dividers from 15-1/2-inch lengths of 1x8.
ASSEMBLE THE FRAME
Attach the 15-1/2-inch 1x3 front and 15-1/2-inch 1x8 back between the two shaped sides using wood glue and 1-3/4-inch trim screws. Predrill near the ends and keep the bottom edges flush. Check the frame for square. This standard width fits three columns of cans. For a longer bin, lengthen the front and back and install the shaped dividers every 15-1/2 to 18 inches.
ATTACH THE PLYWOOD BOTTOM
Turn the squared frame upside down. Position the 15-1/2-inch x 16-inch piece of 1/4-inch plywood on the underside. Apply glue, then attach the plywood with 1-1/4-inch flat-head screws. The plywood bottom works great resting directly on a pantry shelf. Add optional foam pads underneath to prevent scratching. For a longer bin, cut the plywood to the full custom width and fasten it to every divider as well as the perimeter.
Finishing
Sand all surfaces, starting with a medium grit and finishing with fine. Wipe off the dust, fill any holes or gaps with wood filler, and sand smooth once dry. Apply primer if you're painting, then finish with your choice of paint or stain and seal with a durable clear topcoat. For outdoor projects, use exterior-rated primer, paint or stain, and sealer so the piece stands up to the weather.
Source (temporary): https://www.ana-white.com/woodworking-projects/heavy-duty-bulk-pantry-bins-cans