Horizontal Closet Organizer
More shelving space, less bending over? You betcha! This horizontal closet organizer is designed for efficiency and those that love shelving. This is a free project plan with step by step diagrams, custom closet design tool and lots of photos and plan details from
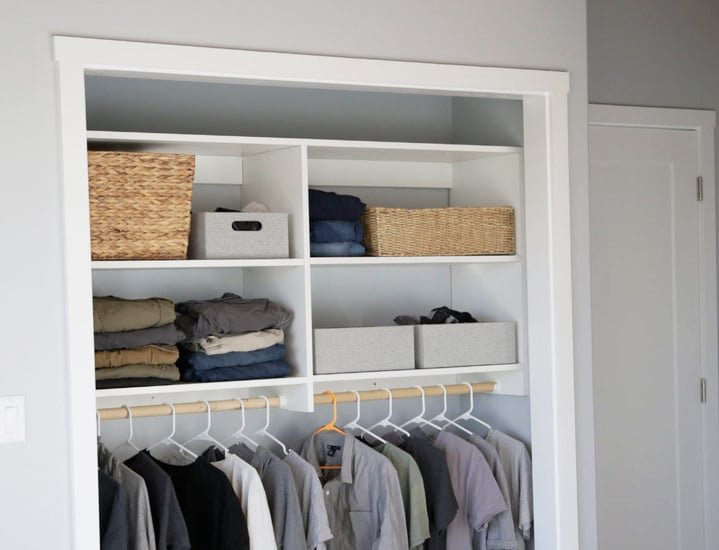
Specifications
| Project type | Home DIY |
|---|---|
| Room | Storage Solutions |
| Style | Modern Style Furniture Plans |
| Difficulty | Intermediate |
Dimensions
Use the size-specific shopping and cut lists below.
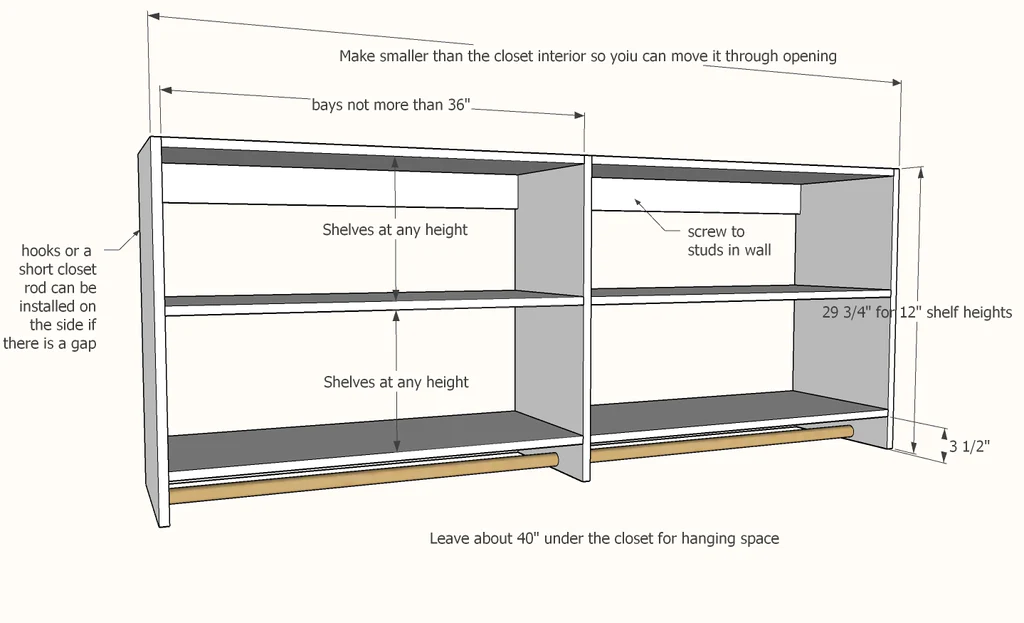
Shopping List
- 3/4" plywood, ripped into strips 15-1/4" wide
- 3/4" wide edge banding in matching wood veneer
- 1x4 boards
- 1-1/4" pocket hole screws
- closet rod socket holders
- 1-1/4" wood dowels to use as closet rods
- 3" self tapping star bit screws to hang closet to studs in wall
Cut List
Cut list is produced in the custom carcass configuration app in step 1.
Tools
- measuring tape
- square
- safety glasses
- hearing protection
- kreg-jig
- drill
- circular saw
- Iron
Step-by-step Instructions
Design Your Closet
• Width = Closet Opening width • Height = About 30" - depends on how tall you want your shelves and the hanging space underneath. Also consider the top is a shelf too. • Depth = 15-1/4" • Bays = Adjust so shelf widths does not exceed 36" Custom Design Tool Embeded Below Click here to use this tool in a pop-up full page view Once your design is perfect, download the drawings and cut your pieces according to the cut list. The easiest way is to rip plywood into strips first, then cross cut to get the lengths you'll need. Then edge band the front edges where applicable.
Assembling Your Design
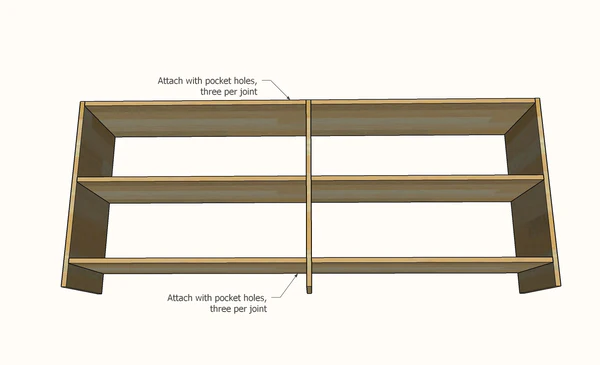
Just drill three 3/4" pocket holes on each end of all the shelf boards and attach to the vertical sides/dividers. The top shelf pocket holes should face upward, the bottom shelf and middle shelf pocket holes face downward. 3-1/2" should be left under the bottom shelf to allow for bay supports and hanging the closet rod.
Bay Supports
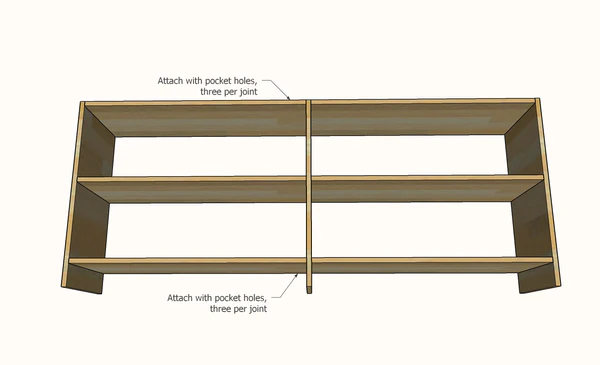
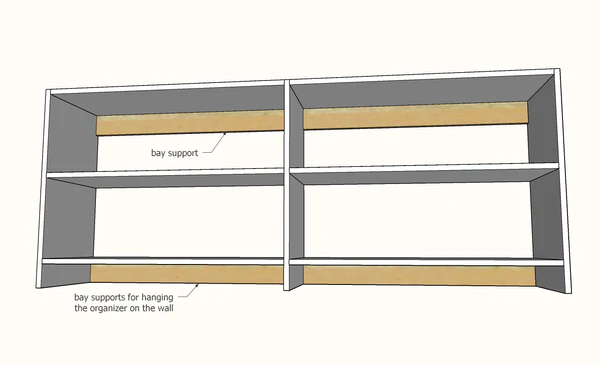
Bay supports add structure and a cleat for hanging. This plan uses 1x4s for the bay supports. Attach the bay supports from the back with pocket holes to both the vertical dividers and the shelves. We recommend painting or staining at this step. Adding Closet Rods Use rod sockets and wood dowels to add the closet rods to the closet under the bottom shelf.
Hanging
To hang the closet, locate studs in the wall inside the closet and mark. Place the closet organizer inside the closet opening and hang with 3" self tapping screws, through the 1x4 bay supports.
Finishing
Sand all surfaces, starting with a medium grit and finishing with fine. Wipe off the dust, fill any holes or gaps with wood filler, and sand smooth once dry. Apply primer if you're painting, then finish with your choice of paint or stain and seal with a durable clear topcoat. For outdoor projects, use exterior-rated primer, paint or stain, and sealer so the piece stands up to the weather.
Source (temporary): https://www.ana-white.com/woodworking-projects/horizontal-closet-organizer