How to Build a Vanity Mirror
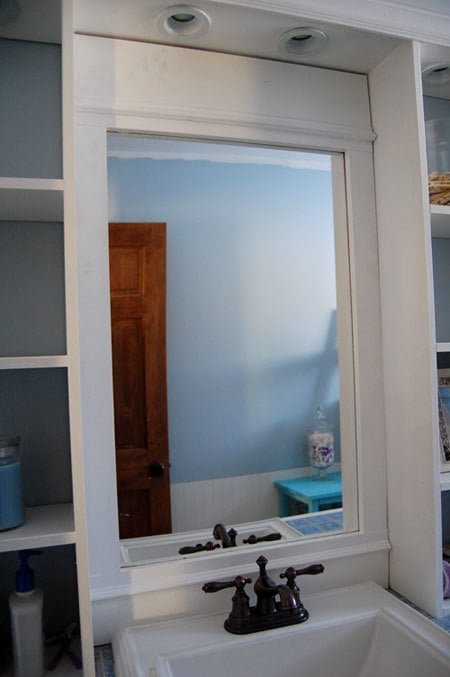
How to fancy up a builder grade mirror. Completed mirror can be mounted on any wall. Shown in a custom vanity hutch.
Specifications
| Project type | Home DIY |
|---|---|
| Room | Bathroom |
| Style | Cottage Style Furniture Plans |
| Difficulty | Beginner Projects |
| Estimated cost | Under $20 |
Shopping List
1 – 24″ x 36″ Mirror Mirror clips with 3/4″ screws to match
1 – 1×8 @ 28 1/2″
1 – 1×6 @ 28 1/2″
1 – 1×3 @ 8 feet
2 – 1×2 @ 8 feet Heavy duty picture hanging kit
1 1/4″ Screws or nails and glue
Cut List
Cut List 1 – 1×8 @ 28 1/2″
1 – 1×6 @ 28 1/2″
2 – 1×3 @ 35″
2 – 1×2 @ 48″
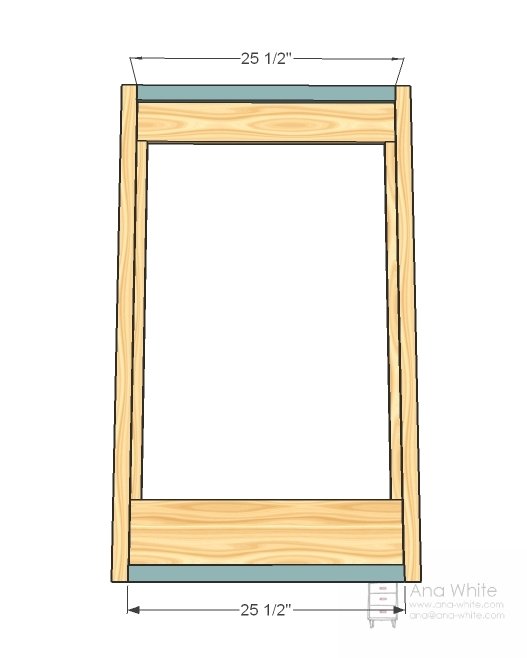
2 – 1×2 @ 25 1/2″
Optional Shelf 1 – 1×4 @ 28 1/2″ (Shelf)
2 – 1×4 @ 6 1/2″ (Shelf Supports – cut out at an angle) Shelf hooks
Tools
- measuring tape
- square
- pencil
- safety glasses
- hearing protection
- drill
- circular saw
- sander
Step-by-step Instructions
Build the Mirror Frame
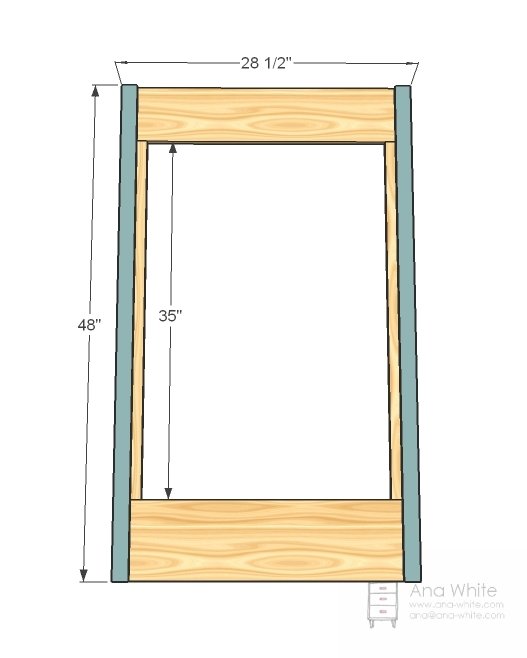
Lay your 1x3s, 1×6 and 1×8 down and arrange for square. If you have a Kreg Jig™, screw the 1x3s to the 1×8 and 1×6. Lay the long 1x2s on top, to the outside, and screw and glue with 1 1/4″ screws. Adjust for square.
Step 2
Mirror
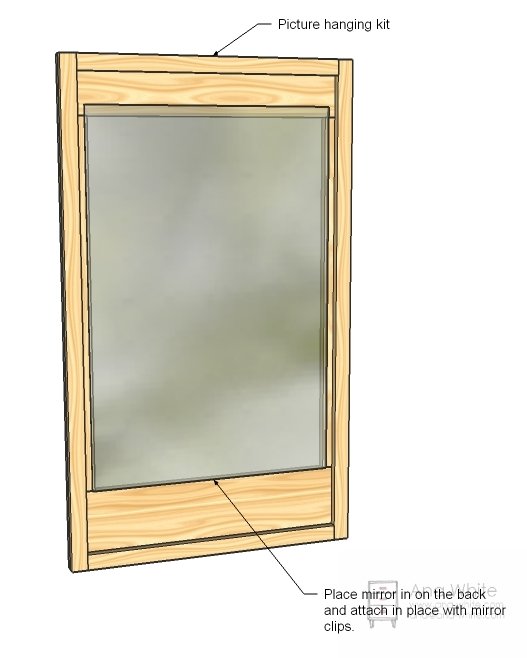
Add the mirror to the back of the frame with the mirror clips. You can also glue the mirror in place. Also add the heavy duty picture hanging kit. Hang use the picture hanging kit and a screw into a stud in the wall or with an appropriately weighted drywall anchor system.
Finishing
Sand all surfaces, starting with a medium grit and finishing with fine. Wipe off the dust, fill any holes or gaps with wood filler, and sand smooth once dry. Apply primer if you're painting, then finish with your choice of paint or stain and seal with a durable clear topcoat. For outdoor projects, use exterior-rated primer, paint or stain, and sealer so the piece stands up to the weather.
Source (temporary): https://www.ana-white.com/woodworking-projects/how-build-vanity-mirror