Large Bridge Hutch for the Modular Playroom Storage Media Wall
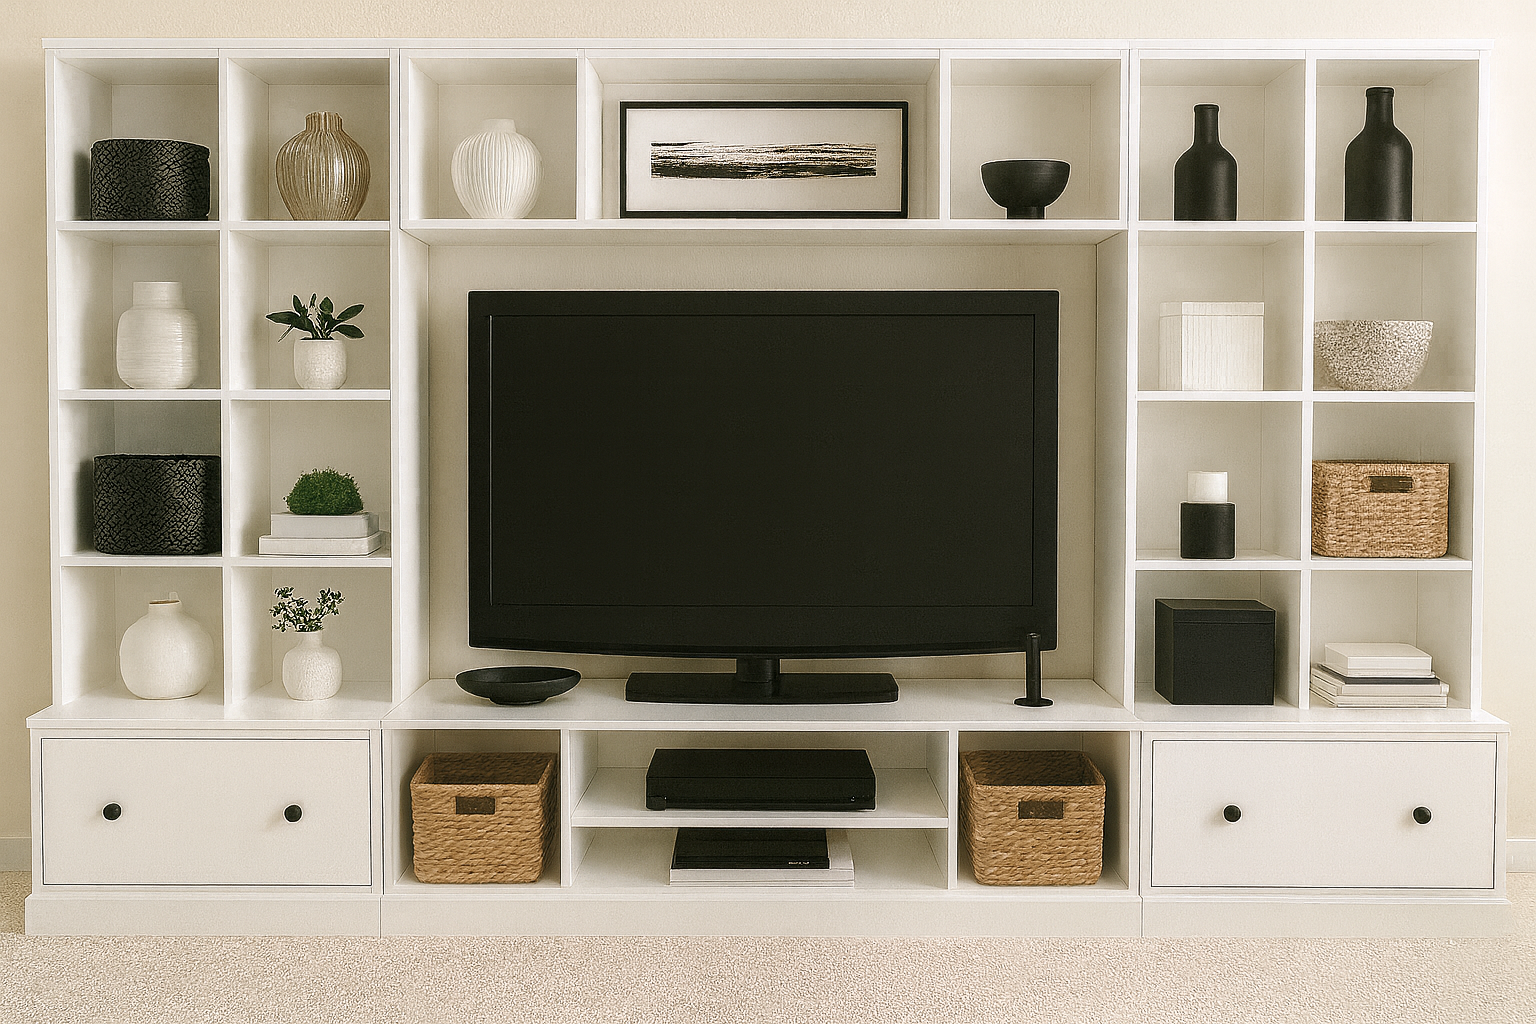
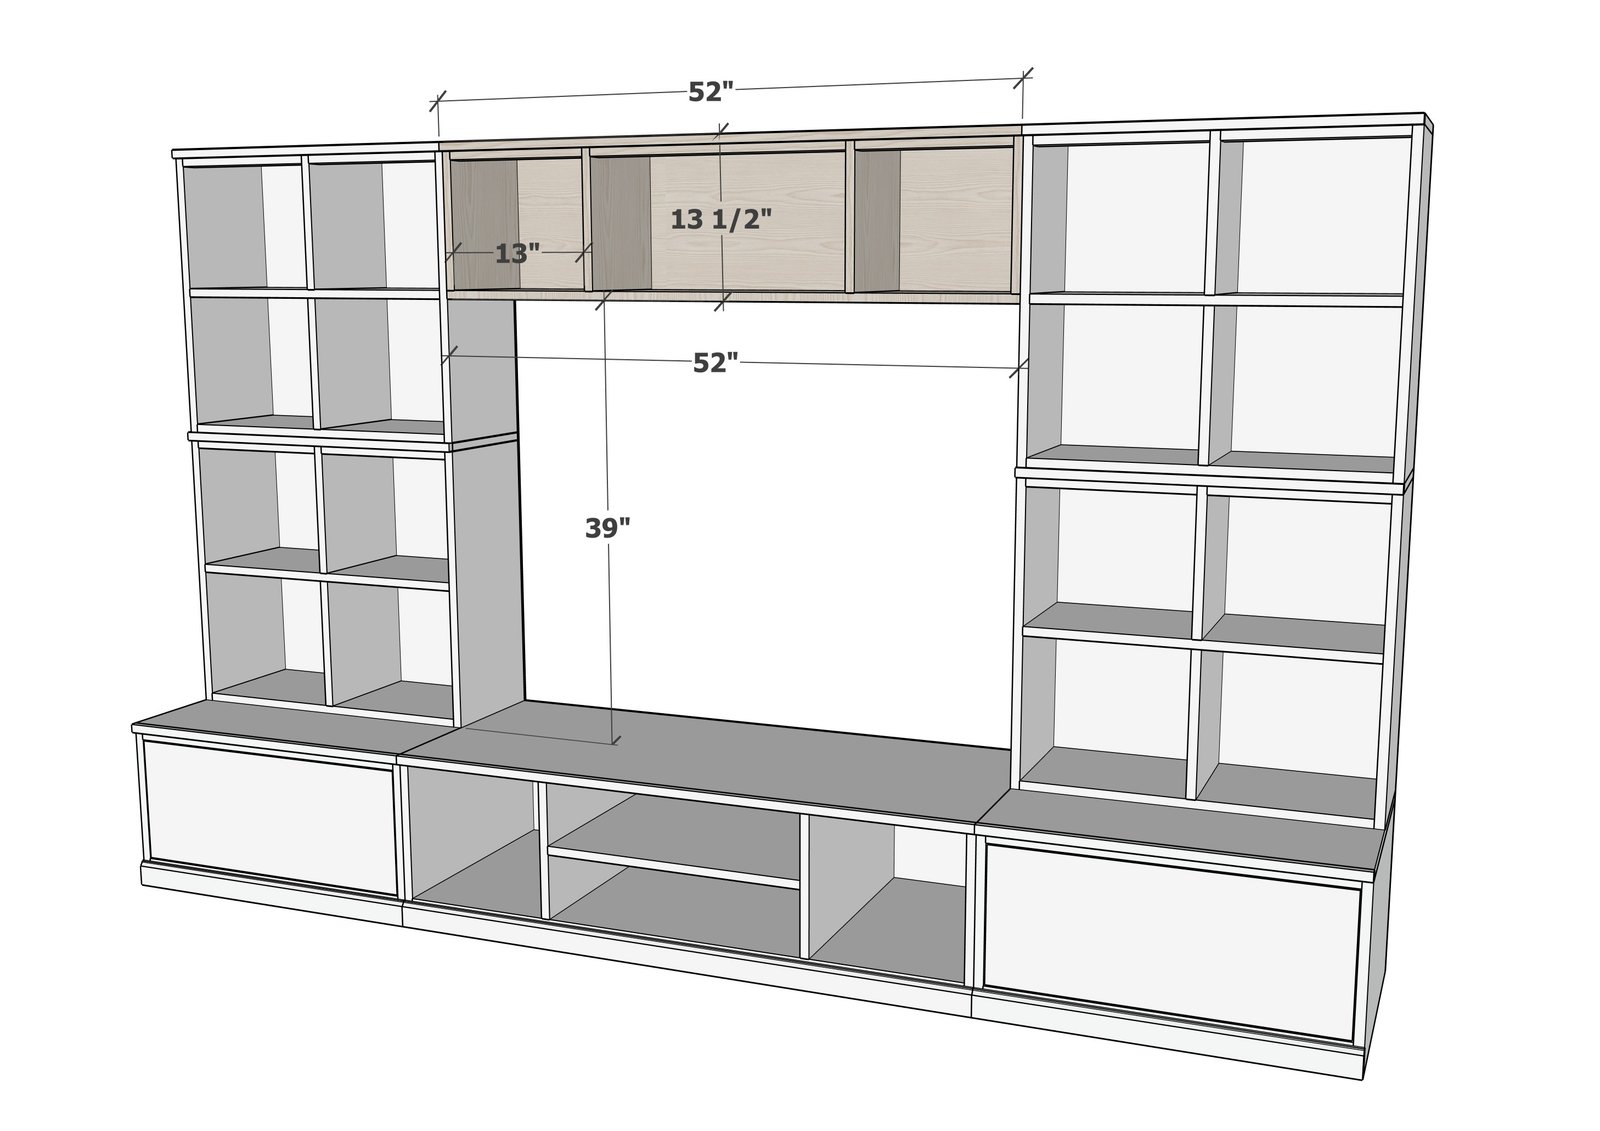
Modular Playroom Media Wall Bridge – Inspired by PBK Cameron Collection Create your dream built-in media wall for a fraction of the cost with our Modular Media Wall Bridge, part of the free Modular Playroom Storage Collection. Inspired by the classic style and clean lines of the Pottery Barn Kids Cameron Wall System, this customizable bridge connects your side towers to create a seamless, polished media center look. Designed to integrate perfectly with our matching base and tower units, the bridge adds architectural interest and overhead storage, completing the full-wall system. Whether you're organizing a family room, homeschool space, or playroom, this setup allows you to save thousands while tailoring every detail to fit your space and style. Build with confidence using our free, easy-to-follow woodworking plans —no subscription, no paywall. Just classic design, fully customizable for your needs. Design image rendered from plans Built and tested by Shanty2Chic This plan is just for the bridge above the TV. All other plans are available through the link to this plan collection below.
Specifications
| Project type | Media and Entertainment Centers |
|---|---|
| Room | Storage Solutions |
| Difficulty | Intermediate |
| Estimated cost | scraps |
Dimensions
Use the size-specific shopping and cut lists below.
Shopping List
- 2 - 1x12 @ 8 feet long OR 1 sheet of 3/4" plywood cabinet grade plywood, ripped into 11-1/4" wide strips, 8 feet long (you'll need two strips)
- 1/4" plywood @ 52" x 14
- 1x2 6 feet long
- 1-1/4" screws for attaching to neighboring cabinets
- 3" self tapping screws for attaching to studs in the wall
- 1-1/4" and 3/4" brad nails
- wood glue
- finishing supplies
Cut List
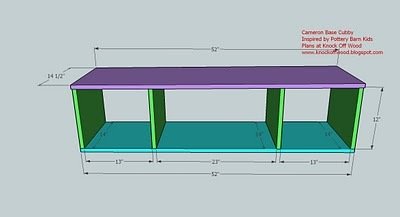
- A) 4 – 3/4″ Plywood @ 14″ x 12” (Sides, Cubby Dividers)
- B) 1 - 3/4″ Plywood @ 14 1/2″ x 52” (Top)
- C) 1 - 3/4″ Plywood @ 14″ x 52″ (Bottom)
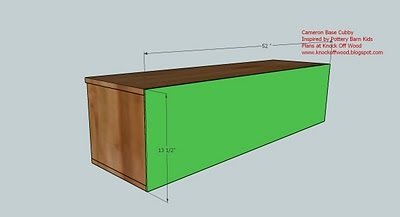
- D) 1 – 1/4″ Plywood @ 13 1/2″ x 52” (Back)
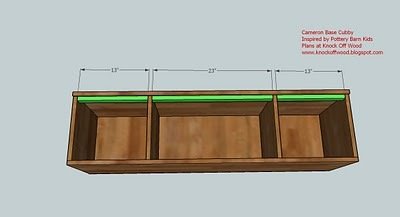
- E) 2 – 1×2 @ 13″ (Top, Cubby Trim)
- F) 1 – 1×2 @ 23″ (Top Center Trim)
Tools
- measuring tape
- square
- pencil
- safety glasses
- kreg-jig
- circular saw
- compound miter saw
- nailer
- sander
Step-by-step Instructions
Step 1
Sides, Top and Bottom. Fasten the top (B, Purple) and bottom (C, Blue) to the sides (A, Green) and cubby dividers (A, Green) as shown above. Use the measurements above to guide you. Keep the back edges flush. The top will overhang the front by 1/2″.
Step 2
Sides, Top and Bottom. Fasten the top (B, Purple) and bottom (C, Blue) to the sides (A, Green) and cubby dividers (A, Green) as shown above. Use the measurements above to guide you. Keep the back edges flush. The top will overhang the front by 1/2″.
Step 3
Trim. First attach the cubby top trim, pieces E, to the tops of the cubbies, keeping edges flush with the sides and the cubby divider. The top will overhang 1/2″. Then attach the center trim F, with 1 1/4″ nails, nailing into the underside of the top. Also add a few nails to the cubby top trim, nailing through the face of E into the underside of the top.
Finishing
Sand all surfaces, starting with a medium grit and finishing with fine. Wipe off the dust, fill any holes or gaps with wood filler, and sand smooth once dry. Apply primer if you're painting, then finish with your choice of paint or stain and seal with a durable clear topcoat. For outdoor projects, use exterior-rated primer, paint or stain, and sealer so the piece stands up to the weather.
Source (temporary): https://www.ana-white.com/woodworking-projects/large-bridge-hutch-modular-playroom-storage-media-wall