Large Custom Wood Drawer Organizer
If you have a large drawer that needs organizing, this is a great way to do it. This works best in a larger drawer, as multiple compartments custom fit will all work together to hold up over time.
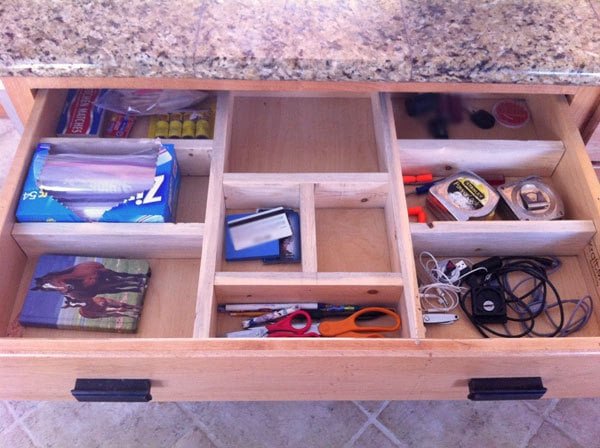
Specifications
| Project type | Home DIY |
|---|---|
| Room | kitchen |
| Style | Cottage Style Furniture Plans |
| Difficulty | Beginner Projects |
| Estimated cost | Under $20 |
Dimensions
Use the size-specific shopping and cut lists below.
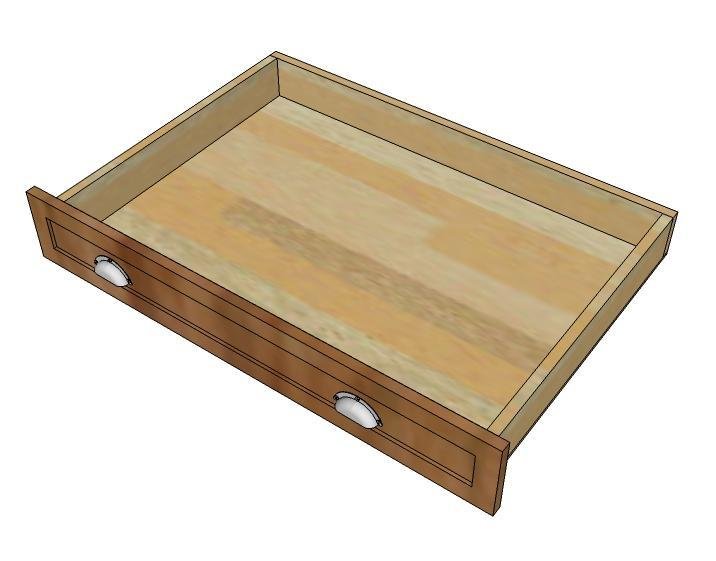
Shopping List
1 - 1x3 pine or whitewood boards
1-5/8" self tapping trim screws (can also use 1-1/4" brad nails)
Cut List
Cut to fit your drawers
Tools
- measuring tape
- square
- pencil
- safety glasses
- drill
- circular saw
- countersink drill bit
Step-by-step Instructions
Step 1
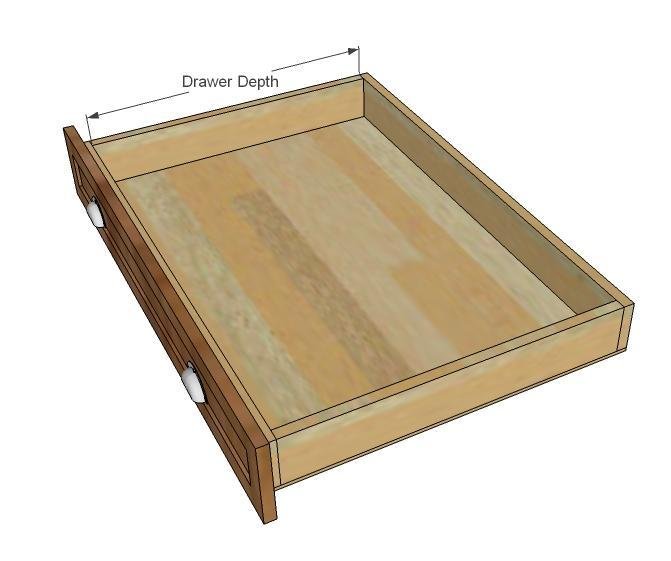
Measure your drawer first and do some planning.
Step 2
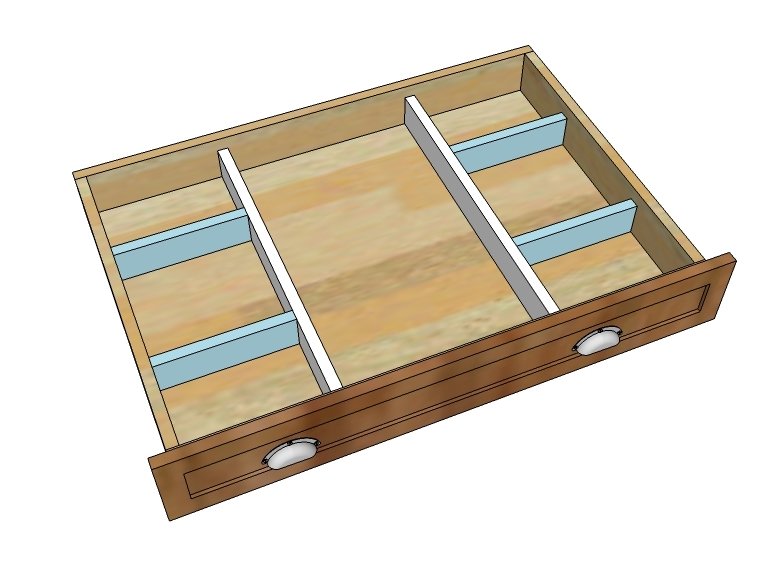
Cut first the long dividers and place in the drawer where you'd like to divide out.
Step 3
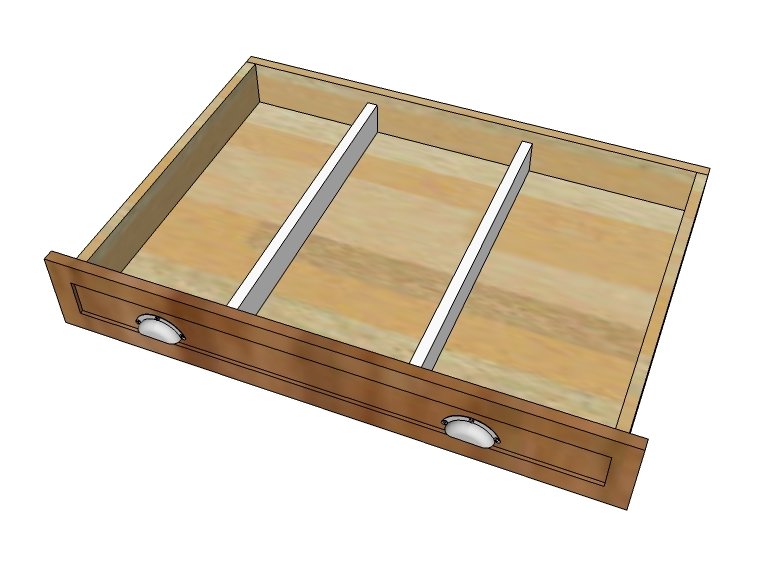
Measure and cut smaller dividers as shown. Mark the placement and screw to the longer dividers with 2 screws per joint.
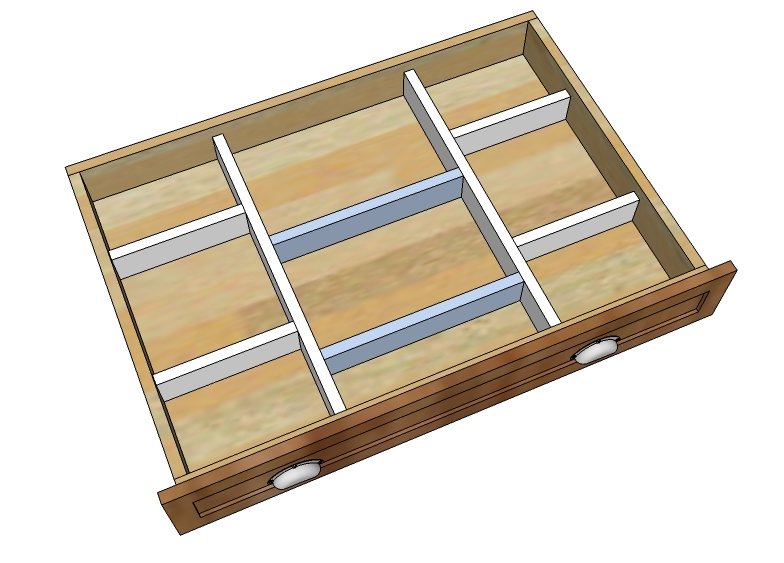
Measure and cut center dividers. Mark placement.
Remove from drawer and nail or screw to side dividers.
Finishing
Sand all surfaces, starting with a medium grit and finishing with fine. Wipe off the dust, fill any holes or gaps with wood filler, and sand smooth once dry. Apply primer if you're painting, then finish with your choice of paint or stain and seal with a durable clear topcoat. For outdoor projects, use exterior-rated primer, paint or stain, and sealer so the piece stands up to the weather.
Source (temporary): https://www.ana-white.com/woodworking-projects/large-custom-wood-drawer-organizer