Lego Build and Store Toy box
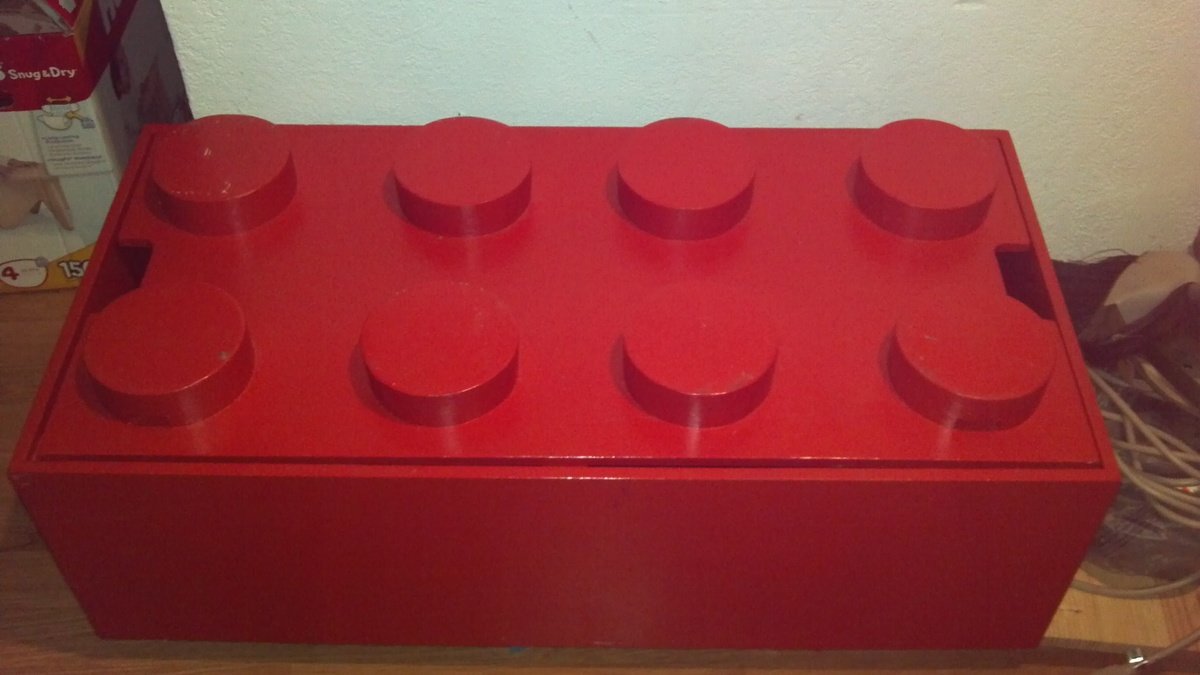
Build your own giant lego toybox!! Here is the original site where this is posted.
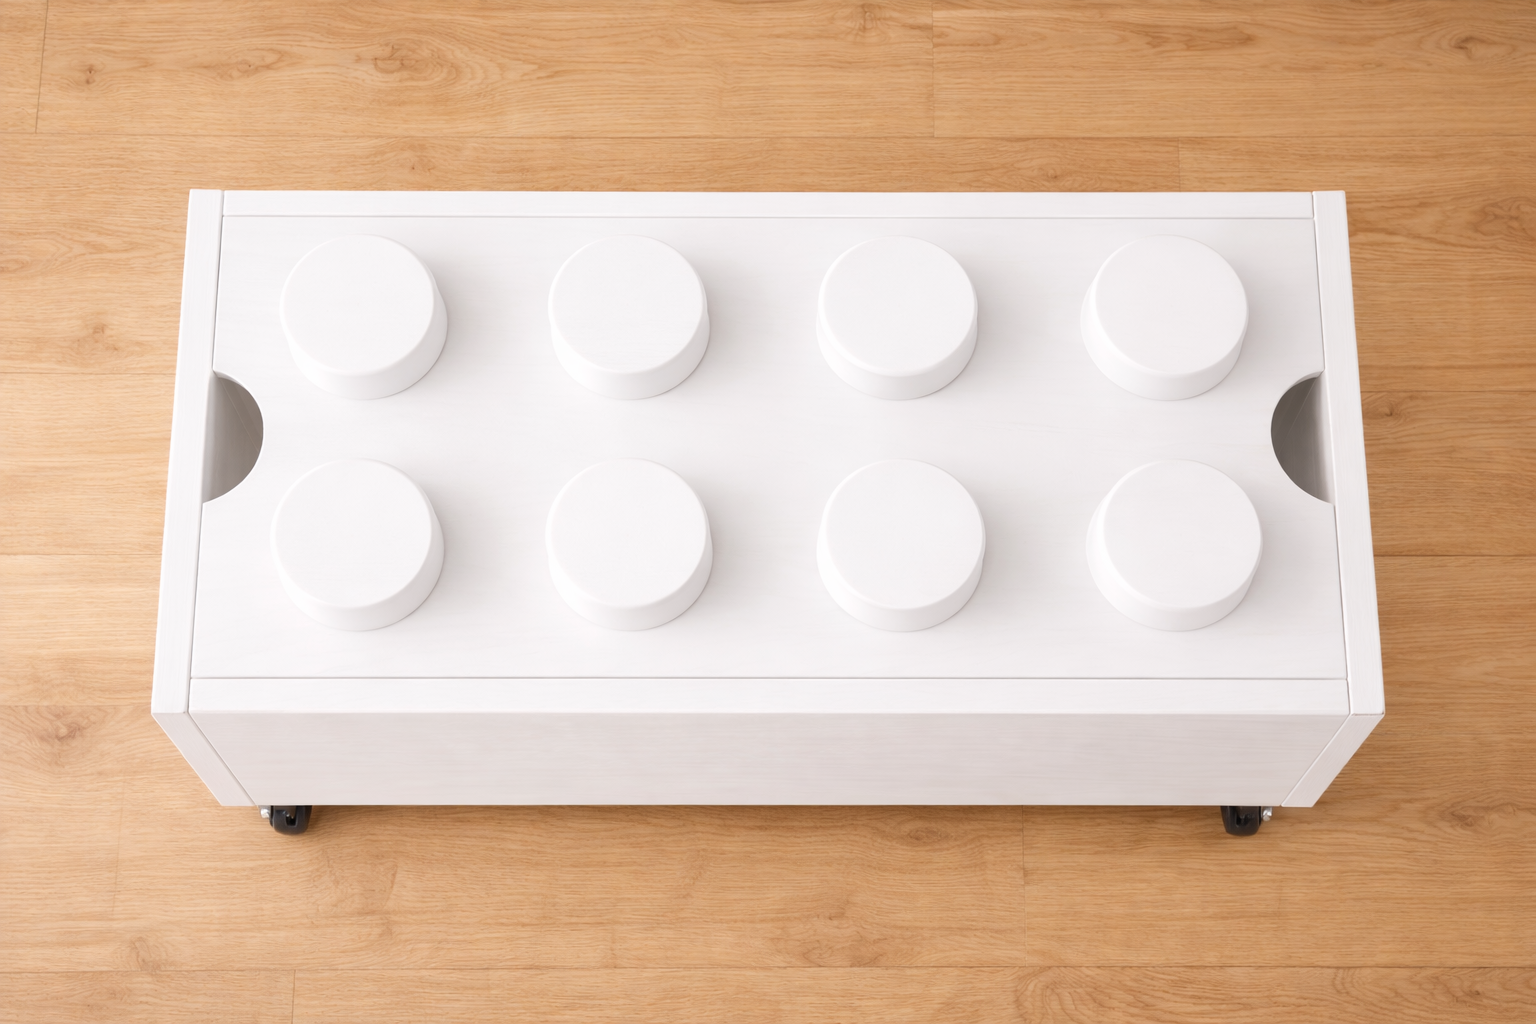
Specifications
| Project type | Toy box Plans |
|---|---|
| Room | Craftroom |
| Style | Children's and Kid's Room Furniture and Toy Plans |
| Difficulty | Intermediate |
| Estimated cost | $100-$150 |
Dimensions
Use the size-specific shopping and cut lists below.
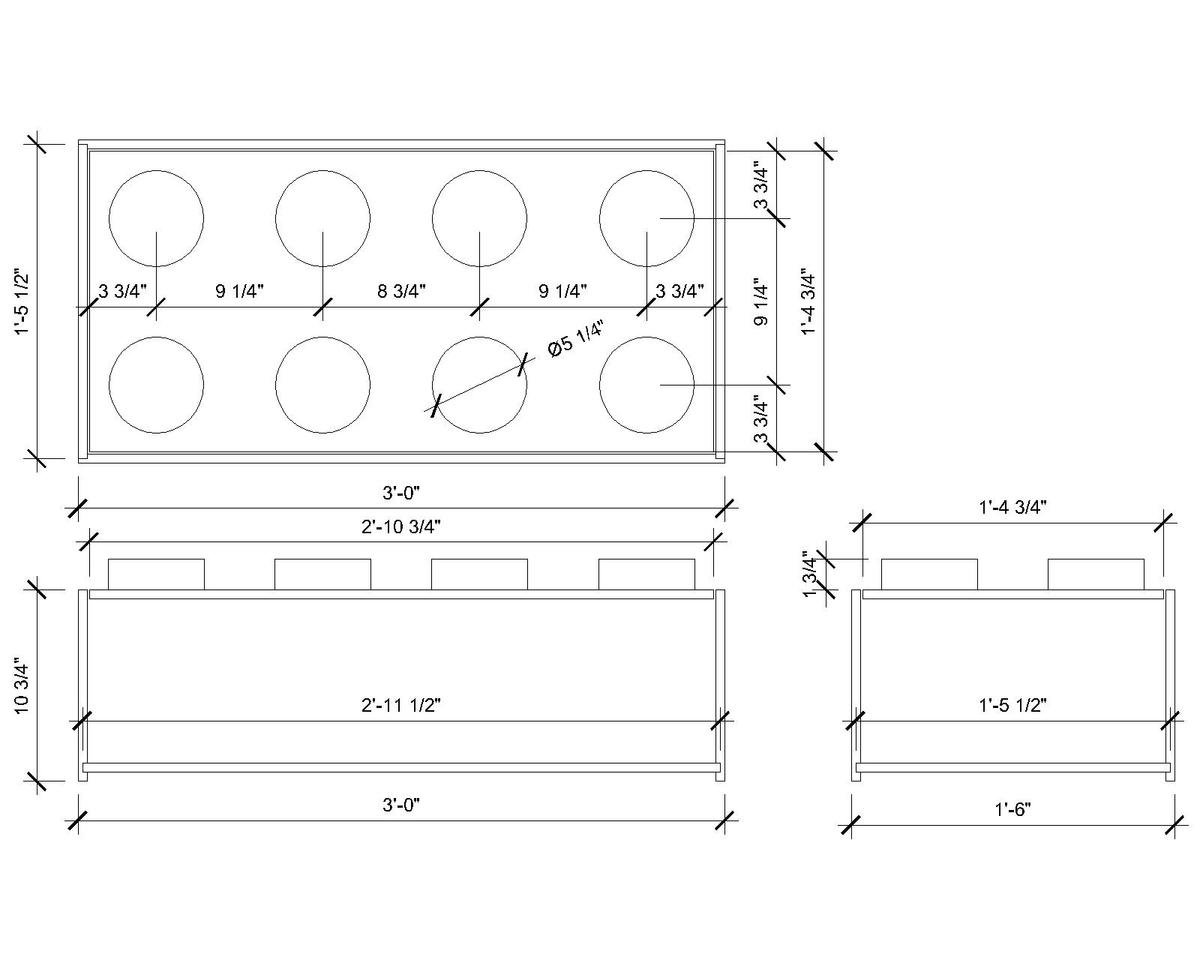
Shopping List
- 1 - 4 x 8 Sheets of 3/4" Surfaced Plywood
- 1 - 8 foot long 2x2
- 1 gallon of Indoor Paint (color of choice)
- 1 - 16 oz bottle of Wood Glue
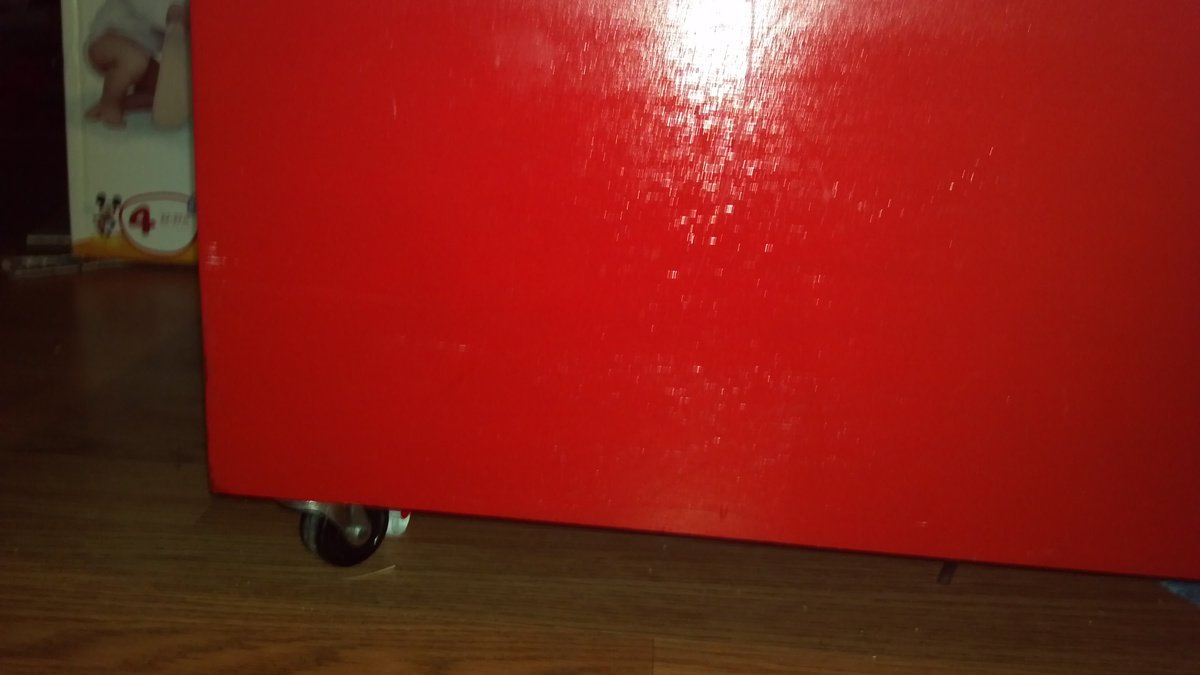
- 4 - rolling casters, or Wheels. If you want it to be Mobile.
- 2 - 10" x 10" Lego building Plates
Cut List
Plywood Cuts -
- 2 - 18" X 10 3/4" end Pieces
- 2 - 34 3/4" x 10 3/4" Side Walls
- 2 - 34 3/4" X 16 3/4" Base & top Plates (NOTE: You may wish to cut one of the top pieces 1/4" less in width/height to fit easier in top as noted in plans)
- 24 - 5 1/4" Diameter Circles
2x2 Board Cuts -
- 6- 9 1/4" Long Boards (Lids supports)
Tools
- measuring tape
- square
- pencil
- hammer
- safety glasses
- hearing protection
- circular saw
- jigsaw
- level
Step-by-step Instructions
Step 1
Cut Sheets of Plywood to dimensions listed above, and mark each piece with so you will know what is what.
Step 2
Start by assembling the Rectangular exterior. You can use either Nails and Glue, or even a Kreg jig to assemble. We used wood glue, and nails to construct the outer box.
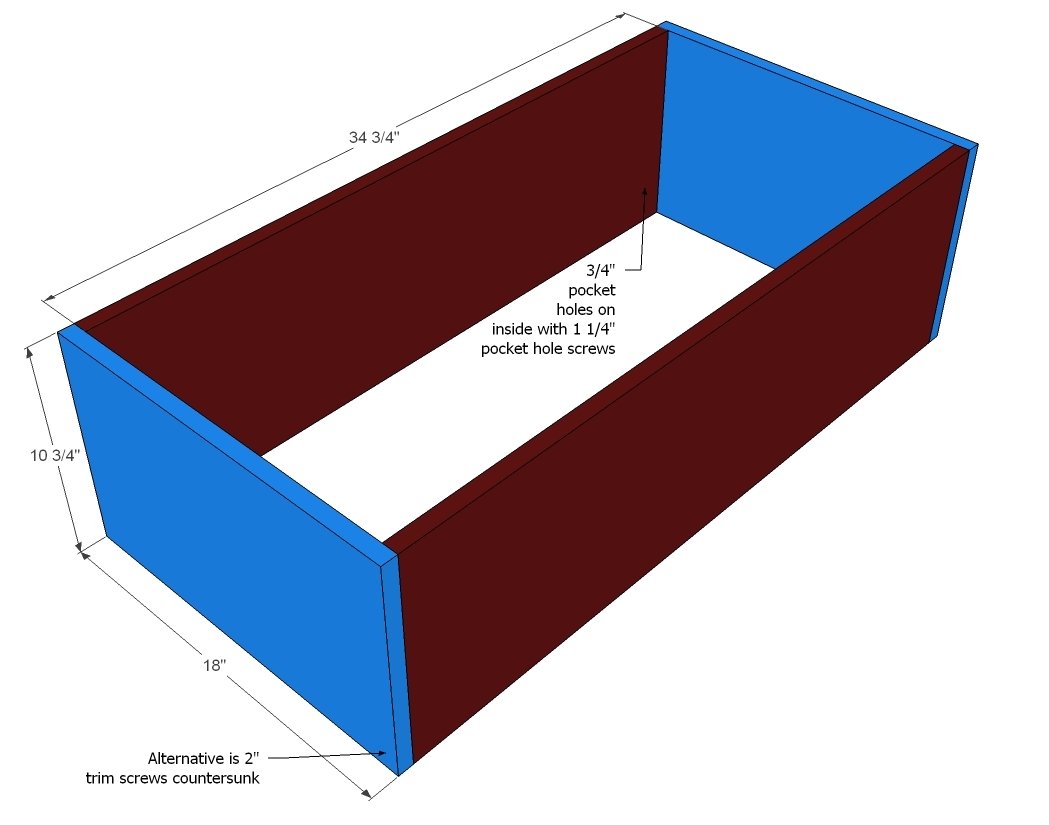
Step 3
Once the outer box is assembled, we used some scrap pieces of 3/4 ply wood to give us a raised support for the base, we then sat the base on the scrap pieces and lowered the box onto the base. This will give you a 3/4 space beneath the bottom of the box to install your casters. If you don't want to use casters, then set the bottom on a flat surface and attach to the rectangular box.
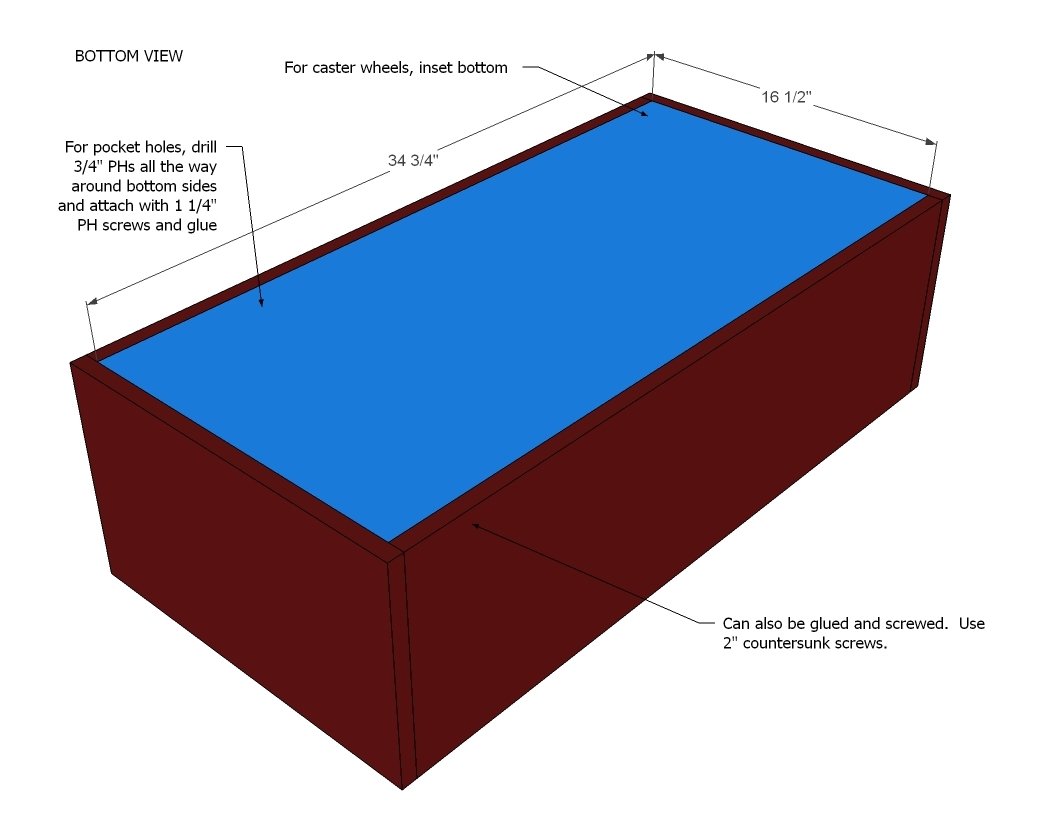
Step 4
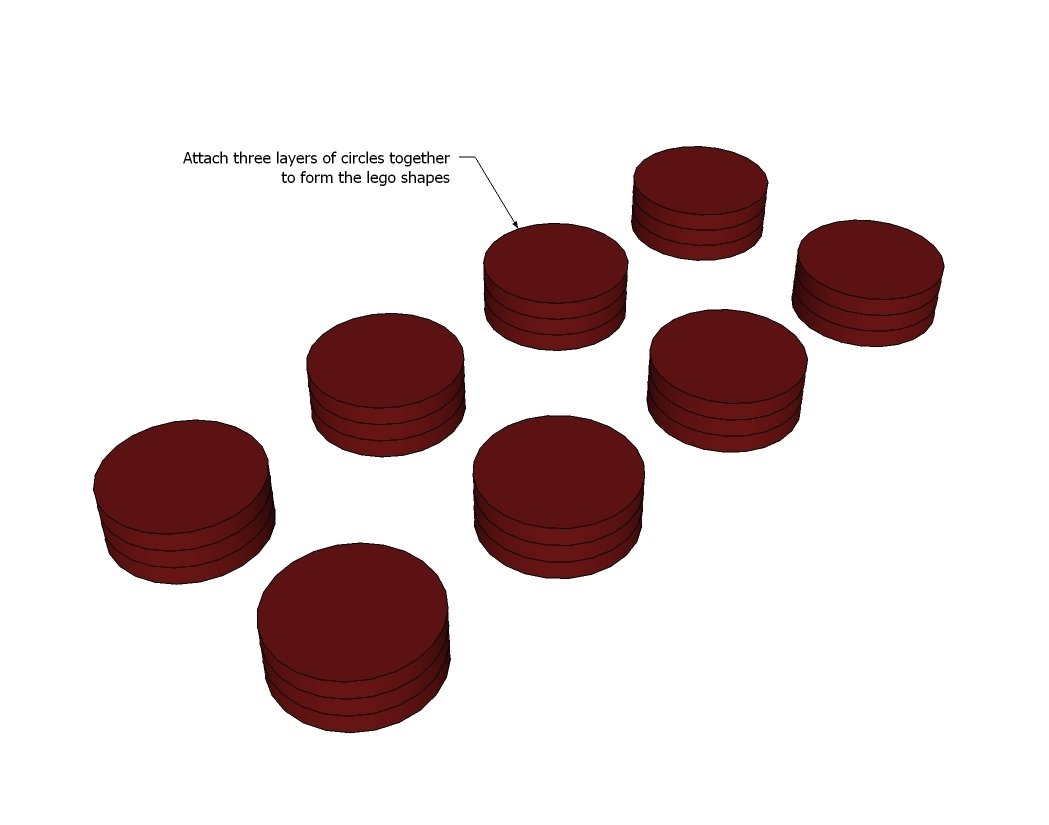
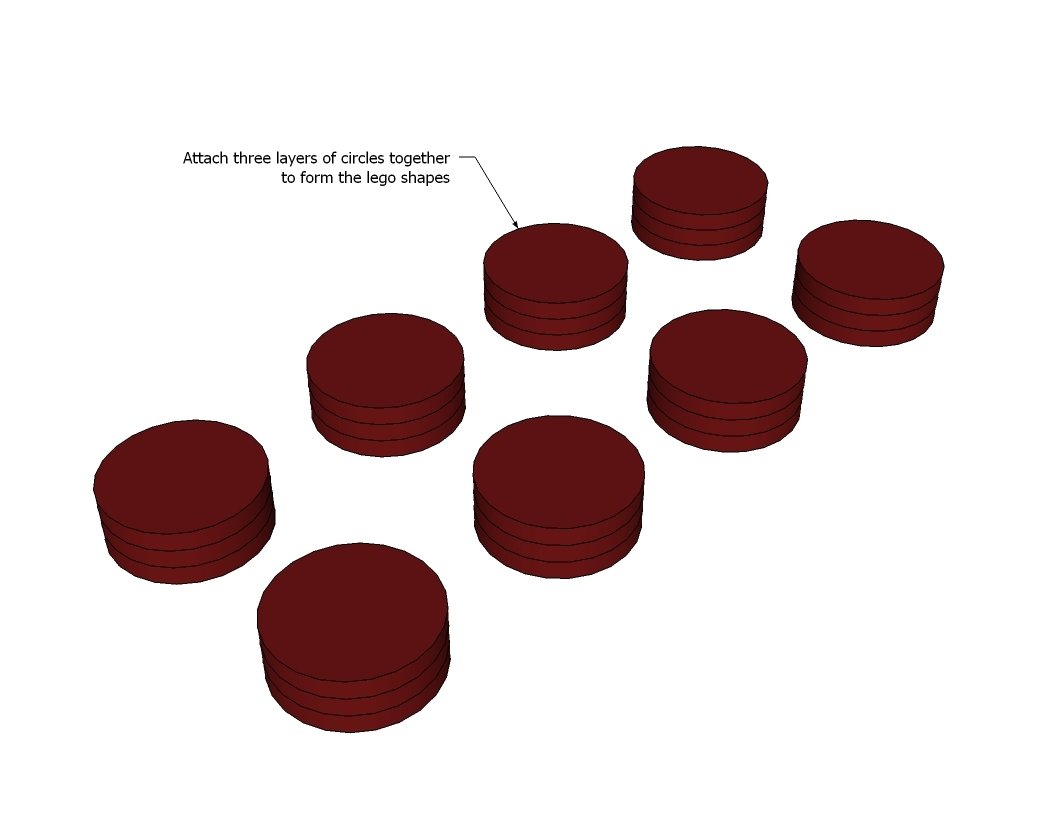
Take your Circles that you cut out earlier and glue 3 of them together to equal 1 Peg. Do this for the remaining 7 Pegs. Clamp tightly or nail them together from the bottom of the peg.
Step 5
Step 6
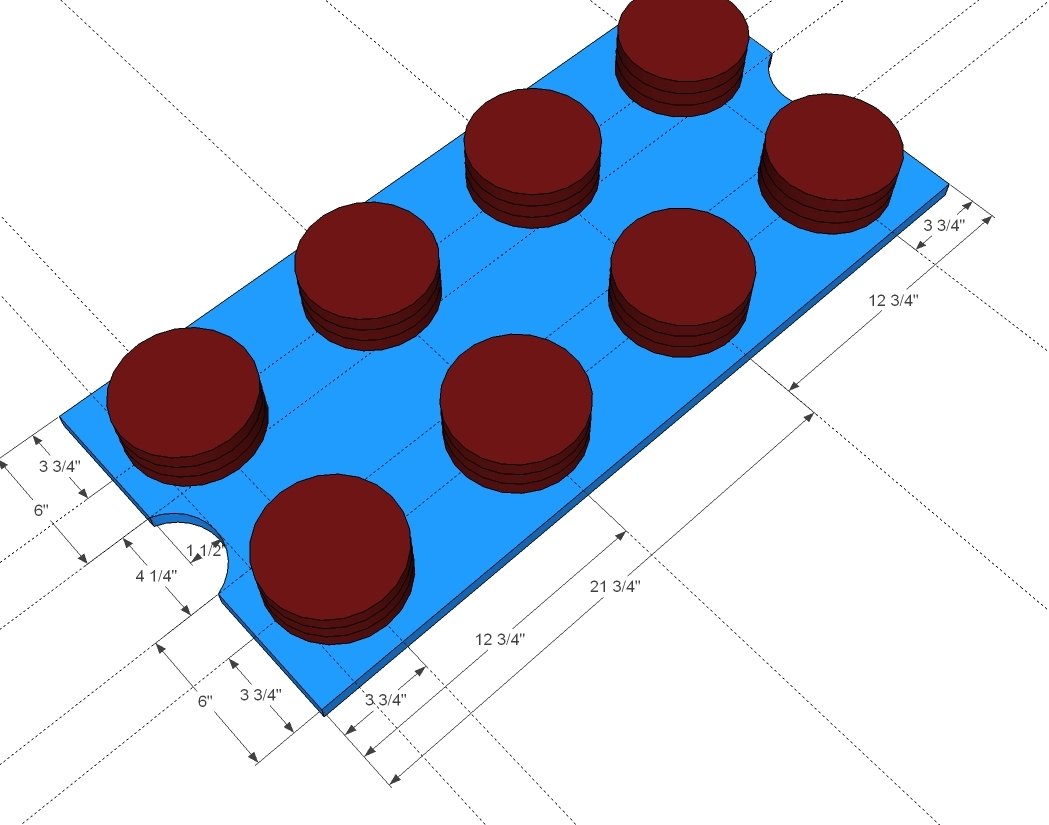
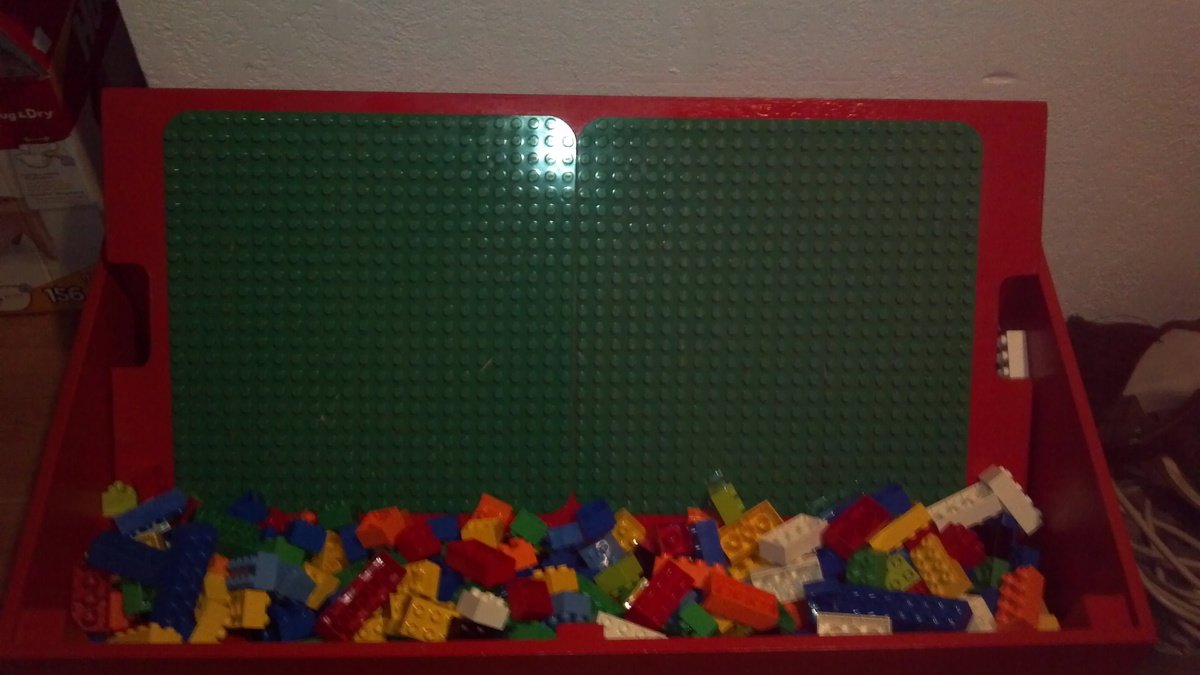
Cut out two 3 1/2 x 2" Cut outs in the end of the top sheet of Plywood to act as handles. Once that is complete, sand the piece smooth and attach the circles with Wood glue, and screws. on the Other side of the lid, glue on the 2 10"X10" building plates, this will be a hidden building area once complete.
Step 7
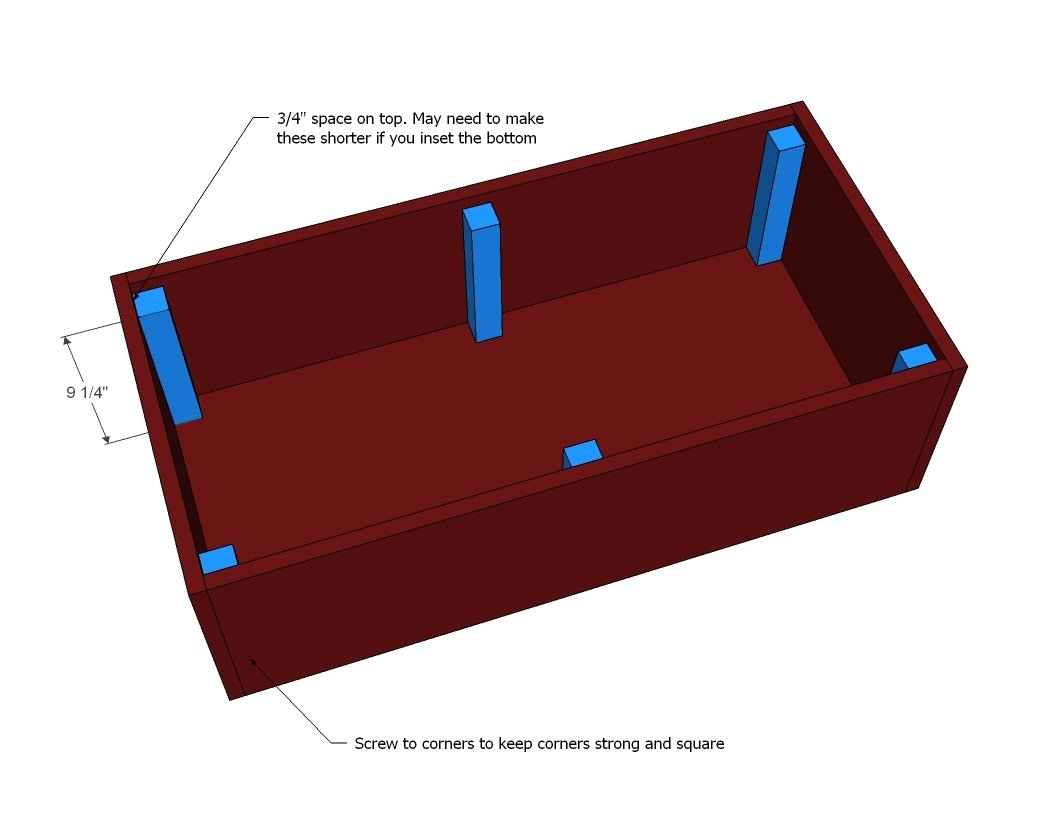
While the top is Drying, attach the 2x2 supports to the inside of the box,1 in each corner, and 1 along the sides. These strips are the lid support, and also help keep the box strong.
Step 8
Sit Lid on box, and test for final fit, some sanding may need to be done to the edges to round them a little, and to allow for a little gap to form
Step 9
Sand all exposed surfaces, and paint them your desired color.
Step 10
Attach Casters to bottom of box using provided hardware or 1/2" scews.
Step 11
Once everything is dry, you may want to coat with a layer of spray on Polyurethane, this will help keep the box looking nice, and reduce the tackiness of the paint.
Step 12
Fill with Lego's and go Play.
Finishing
Sand all surfaces, starting with a medium grit and finishing with fine. Wipe off the dust, fill any holes or gaps with wood filler, and sand smooth once dry. Apply primer if you're painting, then finish with your choice of paint or stain and seal with a durable clear topcoat. For outdoor projects, use exterior-rated primer, paint or stain, and sealer so the piece stands up to the weather.
Source (temporary): https://www.ana-white.com/woodworking-projects/lego-build-and-store-toy-box