Master Closet System Drawers
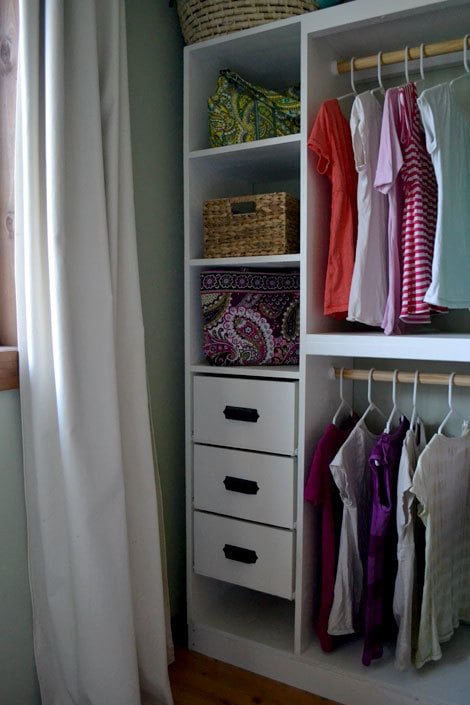
Build closet drawers with this free, simple, step by step tutorial.
Specifications
| Project type | Dresser Plans |
|---|---|
| Room | Closets |
| Style | Cottage Style Furniture Plans |
| Difficulty | Intermediate |
| Estimated cost | Under $20 |
Shopping List
1x8 boards for drawer sides (you can use any width board)
1/4" plywood for drawer bottoms
Cheapo White Euro Drawer slides in matching width
Drawer Knob or Handle
Cut List
Cut to fit your drawers
Tools
- measuring tape
- square
- pencil
- safety glasses
- hearing protection
- circular saw
- nailer
- sander
- level
- countersink drill bit
Step-by-step Instructions
Step 1
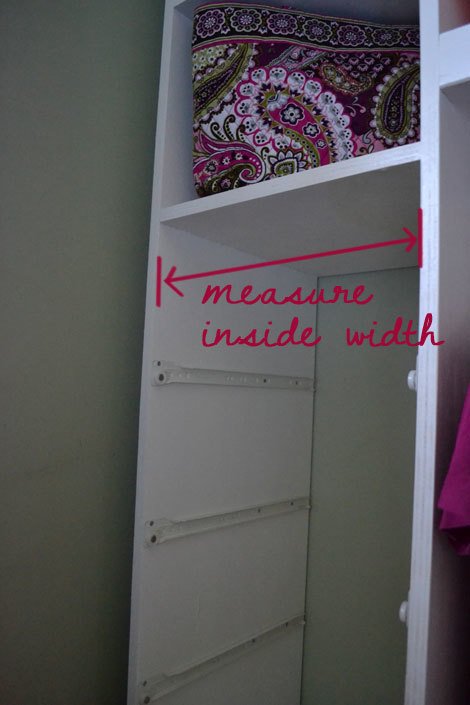
For me the greatest opportunity to not get drawers right is #1 - not having your cabinet built square and #2 - not building to fit. Drawers are very precise, and I always recommend building to suit your project. Board widths can be off just a tiny bit, and that messes everything up. So start by measuring the inside width of your closet.
Step 2
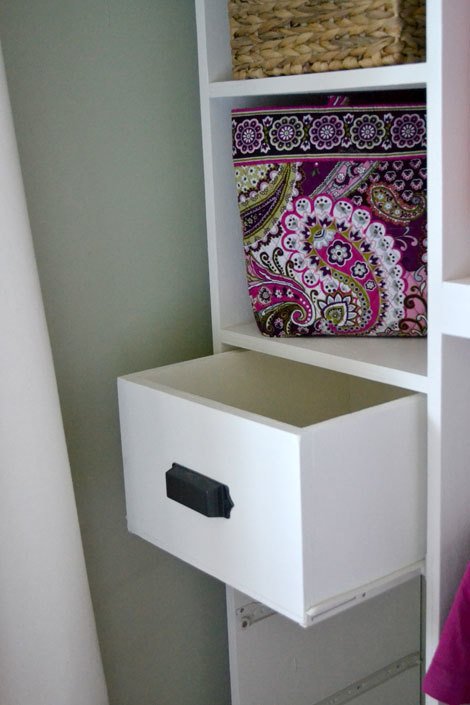
Now build your drawers to fit. My drawers don't even have a full face. I just built boxes and the slides and 1/2" gaps are visible on all four sides. It's a closet.
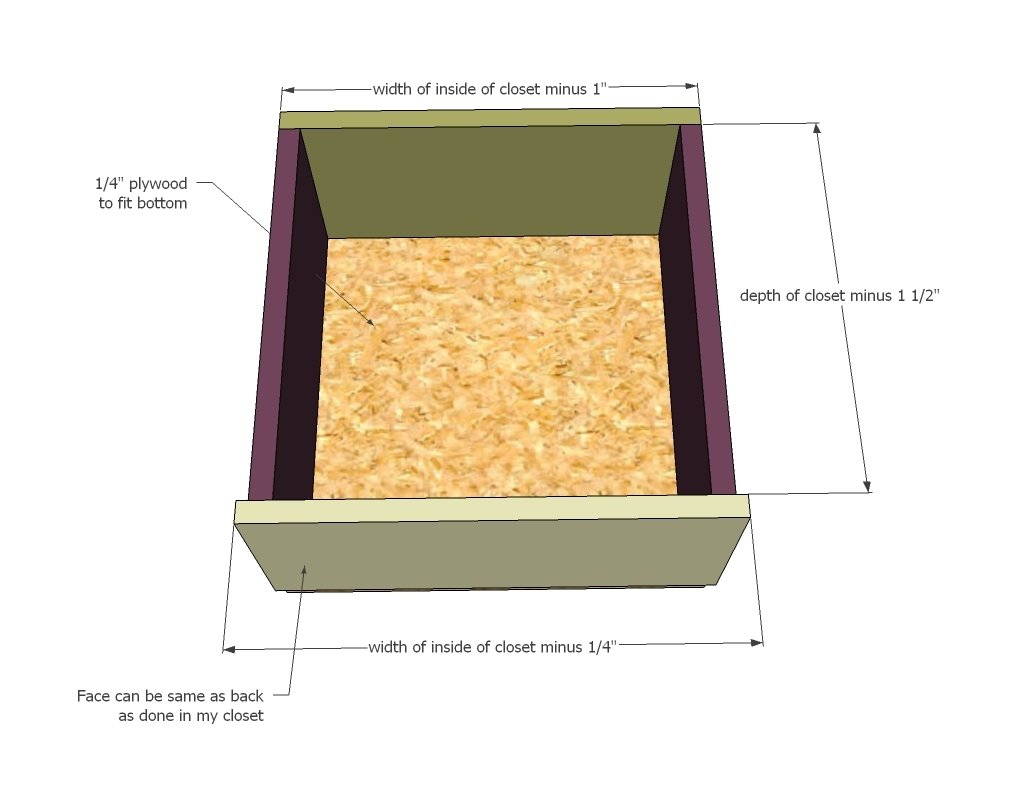
Now this is where things can get a little confusing - installing the cabinet members.
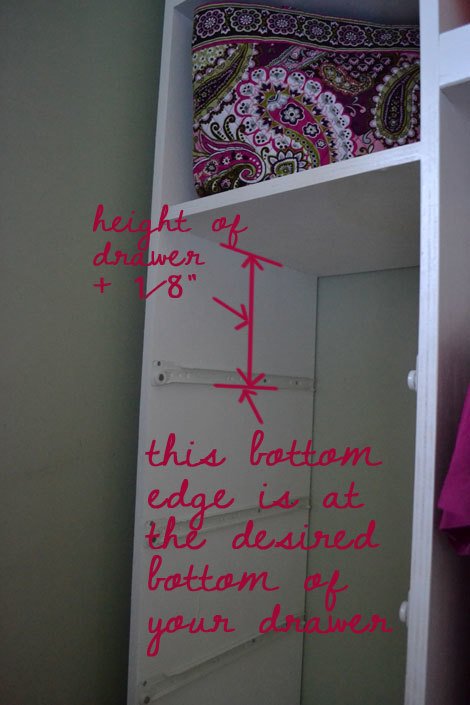
First, figure where you want the bottom of your drawer to sit. For standard drawers, you'd want to add 1/8 to the top for clearance, and then the overall height of your drawer to the bottom of your drawer box. For my drawers, I added 1/2" because I wanted the 1/2" gap on the sides to match up with a 1/2" gap on the top. Draw a line with a square so you know it's square to your cabinet. Do this on both sides. Then install the cabinet members so the long straight area is on the line you drew. Do one cabinet member/drawer at a time, working your way from the top down.
Step 4
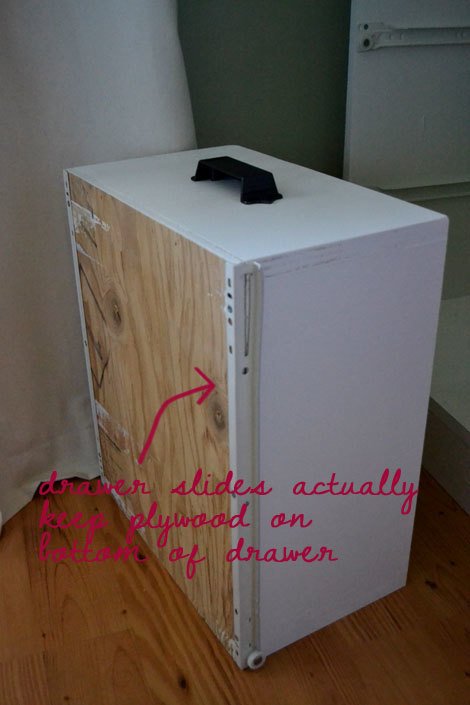
Easy step - attach drawer members to the drawer box. I love these slides so much because they cup the bottom corner of your drawer boxes, keeping the drawer bottom attached. Then you don't have to do fancy woodworking to put bottoms on drawers.
Step 5
Step 6
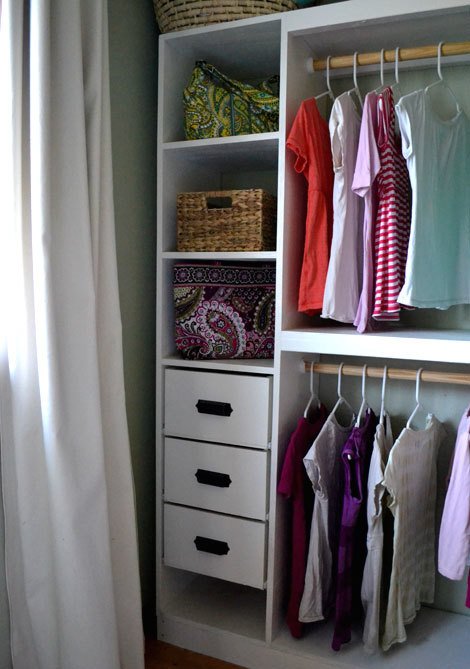
I ended up with a little space at the bottom. It's a perfect spot for a few more pairs of shoes!
Finishing
Sand all surfaces, starting with a medium grit and finishing with fine. Wipe off the dust, fill any holes or gaps with wood filler, and sand smooth once dry. Apply primer if you're painting, then finish with your choice of paint or stain and seal with a durable clear topcoat. For outdoor projects, use exterior-rated primer, paint or stain, and sealer so the piece stands up to the weather.
Source (temporary): https://www.ana-white.com/woodworking-projects/master-closet-system-drawers