Master Closet System Shoe Cubbies
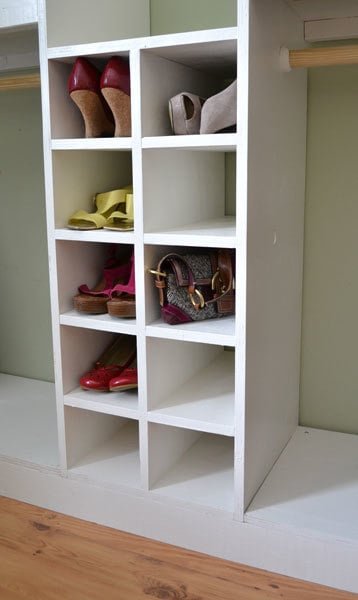
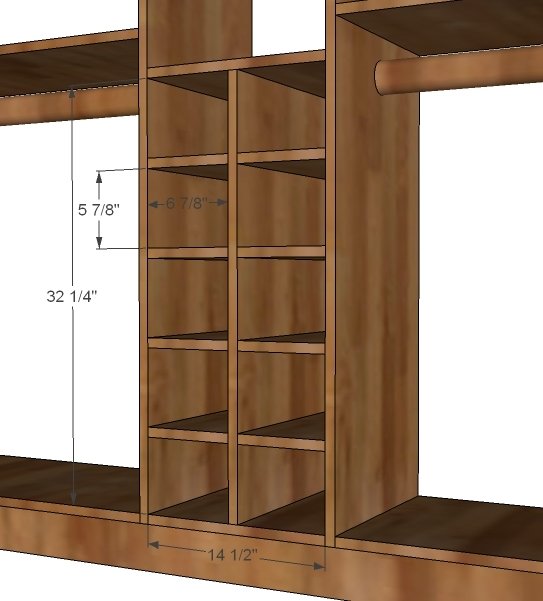
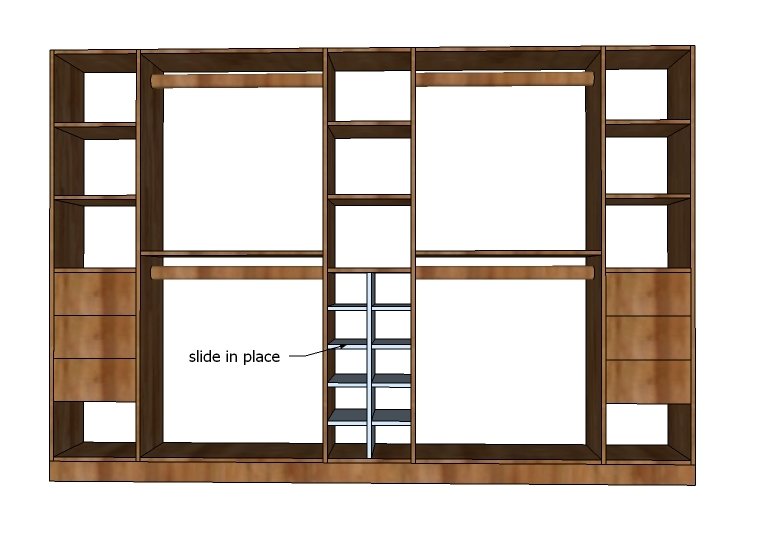
A slide in cubby divider for the Master Closet System. Fits shoes, handbags, and other small accessories. Uses scraps leftover from the Master Closet System - so you can build this!
Specifications
| Project type | Built-In Woodworking Plans |
|---|---|
| Room | Closets |
| Style | Cottage Style Furniture Plans |
| Difficulty | Beginner Projects |
| Estimated cost | Under $20 |
Dimensions
Use the size-specific shopping and cut lists below.
Tools
- measuring tape
- square
- hammer
- safety glasses
- hearing protection
- kreg-jig
- drill
- circular saw
- sander
Step-by-step Instructions
Step 1
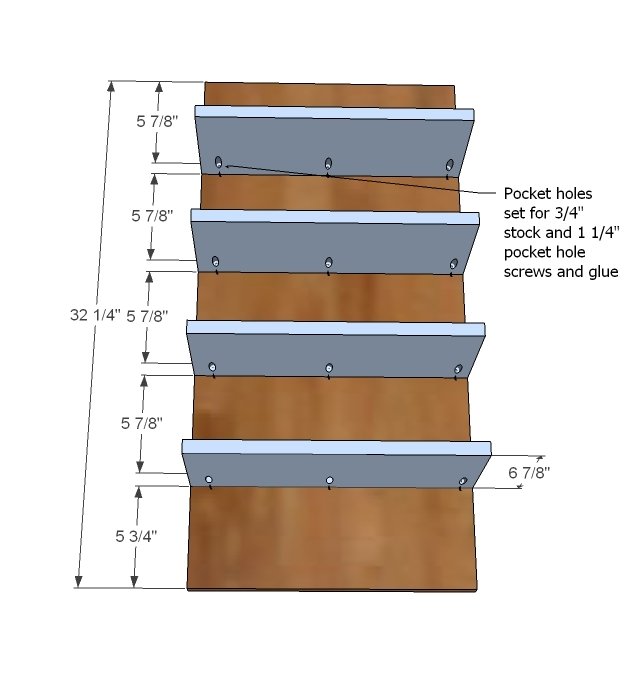
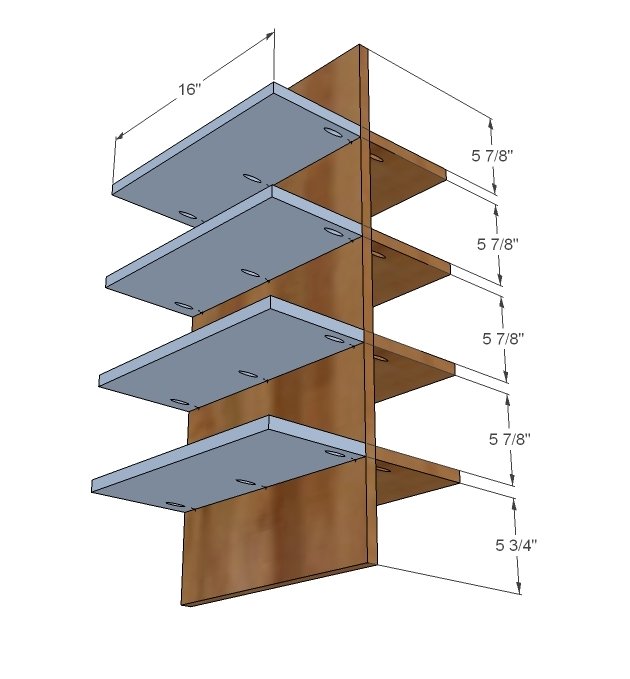
Start by marking the center board on both sides with the square as shown above. Then use the Kreg Jig™ to drill pocket holes along one edge of all of the shelf boards as shown above. Set your Kreg Jig™ for 3/4" stock. Use glue and 1 1/4" pocket hole screws to attach the shelves to the center divider. I highly recommend using the Kreg Jig™ for this application because the cubby unit will not be permanently attached to the closet itself (so you can remove it) and using the Kreg Jig™ will ensure sturdy, square joints.
Step 2
And now just do the other side.
Step 3
And slide into your closet. You could permanently attach the cubby divider with screws or nails, but it's not necessary and gives you greater flexibility with your closet, if for example, your needs change over time.
Finishing
Sand all surfaces, starting with a medium grit and finishing with fine. Wipe off the dust, fill any holes or gaps with wood filler, and sand smooth once dry. Apply primer if you're painting, then finish with your choice of paint or stain and seal with a durable clear topcoat. For outdoor projects, use exterior-rated primer, paint or stain, and sealer so the piece stands up to the weather.
Source (temporary): https://www.ana-white.com/woodworking-projects/master-closet-system-shoe-cubbies