Monogrammed Snowflake Cutout
Make this giant monogrammed snowflake from plywood - Easy to customize and create your own design!
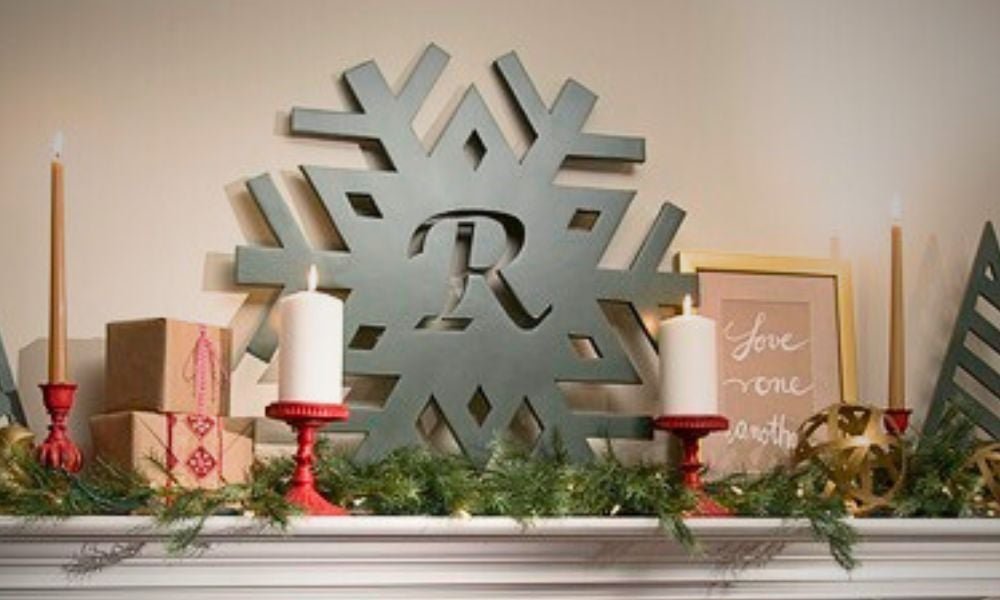
Specifications
| Project type | Home Decor |
|---|---|
| Room | dining room |
| Difficulty | Intermediate |
| Estimated cost | Under $20 |
Dimensions
Use the size-specific shopping and cut lists below.
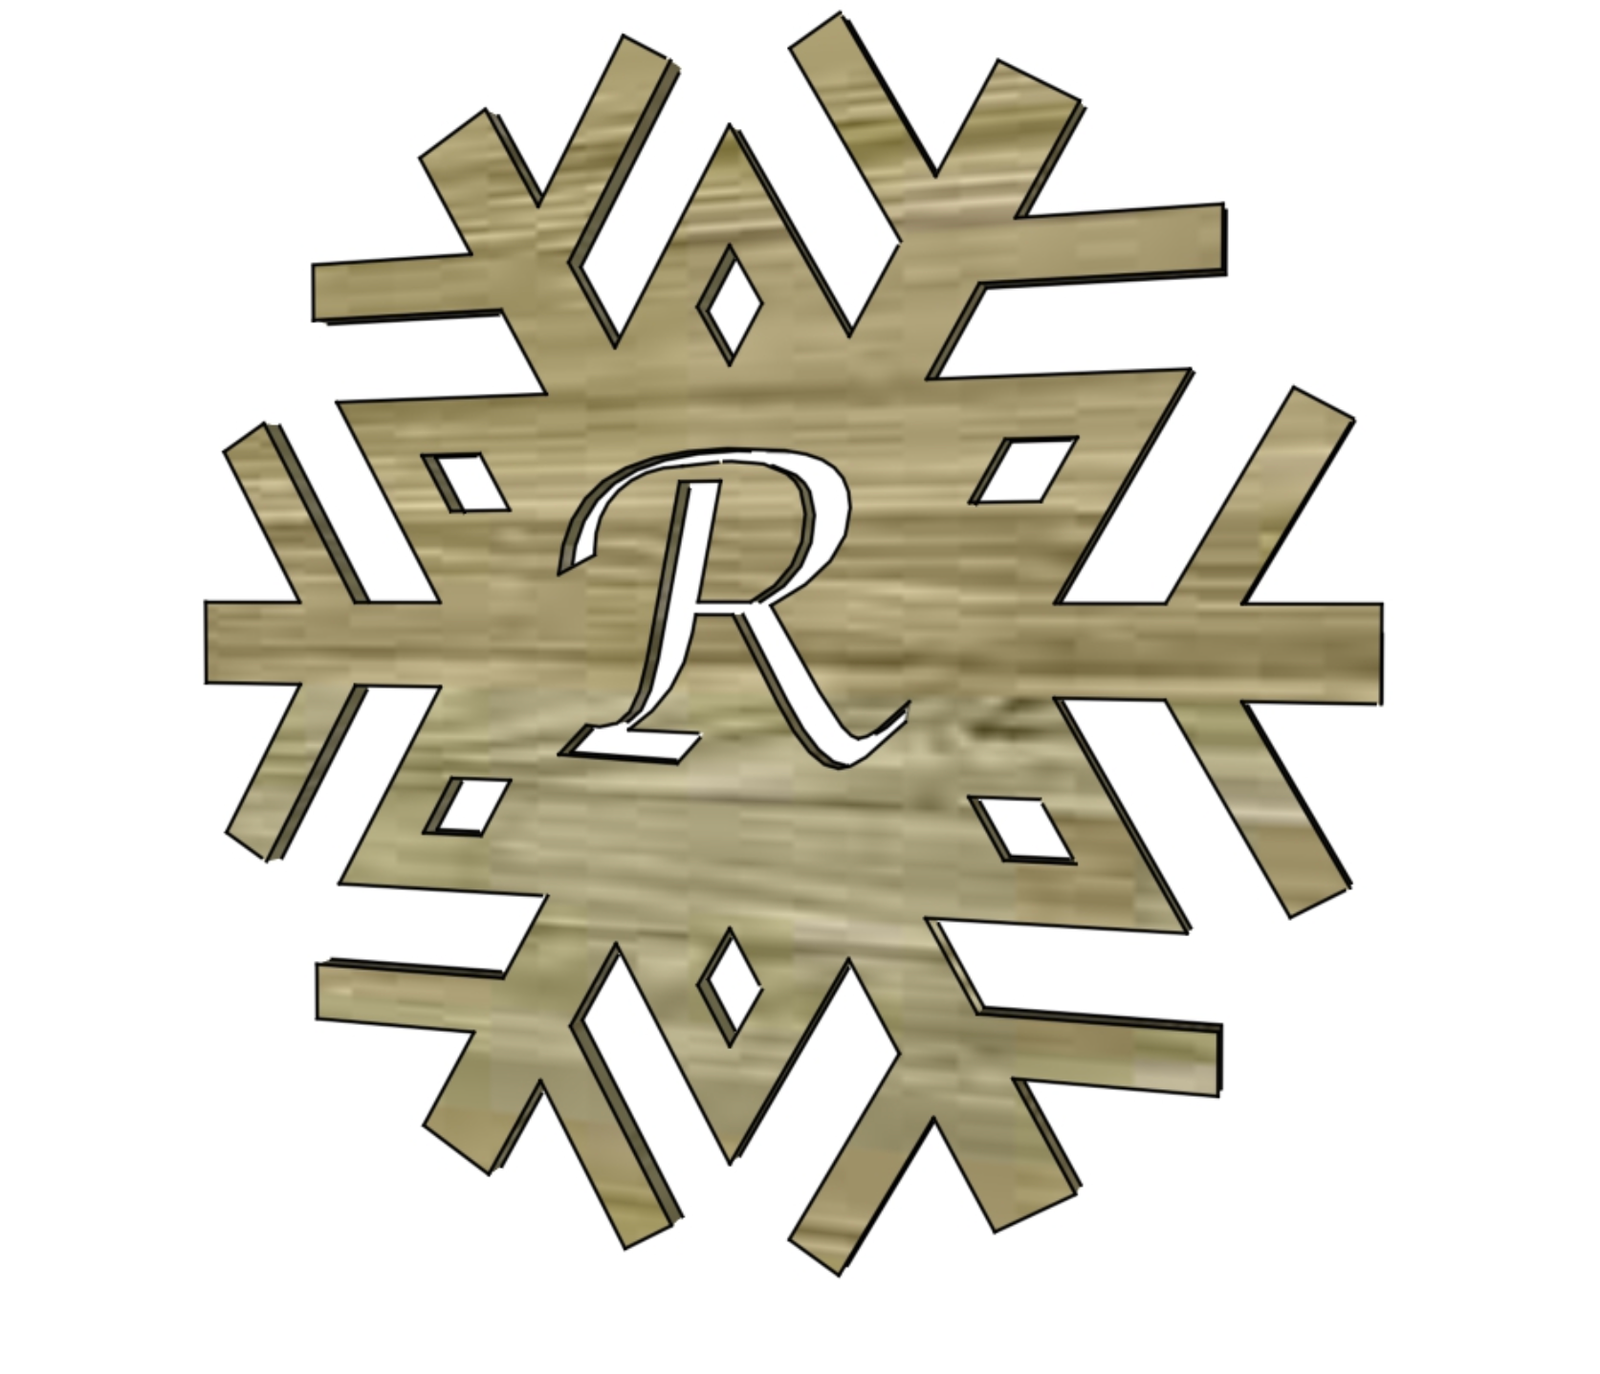
Shopping List
1 - 24" x 24" plywood panel or MDF panel, 1/2" or 3/8" thick
jigsaw with scrolling bit
Tools
- measuring tape
- square
- pencil
- safety glasses
- drill
- jigsaw
Step-by-step Instructions
Step 1
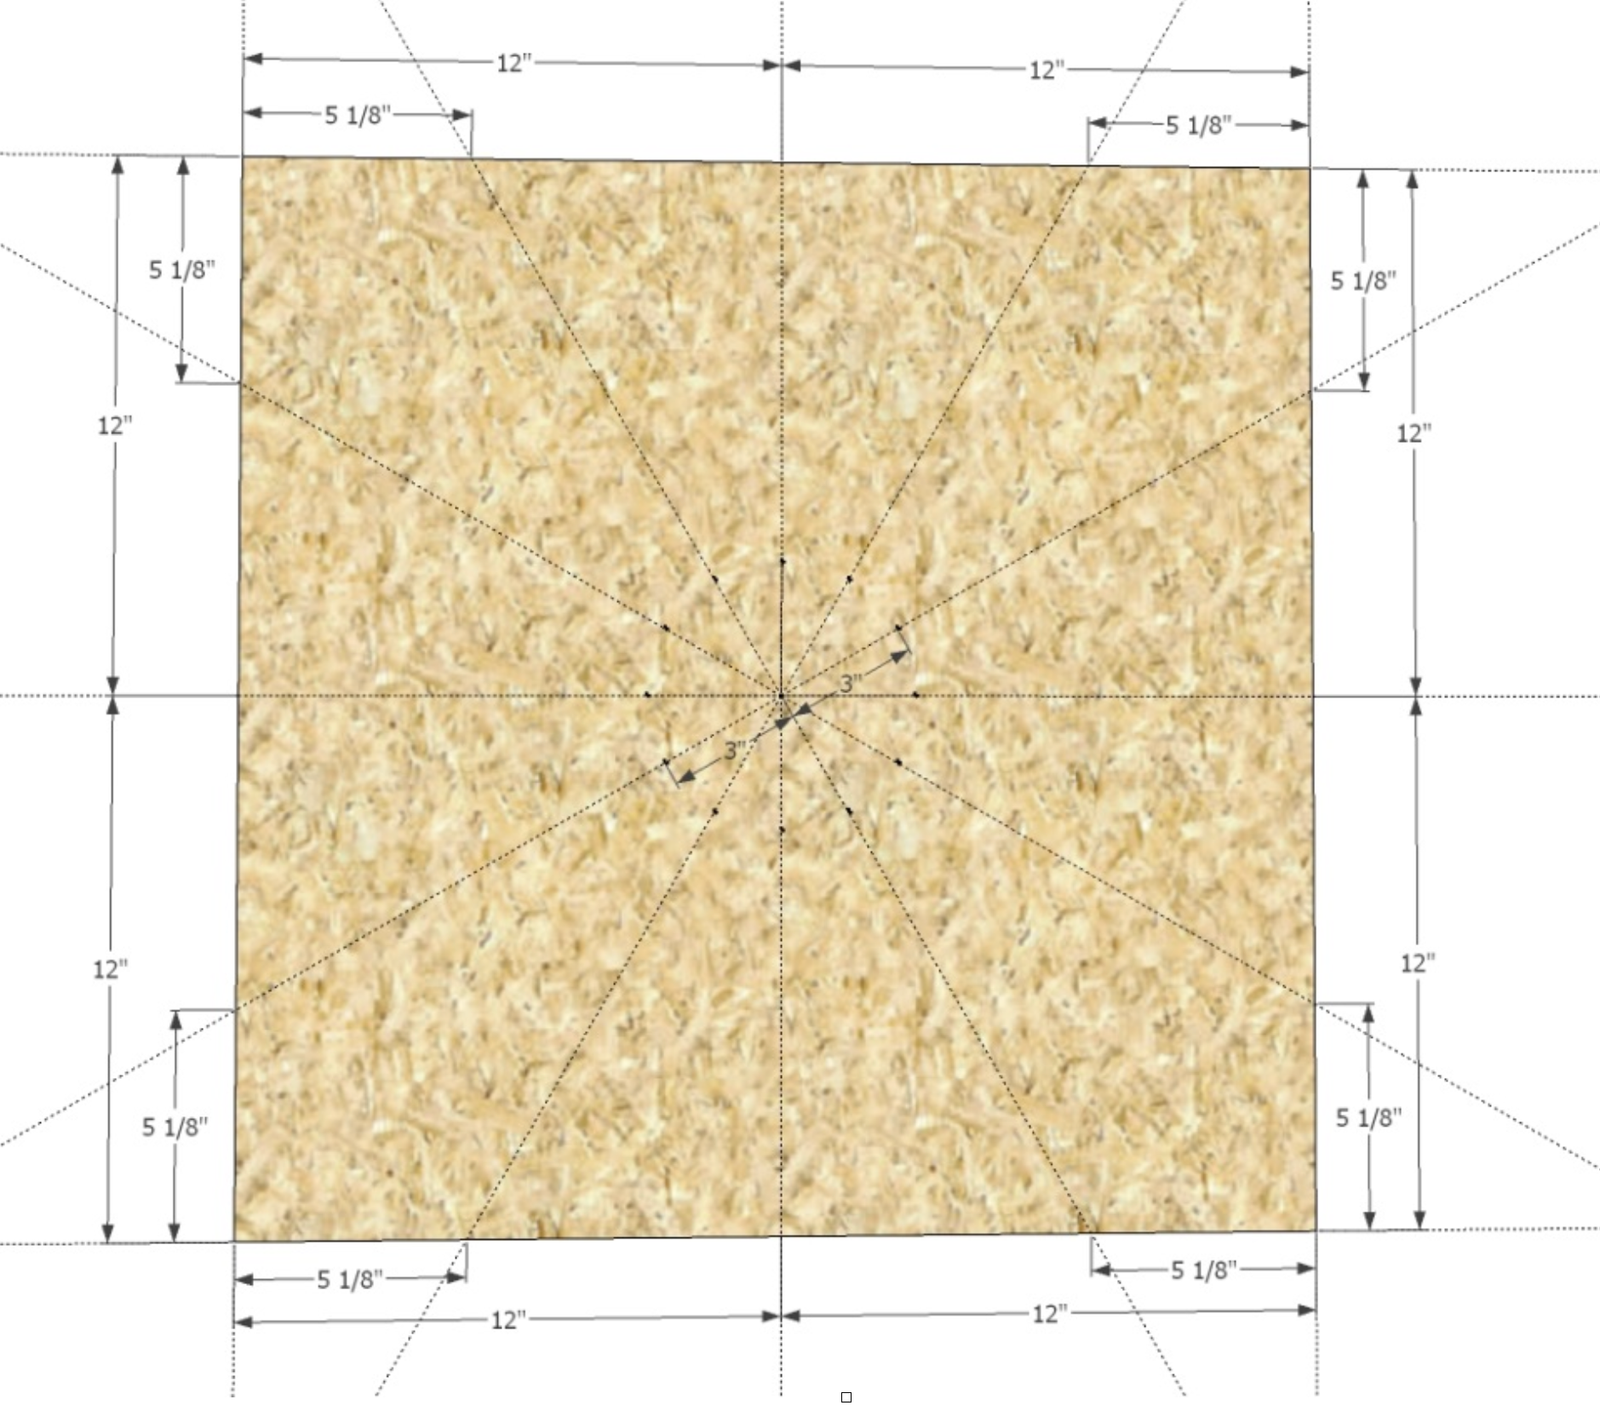
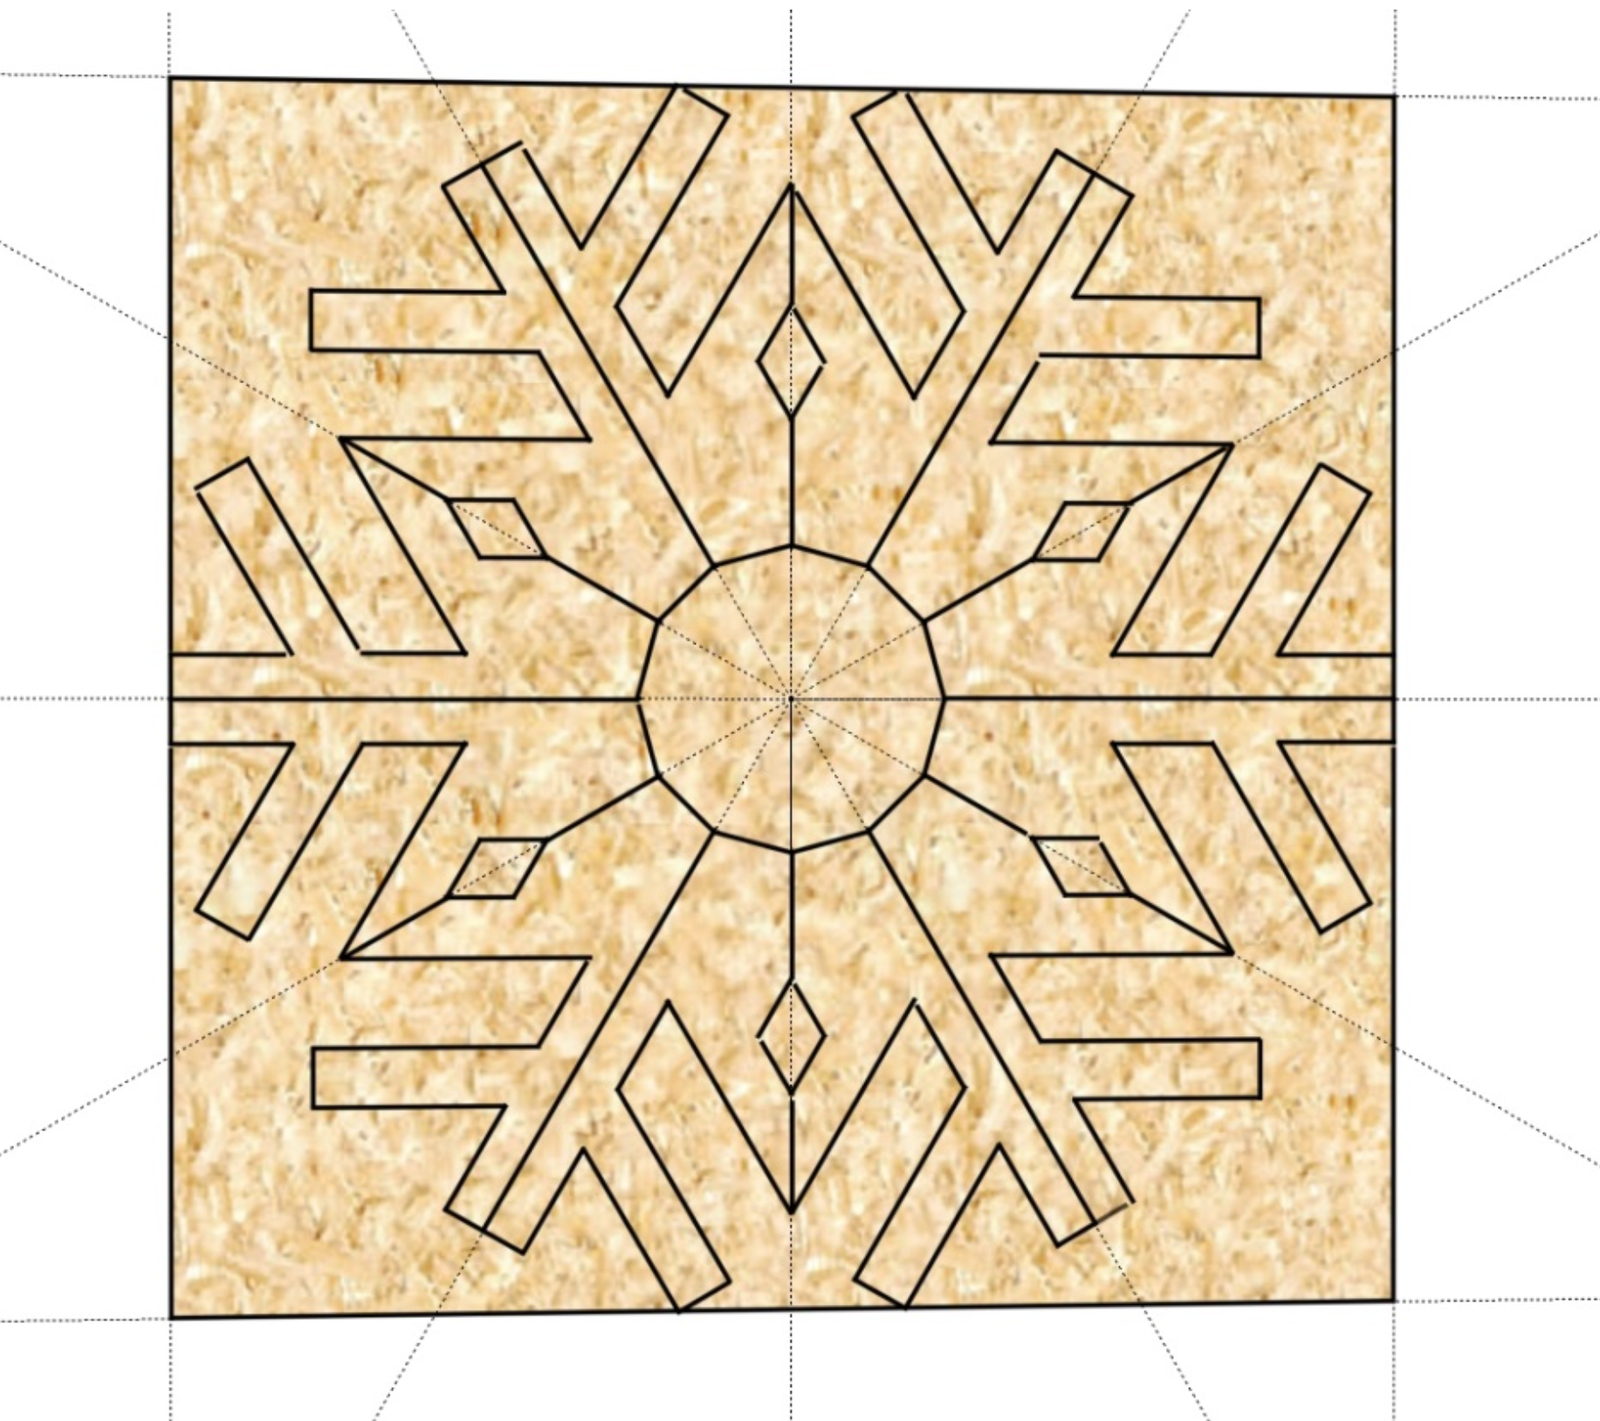
Mark out the plywood piece like you are folding a paper to make it into a snowflake. First mark the quarters, then divide into thirds and mark. The degrees between each line is 30 - if you are using a speed square or protractor.
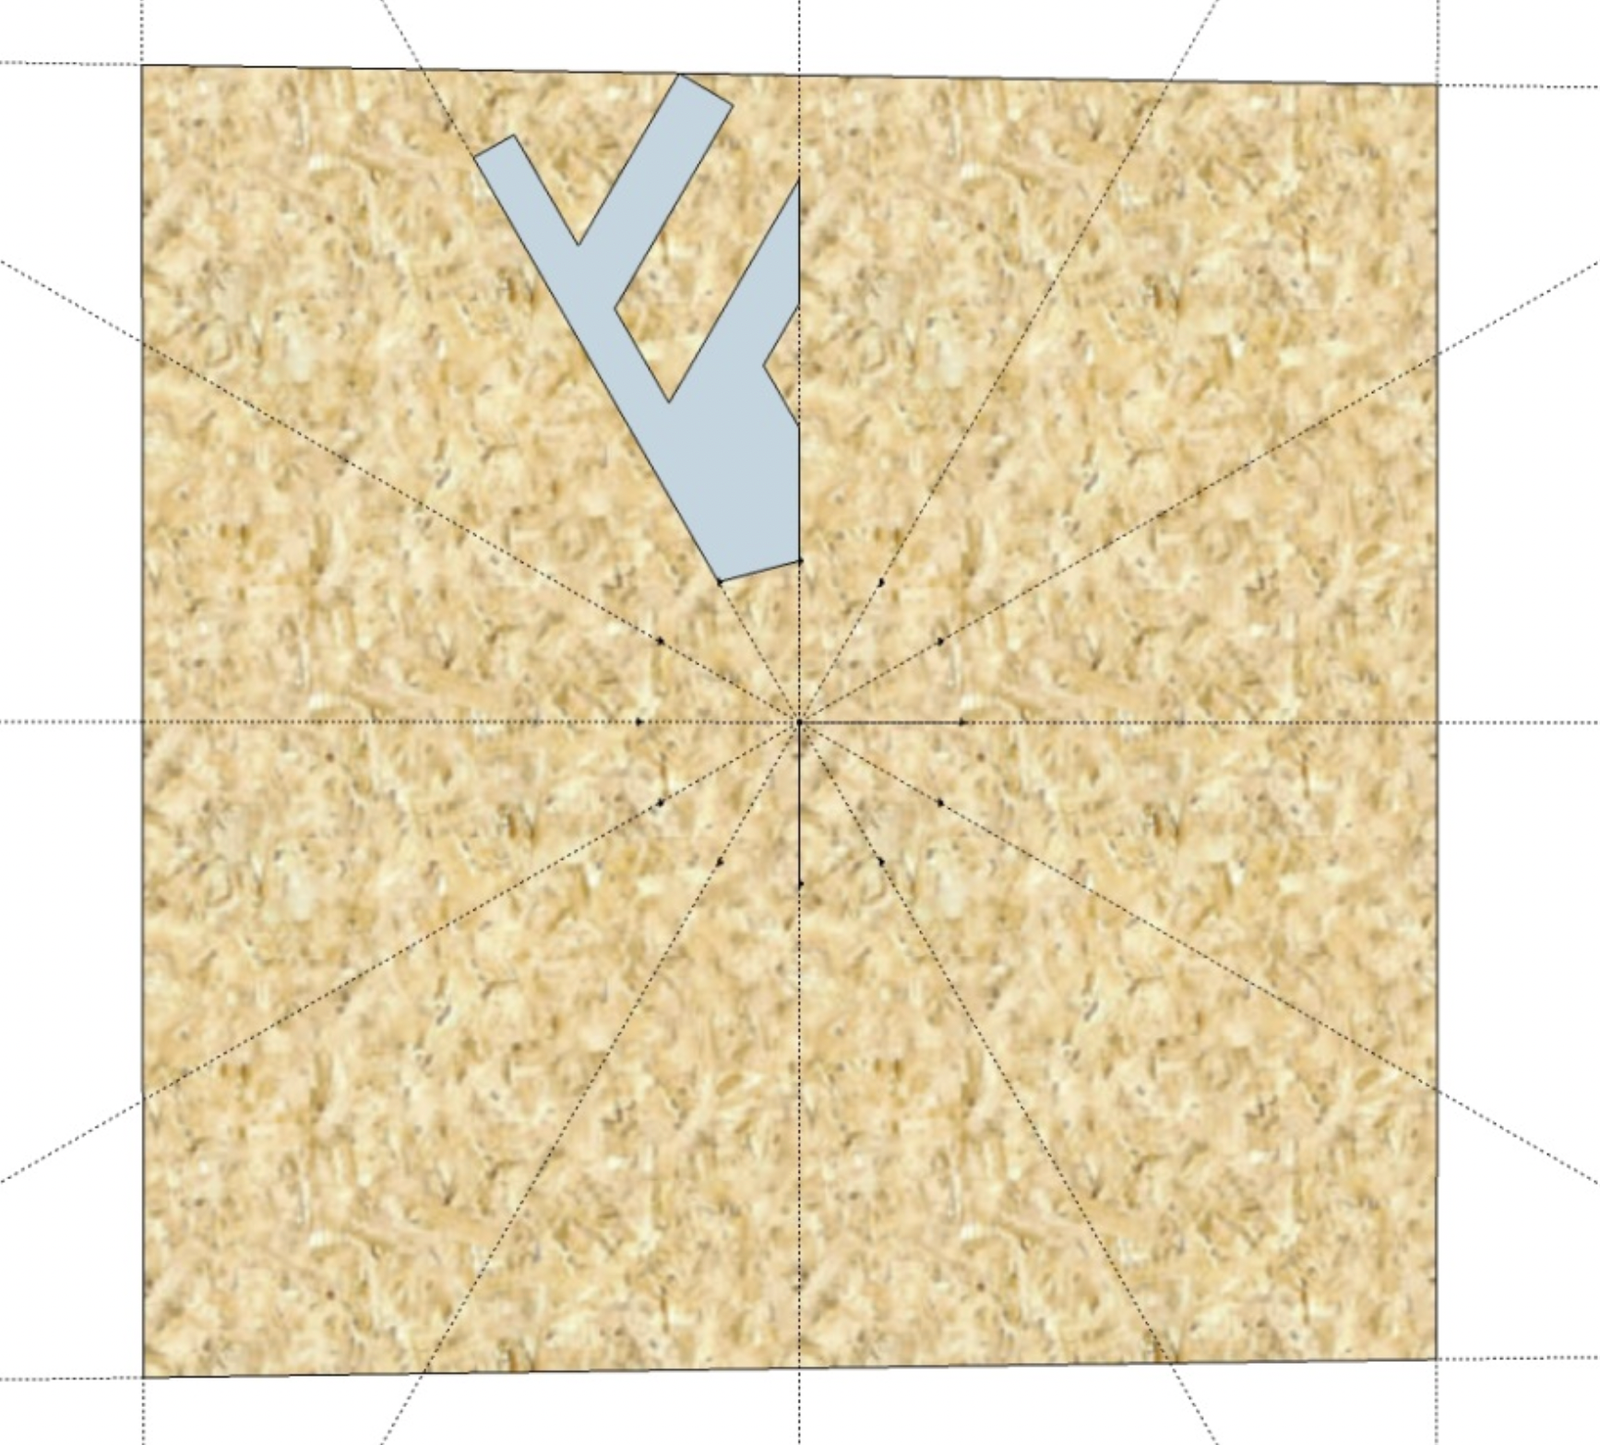
Download the cutout pattern here and print at 100%
Place the cutout pattern on the plywood and trace. Flip and repeat to create the entire snowflake pattern.
Clamp the plywood to a sturdy table and carefully cut out with a jigsaw with a scrolling bit.
In some spaces, start with a drilled hole larger than the jigsaw bit, and cut out.
Sand any rough edges.
We recommended spray painting for the easiest finish.
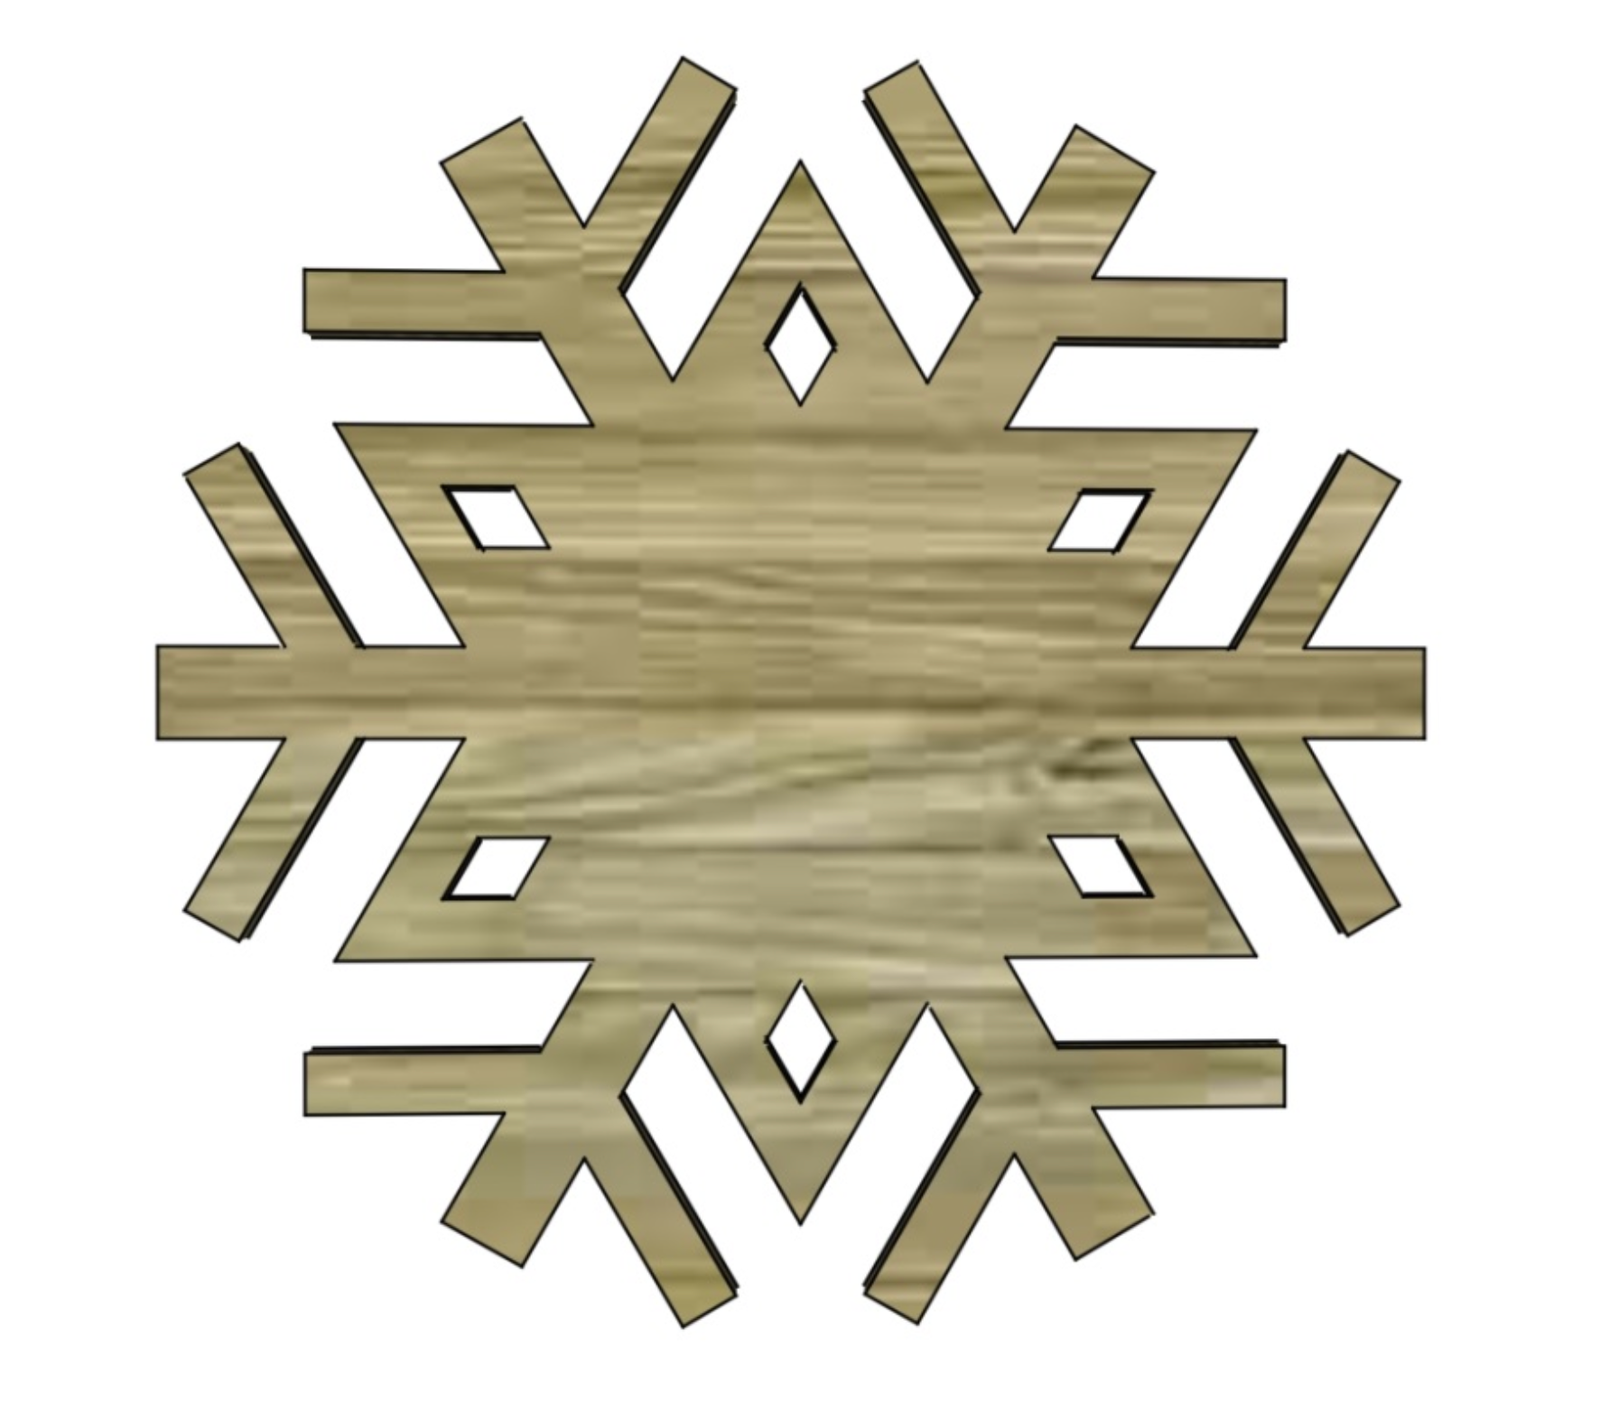
Finishing
Sand all surfaces, starting with a medium grit and finishing with fine. Wipe off the dust, fill any holes or gaps with wood filler, and sand smooth once dry. Apply primer if you're painting, then finish with your choice of paint or stain and seal with a durable clear topcoat. For outdoor projects, use exterior-rated primer, paint or stain, and sealer so the piece stands up to the weather.
Source (temporary): https://www.ana-white.com/woodworking-projects/monogrammed-snowflake-cutout