Narrow Pantry Shelving
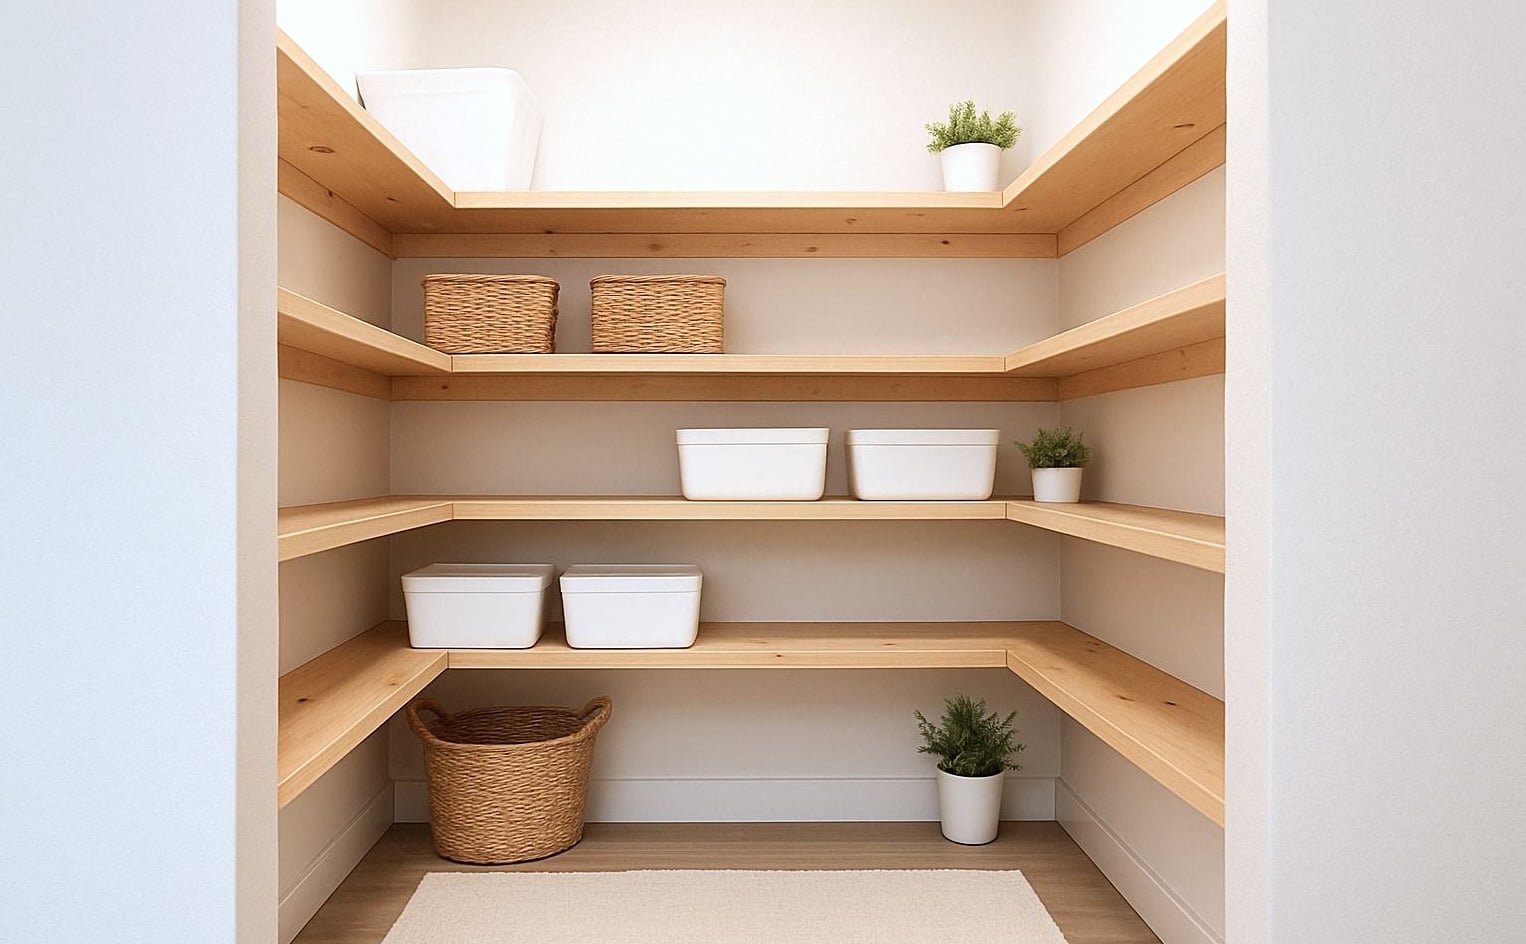
If your pantry format is difficult to create deep shelving, here's an option - build this shelving in place. The 12" deep shelving keeps all items easy to find. Leave room on the floor for larger items. I originally built this pantry system for my sister's house. Unfortunately, the closet was located without good lighting in a tight hallway making it impossible to get a good photo. The main photo used in this plan is a rendering based off of my diagrams.
Specifications
| Project type | Home DIY |
|---|---|
| Room | Closets |
| Difficulty | Beginner Projects |
Shopping List
- 1x3 for shelf supports (can use furring strips, about $1.50 each), equal to linear feet of shelving
- 1x12s, 15-3/4" wide shelving, or other shelf material for shelving
- 2-1/2" Cabinet Screws for attaching 1x3s to wall (#8 Preferred)
- 1-1/4" Cabinet Screws for attaching shelving to 1x3s and legs to shelving (#8 Preferred)
Tools
- measuring tape
- square
- pencil
- safety glasses
- hearing protection
- drill
- circular saw
- level
Step-by-step Instructions
Mark Studs for Bottom Shelf
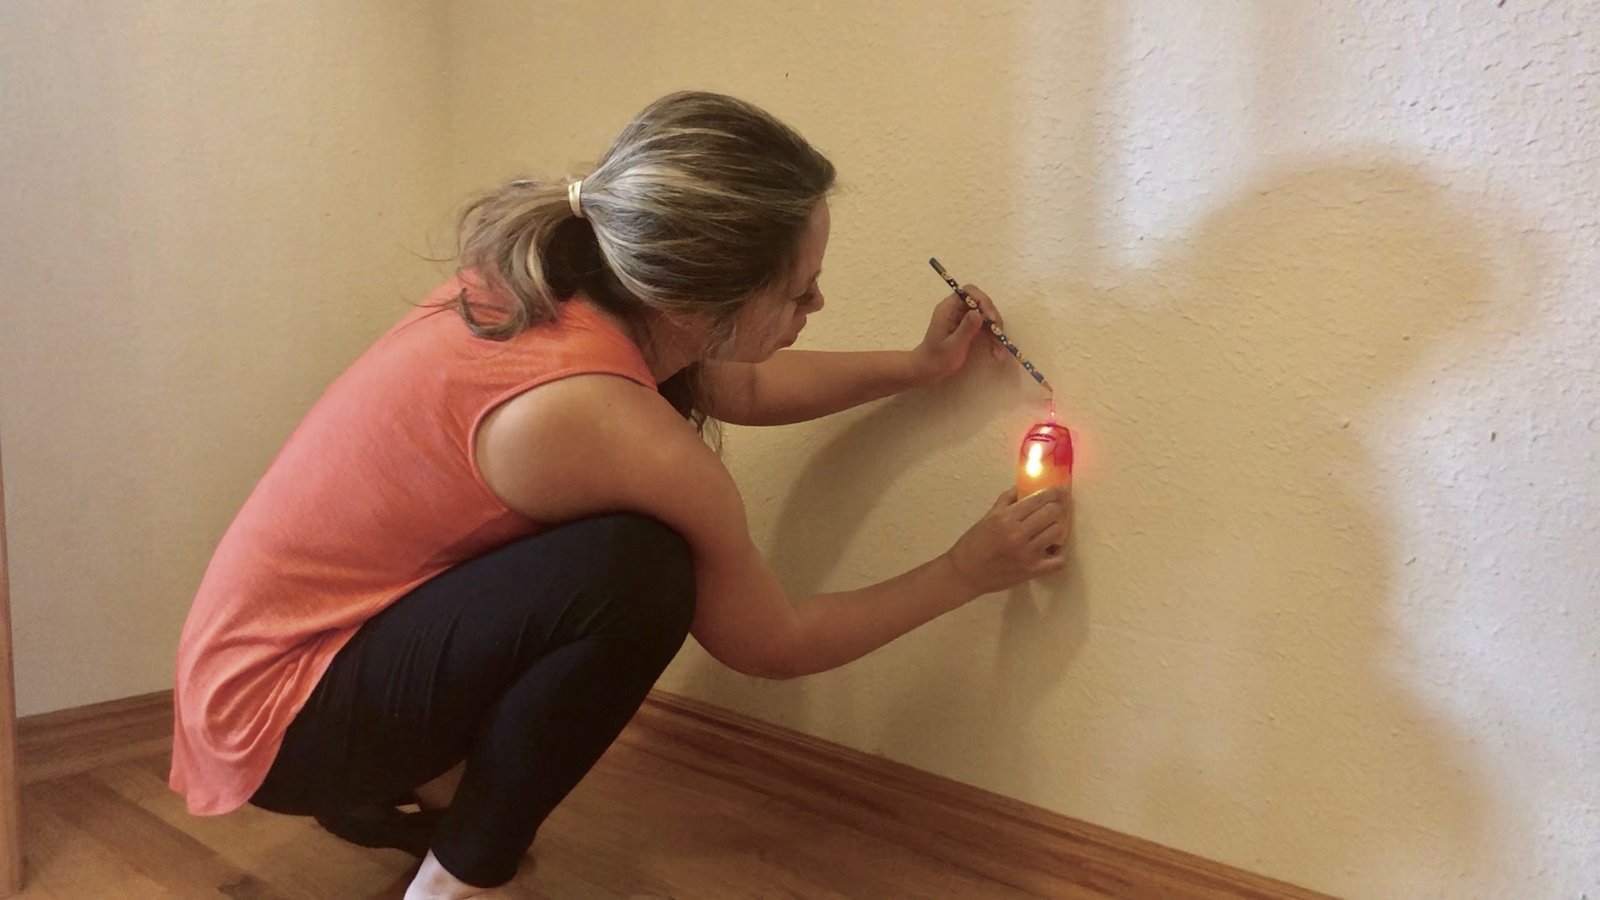
Use a stud finder to mark the studs in the wall, at about the height that your bottom shelf will be installed. BEGINNER TIP: Studs are about 1-1/2" wide, try to mark the center of the stud.
Attach Bottom Shelf Supports
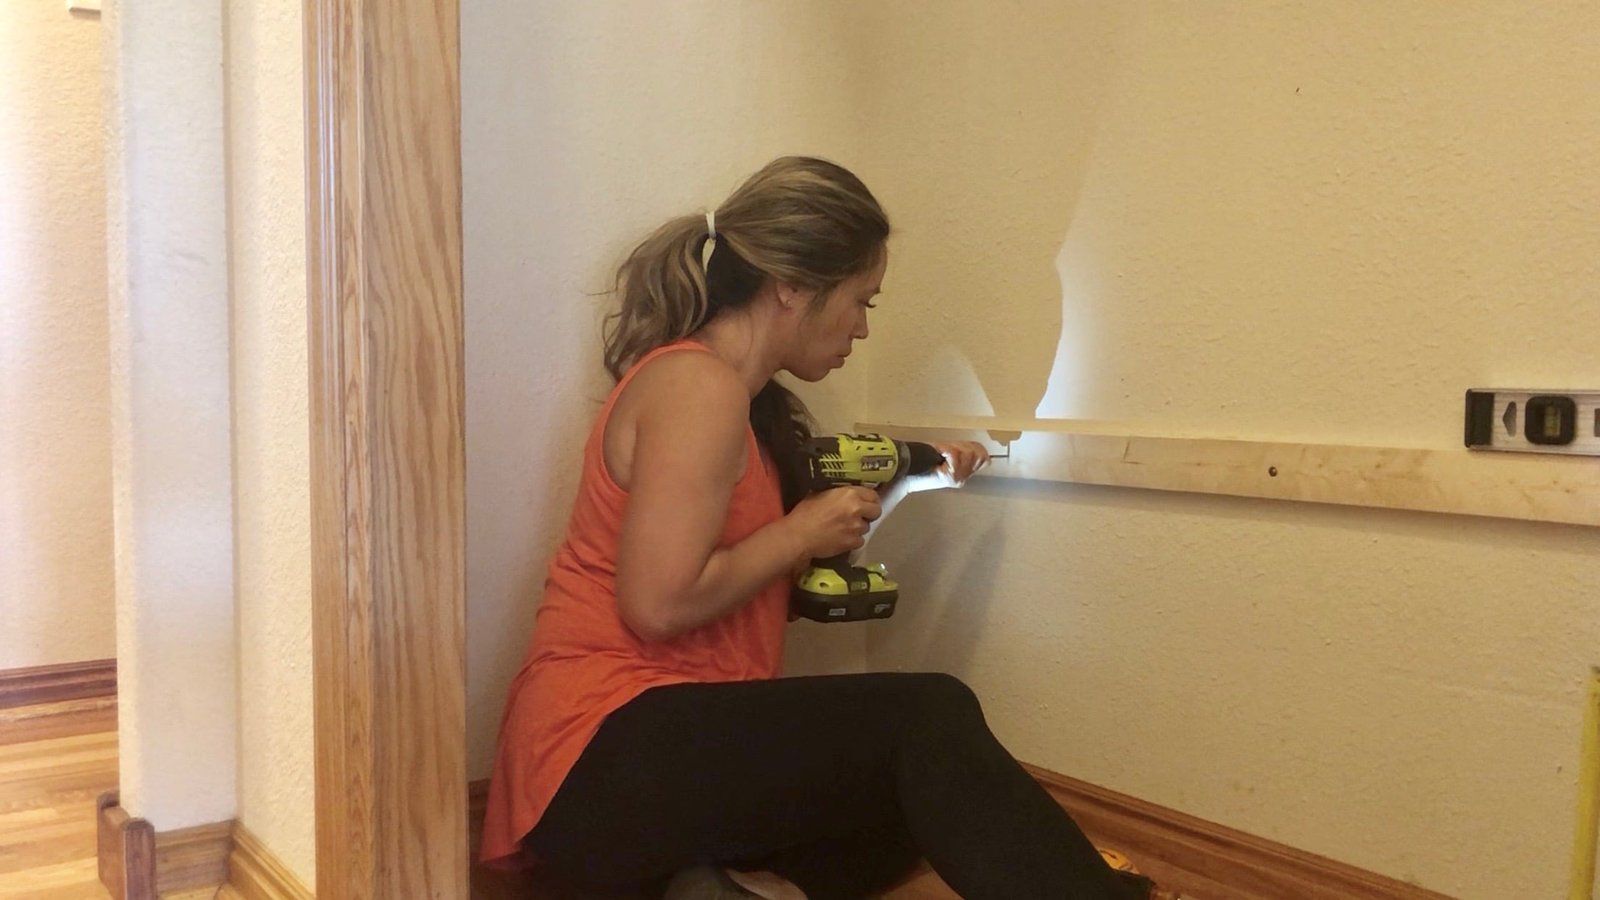
Cut 1x3 board about 1/4" less than the overall closet width. Attach 1x3 board to the studs in the wall with 2-1/2" cabinet screws, one screw per stud. Use a level to make sure the 1x3 is attached level.
Use First Row as A Pattern for Upper Rows
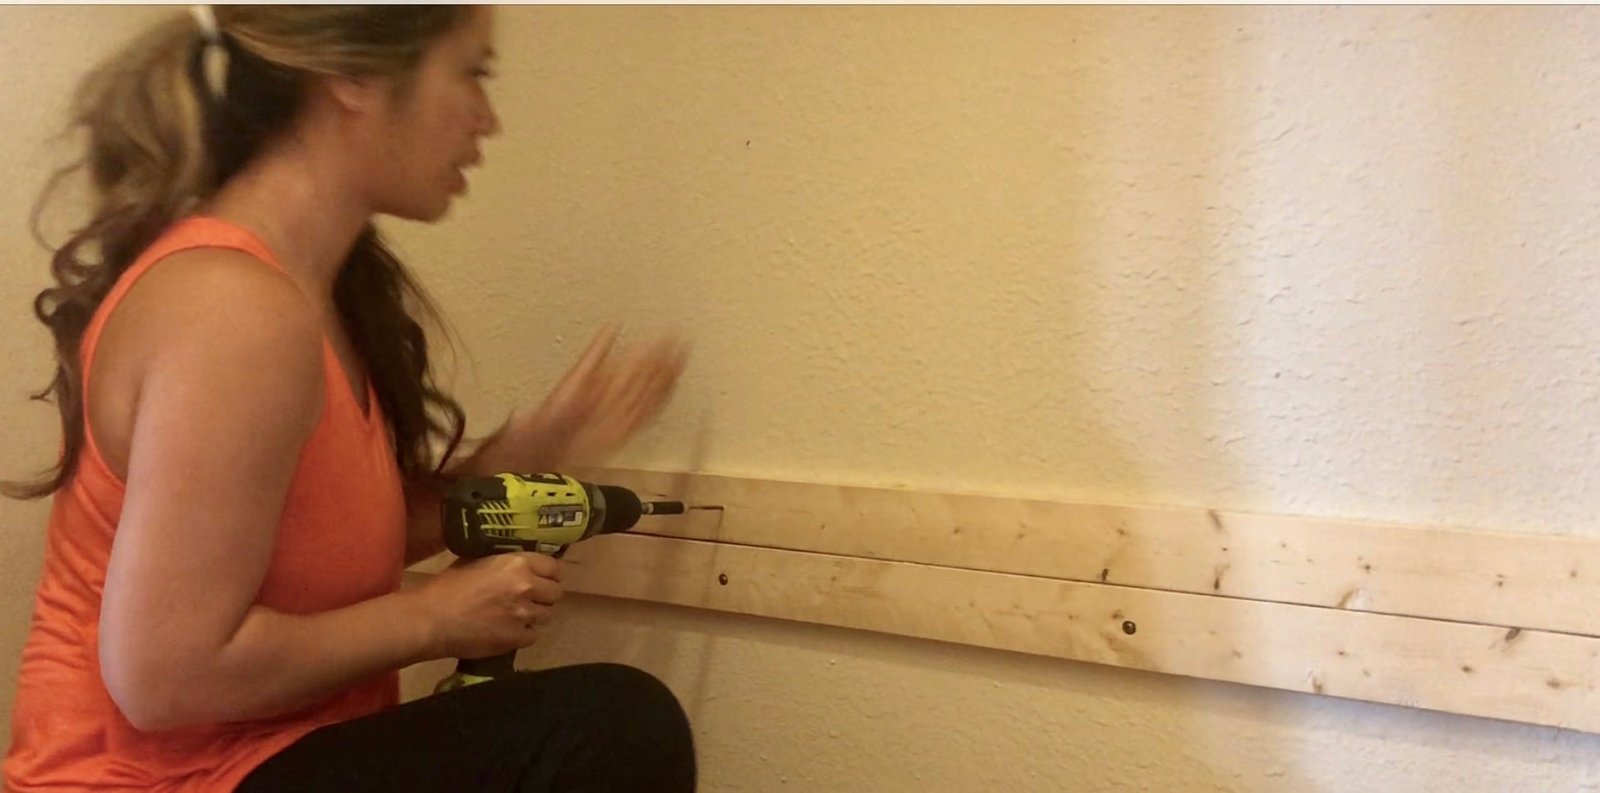
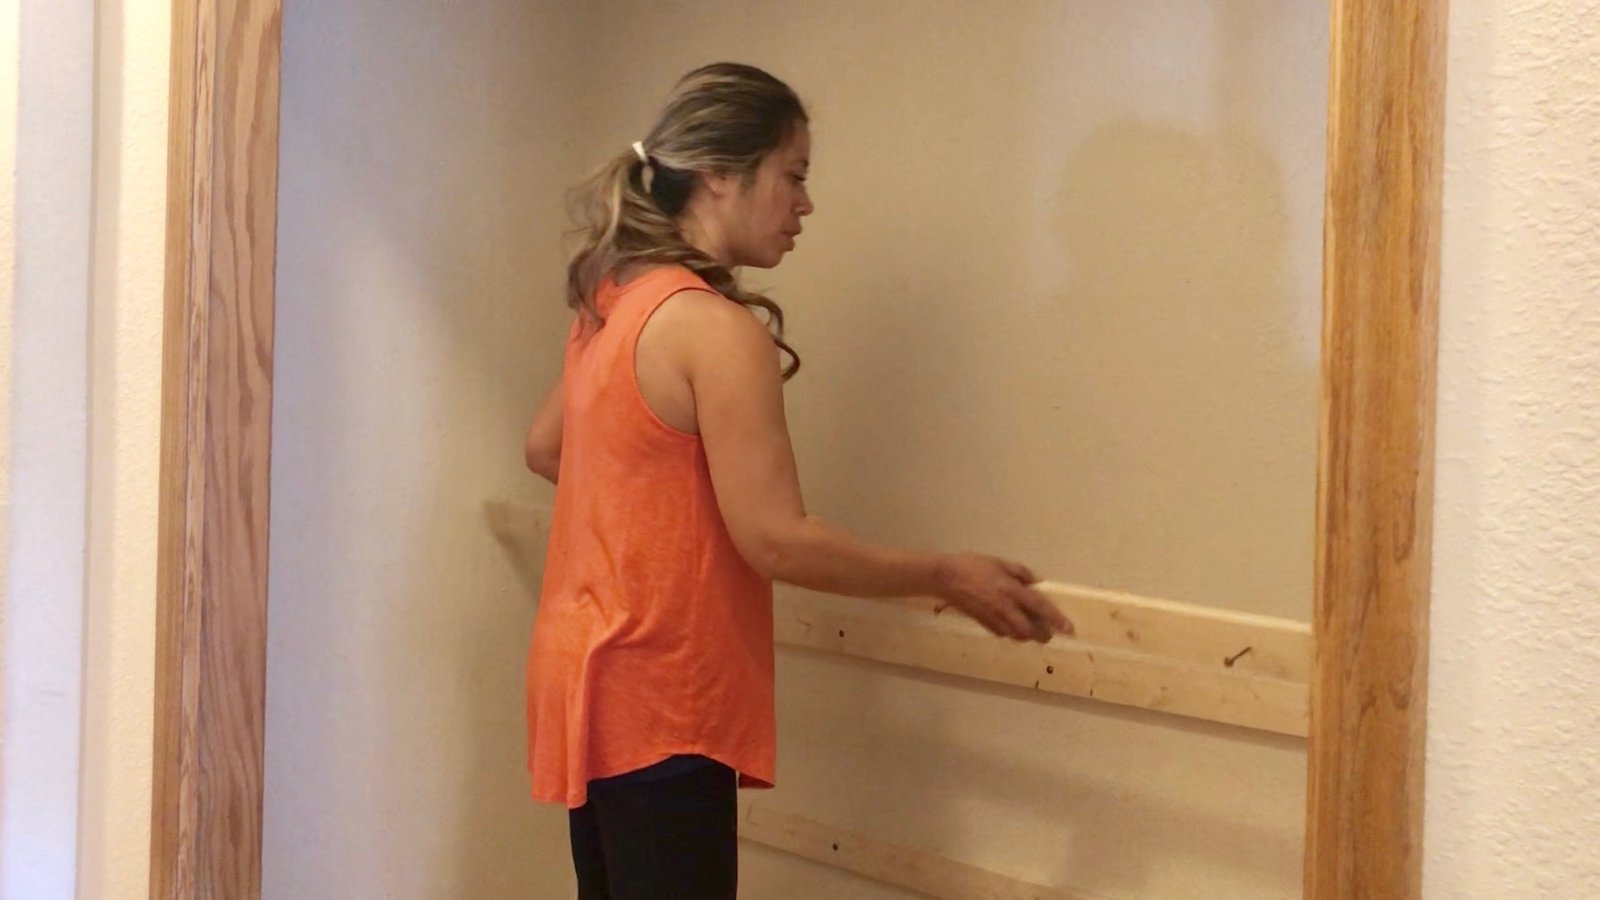
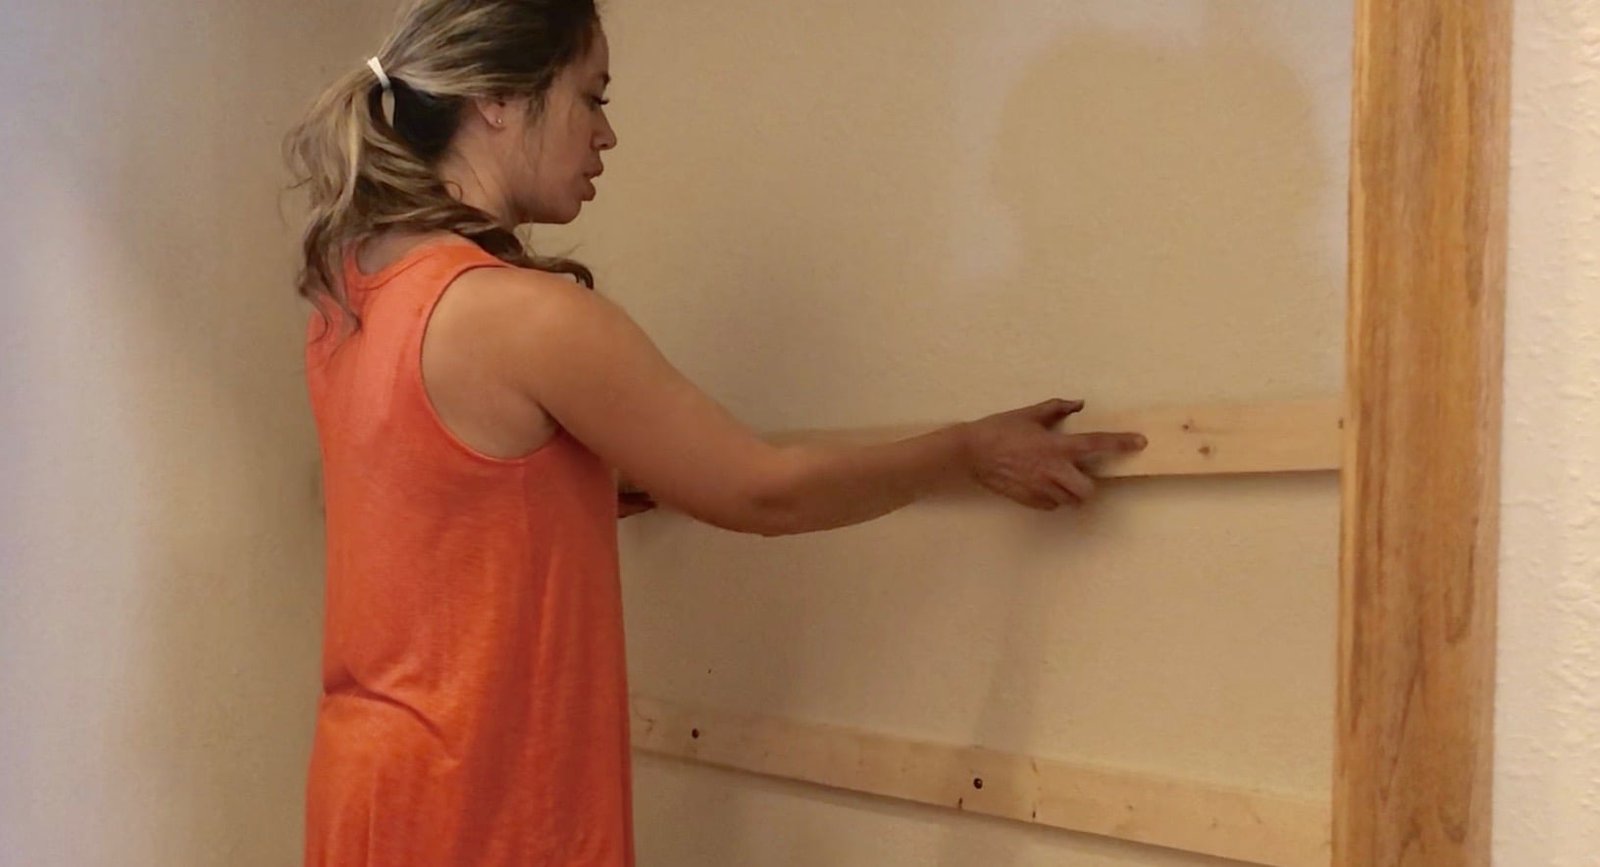
Since studs in walls run vertically, you can use the first 1x3 screw pattern for all subsequent 1x3 supports on the same wall. Simply place a second 1x3 on top of the first 1x3 (as shown below) - Then start screws directly above where screws are located in the first 1x3, but do NOT screw all the way through the 1x3. Then move the second 1x3 (with screws not fully driven) to the location of the next shelf, and finish driving the screws into the studs in the wall. Make sure you use your level to install the 1x3 level. Repeat for additional shelves.
Repeat Supports for Ends
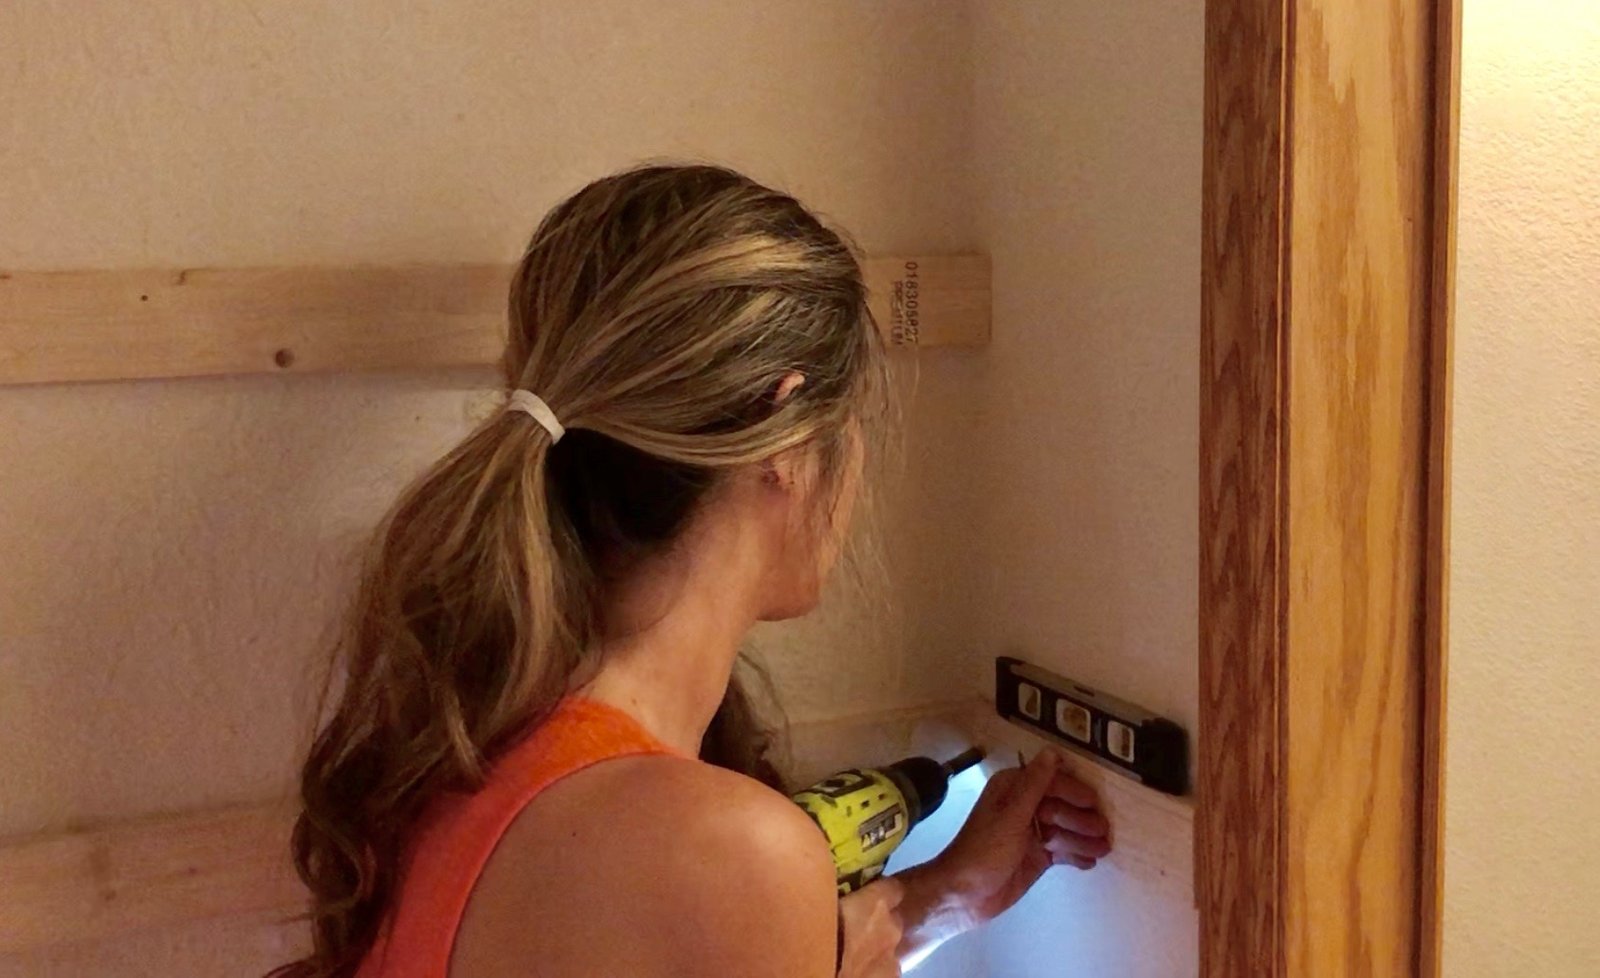
The same steps can be used to 1x3 supports all the way around the closet interior. TIP: If no stud is located on tight spots (like shown), screws driven at an angle into corner studs or header studs are sufficient.
Finished Supports
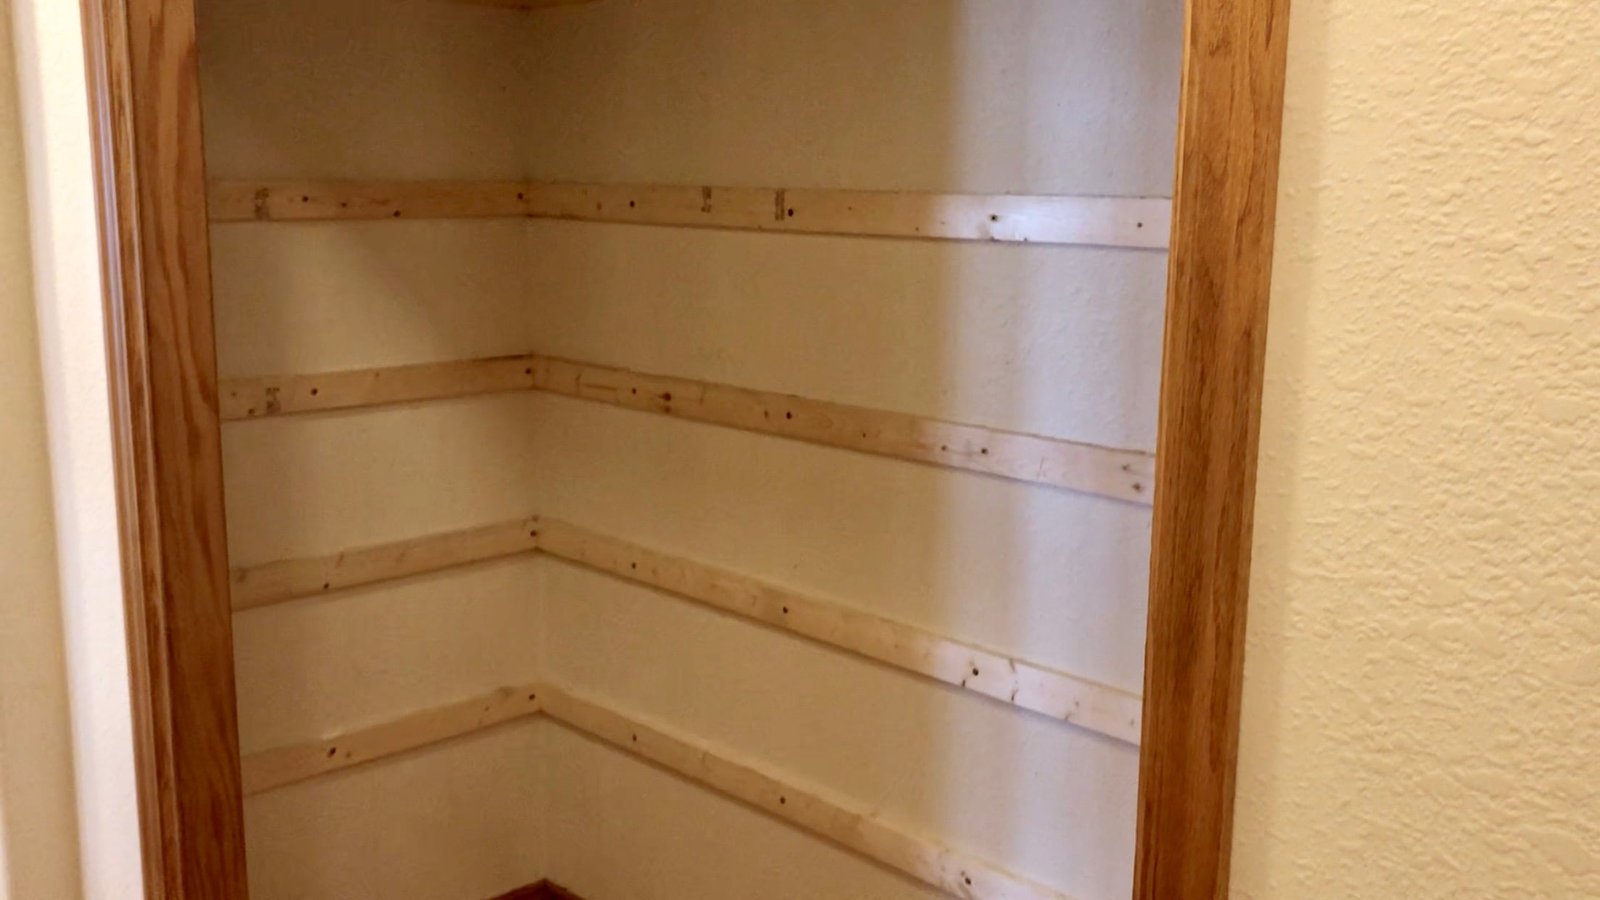
The finished 1x3 supports will look like this.
Main Shelving
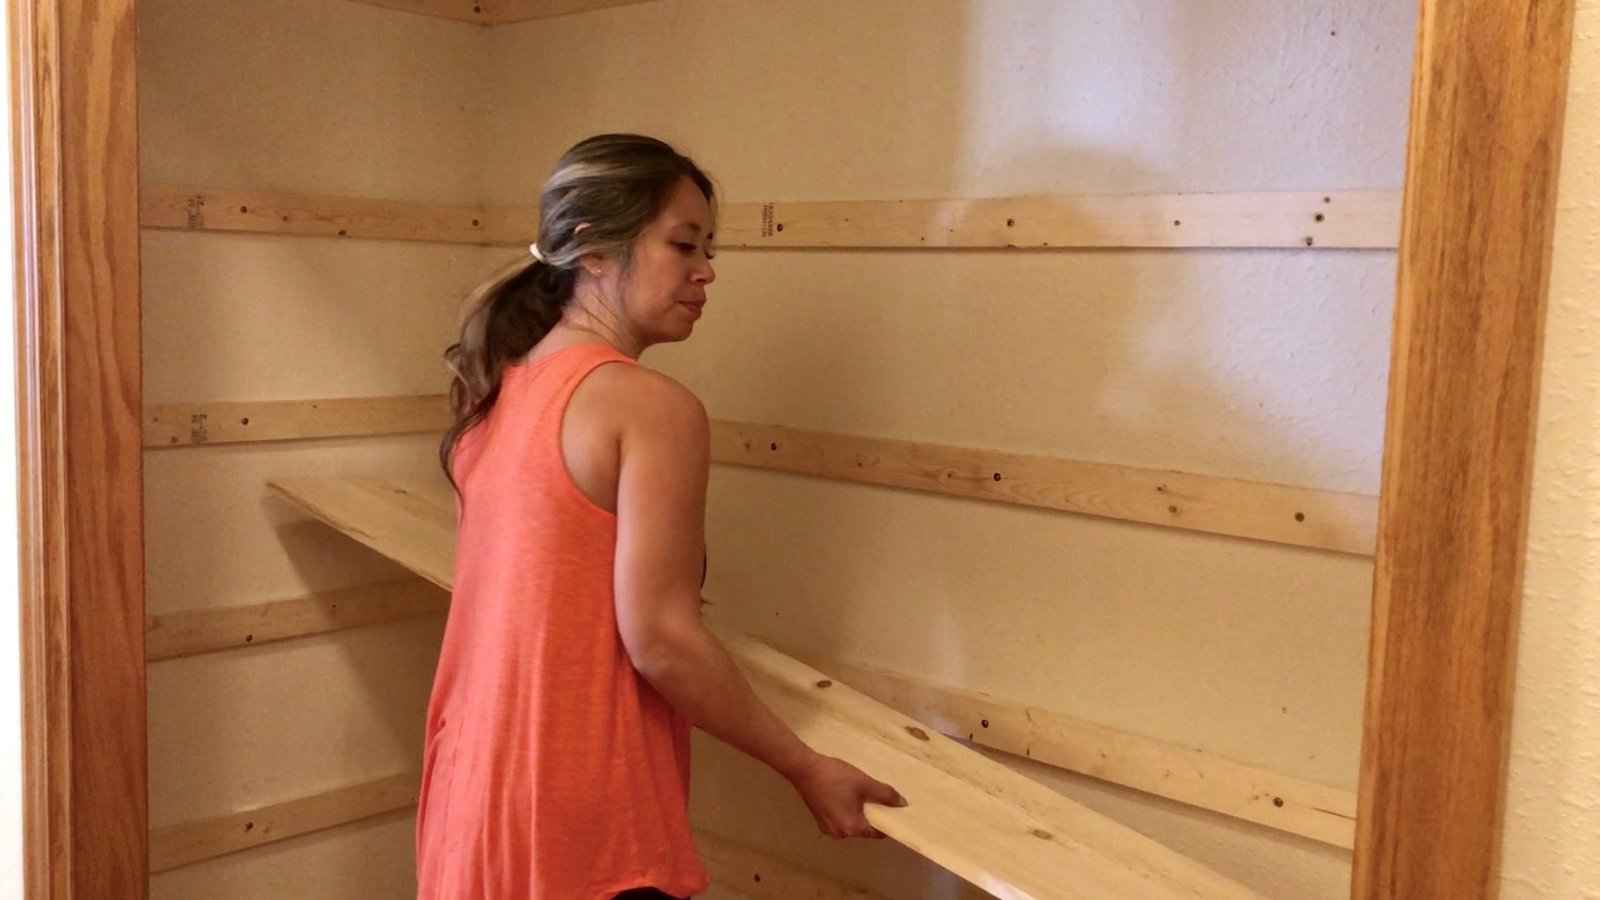
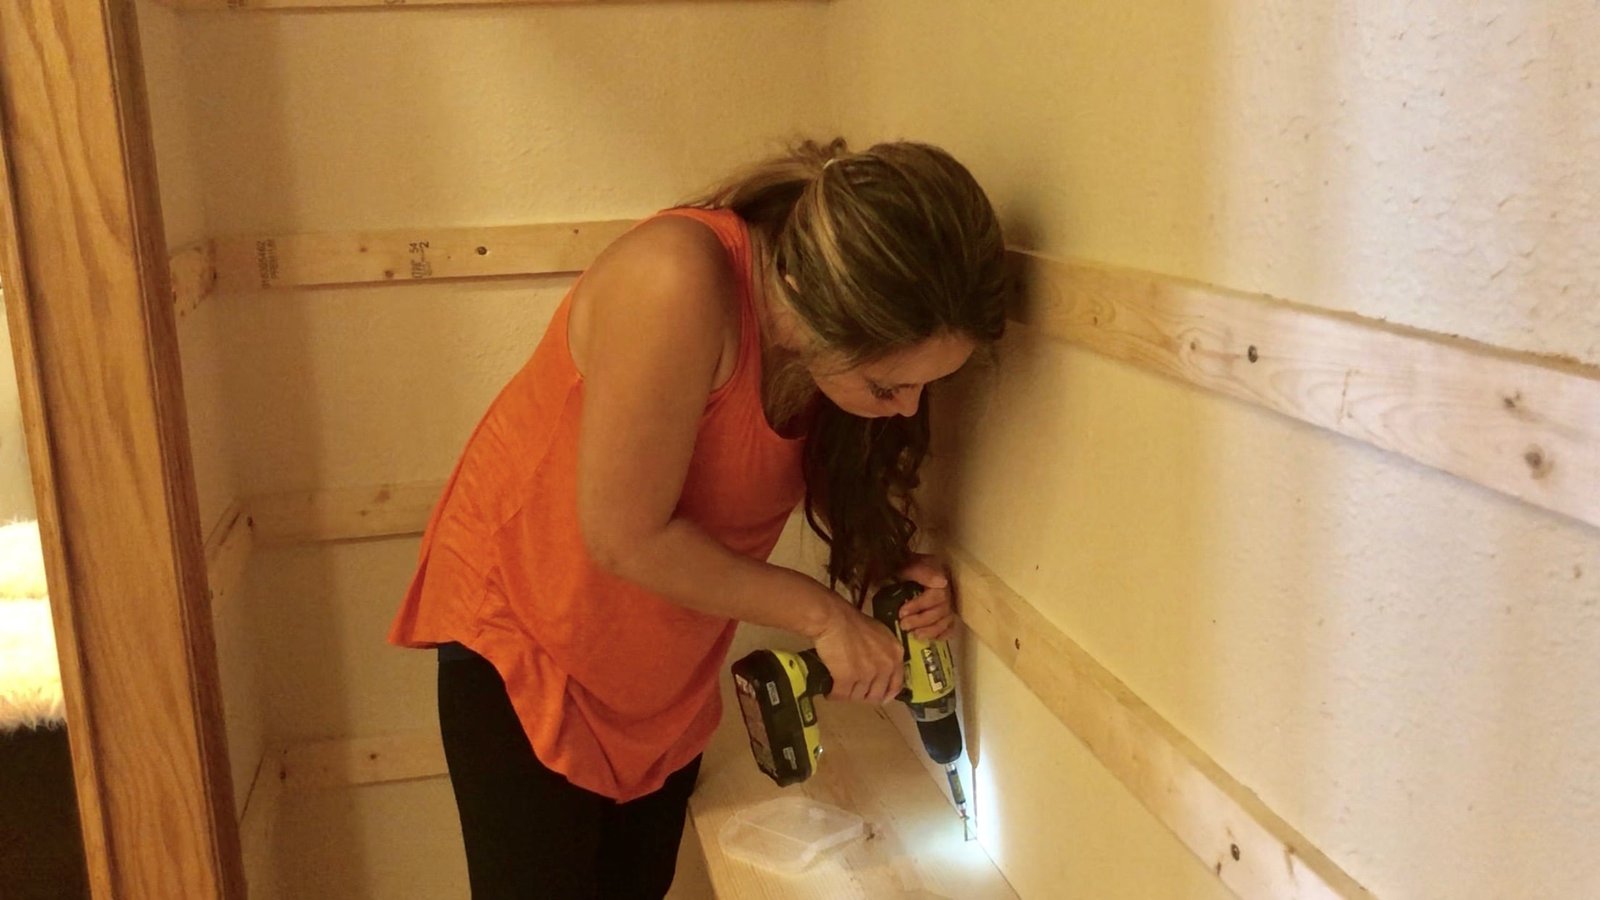
Now it's time to add the shelving. Cut the shelving about 1/4" less in overall length of the inside of the closet. Place on top of the 1x3s, working from the bottom upward. Screw down with 1-1/4" cabinet screws.
Side Shelving
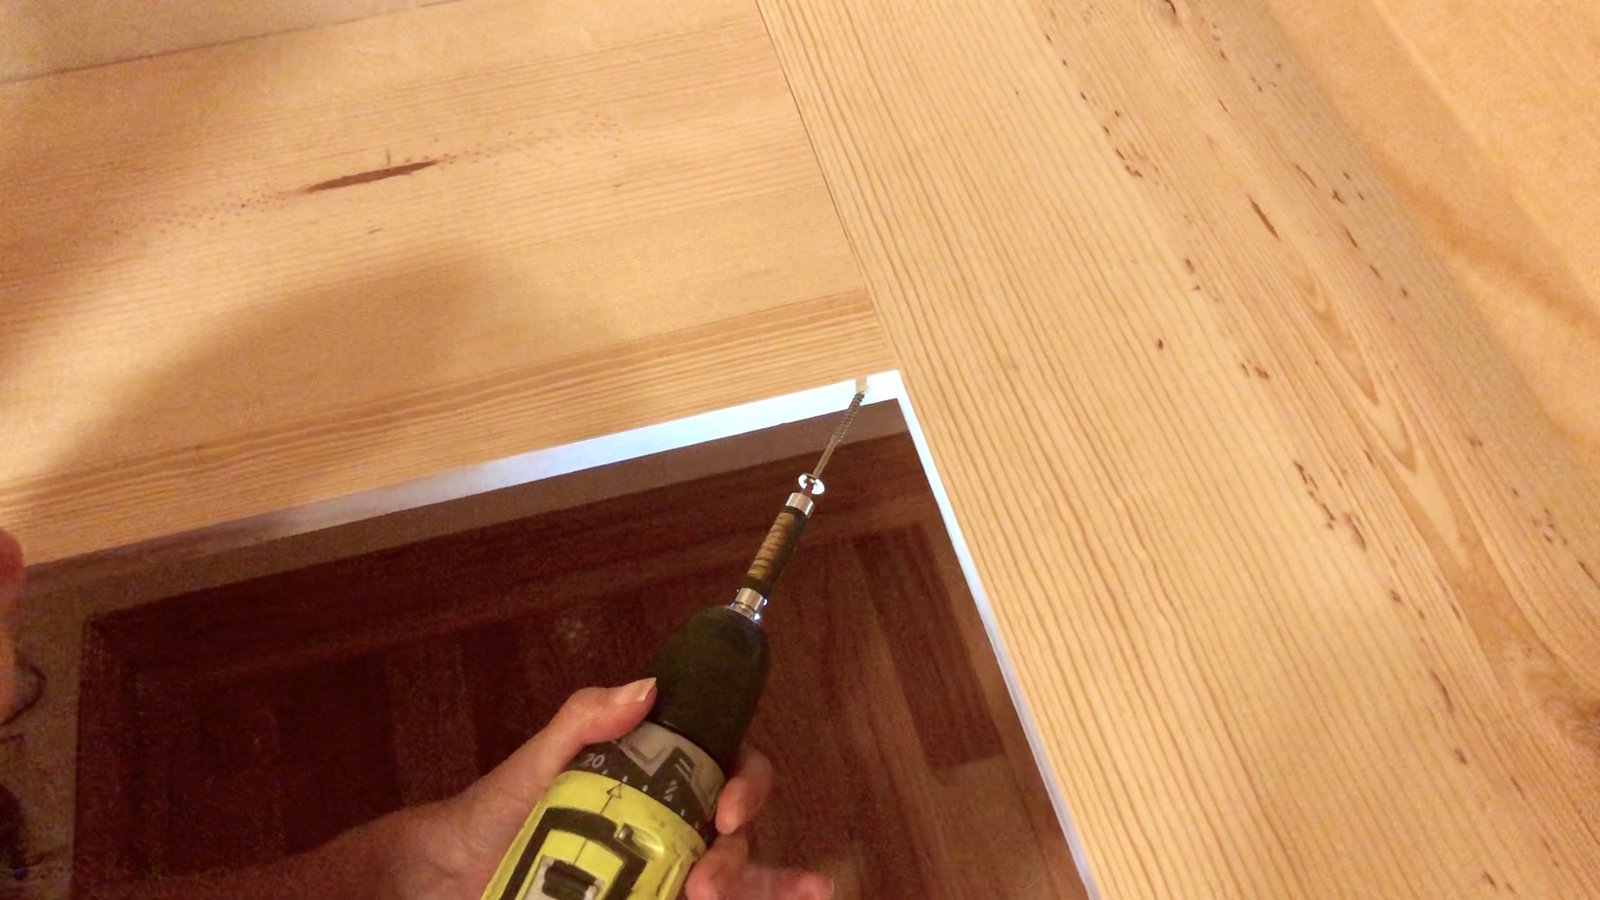
If you are wrapping the shelving around the closet, measure and cut the shelving lengths. You will need to join the two shelving pieces together at the inside corner. Use a 2-1/2" screw at an angle, a 2" nail at an angle, or you can use a 1-1/4" pocket hole screw and your Kreg Jig.
Front Supports
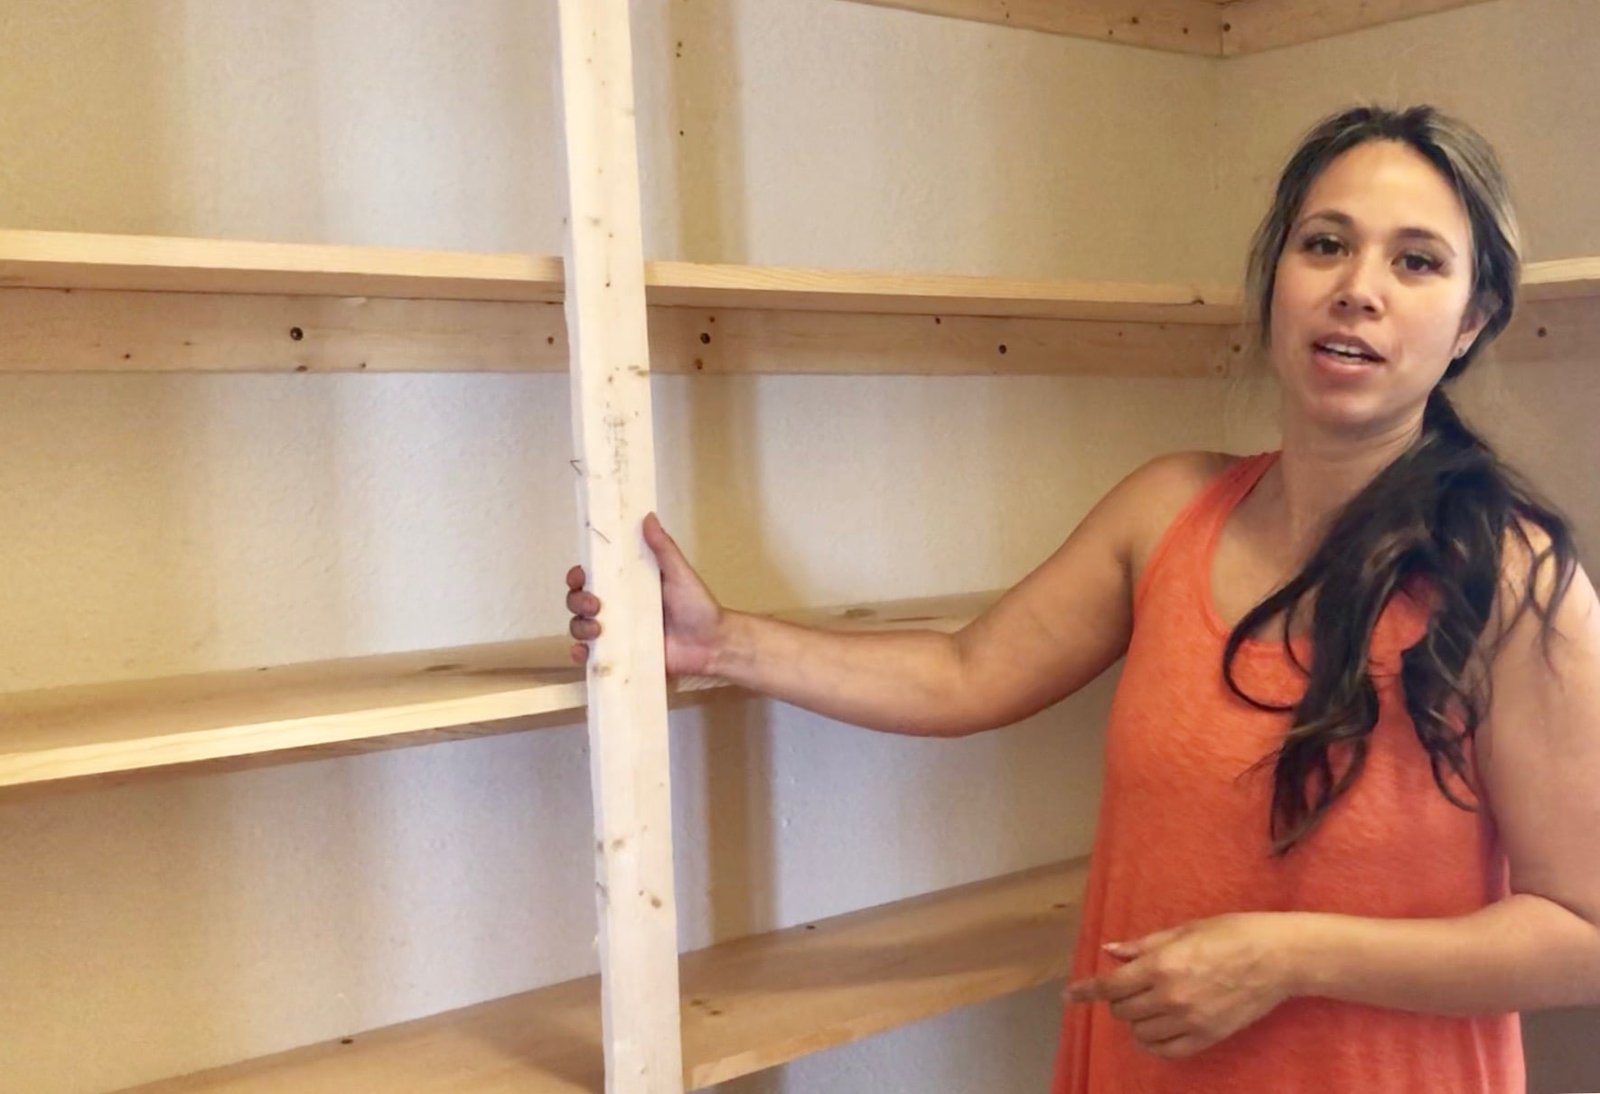
Front supports will help strengthen the shelf and keep the boards straight. Attach a 1x3 leg to the front, as needed. • Make sure the 1x3 is plumb (level vertically) • Cut the 1x3 to the height of the top shelf • Make sure the shelf is level as you attach it to the 1x3 (not sagging front to back) • Make sure the 1x3 leg is all the way on the ground • Use a 1-1/4" cabinet screw to attach the leg to the shelf • Legs should be placed about every 36" for 3/4" thick shelving
Finishing
Sand all surfaces, starting with a medium grit and finishing with fine. Wipe off the dust, fill any holes or gaps with wood filler, and sand smooth once dry. Apply primer if you're painting, then finish with your choice of paint or stain and seal with a durable clear topcoat. For outdoor projects, use exterior-rated primer, paint or stain, and sealer so the piece stands up to the weather.
Source (temporary): https://www.ana-white.com/woodworking-projects/narrow-pantry-shelving