Nature Inspired Floor Lamp
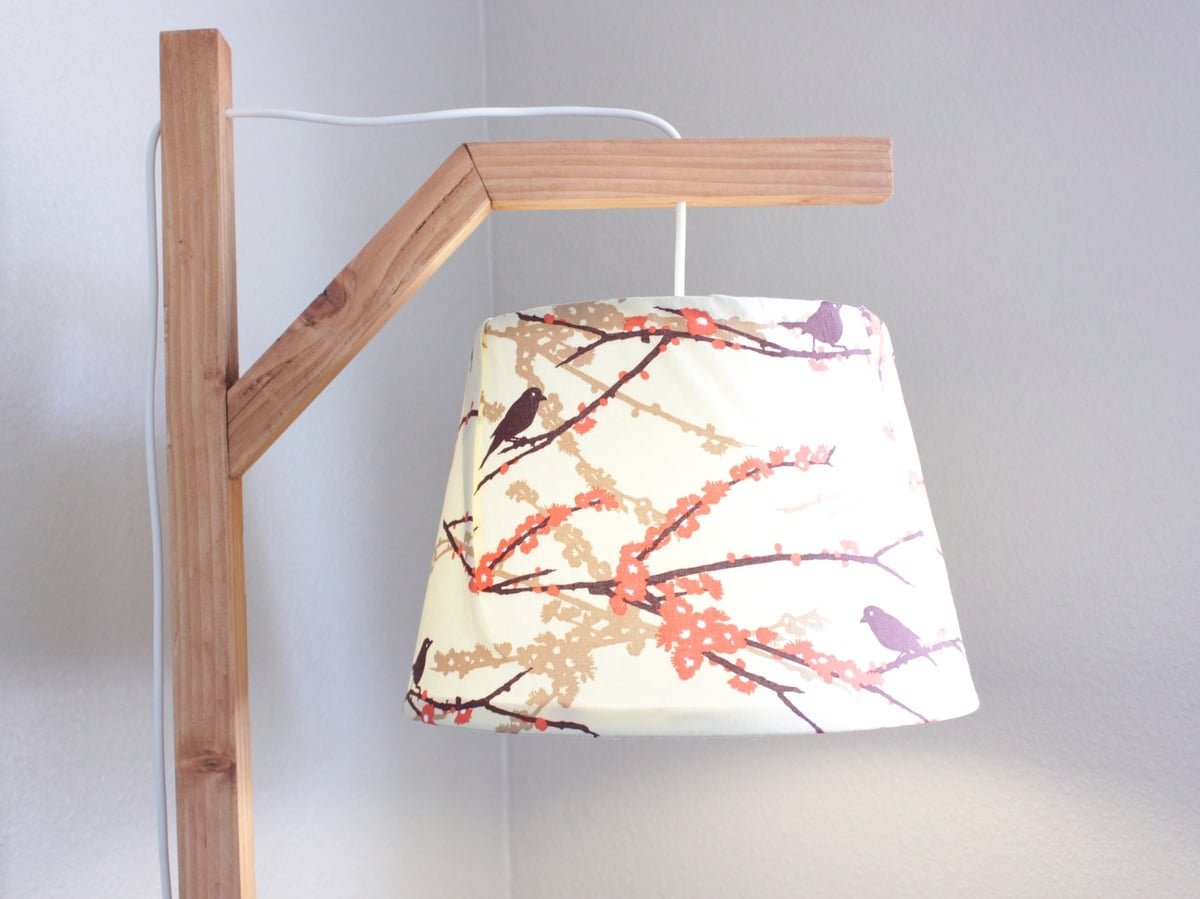
Quick and easy modern lamp plans that you can build for under $10 and with only 2 boards. Based off of the CB2 L MP pool floor lamp.
Specifications
| Project type | Other Projects |
|---|---|
| Room | living room |
| Style | Modern Style Furniture Plans |
| Difficulty | Beginner Projects |
| Estimated cost | Under $20 |
Dimensions
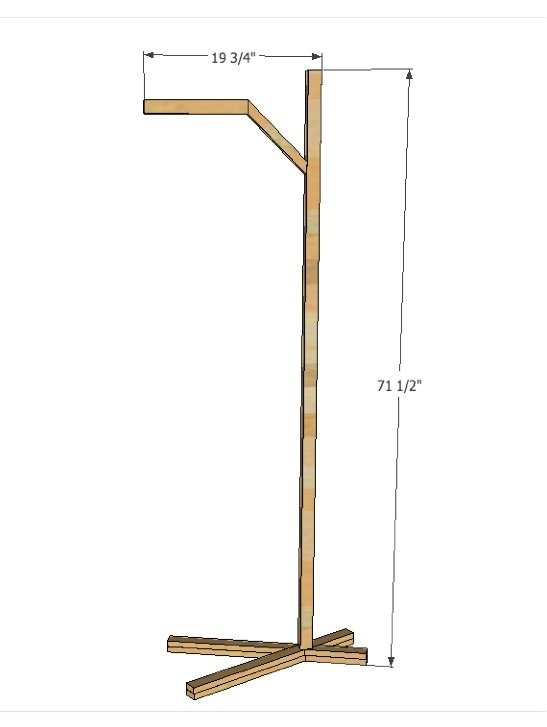
Use the size-specific shopping and cut lists below.
Shopping List
1 - 1x2 @ 8ft
1 - 2x2 @ 8ft
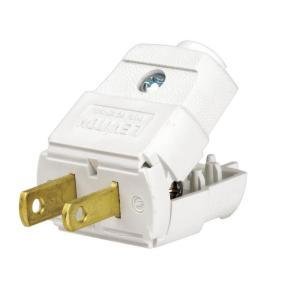
1 - Leviton 15-Amp 125-Volt Light-Duty Plug from Home Depot
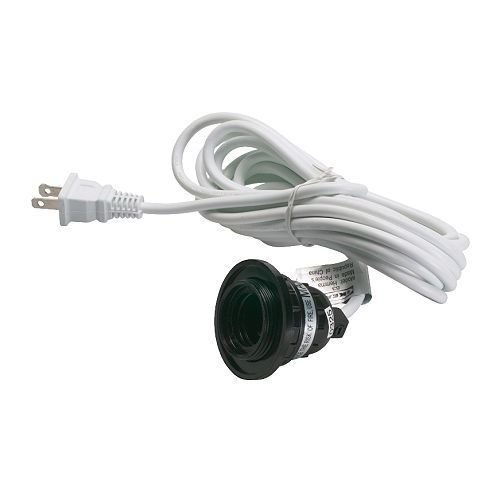
1 - HEMMA Cord set from Ikea
1 - 1/4" drill bit
Cut List
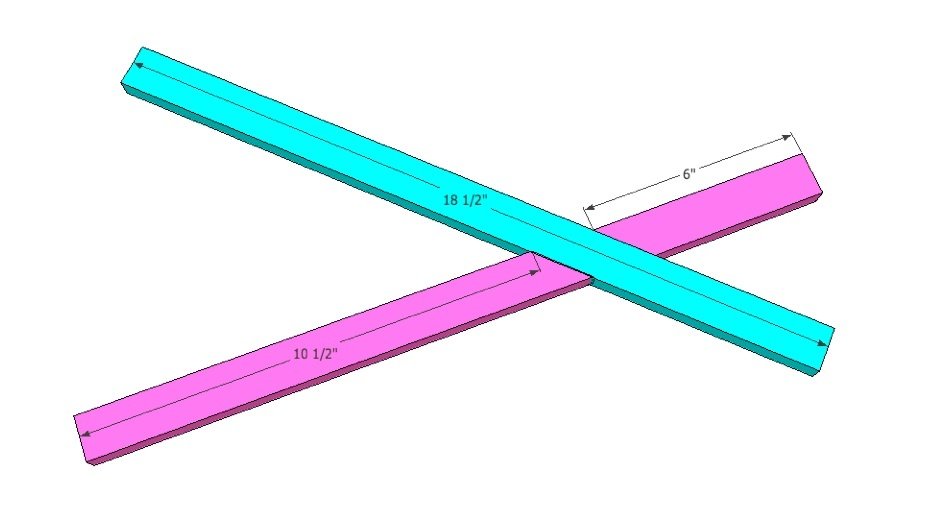
2 - 1x2 @ 18 1/2"
2 - 1x2, measuring 6" long from the long side with one end cut at a 45 degree angle
2 - 1x2, measuring 10 1/2" long from the short side with one end cut at a 45 degree angle
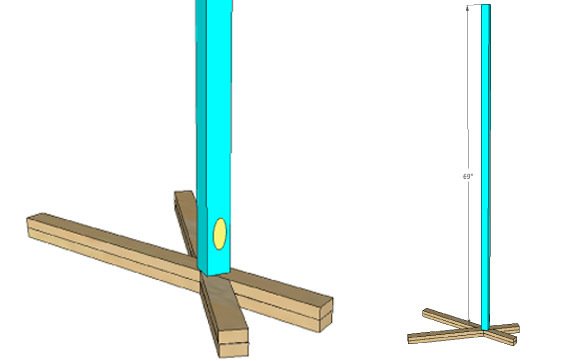
1 - 2x2 @ 69"
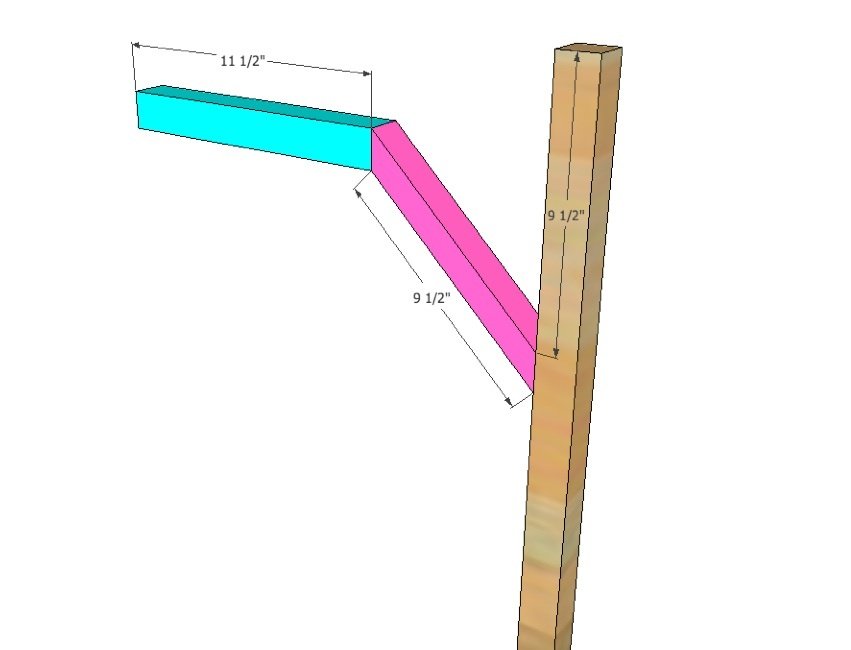
1 - 2x2, measuring 9 1/2" with one end cut at a 45 degree angle and the other at a 22.5 degree angle
1 - 2x2, measuring 11 1/2" from the long side with one end cut at a 22.5 degree angle
Tools
- measuring tape
- pencil
- safety glasses
- hearing protection
- kreg-jig
- compound miter saw
- nailer
- countersink drill bit
Step-by-step Instructions
Step 1
Align first set of 1x2s as shown in the diagram.
Step 2
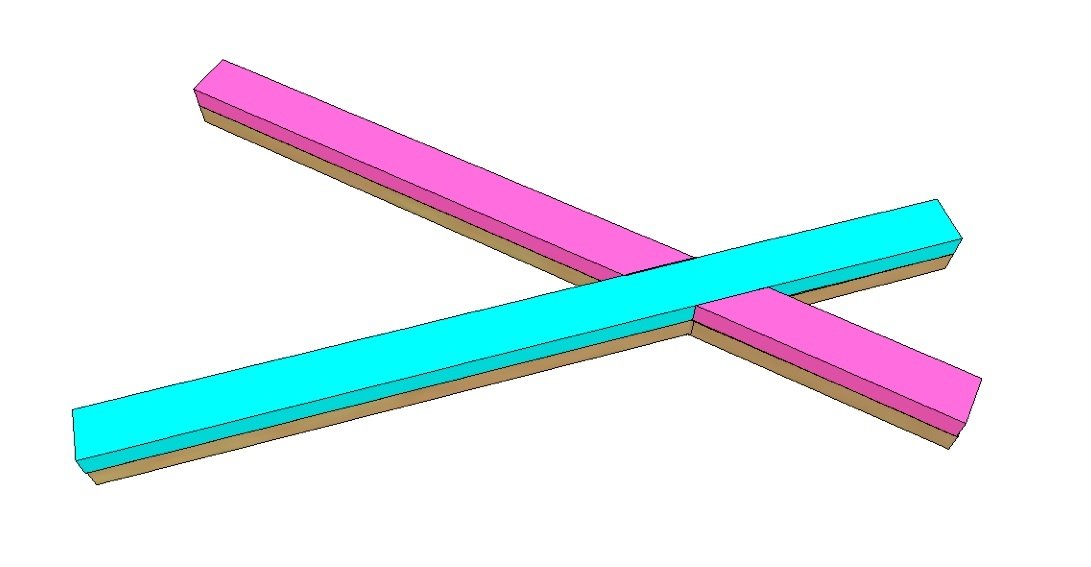
Place second set of 1x2s on top of the first set with the long end going on the opposite path of the first one. Use glue and 1 1/4" finishing nails to attach. Try to only nail on one side, this can be your bottom so that you have less holes to fill:-).
Step 3
Attach long 2x2 to the base with your kreg jig set for 1 1/2" stock.
Step 4
Attach lamp arm as shown in diagram. For the center piece, the end attached to the lamp base is cut at a 45 degree angle, and the end attached to the arm is cut at a 22.5 degree angle. Use your miter saw to get accurate angles. The end arm is also cut at a 22.5 degree angle to attach to the center piece and square at the end.
Step 5
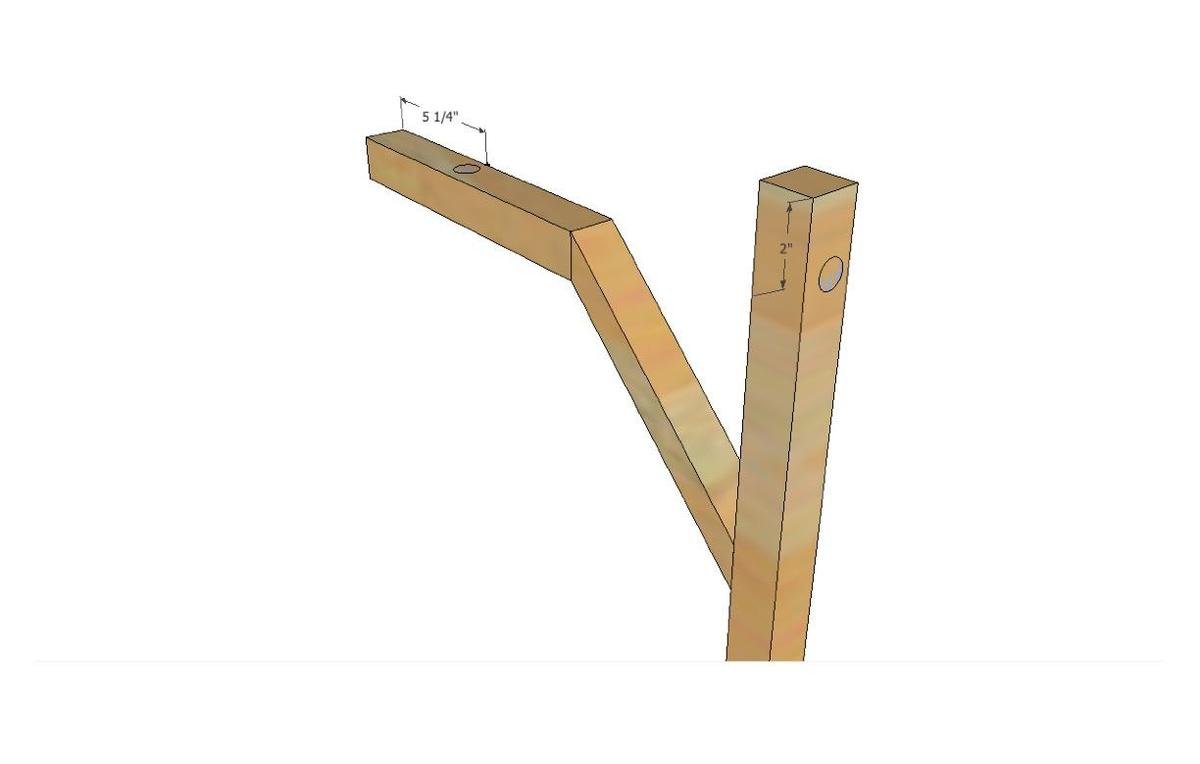
Step 6
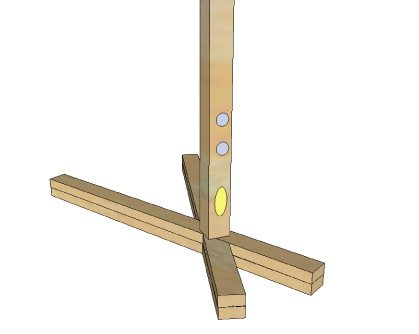
Use a 1/4" drill bit to drill holes in the back of the lamp toward the base as shown. This is where your cord will thread through. My holes were drilled 6" and 8" from the base, but you can spread them out further if you desire.
Step 7
Take your IKEA light kit and cut the cord end off. This will allow you to thread the cord through your lamp. Be sure to add your lampshade before threading through the wood. Please reference my final pictures for the exact way to thread the lamp.
Step 8
This is where it starts to get a bit tricky. Once your lamp is threaded, take your plug and uncrew it exposing the inside. You will need to strip a bit of the cord to expose the two white and black wires. There will be a "gage" side, this is where you insert your white wire. Make sure some of the copper insides are exposed. Insert your black wire with the copper exposed at the end on the other side. Close the plug casing over the wire and screw it together.
Finishing
Sand all surfaces, starting with a medium grit and finishing with fine. Wipe off the dust, fill any holes or gaps with wood filler, and sand smooth once dry. Apply primer if you're painting, then finish with your choice of paint or stain and seal with a durable clear topcoat. For outdoor projects, use exterior-rated primer, paint or stain, and sealer so the piece stands up to the weather.
Source (temporary): https://www.ana-white.com/woodworking-projects/nature-inspired-floor-lamp