One Board Wall Shoe Rack
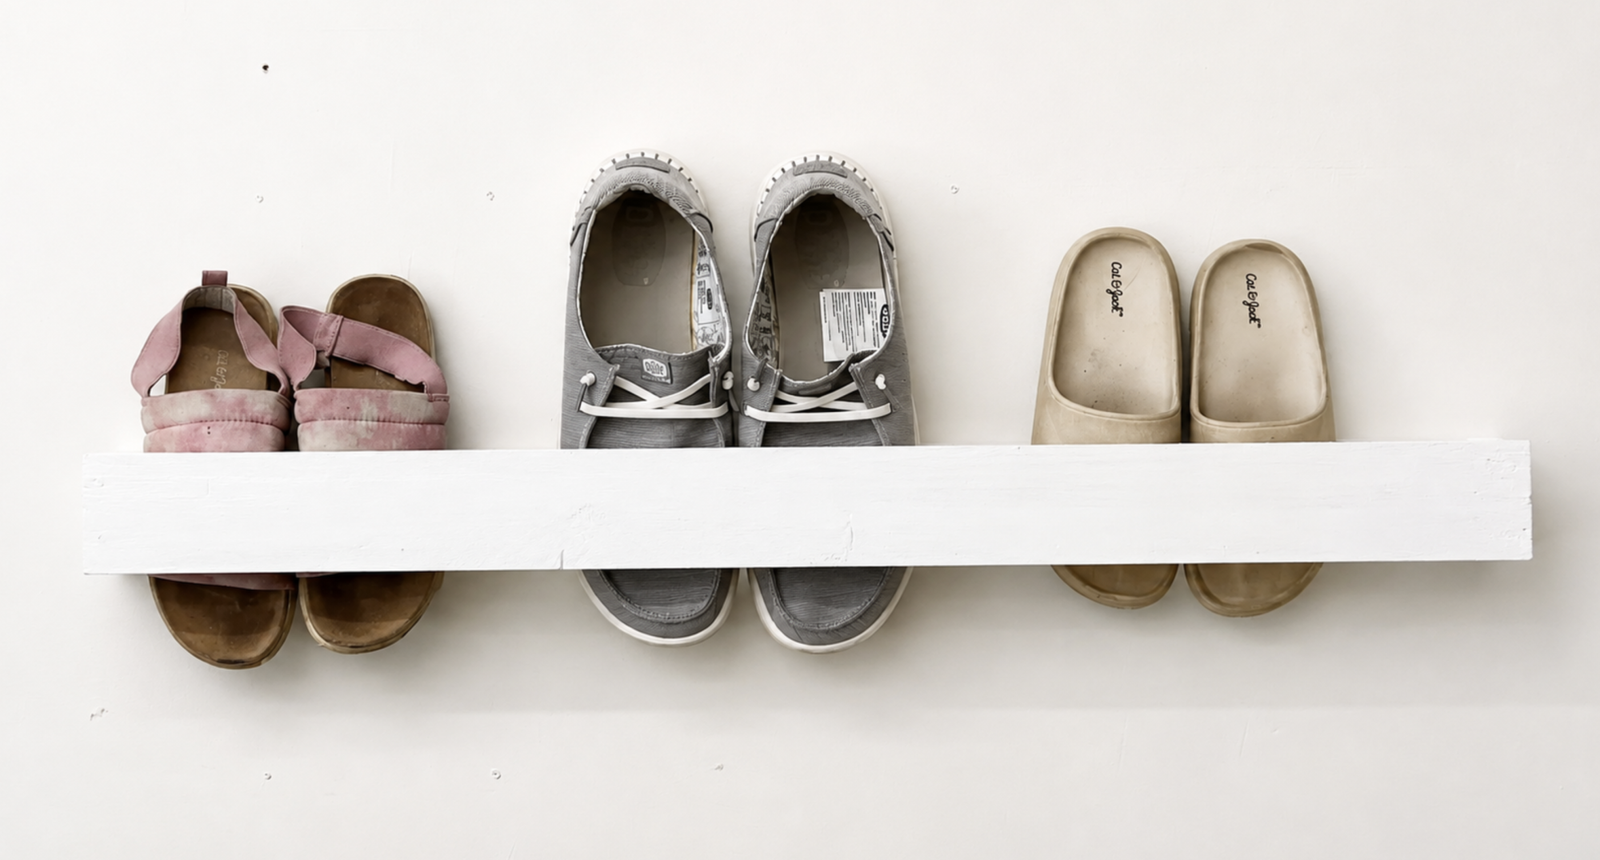
Build this simple, elegant wall-mounted shoe rack from just one 1x3 board! Shoes tuck vertically into the slim rack, keeping them organized and off the floor without taking up valuable entryway space. It’s an easy, inexpensive DIY that’s especially handy for sneakers, kids’ shoes and smaller footwear. Looks like a floating shelf, works just as good as any shoe shelf! NOTE FROM ANA: I built this project and tested it and am very pleased with how it turned out. It is all you really need for wall shoe storage, looks great, and is easy to place shoes in. I tested different widths, the gap of 2.5" seemed to work well with most shoes, from my 8 year olds sandals to my husband's running shoes, and everything in between.
Specifications
| Project type | shelves |
|---|---|
| Room | Entryway and Mudroom |
| Difficulty | Beginner Projects |
Dimensions
Use the size-specific shopping and cut lists below.
Shopping List
- 1 - 1x3 @ 8 feet long
- 8 - 1-3/4" self tapping star bit trim screws
- wood glue
- wood filler
- medium grit sand paper
- paint or stain
- heavy duty hanging kit or 2-3/4" self tapping screws (for hanging)
Cut List
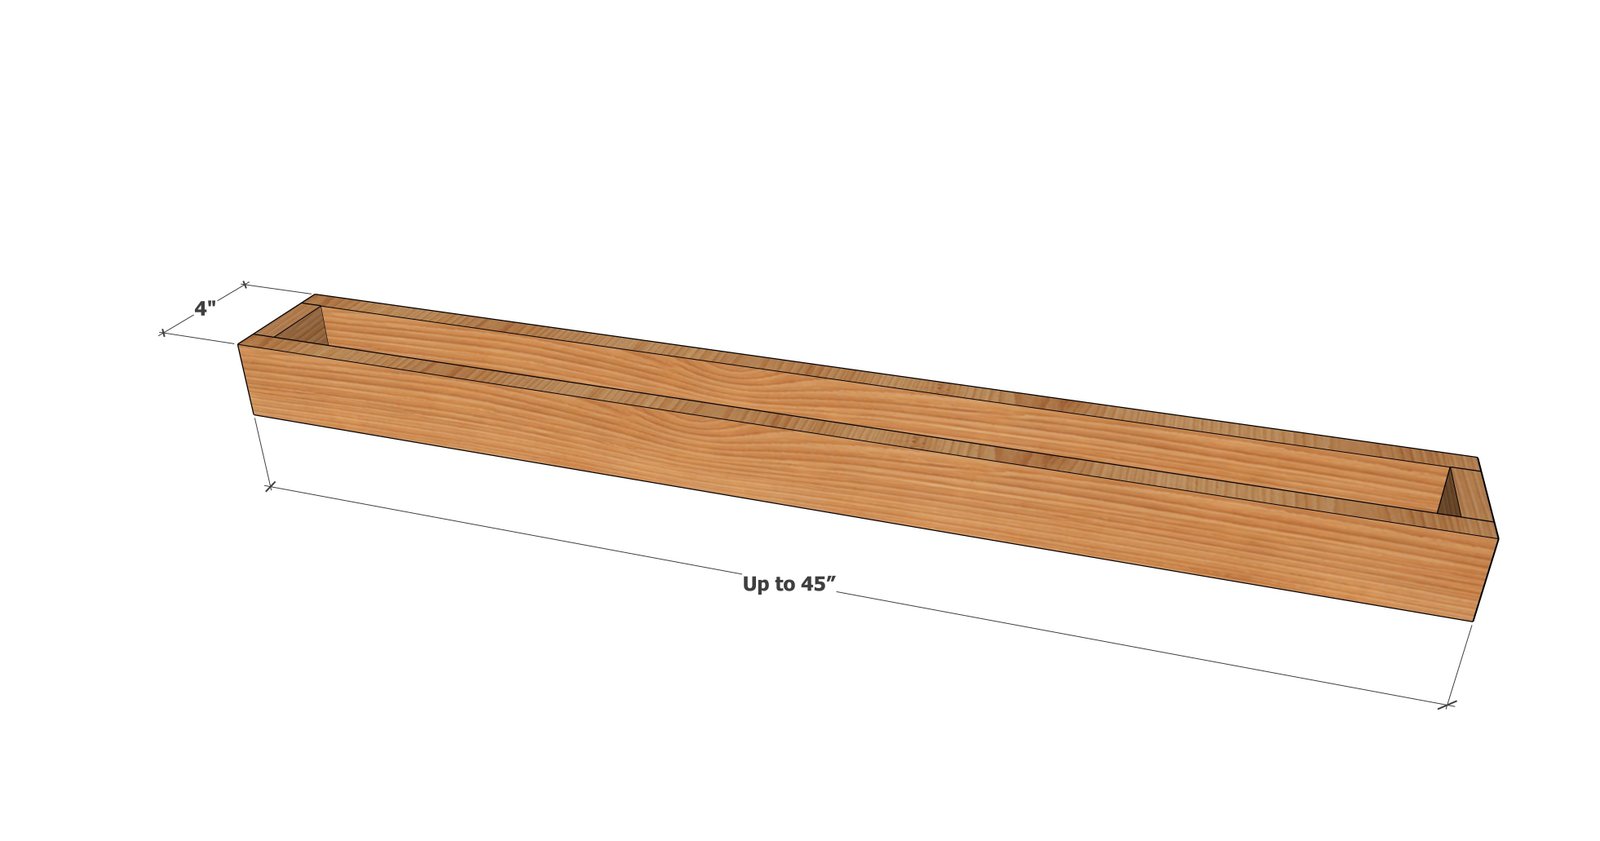
- 2 - 1x3 @ 2.5" - sides
- 2 - 1x3 @ up to 45" -front and back
Tools
- measuring tape
- square
- pencil
- safety glasses
- drill
Step-by-step Instructions
Step 1
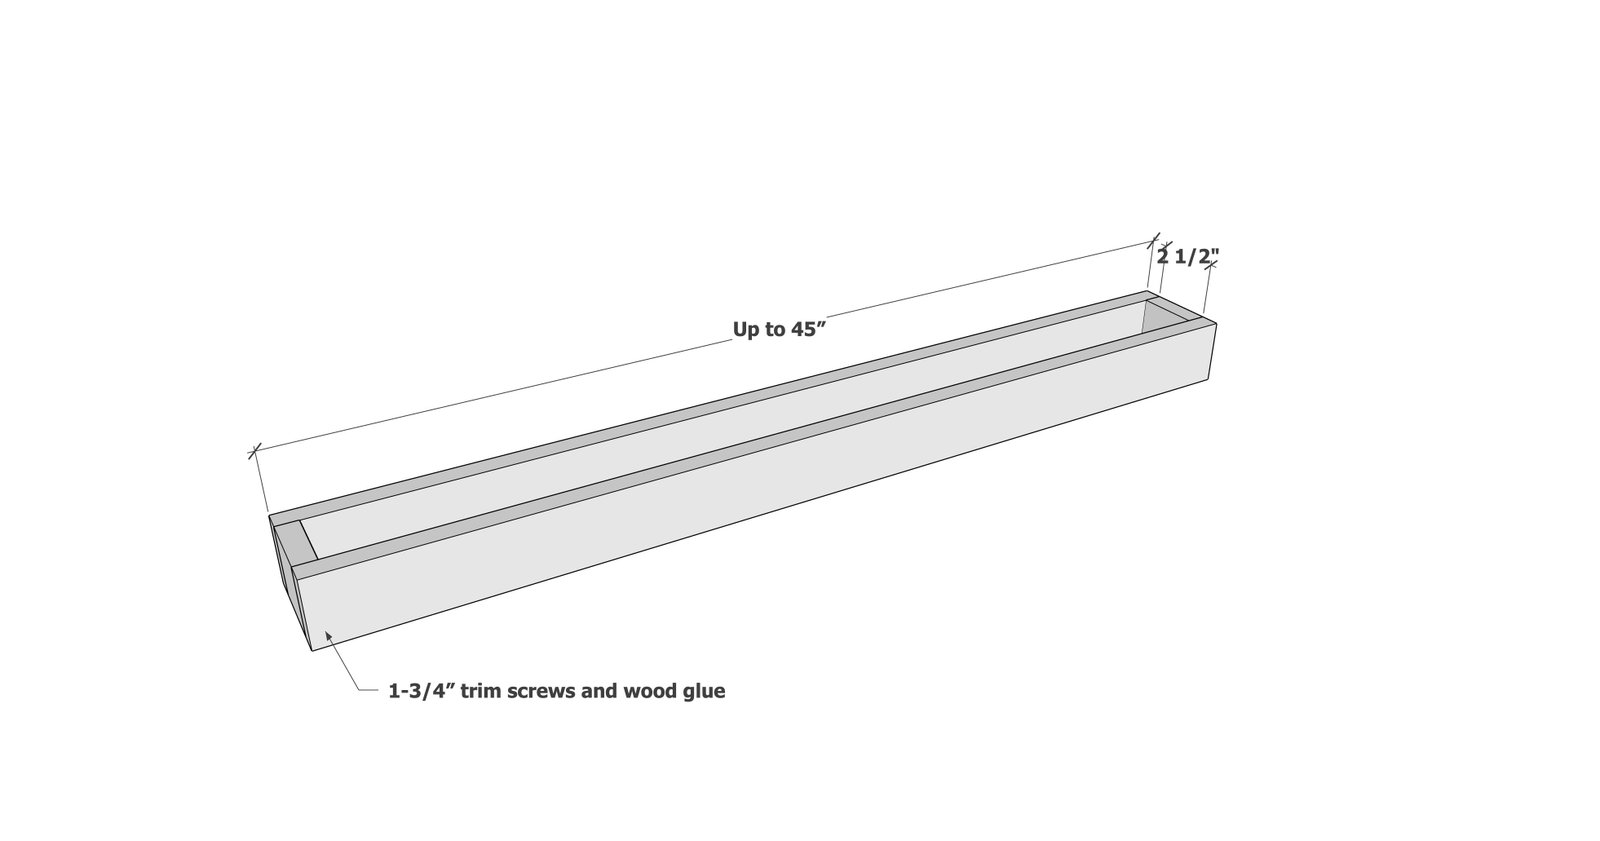
Build the shelf as shown using the shorter screws. Test to make sure the wood won't split. If wood is splitting, predrill holes with a spiral drilling bit.
Step 2
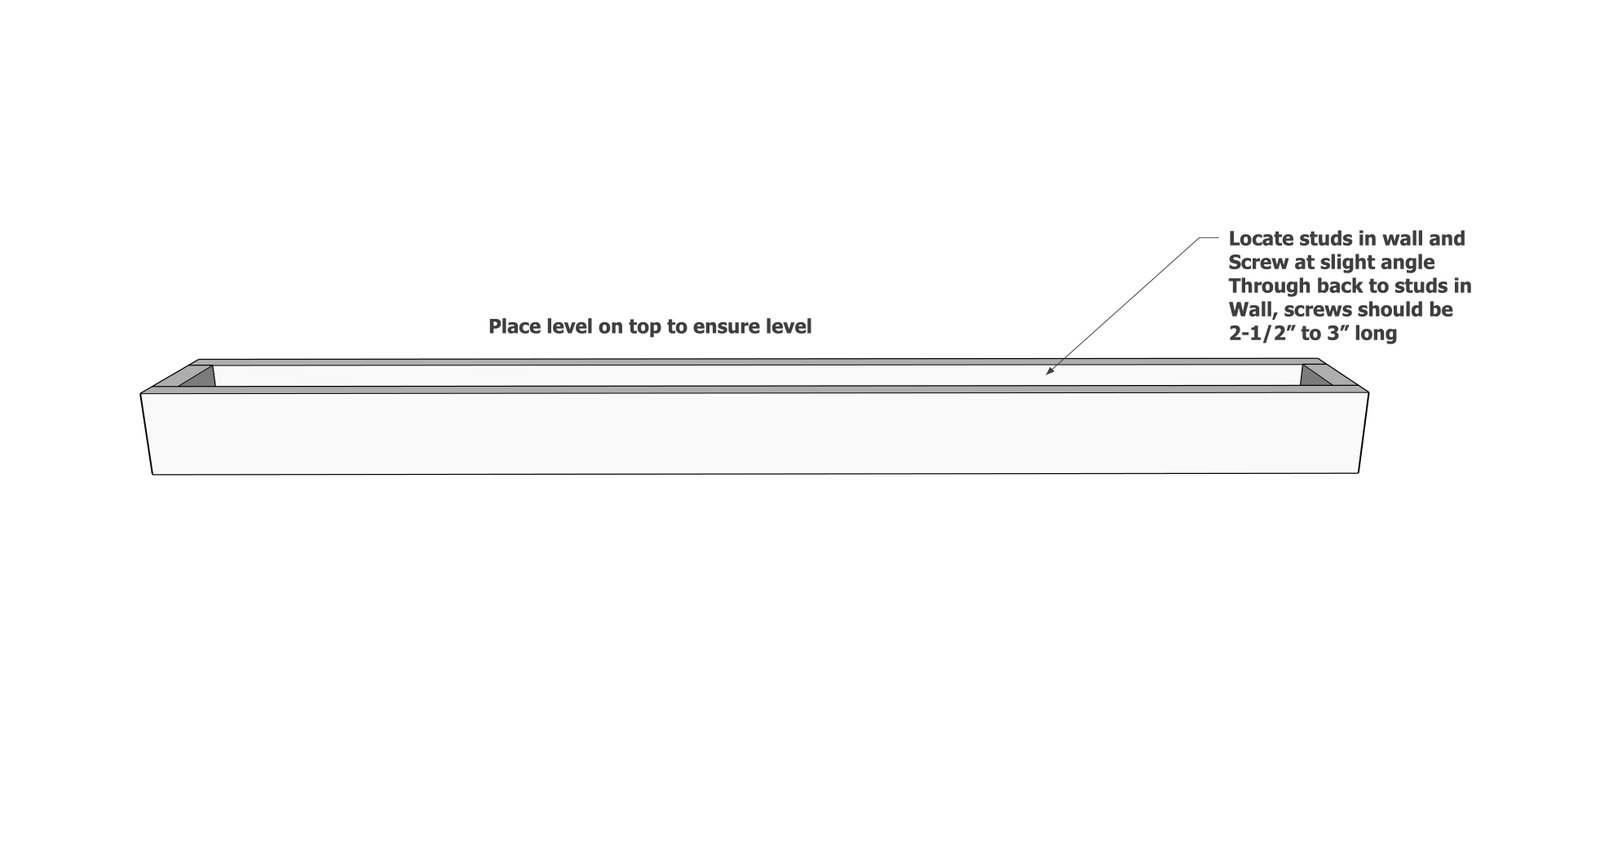
Locate studs in the wall and screw directly. The screws will need to be at a slight angle to screw in the back. Use a level and secure in two places.
Finishing
Sand all surfaces, starting with a medium grit and finishing with fine. Wipe off the dust, fill any holes or gaps with wood filler, and sand smooth once dry. Apply primer if you're painting, then finish with your choice of paint or stain and seal with a durable clear topcoat. For outdoor projects, use exterior-rated primer, paint or stain, and sealer so the piece stands up to the weather.
Source (temporary): https://www.ana-white.com/woodworking-projects/one-board-wall-shoe-rack-simple-diy-shoe-storage