Pallet Storage Boxes
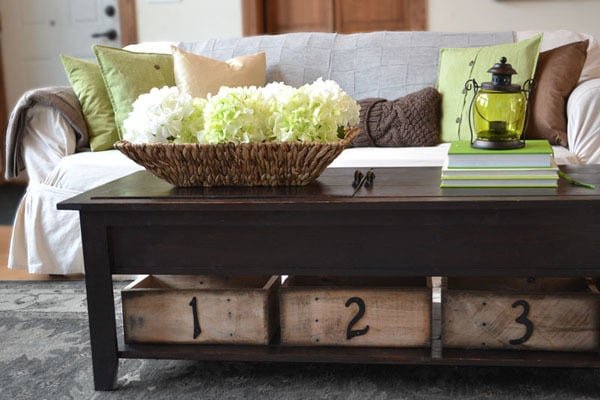
Make decorative storage boxes out of pallets! Free tutorial from
Specifications
| Project type | Storage Woodworking Plans |
|---|---|
| Room | Storage Solutions |
| Style | Green or Eco-Friendly Style Furniture |
| Difficulty | Starter Projects |
| Estimated cost | free |
Dimensions
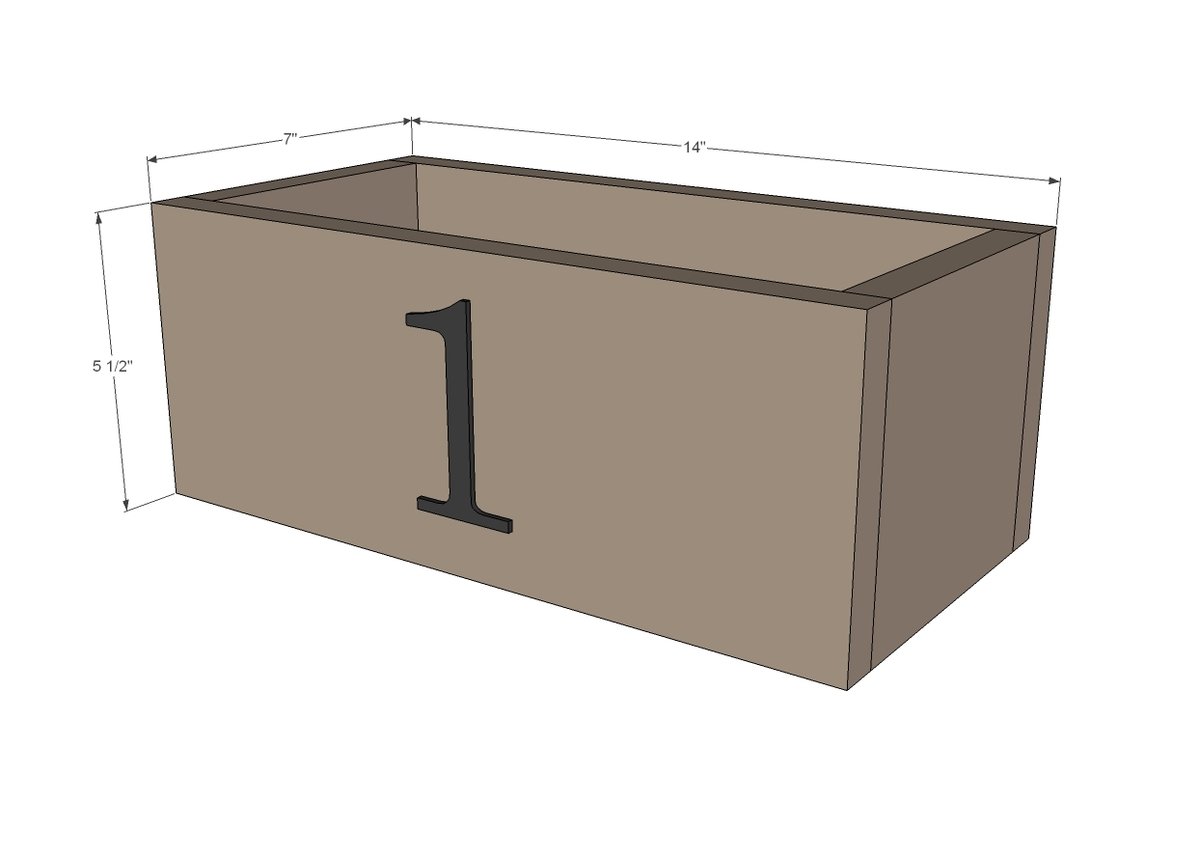
Use the size-specific shopping and cut lists below.
Shopping List
- 3 feet of pallet boards OR 1x6 boards
- 2 feet of 1x boards in desired width (1x6s used in plan)
- 1 1/2” finish nails
- Wood glue
Cut List
1 - 1x6 (or other board width) @ 12 1/2” (bottom)
2 - 1x6 (or same board width as bottom) @ 5 1/2” (sides)
2 - 5 1/2” wide pallet boards OR 1x6 boards 14” long (front/back)
Tools
- measuring tape
- square
- pencil
- hammer
- safety glasses
- hearing protection
- circular saw
- nailer
- sander
Step-by-step Instructions
Step 1
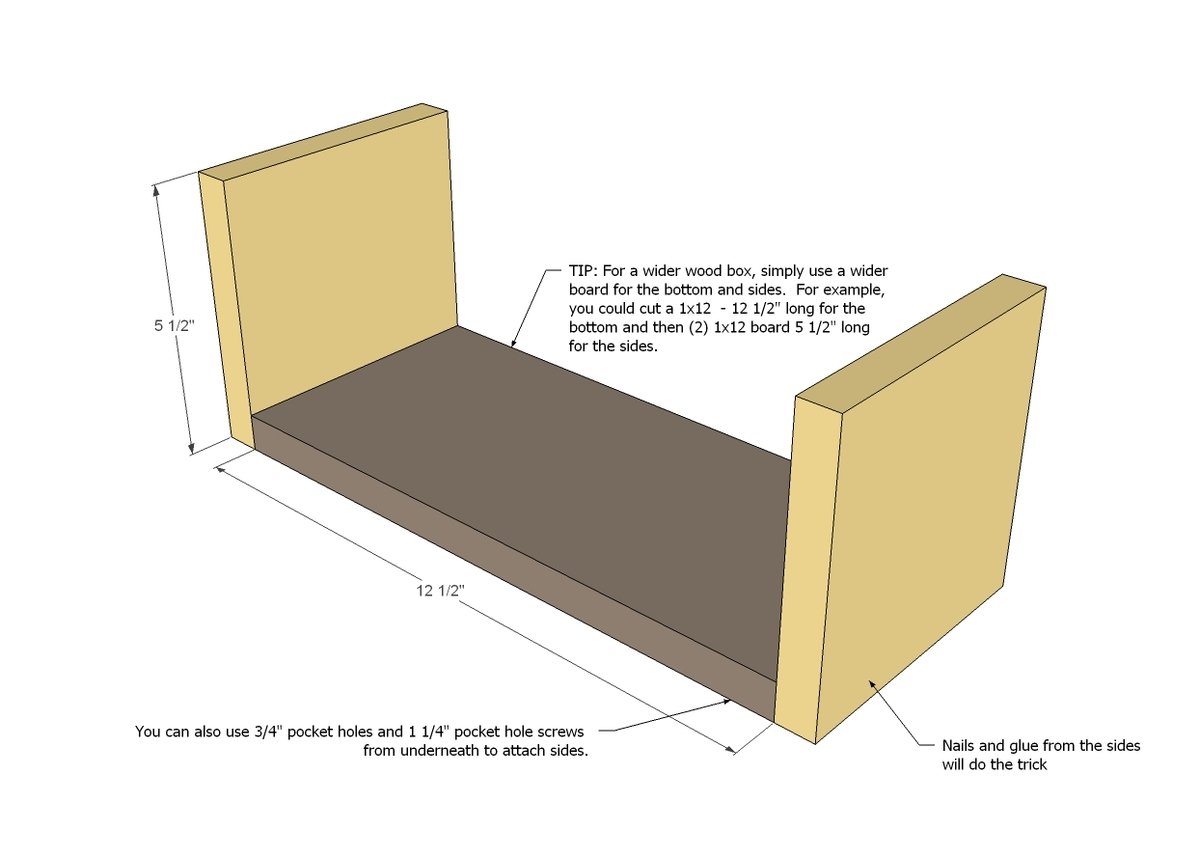
You can easily adapt this plan for a wider box by simply using a wider width board. Just make sure you use the same board for the bottom as the sides. Attach sides to bottom with glue and 2” nails. You can alternatively use 3/4” pocket holes and 1 1/4” pocket hole screws on underside.
Step 2
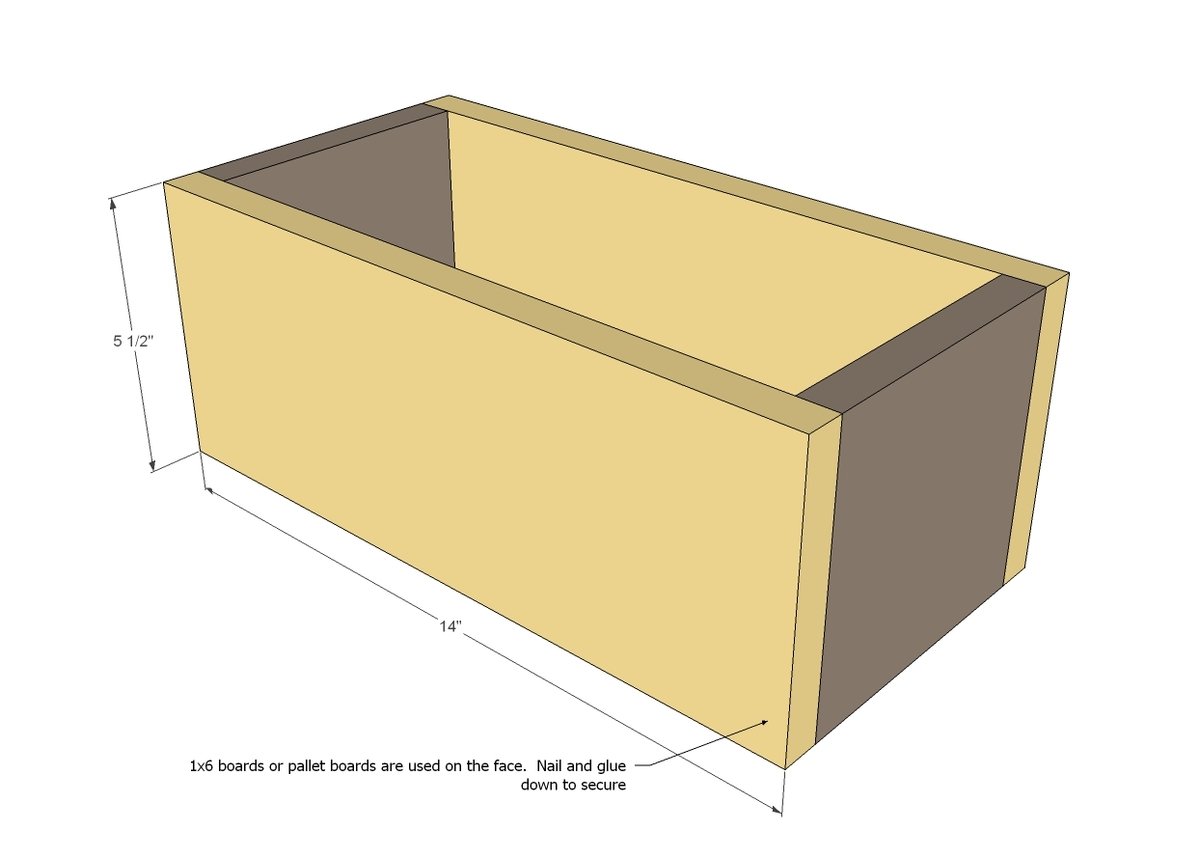
Apply glue to exposed edges of front and back of box. Attach front and back with 2” finish nails and glue.
Step 3
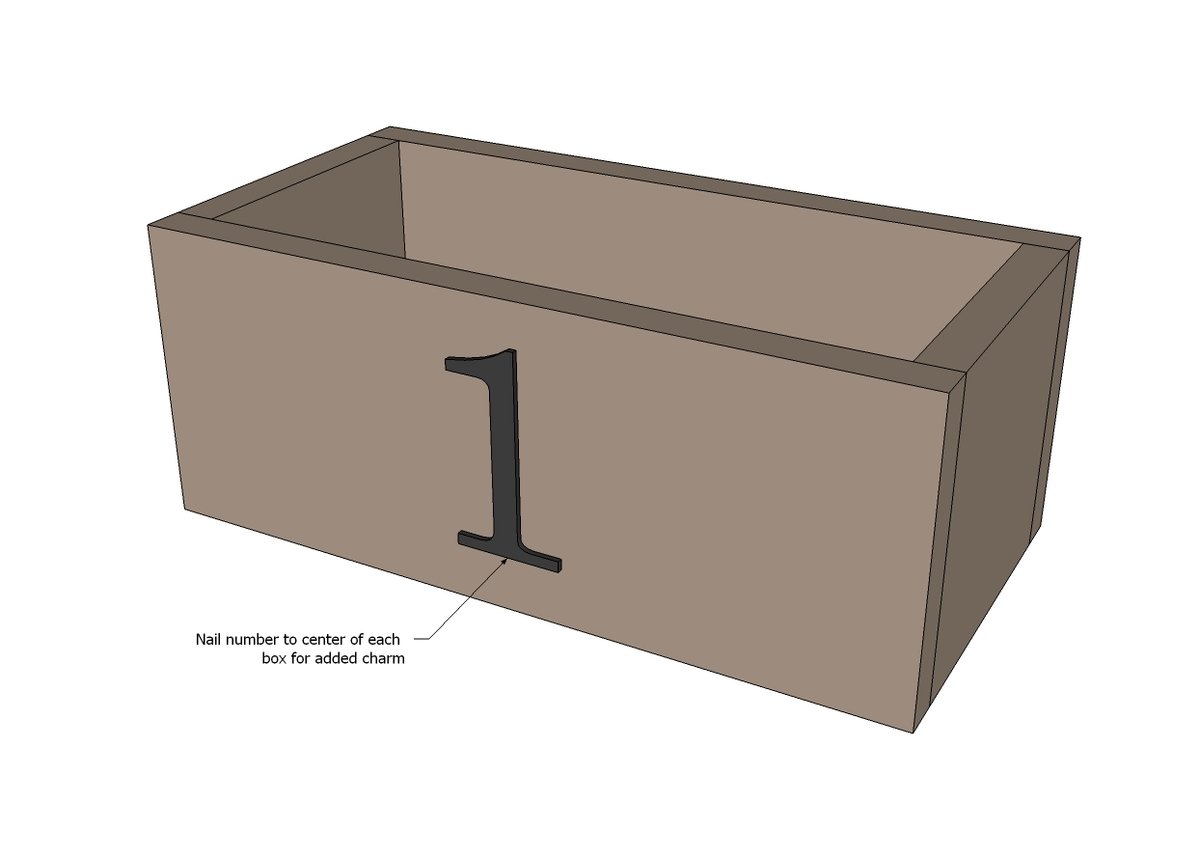
For added charm, nail a house number or handles to front. Trying to stay low budget? Drill two holes and loop rope through to create beautiful rustic handles without much added cost!
Finishing
Sand all surfaces, starting with a medium grit and finishing with fine. Wipe off the dust, fill any holes or gaps with wood filler, and sand smooth once dry. Apply primer if you're painting, then finish with your choice of paint or stain and seal with a durable clear topcoat. For outdoor projects, use exterior-rated primer, paint or stain, and sealer so the piece stands up to the weather.
Source (temporary): https://www.ana-white.com/woodworking-projects/pallet-storage-boxes