Parson Chair
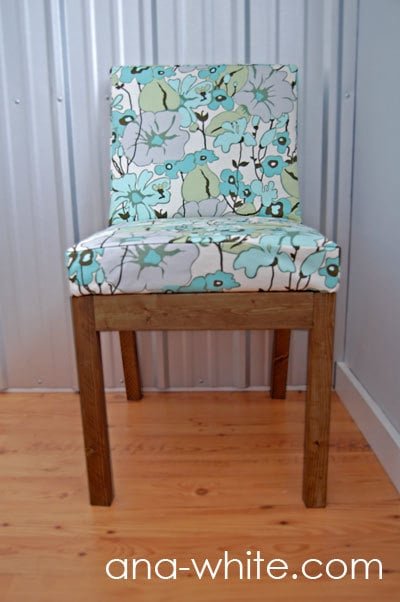
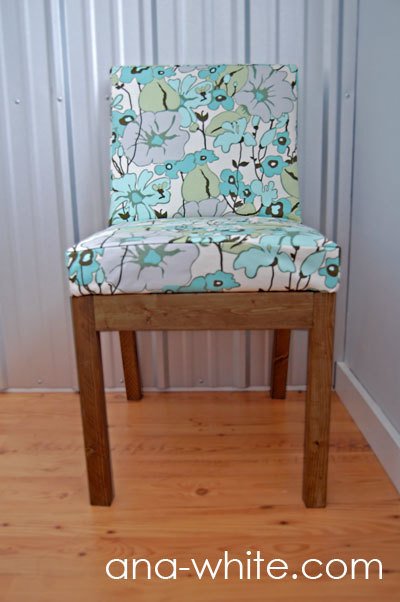
These Parson Chair plans do not require any special cutting and all sewing is straight lines. Very sturdy and lightweight, but the chair is overall a compact chair.
Specifications
| Project type | Chairs |
|---|---|
| Room | dining room |
| Style | Cottage Style Furniture Plans |
| Difficulty | Intermediate |
| Estimated cost | $20 - $50 |
Dimensions
Use the size-specific shopping and cut lists below.
Shopping List
2 – 2x2s, 8′ long
1 – 2×3, stud length of 8′ long
1 – 1×3
1 – 1×2
Scrap pieces of 1/4″ plywood or No Sag Springs (also called Zig-Zag or Sineous Springs) or Jute Webbing
1 – 15 1/2″ x 17 1/2″ x 2″ standard chair foam cushion (like this one)
1 yard 1/2″ thick foam batting
1 yard burlap
1 yard decorator weight fabric
5/8″ staples
1 1/4″ and 2 1/2″ pocket hole screws OR 2″ and 3″ screws
Cut List
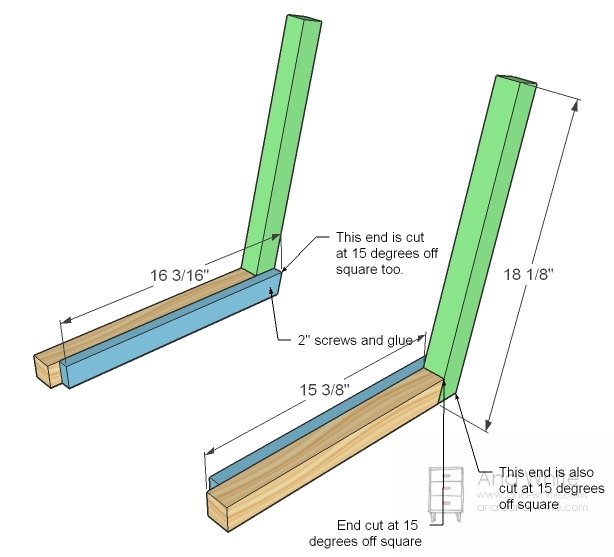
2 – 2×2 @ 18 1/8″ (one end cut at 15 degrees, measurement to long point)
2 – 2×2 @ 15 3/8″ (one end cut at 15 degrees, measurement to long point)
1 – 1×2 @ 16 3/16″ (one end cut at 15 degrees, measurement to long point)
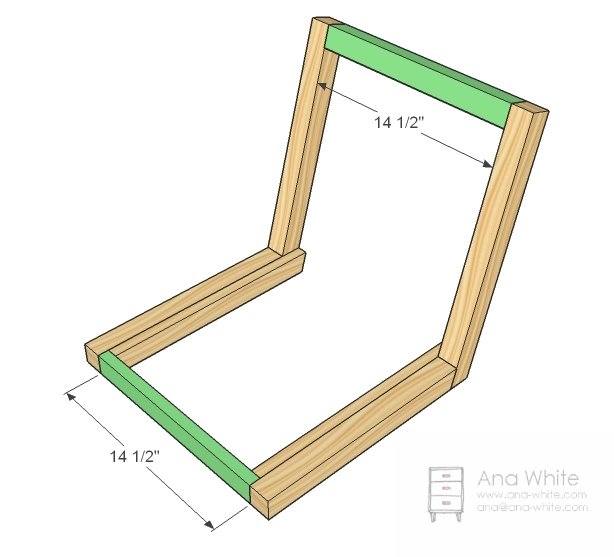
1 – 1×2 @ 14 1/2″ (Front Apron)
1 – 2×2 @ 14 1/2″ (Back Support)
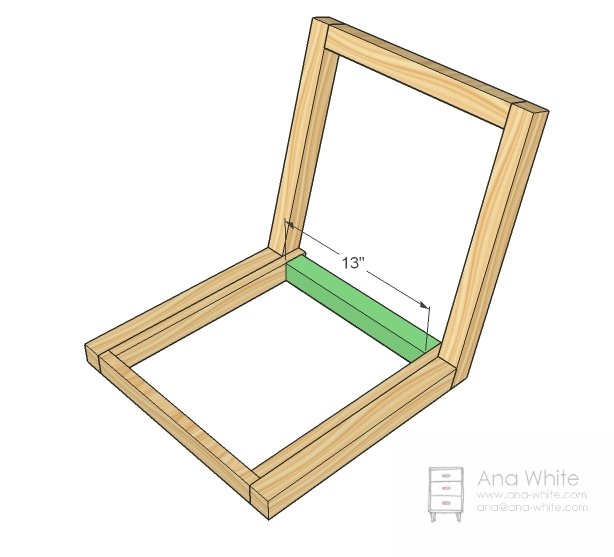
1 – 2×2 @ 13″ (Back Base Support)
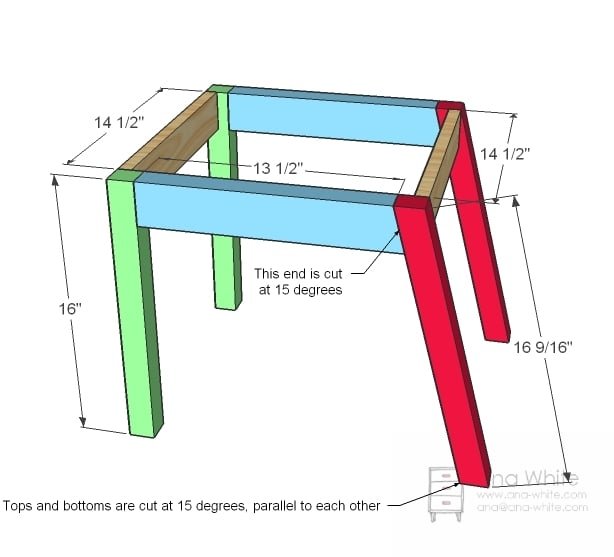
2 – 2×2 @ 16″ (Front Legs)
2 – 1×3 @ 14 1/2″ (Front and Back Aprons)
2 – 2×3 @ 13 1/2″ (one end cut at 15 degrees off square, measurement to short point)
2 – 2×2 @ 16 9/16″ (Both ends cut at 15 degrees, parallel to each other)
Tools
- measuring tape
- square
- pencil
- safety glasses
- hearing protection
- drill
- circular saw
- sander
- staple gun
Step-by-step Instructions
Chair Backs
I’m so proud of this chair design because it does not require you to cut chair back legs. But it is very very strong – passed the Ram test. Just make sure you use glue and 2″ screws to screw the 1×2 to the insides of the 2x2s as shown above. I also joined the 2x2s with pocket hole screws and a screw from the back. It is very important to create a strong joint here.
Front and Top
Now just screw these on. I used pocket hole screws, but it would be easy to use 2″ screws on the front apron, and 3″ screws on the top. These are not structural joints and will be reinforced.
Back Base
This one is used to secure the back. I used pocket holes, but you can use 3″ screws and glue as well.
Base
Simply build the base as shown above. If you don’t have 2x3s, you can double up 1x3s. One trick if you are using pocket holes from the insides is to drill the holes as if you were using 3/4″ stock and use 1 1/4″ pocket hole screws. Then your front legs won’t split out. Another means of strengthening up you base is to add corner bracing by cutting 2x2s with both ends at 45 degrees (perpendicular to each other) and attaching in place. Don’t forget your glue.
Step 5
Burlap and Foam
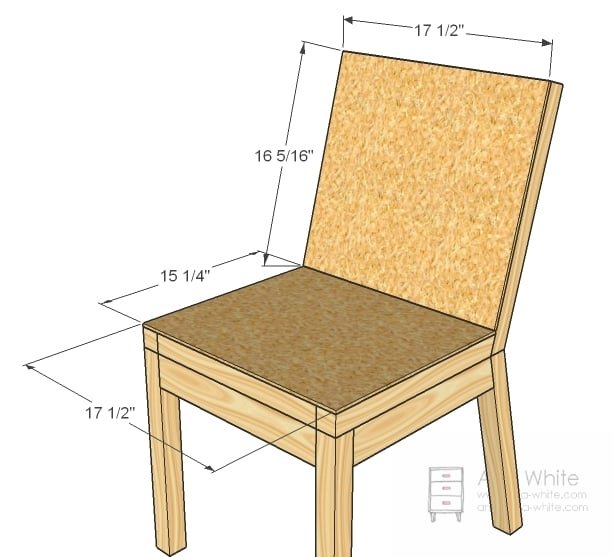
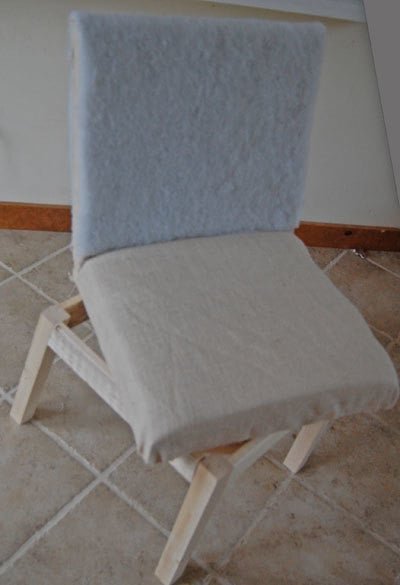
I covered my entire base frame with burlap, stapled to the underside. Trim burlap. Then over the burlap, is spray glued the foam pieces to the seat, and then wrapped the foam over the back. Notice how the sides of the back do not have foam. Trim the foam for a nice clean chair to sew your slipcover off of.
Sewing Pattern
Cut out all your pieces as shown above. If your fabric has a direction, take note of this and carefully cut out each piece so the direction of the fabric matches the chair. This pattern is for 1/4″ seams.
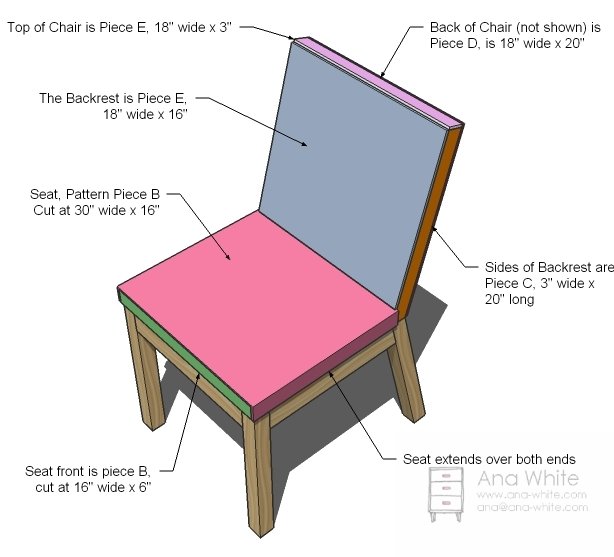
Seat
Fold both pieces A and B in half the long way and press a seam down the centers. Pin A to B, right sides together, making note of the direction of the fabric, with the pressed lines matching up.

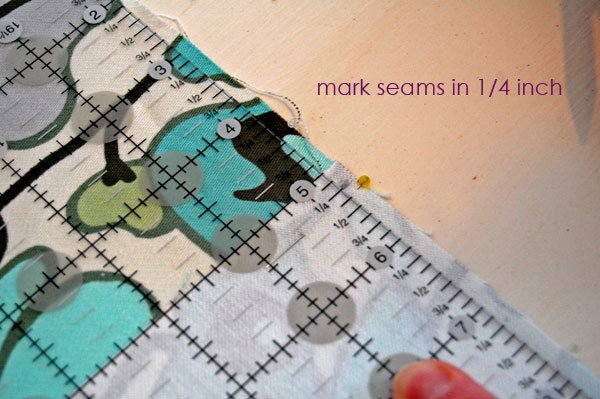
Mark Piece A
Mark the front apron as shown above 1/4″ from the ends on the pinned edge. When you sew, start at the pressed line in the center, sew outward to the mark, 1/4″ from the end.
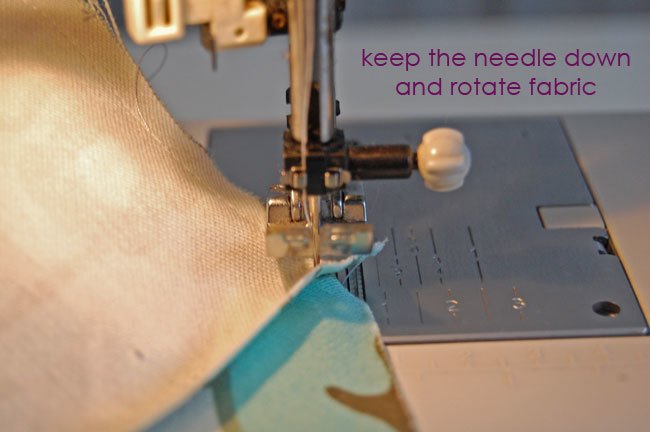
Turn Corners
When you get the the mark, leave your needle in the fabric, but lift the foot. Turn piece A (the smaller front apron) 90 degrees so it matches the edge of the seat piece B. Stitch. If the ends do not meet up exactly, do not worry. All edges on the bottom can be easily hemmed. Go back to the center seam and stitch the other side in the same manner.
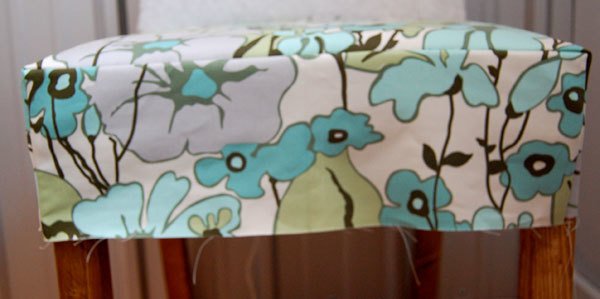
Admire your Corners
See how pretty the corners are in this method?

Seat is done!
Make sure the seat fits on the chair. This is your chance to let out or tighten any seams.
Back
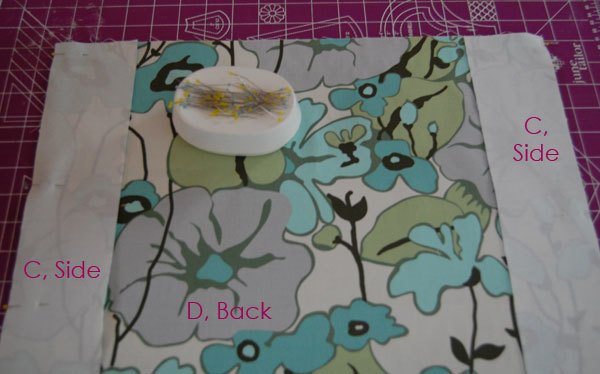
Pin pieces C to piece D as shown above. Remember take not of the direction of your fabric. Stitch along pinned edges.
Top
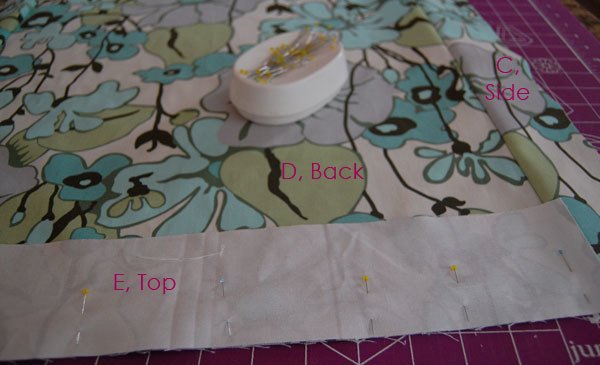
The top will go on just like the front apron. You will need to turn corners. Begin by pinning the top to the Back (piece D) centered with the back. Stitch the back to the top, stopping 1/4″ front the ends (on the side seam). Rotate fabric so that the top can be stitched to the sides. Stitch.
Fit Back
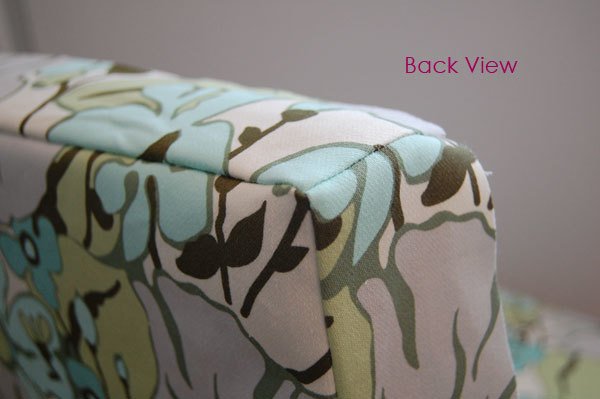
Place the slipcover on the back and test fitting. Then pin the seat back (Piece F) to the sides and top. Start at the top and stitch downward, matching the center of the backrest with the center of the top. Turn corners to stitch sides to backrest. Fit again, letting out or taking in seams so back fits snug but not tight. See photo below.
Step 16
Take note of the seam you need to make in the next step – the seat to the back.
Stitch Back to Seat
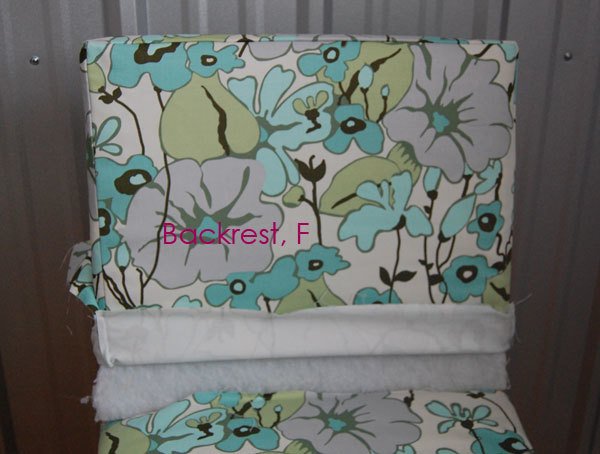
Pin the seat back part to the seat base part. Stitch along base seam, but not sides. Fit on seat top.
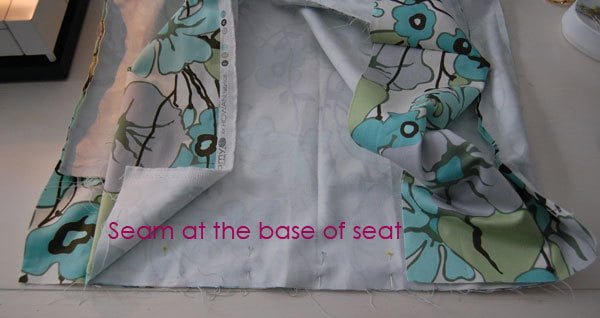
Step 18
Note that the seam to the sides is open.
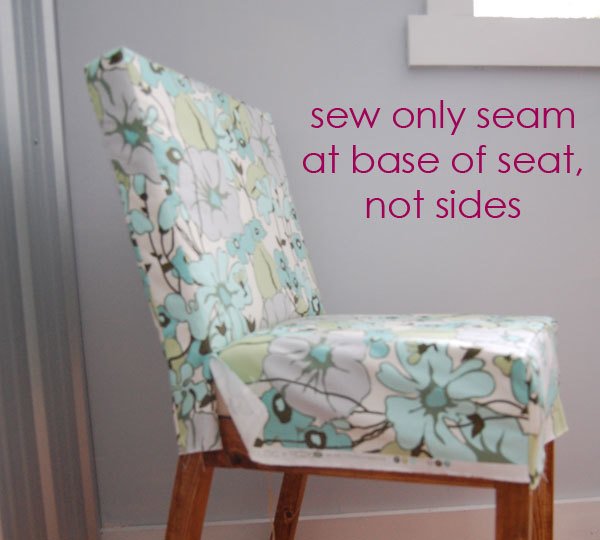
Step 16: Staple Slipcover to Base
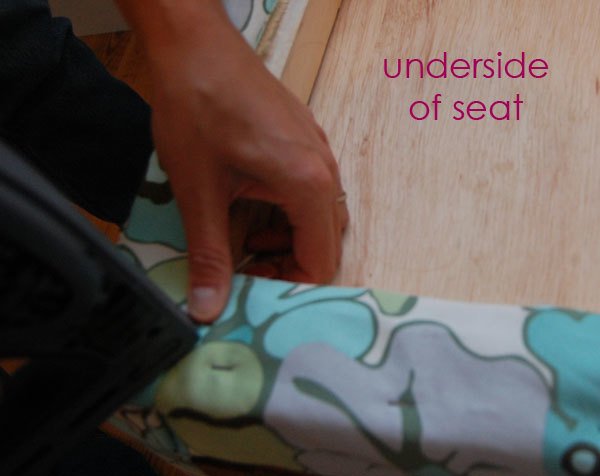
Fit slipcover on, noting that the seams to the sides are open. Staple to base.
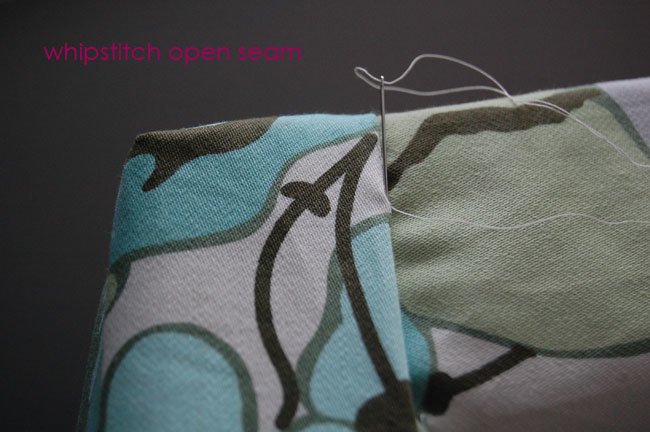
Whipstitch open side seam
Finish slipcover by hand stitching side seams closed.
Bases
Stain or paint bases and attach to seat. I promise, it really is that easy!
Finishing
Sand all surfaces, starting with a medium grit and finishing with fine. Wipe off the dust, fill any holes or gaps with wood filler, and sand smooth once dry. Apply primer if you're painting, then finish with your choice of paint or stain and seal with a durable clear topcoat. For outdoor projects, use exterior-rated primer, paint or stain, and sealer so the piece stands up to the weather.
Source (temporary): https://www.ana-white.com/woodworking-projects/parson-chair-plans