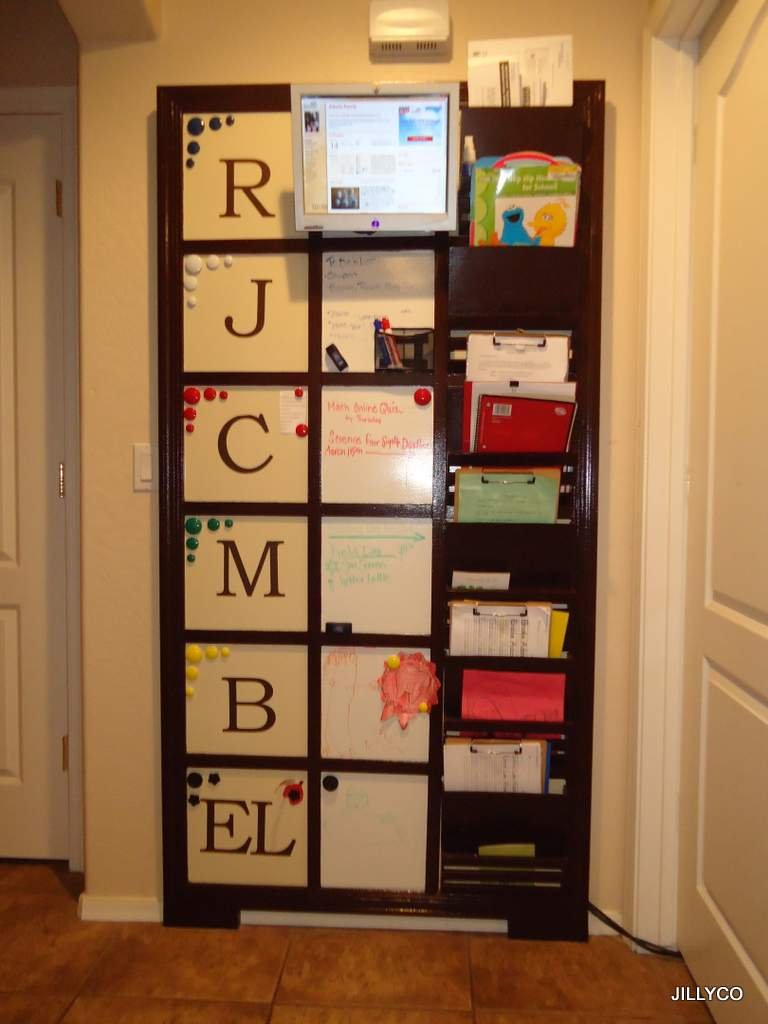
PB Kids Inspired Family Daily Organization Board
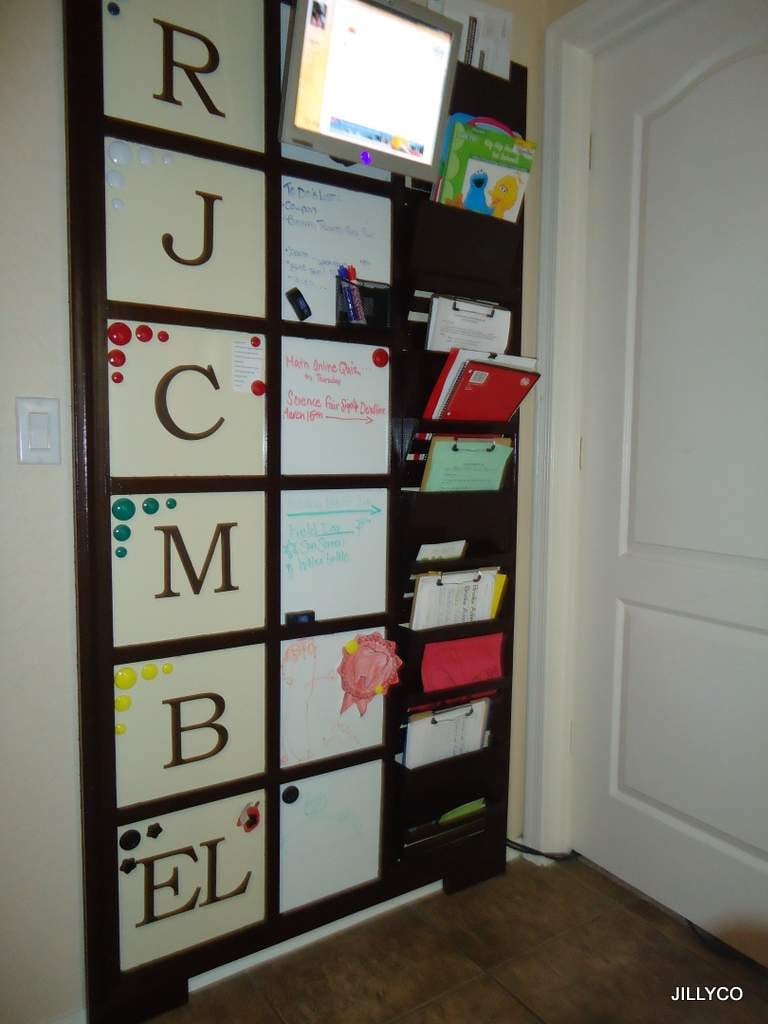
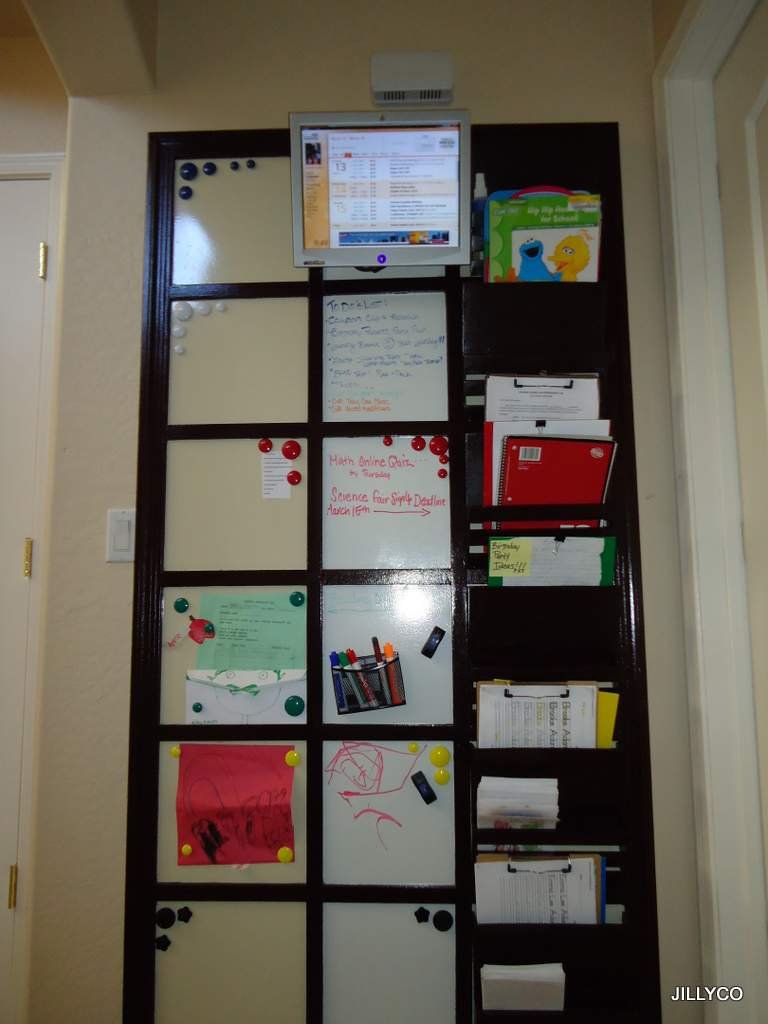
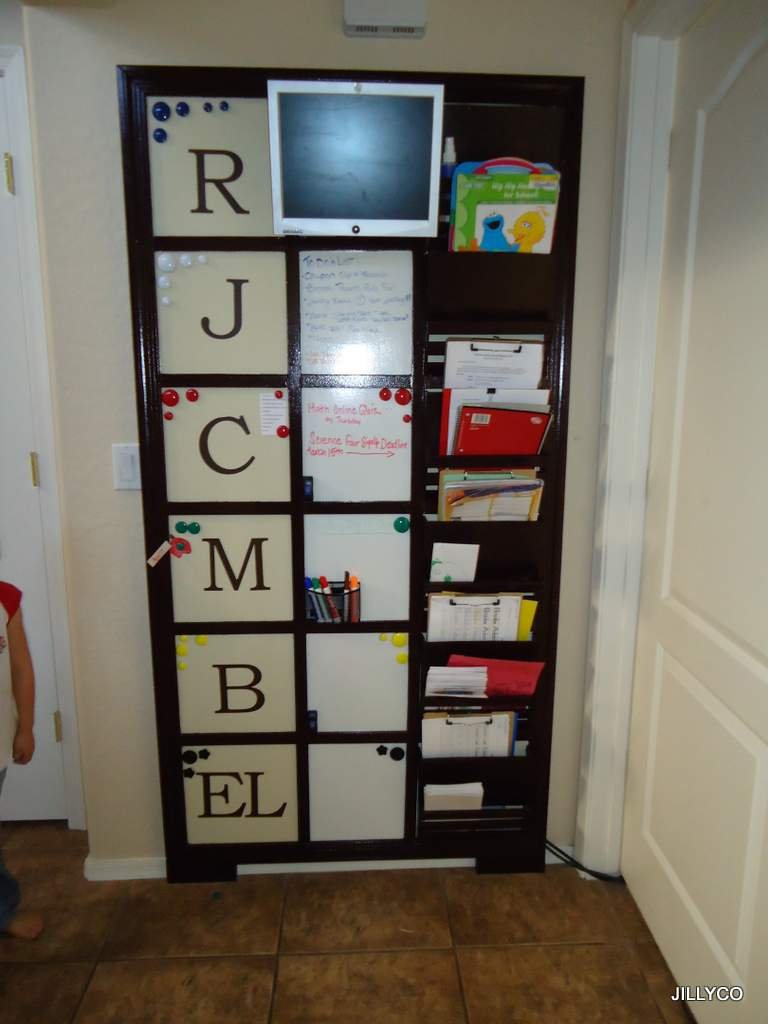
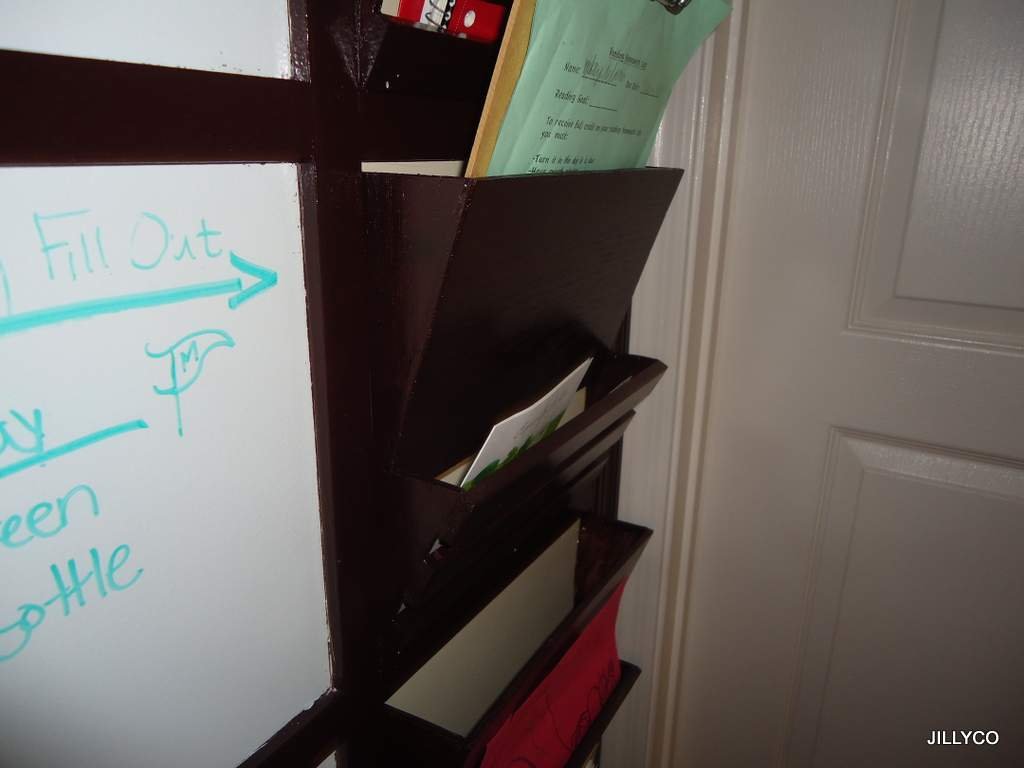
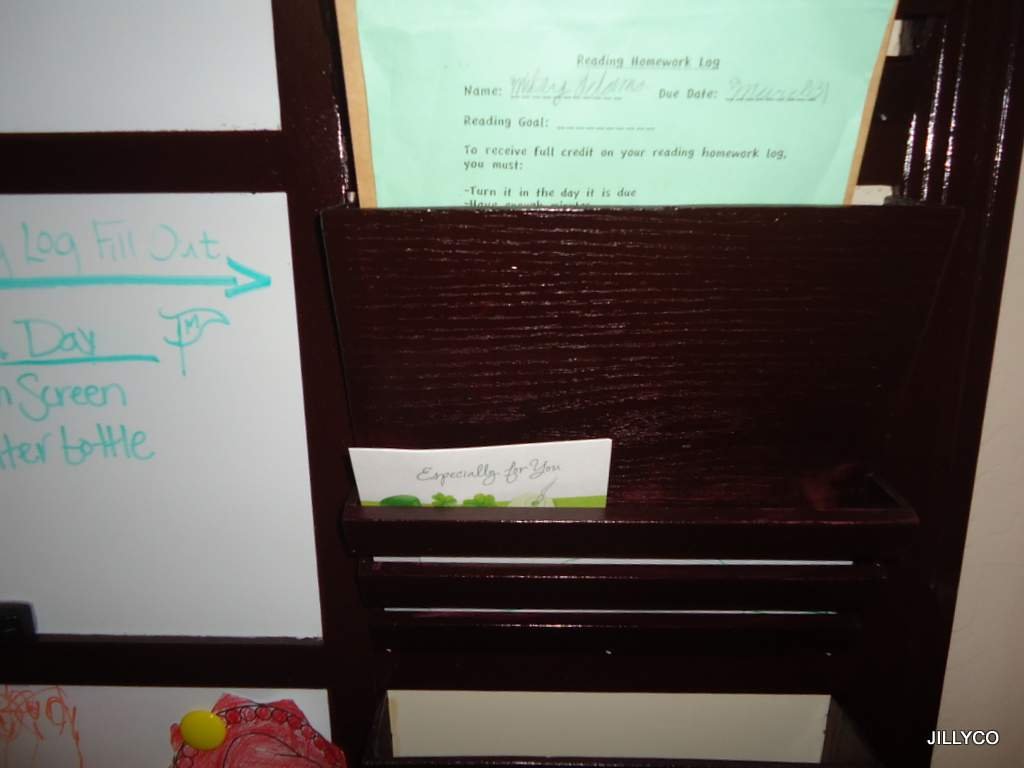
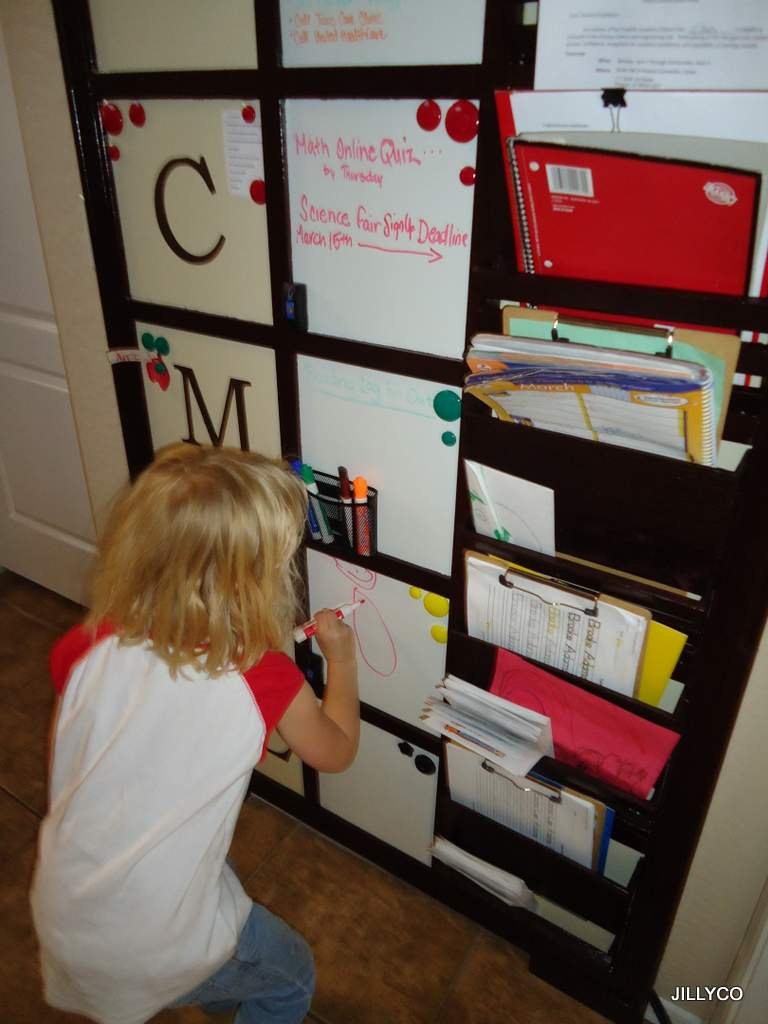
As a mother of a ADD child I was at my limit of lost homework, permission slips, library books for this family of 6. I was tired! So in order to better manage my multiple children's stuff from school, activities and everything scribbled on one of many calendars I came up with this idea. In the TOP Center Square I took a SMALL monitor (Flat Screen) Mounted it so that the family could see our up to date COZI Calendar that syncs with all of our calendars. I have a Family Daily Organization Board that has a section for each family member that consists of a magnet center with LETTER, Dry Erase Middle (Magnetic As Well) and a Letter Bin system to hold all there papers, books, etc.
Specifications
| Project type | Wall Projects |
|---|---|
| Room | Storage Solutions |
| Style | Cottage Style Furniture Plans |
| Difficulty | Beginner Projects |
| Estimated cost | $100-$150 |
Shopping List
1- sheet 1/2" PureBond Birch Plywood
1- sheet 1/4" PureBond Birch Plywood
1- sheet 3'x4' Sheet Metal (Galvanized)
3- 2 1/4"x 8' Pine Door Molding
4- 1 1/2"x 8' Pine Molding
1- 1x4x8 Pine board
1 PKG Rustoleum Dry Erase Paint
9/16" 18 gauge nails for Nail Gun/Stapler
Cut List
40"X 78" sheet 1/2" PureBond Birch Plywood
2- 2'x 3' sheet Sheet Metal (Galvanized)
Beware: SHARP EDGES
2- 75 1/2" x 2 1/4" Pine Door Molding Beveled 45 degrees
2- 40" x 2 1/4" Pine Door Molding Beveled 45 degrees
2- 71 1/2" x 1 1/2" Pine Molding
5- 10 1/4" x 1 1/2" Pine Molding
10-11 1/2" x 1 1/2" Pine Molding
2- 7 1/4" x 1x4 Pine board
Please see Lady Goats Letter Bin instructions for directions on cuts list and templates.
Tools
- measuring tape
- square
- pencil
- hammer
- safety glasses
- hearing protection
- circular saw
- jigsaw
- compound miter saw
- nailer
- sander
Step-by-step Instructions
Step 1
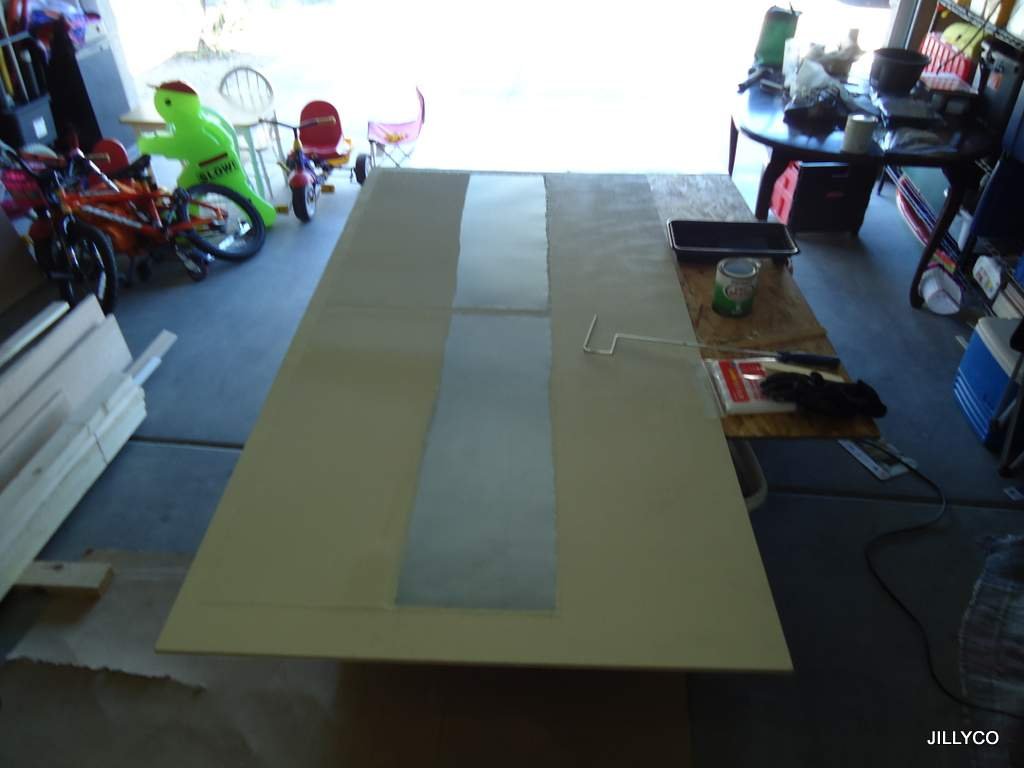
Take your 2- 2'x 3' sheet Sheet Metal (Galvanized) and attach it to your 40"X 78" sheet 1/2" PureBond Birch Plywood using the 9/16" 18 Gauge nail gun. If you do not have a finishing nail gun, pre-punch the metal before tapping your securing nails down in all corners and middle of metal. Paint exposed board and outer metal with desired color choice for base. Beware: SHARP EDGES
Step 2
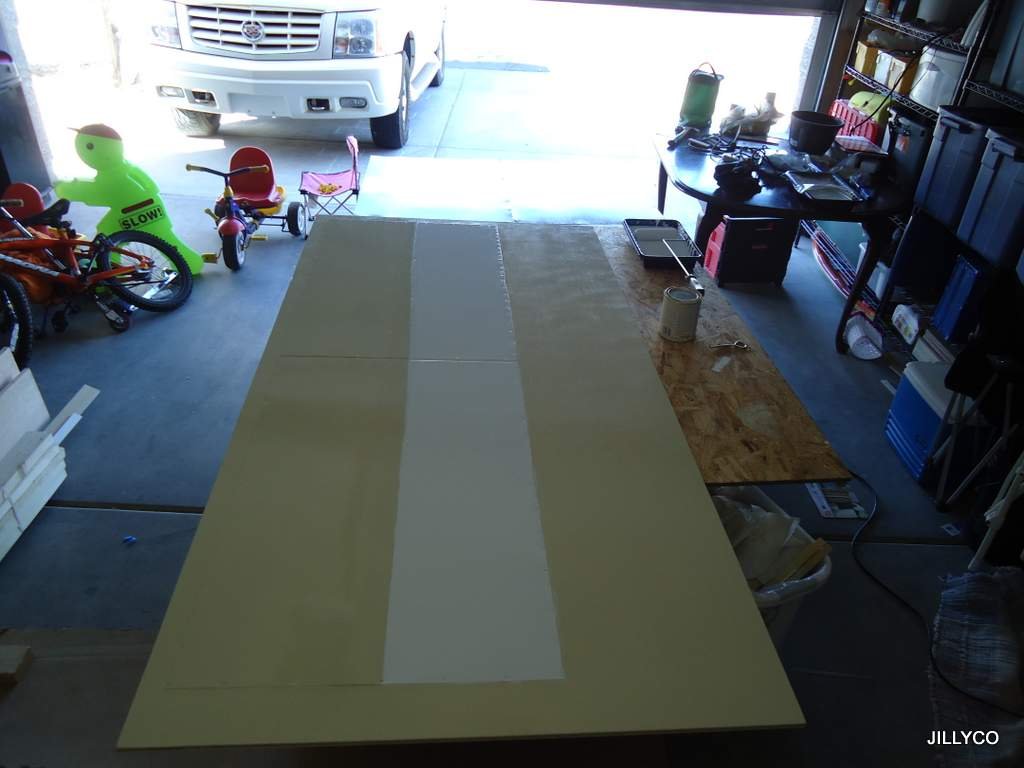
Apply Dry Erase Paint to the center Strip. Remember read the instructions on this special paint. LET completely dry before continuing on.
Step 3
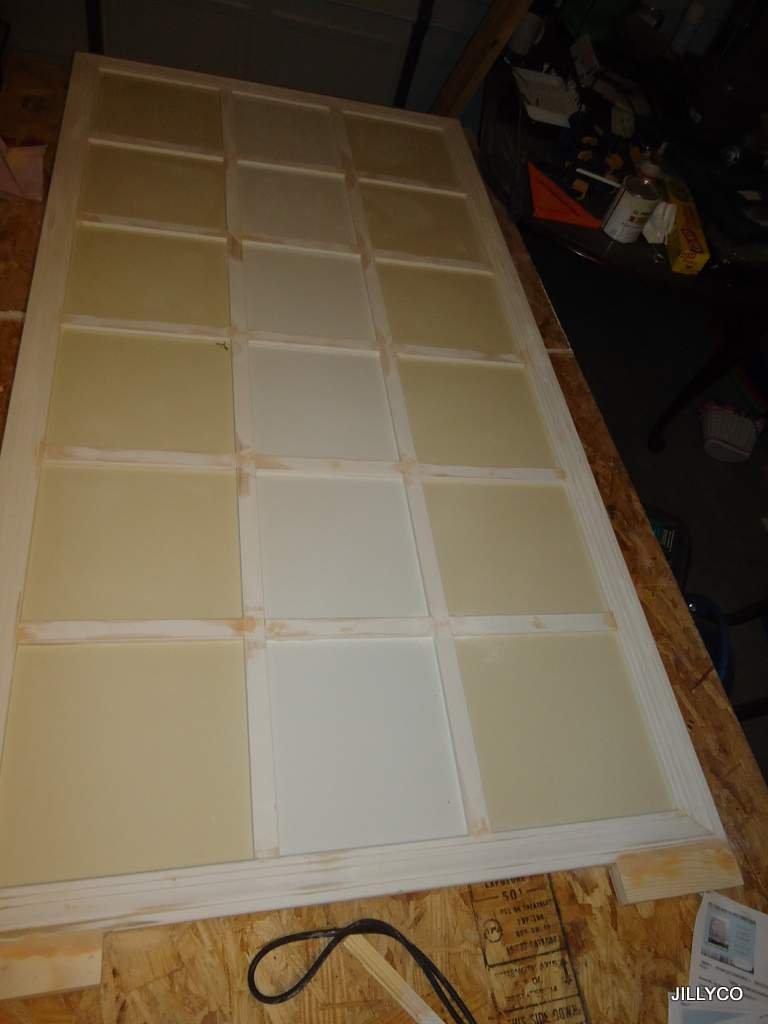
Take the two leg pieces "2- 7 1/4" x 1x4 Pine board" glue and staple to the bottom of the wall unit. Use the jig saw the cut out the notch between the two legs. Then Attach the outward "FRAME" 2- 75 1/2" x 2 1/4" Pine Door Molding Beveled 45 degrees and 2- 40" x 2 1/4" Pine Door Molding Beveled 45 degrees.
Step 4
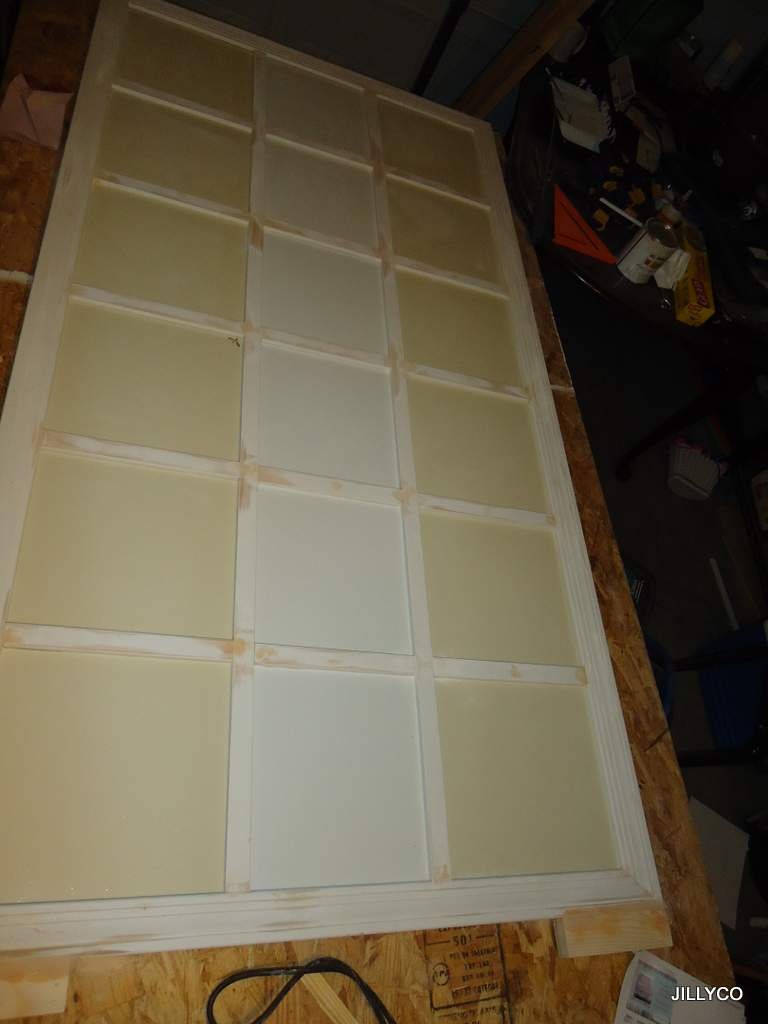
Glue and nail the two main vertical dividing 71 1/2" x 1 1/2" Pine Molding according to the measurements. Attach the horizontal center pieces (10 1/4" x 1 1/2") Pine Molding to desired height of squares. Mirror remaining dividers 11 1/2" x 1 1/2" Pine Molding. Remember the dividers are covering the metal edges of the steel. So keep it in mind when working on your project.
Step 5
Step 6
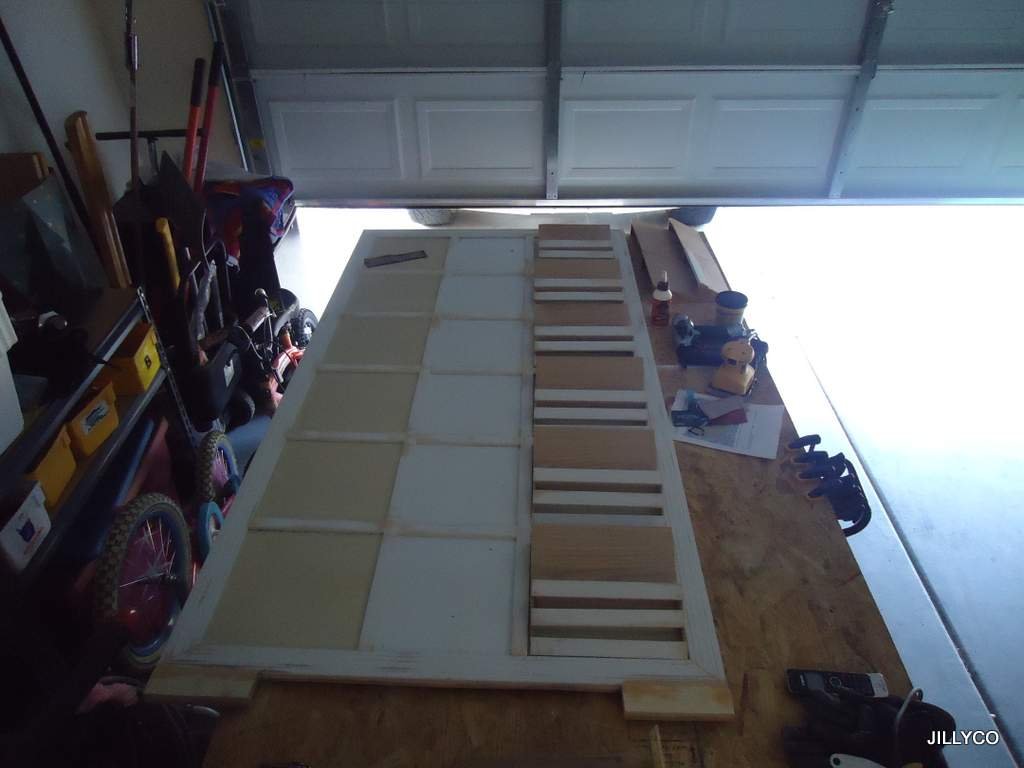
Fill all holes with wood filler and Sand down with 120 grit sand paper. Use Blue painters tape to protect the dry erase boards and base paint job.
Step 7
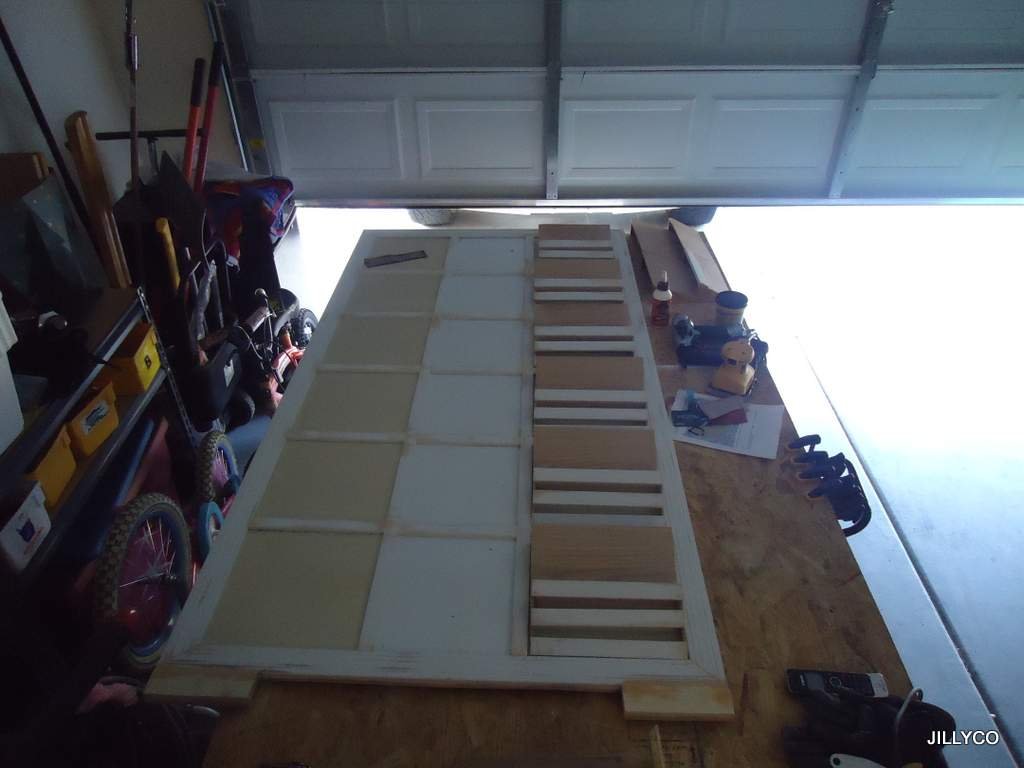
Paint trim to desired color. If attaching Monitor make sure you have a access hole big enough for the cords to enter and always follow the instructions on the mounting hardware.
Step 8
Secure unit to wall. I did this in the monitor square for extra strength and lagged it to a stud.
Step 9
Step 10
Step 11
Step 12
Decorate with letters and enjoy!!! I hope this plan helps! Good LUCK!
Finishing
Sand all surfaces, starting with a medium grit and finishing with fine. Wipe off the dust, fill any holes or gaps with wood filler, and sand smooth once dry. Apply primer if you're painting, then finish with your choice of paint or stain and seal with a durable clear topcoat. For outdoor projects, use exterior-rated primer, paint or stain, and sealer so the piece stands up to the weather.
Source (temporary): https://www.ana-white.com/woodworking-projects/pb-kids-inspired-family-daily-organization-board