Pretend Play Campfire Set
DIY play campfire playset - free
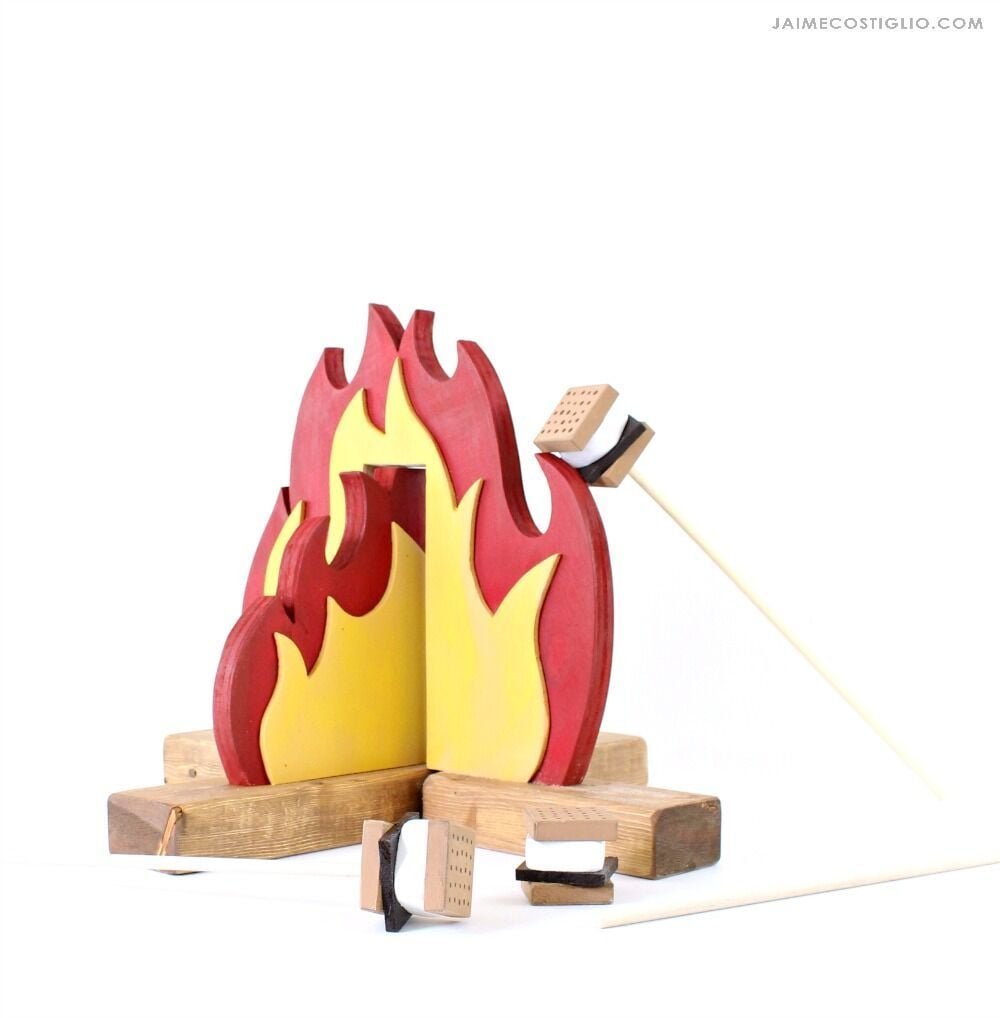
Specifications
| Project type | Toys |
|---|---|
| Room | Kids and Toys |
| Style | Children's and Kid's Room Furniture and Toy Plans |
| Difficulty | Intermediate |
Shopping List
1 - 2x3 @ 30" long (can also substitute 2x4)
1 - 3/4" plywood, 12" x 18" - can be in smaller pieces, see cut list
1 - 1/4" plywood, 11" x 32" - can be in smaller pieces, see cut list
3/4" brad nails
1-1/4" pocket hole screws (8)
Cut List
FIRE PIECE 1
1 - 2x3 @ 16"
1 - 3/4" plywood @ 12" x 7"
2 - 1/4" plywood @ 11" x 6"
FIRE PIECE 2
2 - 2x3 @ 6-1/2"
1 - 3/4" plywood @ 12" x 11"
2 - 1/4" plywood @ 11" x 10"
Tools
- measuring tape
- square
- pencil
- kreg-jig
- drill
- circular saw
- jigsaw
- nailer
- sander
Step-by-step Instructions
Cut all the pieces according to cut list.
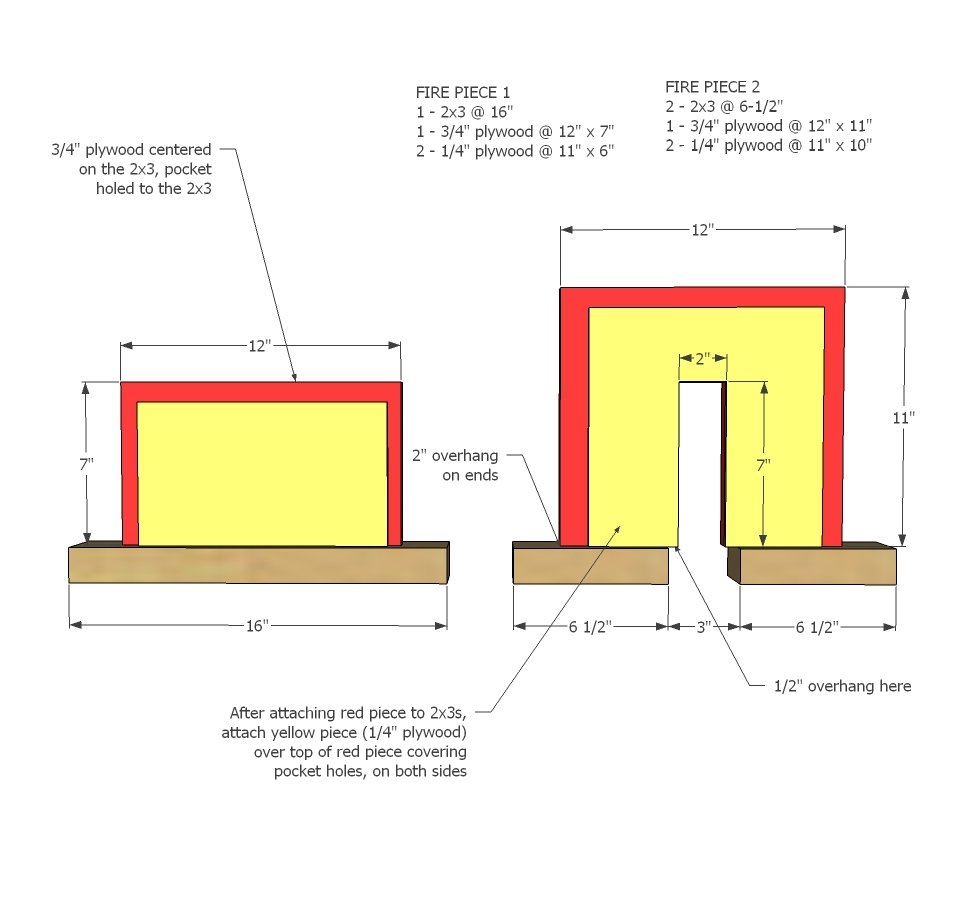
Dry fit all pieces. Draw campfire shapes on plywood, leave enough room for attaching to the 2x3 boards, and also, leave enough cover on the yellow plywood pieces to cover the pocket holes. Cut out with jigsaw. Sand any rough edges and paint flames. Drill pocket holes on each side of the red flame pieces. Attach centered on the 2x3s as shown in diagram. Glue and nail yellow frame pieces over red pieces with 3/4" brad nails.
Finishing
Sand all surfaces, starting with a medium grit and finishing with fine. Wipe off the dust, fill any holes or gaps with wood filler, and sand smooth once dry. Apply primer if you're painting, then finish with your choice of paint or stain and seal with a durable clear topcoat. For outdoor projects, use exterior-rated primer, paint or stain, and sealer so the piece stands up to the weather.
Source (temporary): https://www.ana-white.com/woodworking-projects/pretend-play-campfire-set