Produce Bin Wall Shelf
Good vegetable storage that actually works is essential! I built these wall mounted potato and onion bins out of a few off the shelf pine boards and am sharing the with step by step diagrams, shopping and cut list.
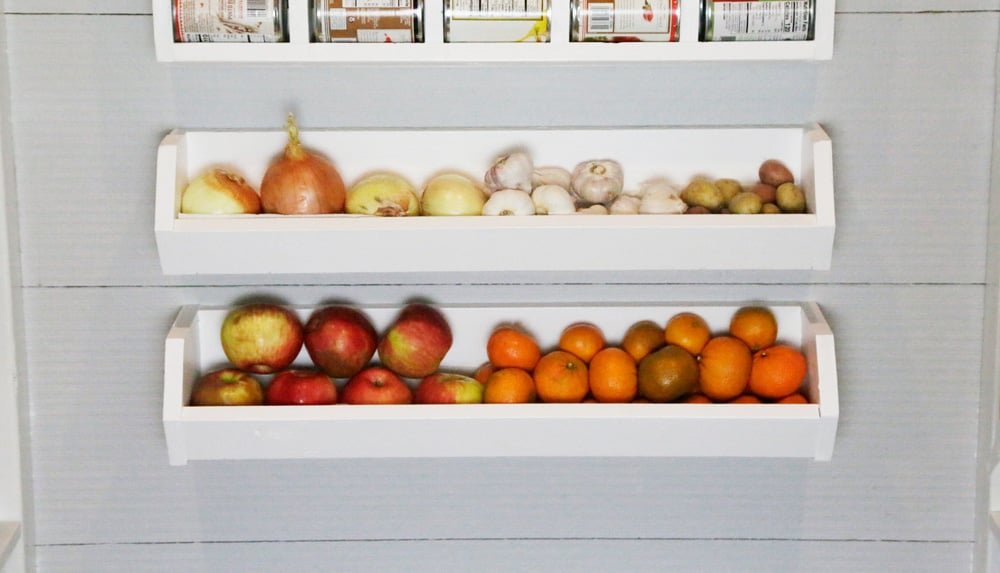
Specifications
| Project type | Kitchen Cabinet Plan, Accessories and Serving |
|---|---|
| Room | Storage Solutions |
| Difficulty | Beginner Projects |
| Estimated cost | Under $20 |
Dimensions
Use the size-specific shopping and cut lists below.
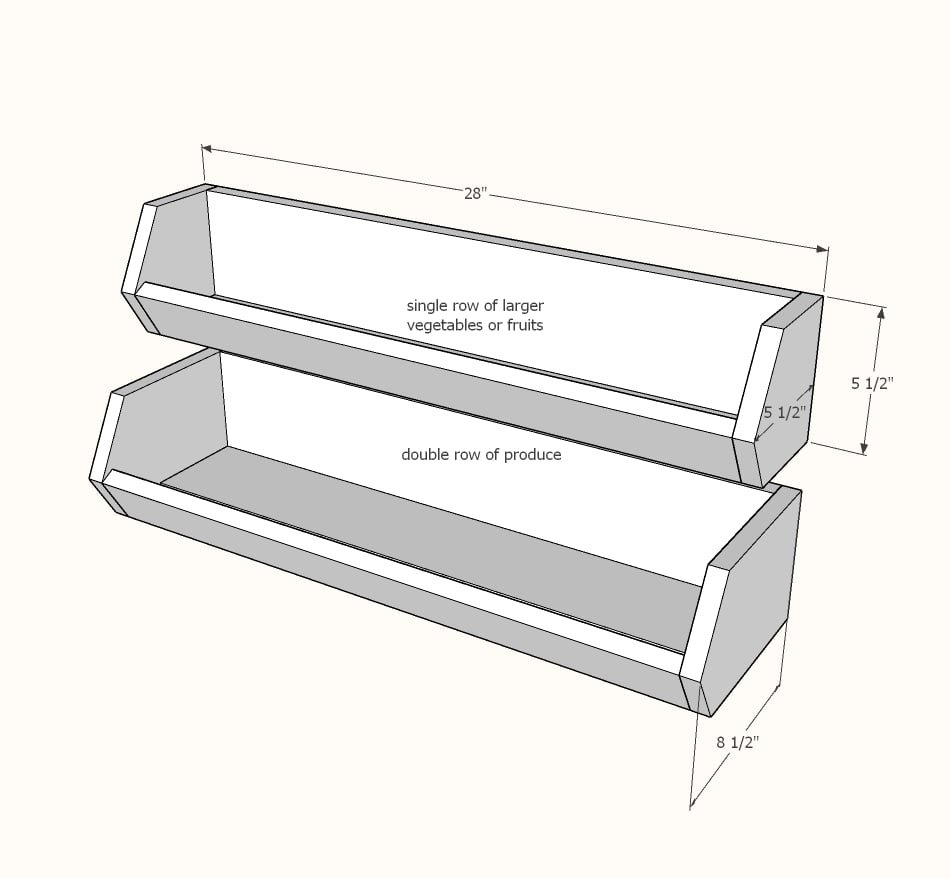
Shopping List
Smaller Bin (for one bin)
- 37" of 1x6 board
- 54" of 1x3 board
- 1-1/4" brad nails and wood glue
- 2-1/2" self tapping screws for hanging (just need a couple)
Larger Bin (for one bin)
- 72" of 1x6 board
- 26-1/2" of 1x3 board
- 1-1/4" brad nails and wood glue
- 2-1/2" self tapping screws for hanging (just need a couple)
I used common pine boards and 1x3 furring strips to build this project.
Cut List
Smaller Bin
- 2 - 1x6 @ 5-1/2"
- 1 - 1x6 @ 26-1/2"
- 2 - 1x3 @ 26-1/2"
Larger Bin
- 2 - 1x6 @ 8-1/2"
- 2 - 1x6 @ 26-1/2"
- 1 - 1x3 @ 26-1/2"
Tools
- measuring tape
- square
- pencil
- safety glasses
- hearing protection
- drill
- compound miter saw
- nailer
- sander
Step-by-step Instructions
Step 1
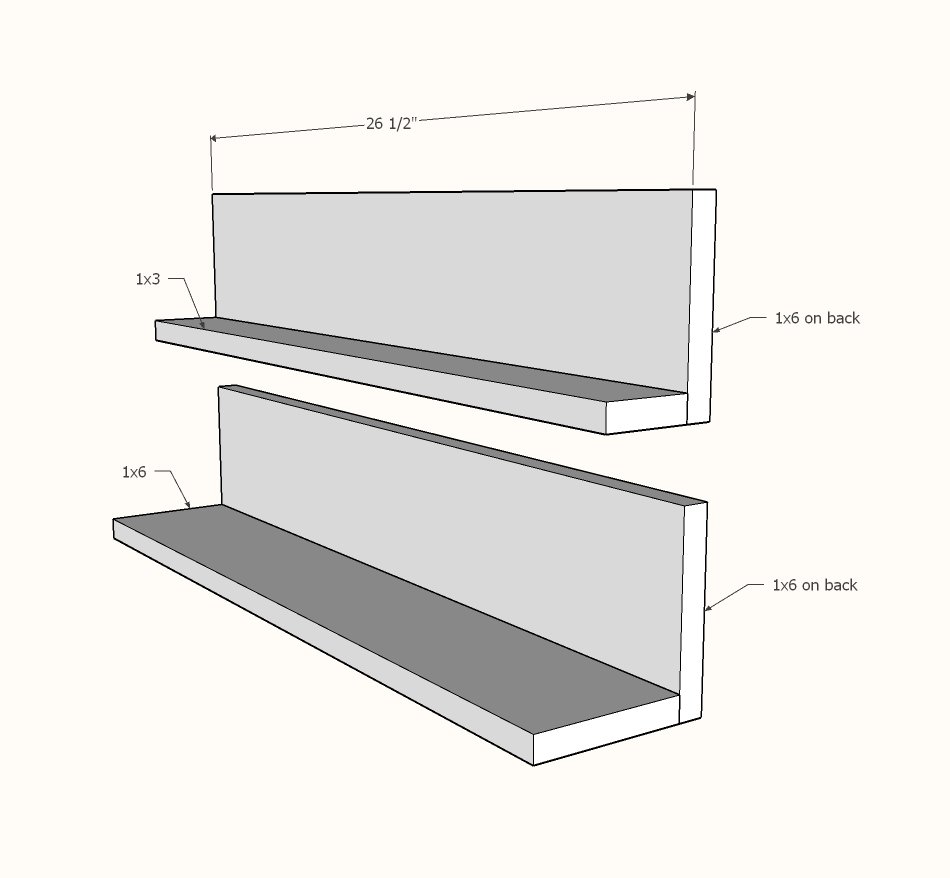
Nail the back 1x6 to the bottom 1x3 or 1x6 with 1-1/4" brad nails and wood glue. Nail about every 4".
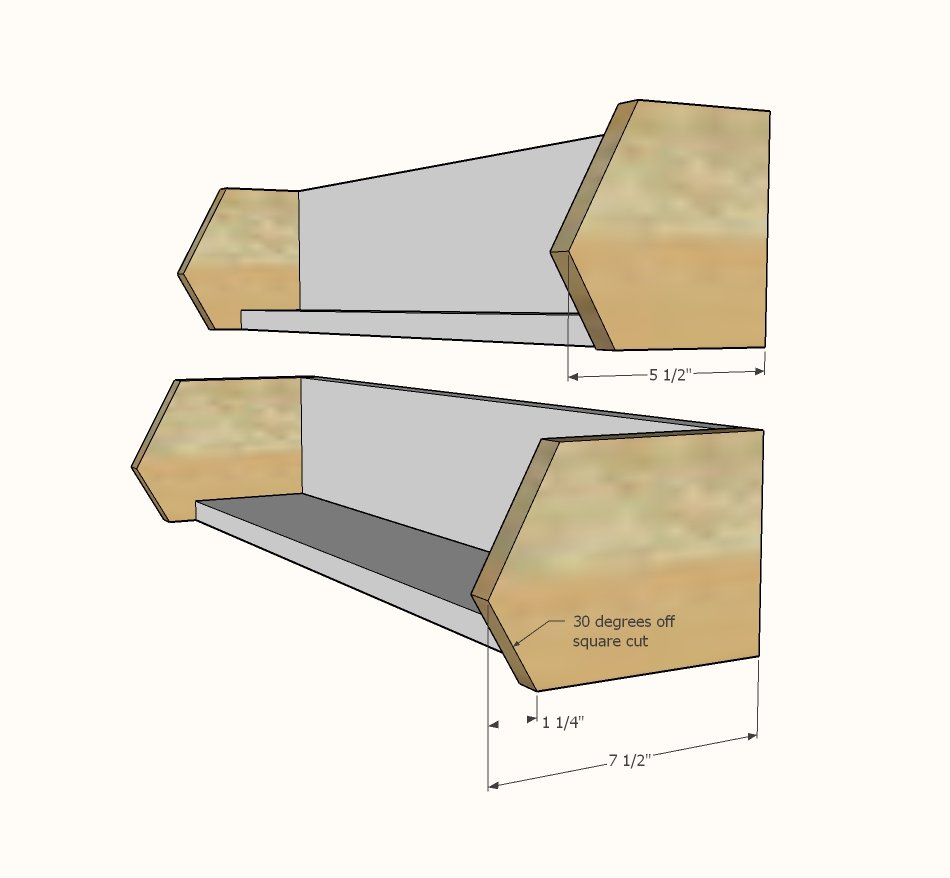
Cut sides as shown in video at 30 degree angles.
You can also use a circular saw or jigsaw to make the angled cuts. Attach to the shelf bottom and back with 1-1/4" brad nails and wood glue.
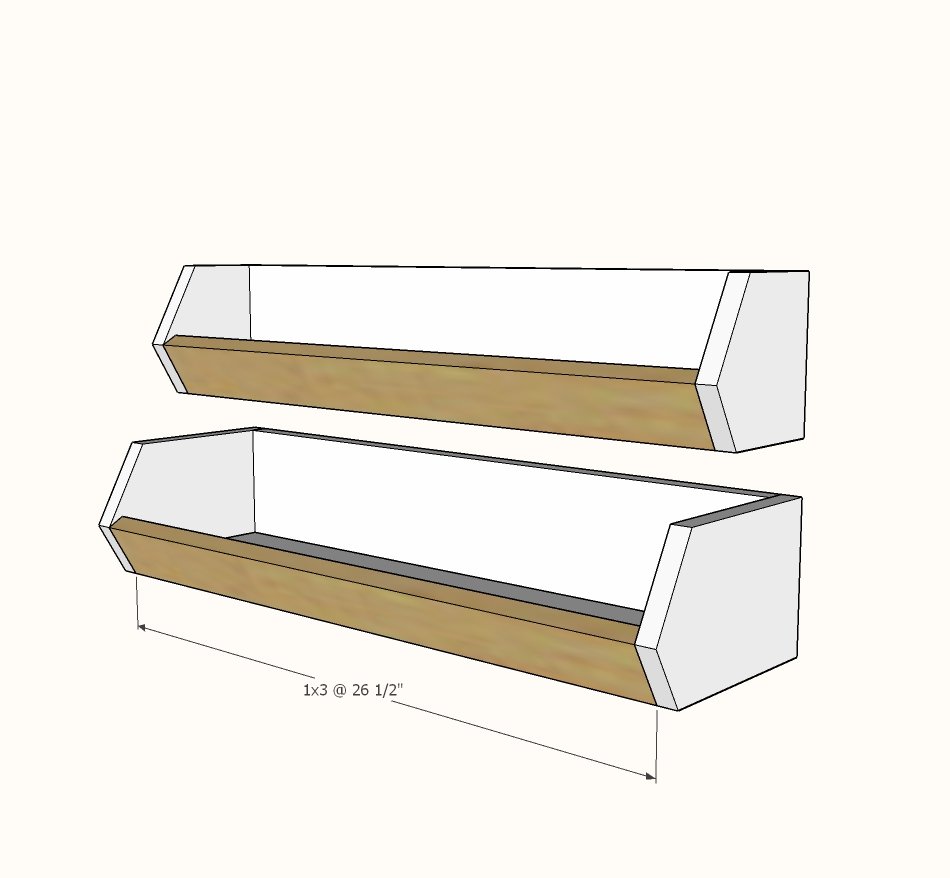
Nail front piece to the sides with 1-1/4" brad nails and wood glue.
There will be a gap between the bottom and the front to allow for air flow.
Step 4
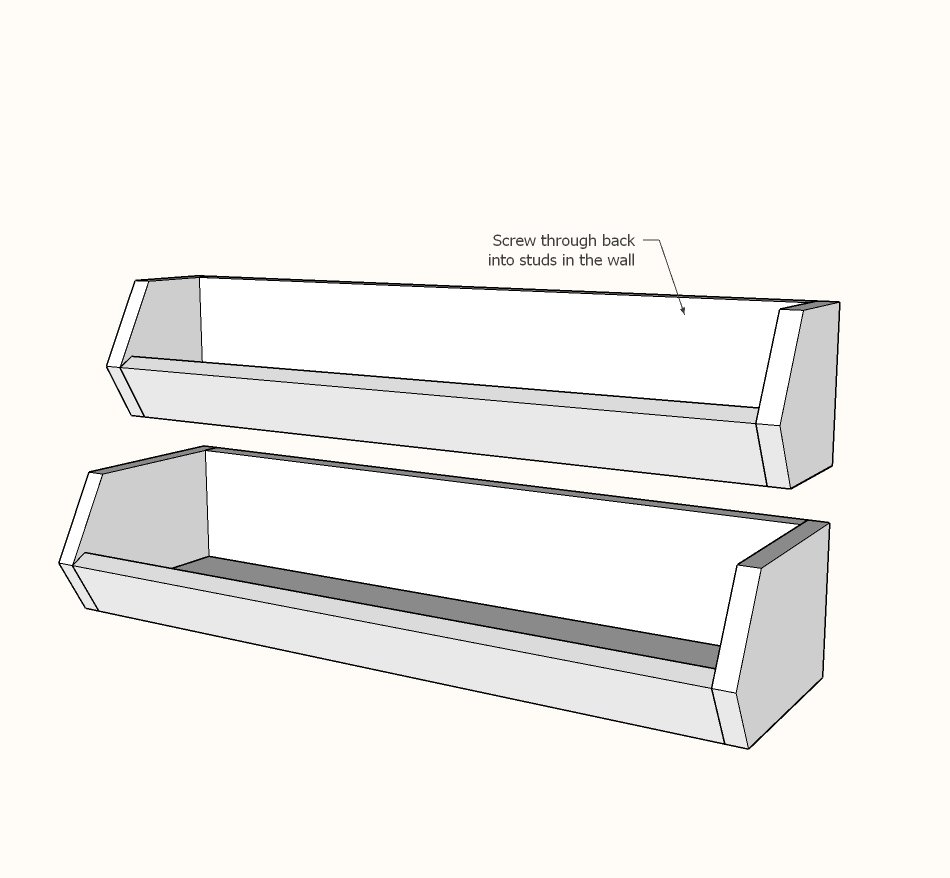
Locate studs in the wall and hang the shelves to the studs with 2-1/2" self tapping screws.
Finishing
Sand all surfaces, starting with a medium grit and finishing with fine. Wipe off the dust, fill any holes or gaps with wood filler, and sand smooth once dry. Apply primer if you're painting, then finish with your choice of paint or stain and seal with a durable clear topcoat. For outdoor projects, use exterior-rated primer, paint or stain, and sealer so the piece stands up to the weather.
Source (temporary): https://www.ana-white.com/woodworking-projects/produce-bin-wall-shelf